Active Fine Art Posts


How To: Draw Ned Flanders from The Simpsons
In this how-to video, you will learn how to draw Ned Flanders from The Simpsons. First, start off with the basic outline of the body. Use simple shapes for this. Next, fill in the eyes, hair, nose, mustache, ears, and mouth of the figure. From there, you can move on to the details of the clothing such as the collar and cuffs of the sweater. Finish with the shoes and the fingers on the hand. The basic outline is finished. Now, go in and erase the simple shapes from the drawing and fill in more...
How To: Draw the face of Bowser Jr. from Mario
This video helps to draw Bowser Jr. First draw a half circle and join the ends by drawing two curves as shown in the video. Continue the left line, to draw a mouth and end it with a small arc to look like a smile. Then close the line by joining it with the right end. On the top of the half circle draw an arc and above it draw a feather shaped hair as shown. Next you have to draw eyes with eyelashes and make them look dark. Now, draw two short lines which looks like nostrils as shown in the vi...
How To: Draw 3D wind flapping flags
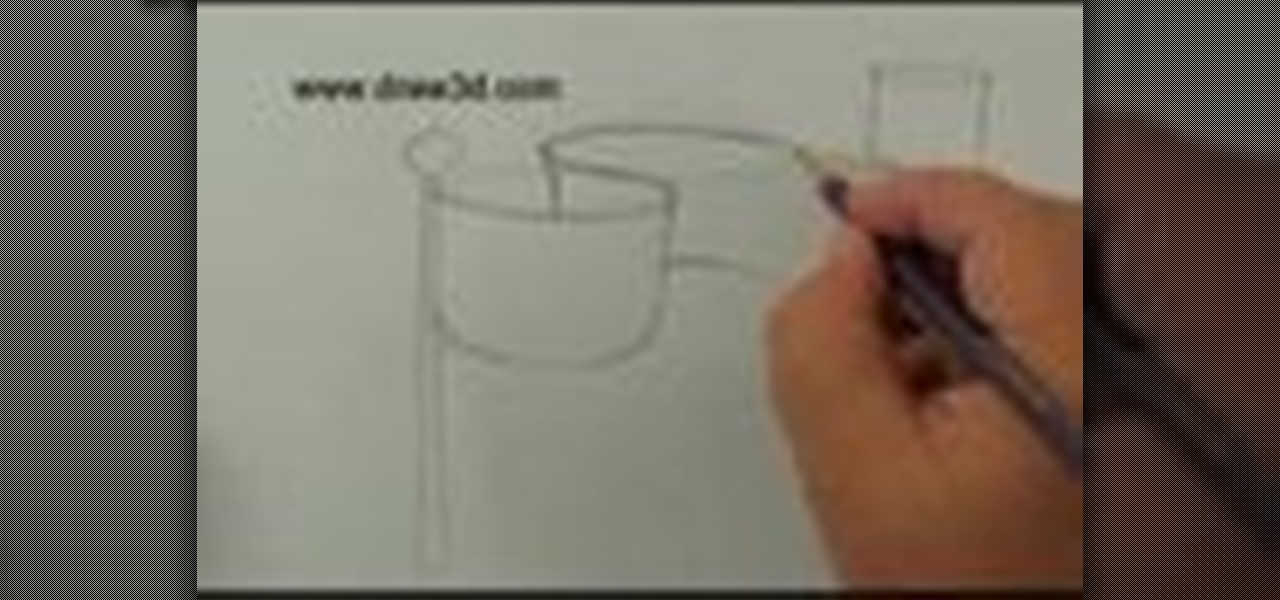
Mark demonstrates how to draw flapping flags or scrolls. He starts with a paper in a binder but any paper will work. In this demonstration he uses a pencil to create his drawing but any pen or pencil will do. He draws the flagpole first starting on the left side of the page. He draws multiple circles creating cylinders that you may have learned how to draw in a previous lesion by Mark Kistler. He uses shading to create the effect of a curve and depth of the flag. He shows how to create the ef...
How To: Draw tonally
Mark McDonnell with The Art and Feel of Making It Real and Cre8tiveMarks demonstrates how to draw tonal sketches. Costume gesture drawing is a popular technique for artists in the animation and entertainment industries. Use a drawing pencil and a piece of drawing paper to do quick outline sketches of a subject. After the outline is created, fill in the detail and shading with the pencil. Fill in other parts of the drawing as necessary. Use other sketches for reference points on your drawing. ...

How To: Remove gelatin from a pan for gelatin plate prints
In this tutorial, we learn how to remove gelatin from the pan. First, grab a butter knife and run along the edges of the pan slowly and accurately. Once you've done this, you will now be able to remove it from the pan. Place the gelatin softly under your hands and gently move your hands down to the bottom of the other side of the pan. Be careful not to create any cracks in the gelatin. Also, make sure you keep your hands wide so you are touching both sides and the full middle of the gelatin o...

How To: Draw a super cute cartoon dog
This how to draw cartoons video shows how to draw a cartoon dog. Start off with the dog's head. Draw big ears, a little jagged at the bottom to show fur. Draw the top of the head, then a circle for the snout, and a nose on the end. Draw semicircles connected to the snout and draw dots inside for eyes. Draw a tongue hanging out, a neck, and a collar. Now draw the shoulders, and down to the front leg. This dog is sitting. Draw the body, then you can draw the back legs. Draw a pointed tail. Now ...

How To: Draw Toad from Mario Brothers with a Sharpie
This video illustrate us how to draw Toad from Mario Brothers with a sharpie. Here are the following steps:Step 1: Take a piece of paper and pencil and start by drawing a face. Draw two eyes and a tongue by drawing three circles.Step 2: Now from the down side of the face draw an oval egg shape structure bigger then the face ,this is the toads belly.Step 3: Draw two lines cutting half through the belly and without joining them with little space in between draw these line upwards.Step 4: Draw t...

How To: Draw a wintery snowflake with Mr. G
In this video, Mr. G demonstrates how to draw a wintery snowflake. You will need a plain pencil, or a blue and black colored pencil for this drawing. Start by writing your name and the date on a white sheet of paper. Then, begin lightly drawing the base of your snowflake. After you have drawn your base, Mr. G will show you how to make the lines darker to form the shape of your snowflake. Then, you will learn how to detail your snowflake by drawing small triangles inside the basic shape that y...
How To: Write with a brush in Japanese calligraphy
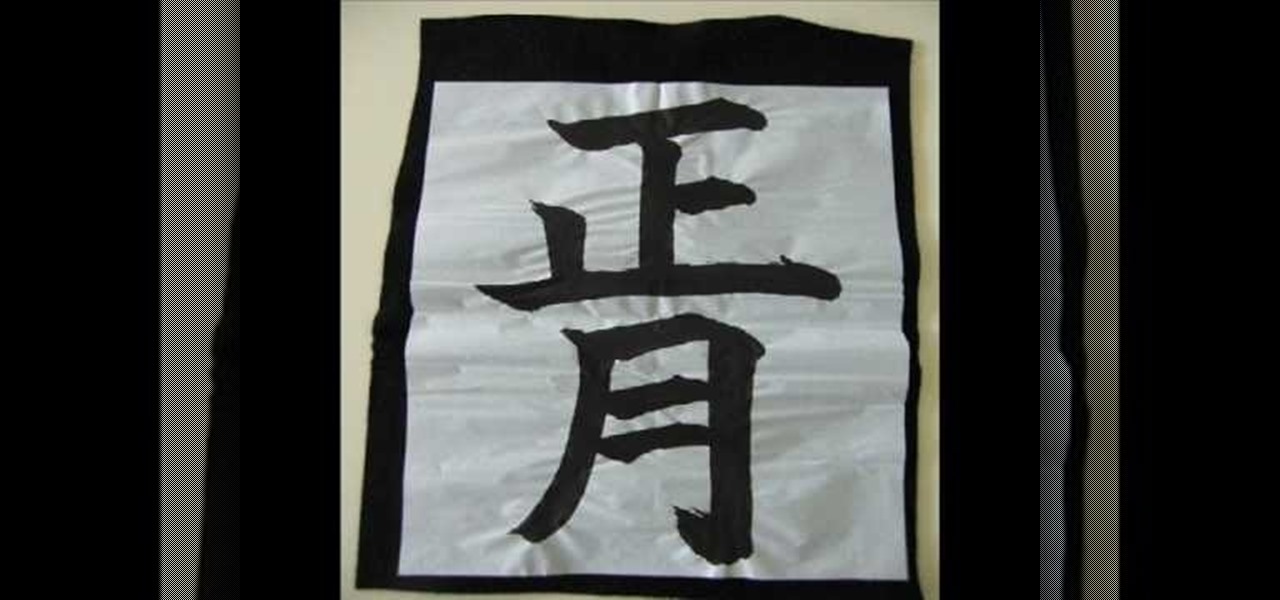
Maki and Miho demonstrate how to write with a Japanese calligraphy brush. To write with a Japanese calligraphy brush, first position the paper to the left side of the brush with the ink on the right side of the paper. Rub the ink stick in the ink well with a little water. Then, soak the brush in the ink. To write Japanese characters, be sure to make the strokes in the correct order. Also, write slowly or your characters will not come out well. Use a long, flat paperweight to hold the paper in...
How To: Draw a realistic looking woman's face
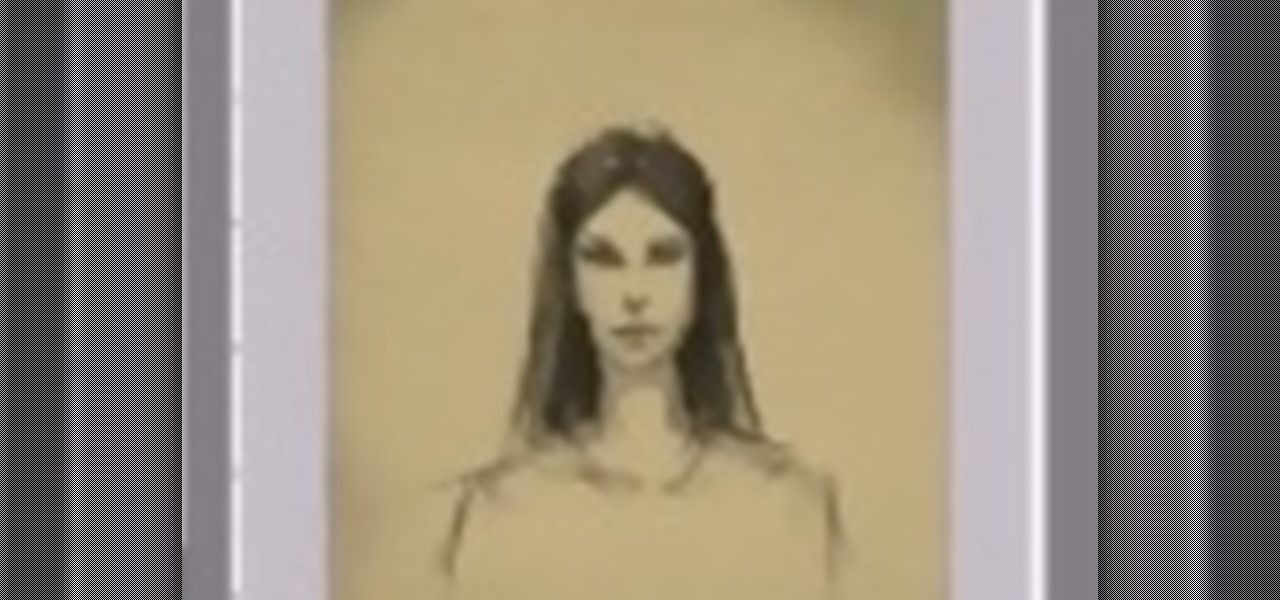
This video will show you how to make a realistic drawing of a woman's face. Start with an circle for the head shape, establish the eye line which is usually at the halfway point. The nose is one fourth of the distance between the eyes and the chin, and the mouth is halfway between the eyes and chin. Draw in the facial features and add shadows. Draw the neck and shoulders at the same time. After you have the whole head and shoulders drawn, fill in more shadows on the entire drawing, and fill i...

How To: Carve a duck out of an apple
This is the video showing you how to carve an apple into a edible duck fruit carving! Fruit carving edible arrangements is very popular in Asia and now, weddings in America.
How To: Draw dynamite
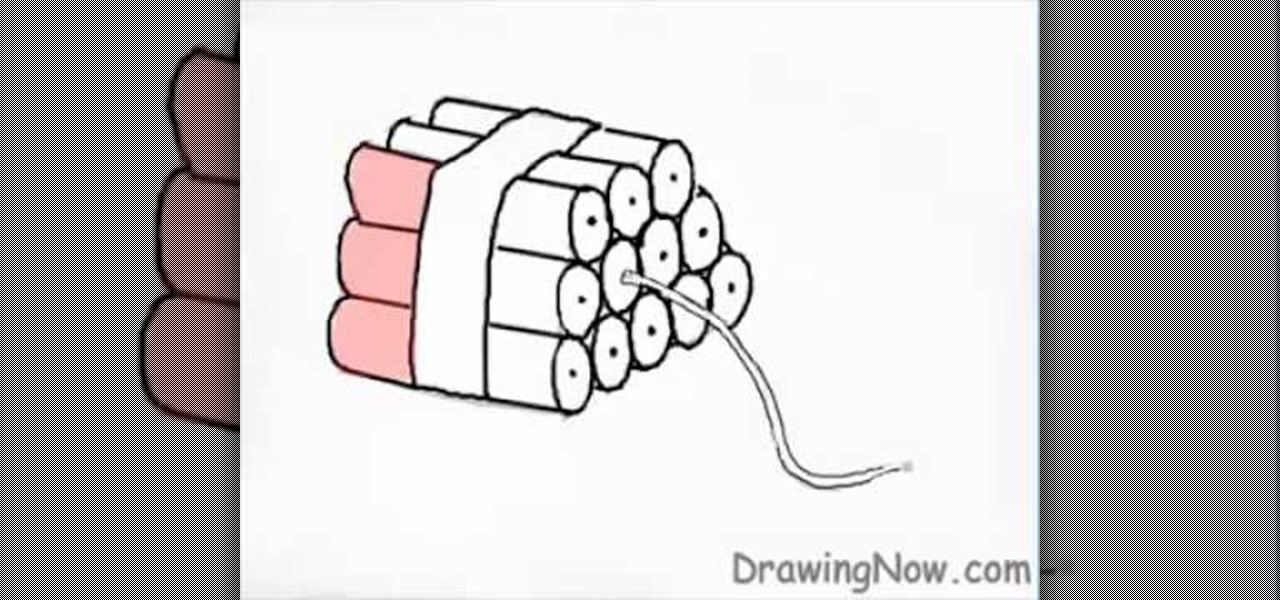
First of all use a grey color shade to draw the outline sketch of the figure. First draw the trapezium in the front. Now draw a rectangle at the side of the trapezium. Make a flat top to the figure. From the middle of the trapezium draw a string protruding downwards. Now divide the figure into three equal sections. Now you have to darken sections on the rectangular side. Draw the vertical lines of the rectangular side curved outwards at the far end. At the front end of the rectangular side ma...

How To: Make your own duct tape hair bow
This video tells us the method to make a hair bow from a duct tape. You will need a duct tape, scissors and a bobby pin for this purpose. First take a sufficient length of duct tape. Fold it along the breath so that the sticky sides stick to one another. Now we get a duct tape in the shape of a rectangle. Fold the duct tape along its length. This forms a crease at the middle of the duct tape. Fold each half of duct tape along the length to the crease at the middle. This forms two creases at t...
How To: Draw 3D letters (A through L)
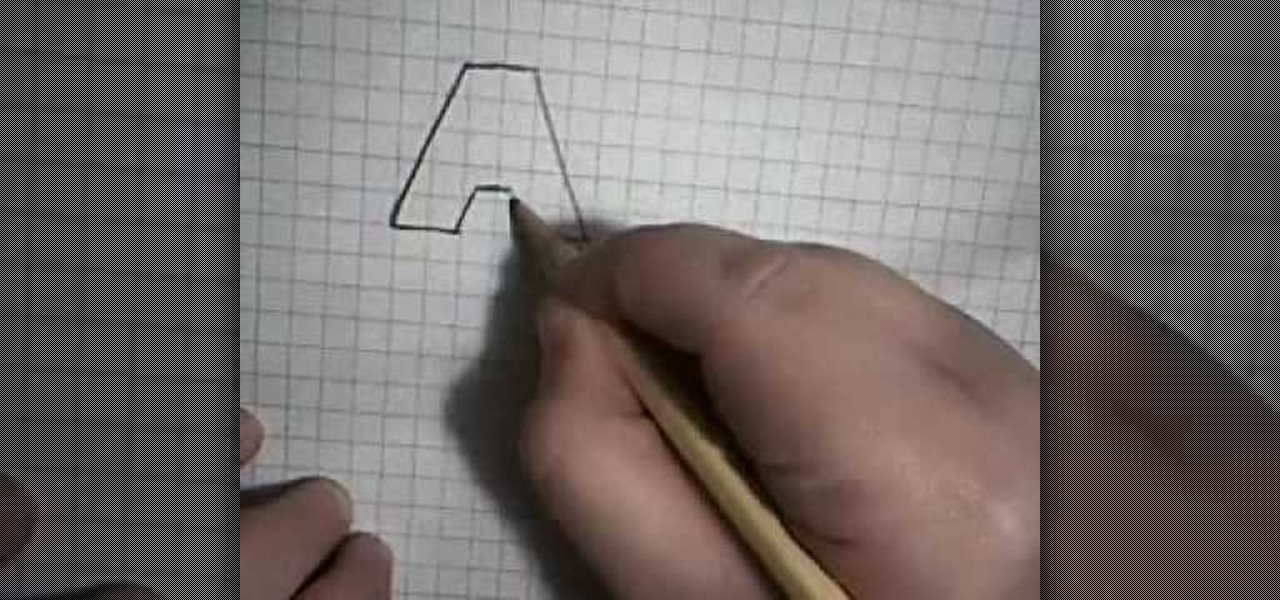
This is an upbeat fun video on how to draw 3D letters; and shows in detail how to draw them from A through L. Start out with a pencil drawing of the letter to make sure it looks how you want it, as you can always erase any mistakes. Then, using a black marker pen, trace over the pencil lines of the letter, then using a gray marker, fill in the 3D depth of the letter, leaving the face of the letter clear. This gives a nice 'cartoon' like effect, which looks great. Watch the second video to lea...
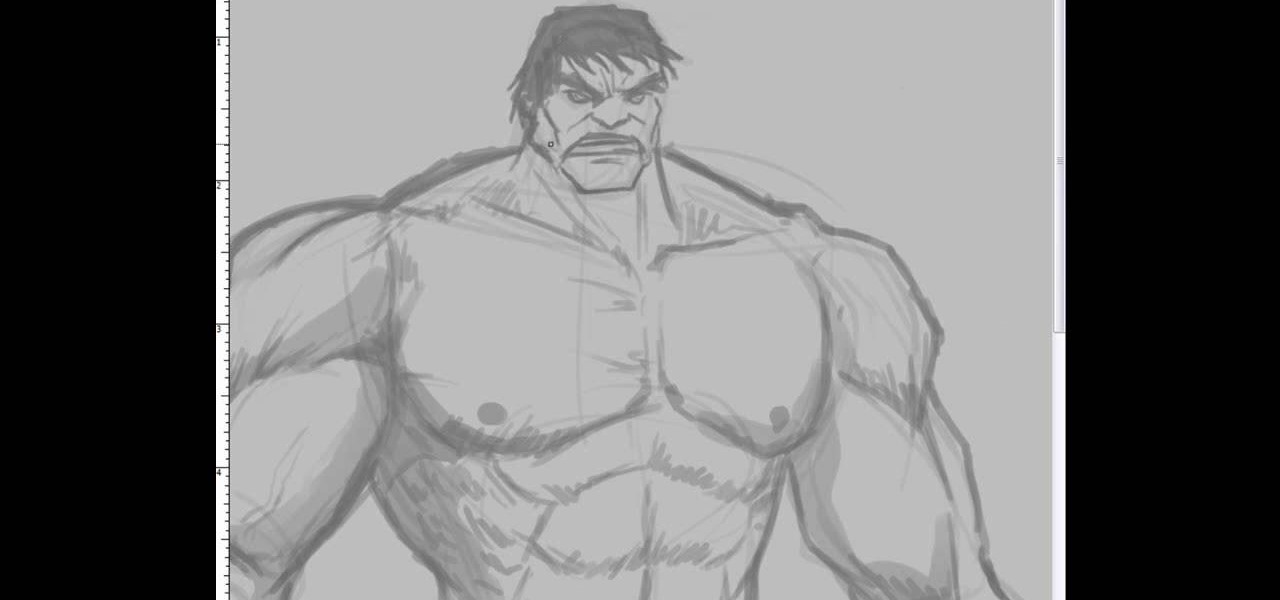
How To: Draw the Incredible Hulk
This video illustrate us how to draw the incredible hulk. Here are the following steps:Step 1: First of all take a sheet of paper, pencil and pencil color.Step 2: Now draw a square with round edges representing the face of the hulk. Within the face draw eyes and a big mouth and hairy eyebrows.Step 3: Now from the bottom of the circle draw an oval with wavy structure on it showing the six-pack abs of the hulk.Step 4: Now from the down side of the abdomen extend two legs with muscular legs and ...

How To: Draw a dead fox
You need a pen and a white sheet of paper. First of all start by drawing the outline of the head of the fox. Now you have to draw the outline of the grass on which the fox head is resting. Make many cross lines inside the grass outline to indicate grass. Now draw the neck and the ear of the fox. Also draw the grass surrounding the head of the fox. Now sketch the body line of the fox. Make cross lines on the body of the fox. Draw the front legs of the fox. Draw the grass outside the fox’s body...

How To: Draw Fierce Deity Link
Basic bust drawing : Starting with the standard ball and crossed lines for the face. The artist fleshes out the chin before moving onto the eyes, giving them the general feel of the face. The nose and mouth follow suite. The tribal marking on the characters face are added next and shaded darkly.

How To: Build your own set of graffiti lettering
Drawing graffiti letters can be done in hundreds of different ways, but drawing on graph paper helps the letters stay to scale, and using a brush pen creates a flared effect. Draw a few different types of graffiti letters with a demonstration from an experienced artist and art supply store employee in this free video on drawing. This video will demonstrate exactly how to build your own set of graffiti lettering. Build your own set of graffiti lettering.
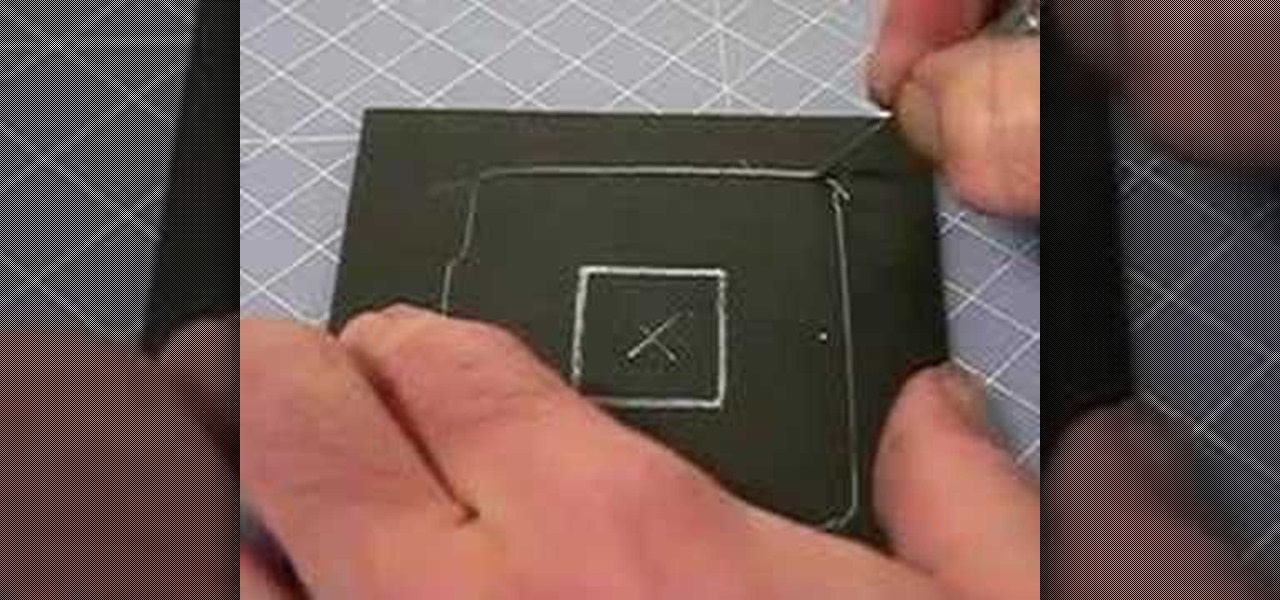
How To: Convert a polaroid super shooter into a pinhole camera
Watch this two part video series to learn how to convert a polaroid super shooter or colorpack camera into a pinhole camera. This video demonstrates how to strip the camera down and make a tripod mount. This is for the 3.25x4.25 pack film cameras: Polaroid 667, 672, 664, 690 and Fuji film FP-100, FP-3000 instant films. The 80 series/square shooters will not work. To determine if your camera will work, measure lengthwise across the back. 17 cm will work, 15 cm will not.
News: Move Over, Avatar. I'd Rather Stare at Supermodels in 3D
Fashion Photography goes 3D. And why not? I'm digging it. By Brazilian photographer Jacques Dequeker for the Ellus jeans campaign.
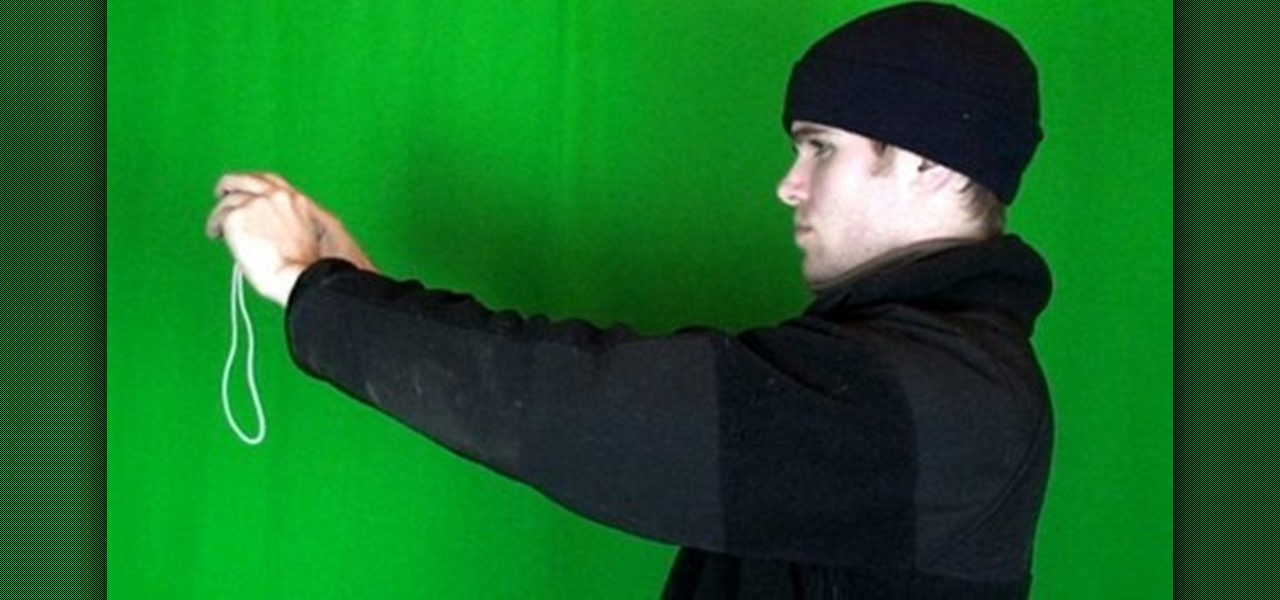
How To: Take a surreal photo of yourself for your profile pic
Take awesome myspace/facebook profile pics, follow this short guide to taking photos that look like they've been photoshopped without even touching the photo itself.
How To: Draw realistic looking people from stick figures
You see people every day, but for some reason drawing them is always so difficult. Have a look at this tutorial for tips on how to draw very easy people. This video is meant for beginners and will show you how to turn a simple stick figure into a lifelike drawing of a person.
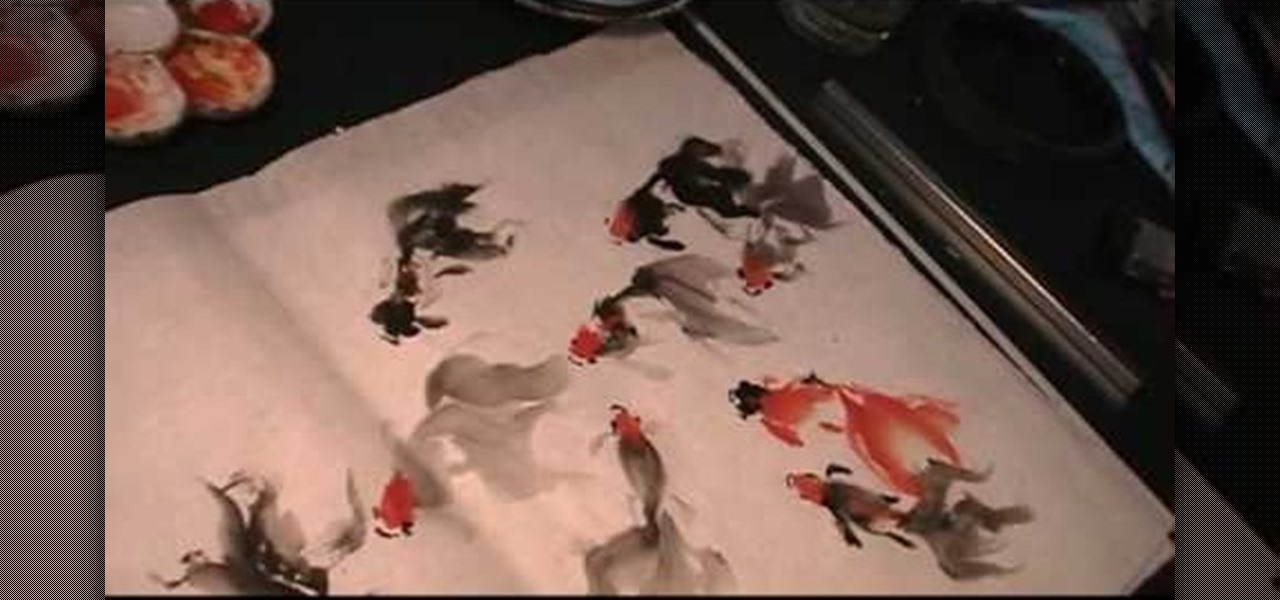
How To: Draw nine goldfish in free style
In this video, artist Henry Li, shows you how to draw nine goldfish in a free hand, loose style. He demonstrates proper hand placement, and technique in order to achieve a fluid motion to the piece. Nine goldfish is a good omen for Chinese, it suggest best fortune. Watch the magic happen as he shows you exactly how to achieve this excellent work of art.
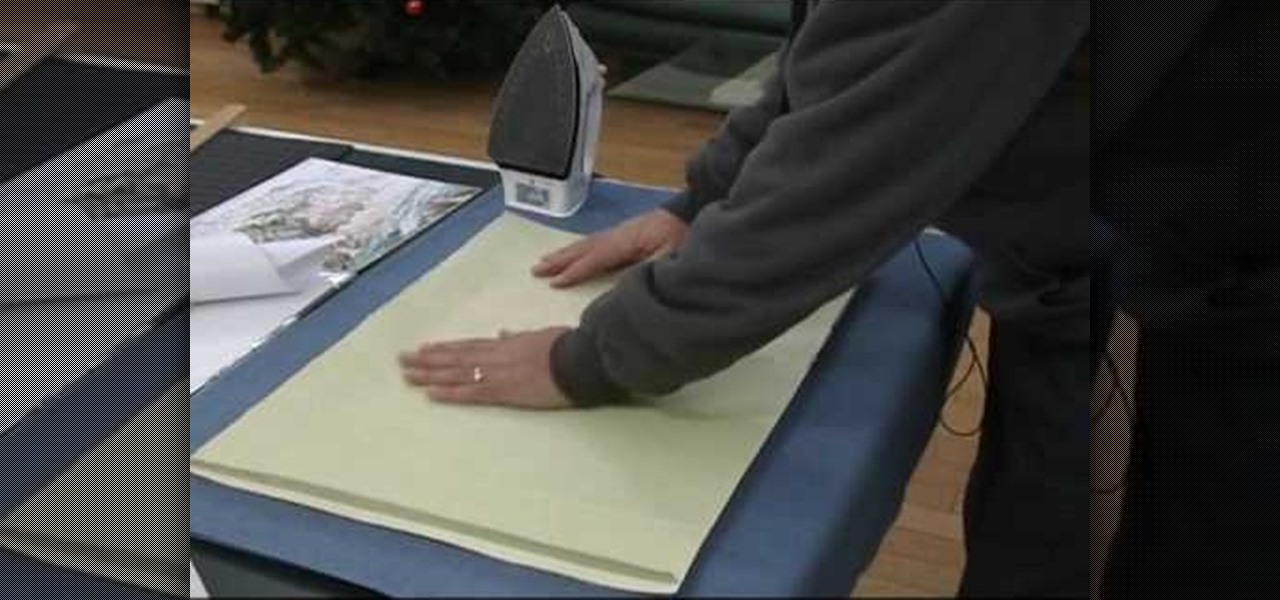
How To: Make rice paper yourself for watercolor painting
In this two part video artist, Henry Li, shows you how to make rice paper shikishi board yourself for watercolor painting. You'll learn and quick and easy way to create your own material to eventually paint with watercolor. This is a great tutorial for all artist maybe looking to experiment with watercolors.
How To: Transfer a painting done on rice paper to silicone
This video shows you how to dry-mount a painting done on rice paper with silicone release paper. This method is to transfer the silicon adhesive film to the backing material first, then take the release paper off and mount the painting on. Artist, Henry Li gives you everything you need to know to properly mount your beautiful painting on the silicone to transfer as you please.
How To: Turn old bedsheets into shopping totes
Paper or plastic is a thing of the past; both options are equally terrible for the environment. With this tutorial, learn how to turn your old bed sheets into funky grocery tote bags. You will be the envy of everyone at the store with these adorable, homemade bags.
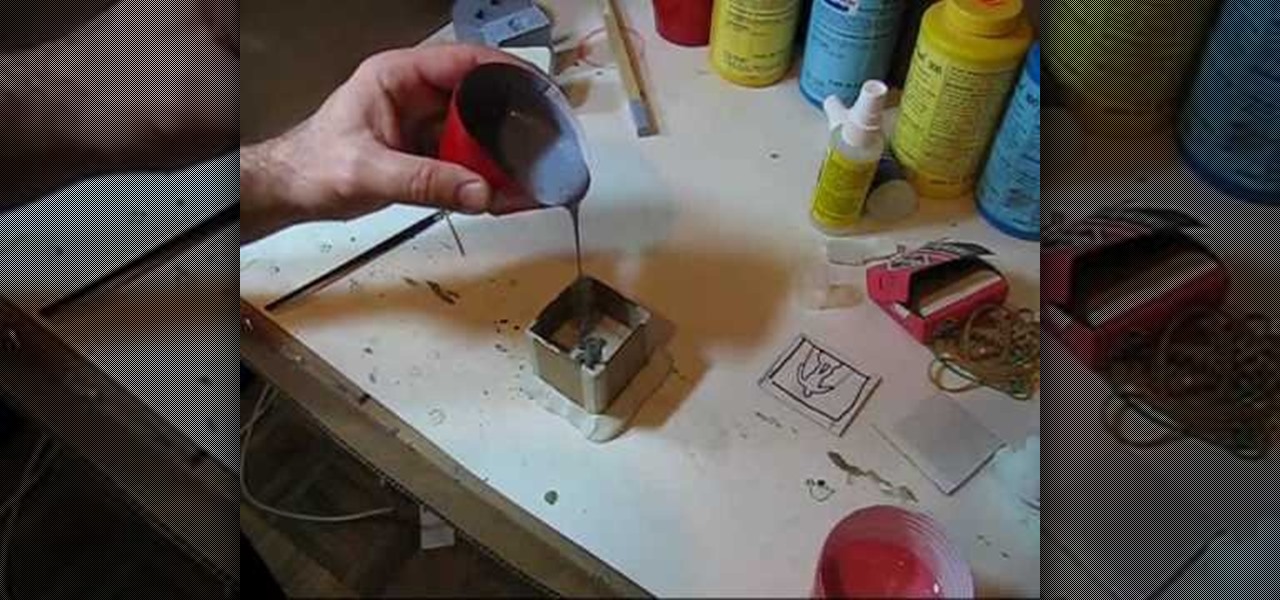
How To: Mold fantasy miniature characters
In this two part video you'll learn the complete process for casting duplicates of a miniature figure. How to make the rubber mold in two parts and how to cast the miniature duplicate. A two part mold is the kind of rubber mold you make for complex minis like figures, warriors, wizards, dwarves etc. You'll learn everything you need, and exactly what to do to duplicate your own miniature fantasy characters.

How To: Draw a realistic looking dragon
Dragons are very popular storybook characters, especially with the release of "How to Train your Dragon" in movie theatres. Check out this tutorial and learn how to draw your very own fire-breathing buddy!
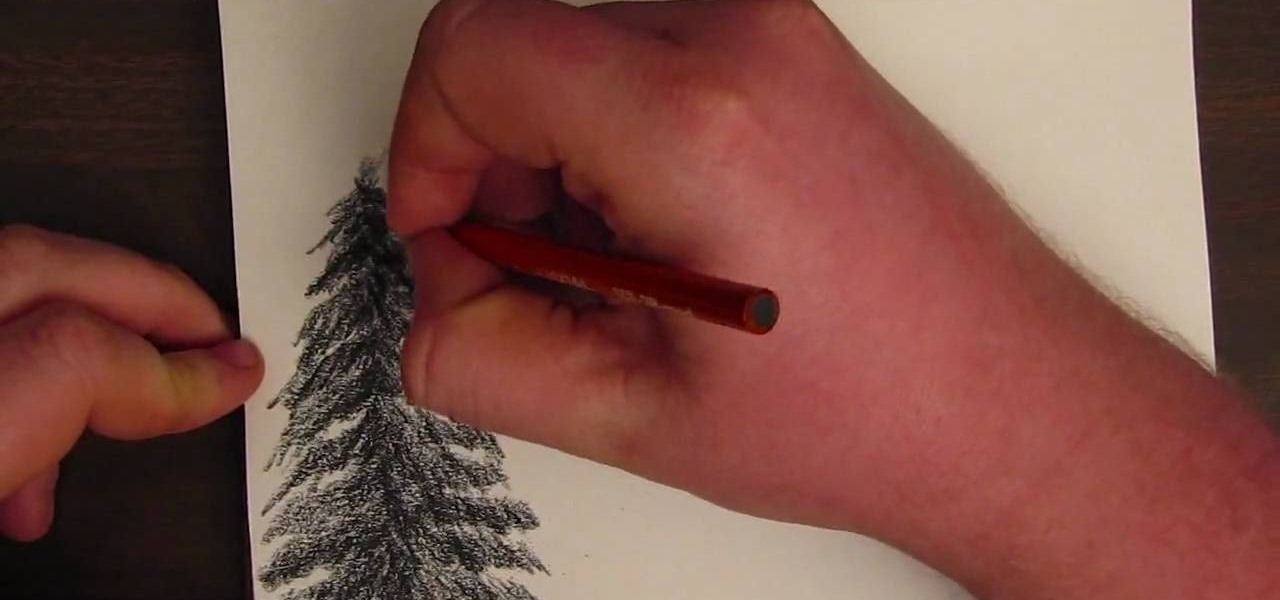
How To: Draw trees using a charcoal pencil
A pine tree is an excellent addition to landscape renderings. This video demonstrates how to draw stylized pine trees using a basic charcoal pencil. First start with the frame or trunk of the tree, then add slight branches. Using your charcoal pencil, shade in the branches with careful strokes to represent pine needles.
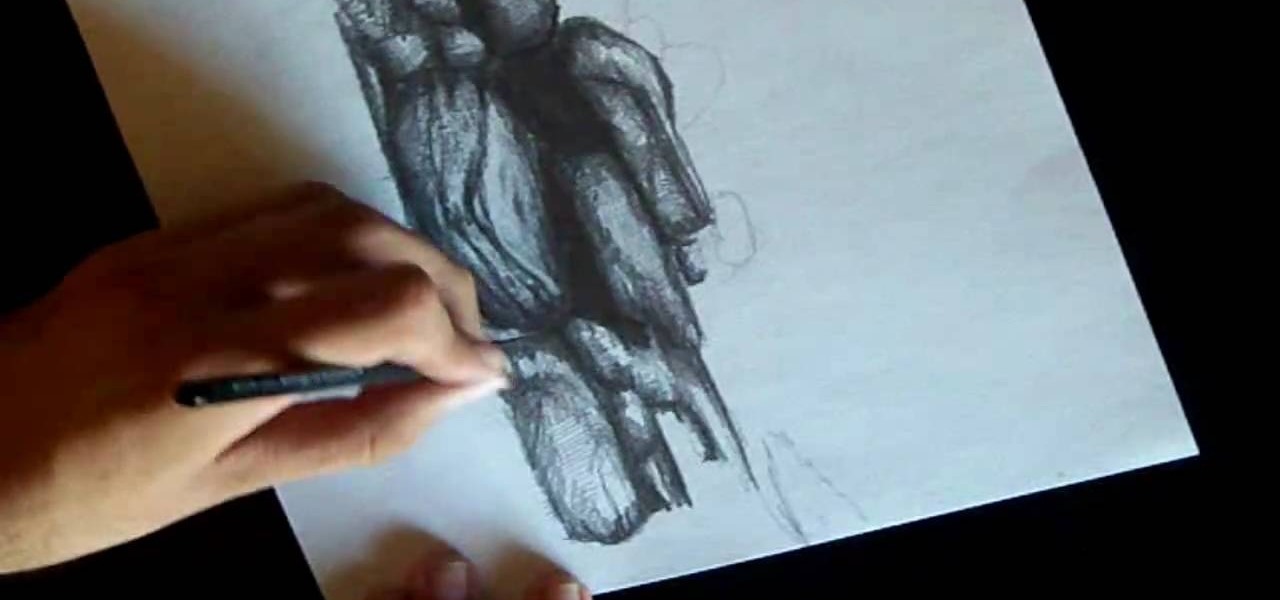
How To: Draw a moonlit waterfall with a graphite pencil
This video tutorial shows how to draw a serene waterfall setting using graphite pencil. First start by collecting reference images for the seperate components of the landscape. Next add in the rocks and erase the areas where water will be. Then draw the sky making sure to leave an area open for the moon. Finally add the trees and shade in the water to create a liquid effect.
How To: Draw realistic looking clothing
After you start drawing people, you will undoubtedly want to dress them. Drawing clothing is all about knowing how clothes fall, fold and wrinkle. Check out this tutorial, and you will be drawing realistic folks in no time.
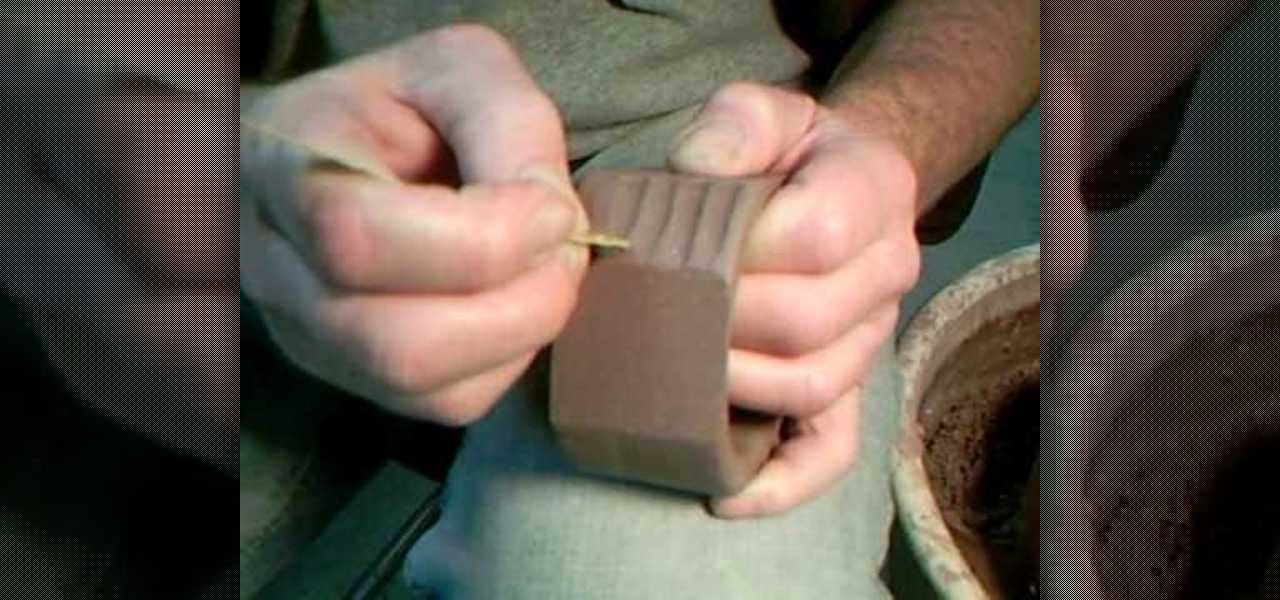
How To: Have two faceting techniques with Simon Leach
In this video, ceramic artist Simon Leach demonstrates and shows you two different faceting techniques, when potting. The first technique is complete shaving to add more dimension to, your ashtray or small bowl. The second is a half way shave, for a different yet fun look to your pots.
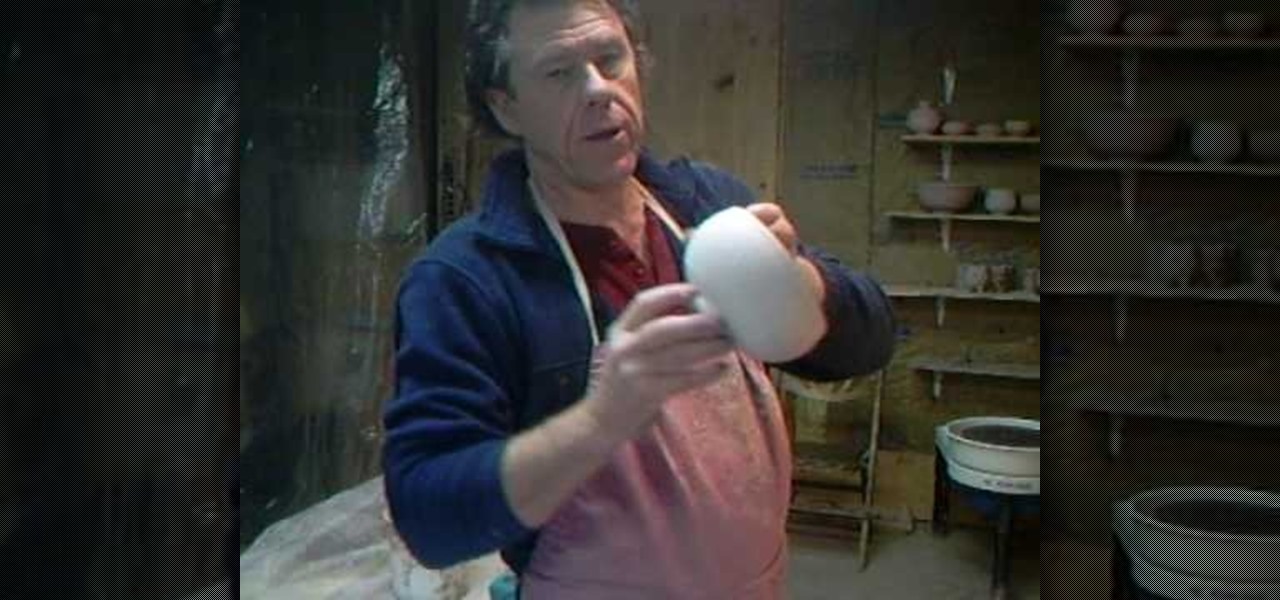
How To: Make ceramic coggles (small wheels) with Simon Leach
This excellent three part series takes you from beginning to end on how to make ceramic coggles, or small wheels. You'll learn how to properly spin your glan, glaze your result, as well as how to properly light your kiln. This series is great for any ceramic student, at any level.

How To: Wheat paste, poster, or flypost
While it's debatable that this video will teach you to subvert consumerism and make people think for themselves, it is a handy guide to learn how to flypost, wheat paste, put up posters, or whatever you want to call it. Get your message, be it political, artistic, or anything else worth sharing with others, by pasting posters out on the town where people will see them and maybe even think about them. These guys might be anarchists, but you don't need to be. Watch this video urban art tutorial...
How To: Cut flat laminated glass
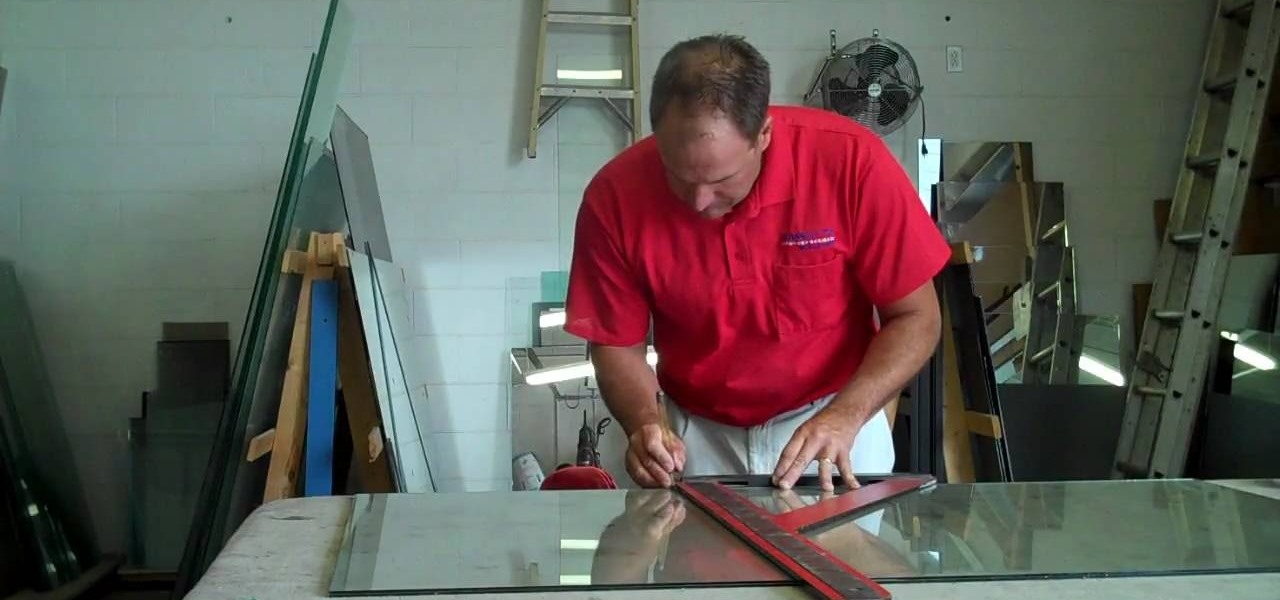
In this video tutorial, viewers learn how to cut laminated glass. Laminated glass is a safety glass that has two pieces of glass with a plastic foam in between. The materials required to cut laminated glass are: an oil glass cutter, L-square, razor blade and an optional propane torch. Begin by marking the glass to your preferred measurement. Then use the L-square to line up the marking. Then use the oil glass cutter to cut down the marked line. Flip it over do the same on the other side. Then...
How To: Draw a cartoon vs. a realistic manga face
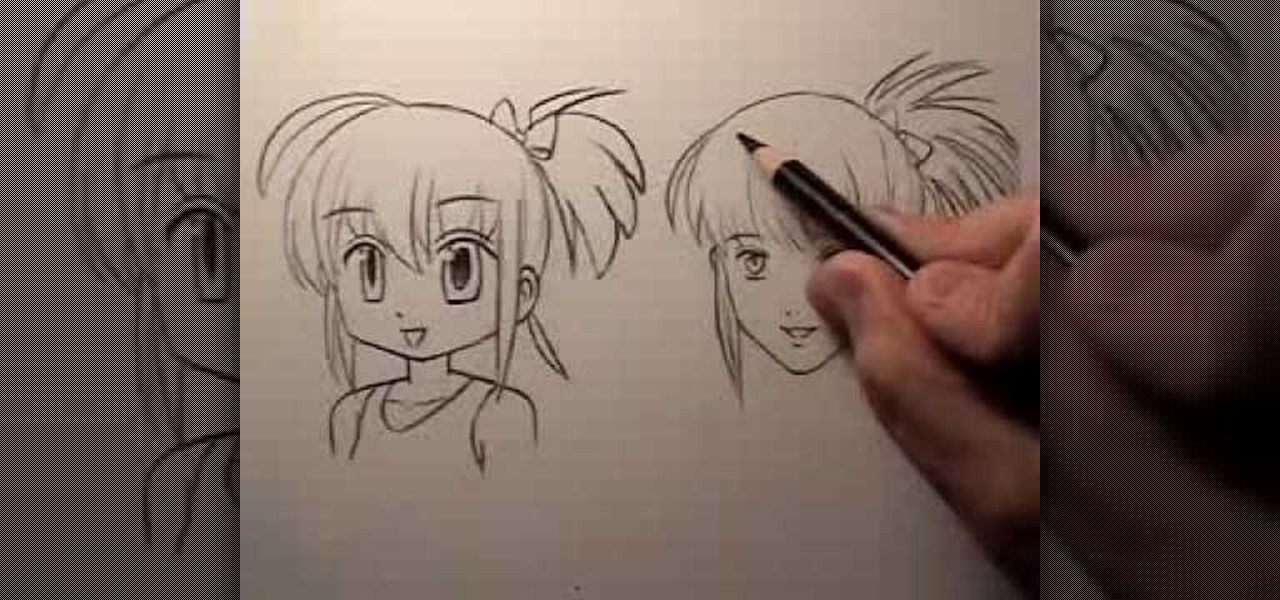
In this video you'll learn the difference of drawing a cartoon like and realistic manga face. Here, you'll be able to learn the difference of a cartoony face versus a realistic. Ultimately, it's up to you, the artist on what look you want your manga to have.
How To: Paint Chinese bamboo on xuan paper
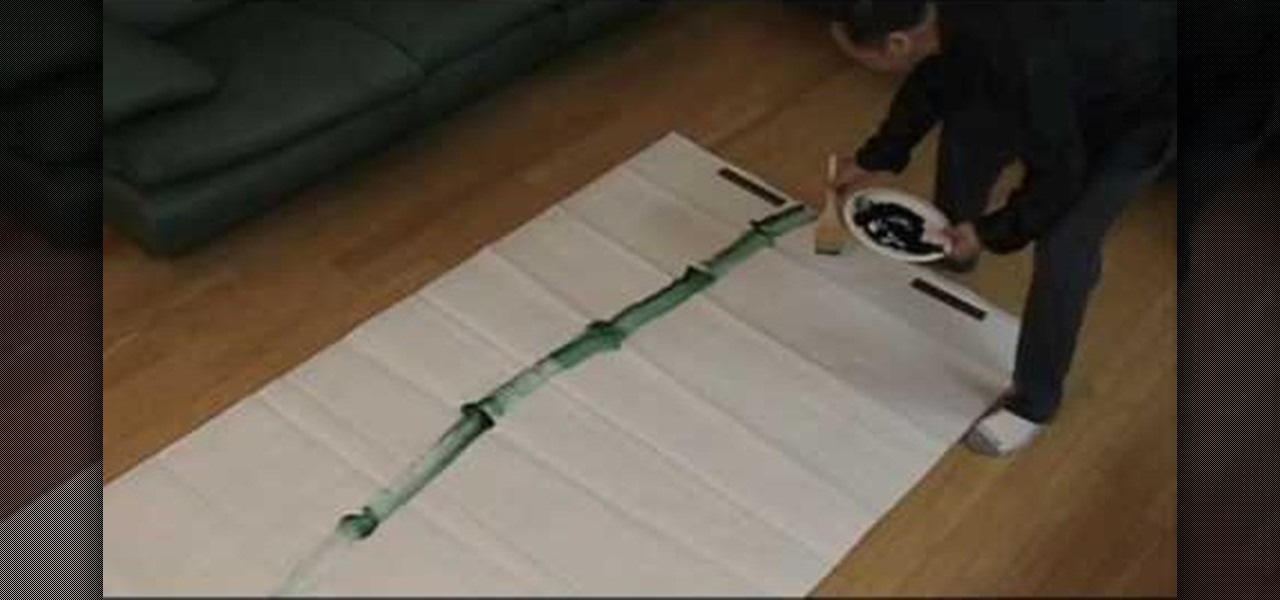
In this video artist Henry Li demonstrates exactly how to paint beautiful Chinese bamboo on xuan paper. Make sure to grab your ink and brushes to see the magic happen and this wonderful artist paints this wonderful piece. Perfect to practice your skills or paint a excellent piece for everyone to enjoy on your wall.
How To: Make a mosaic for your home or garden
Mosaics are a cool type of art. You can use mosaics to liven up your home or garden and they are cheap and fun to make. Check out this video for tips and instructions for making mosaics.

News: Beautifully Carved Pencils and Baseball Bats
Amazing sculptures by Peter Schuyff. Don't know about you, but they've inspired me to check out some wood carving tutorials.

How To: Properly set and light a green screen backdrop
Setting up a chroma key backdrop contains various steps/ the support system and muslin consists of various parts like the support stands, shrink lamps and the muslin. Place the two stands 12 feet apart and attach 4 clamps to vertical section of each stand. Snap the crossbars together in a proper way and insert the muslin into the respective end of the crossbar and put the crossbar on the stands with the green end of the muslin facing out. The muslin should be attached using the clamp. And ens...


