Active Fine Art Posts

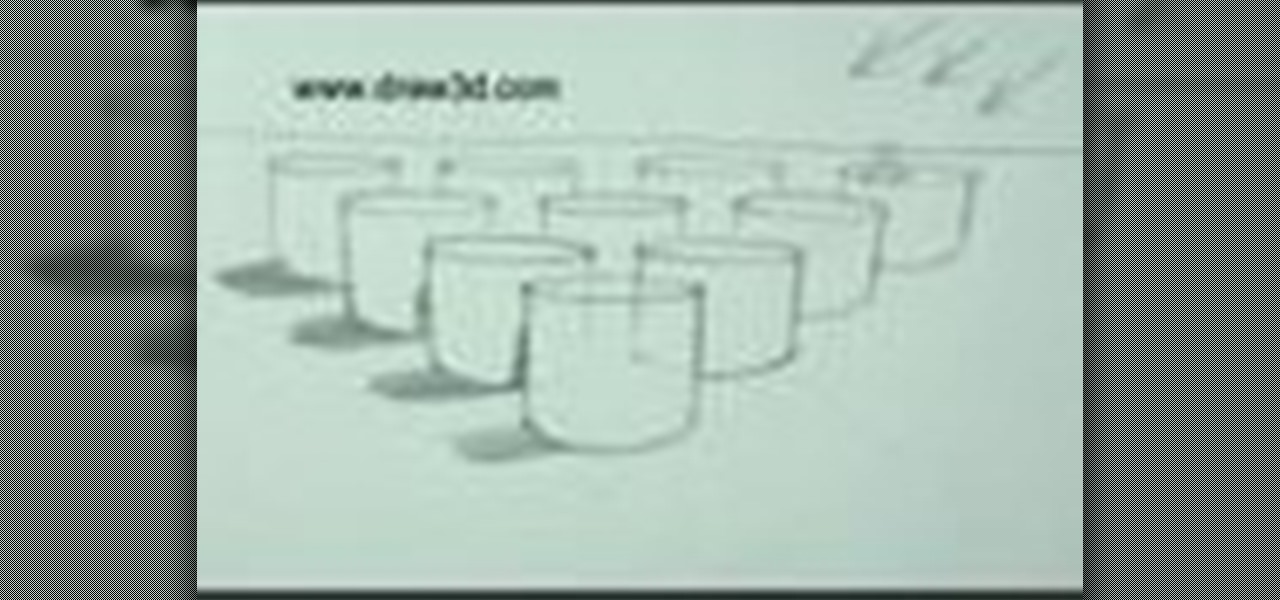
How To: Draw multiple 3D cylinders
Mark Kistler teaches you how to draw 3-D cylinders. Mark's how-to draw video teaches you how to draw in only 8 minutes a day. Even if you don't know anything about drawing, you'll learn with Mark's easy step-by-step instructions and guidance. All you need to get started is a pencil and paper, and you can follow along with this video. Mark shows you how a cylinder is drawn starting with just two dots and a "squished circle." He then takes you through the entire "sketching phase" of drawing cyl...
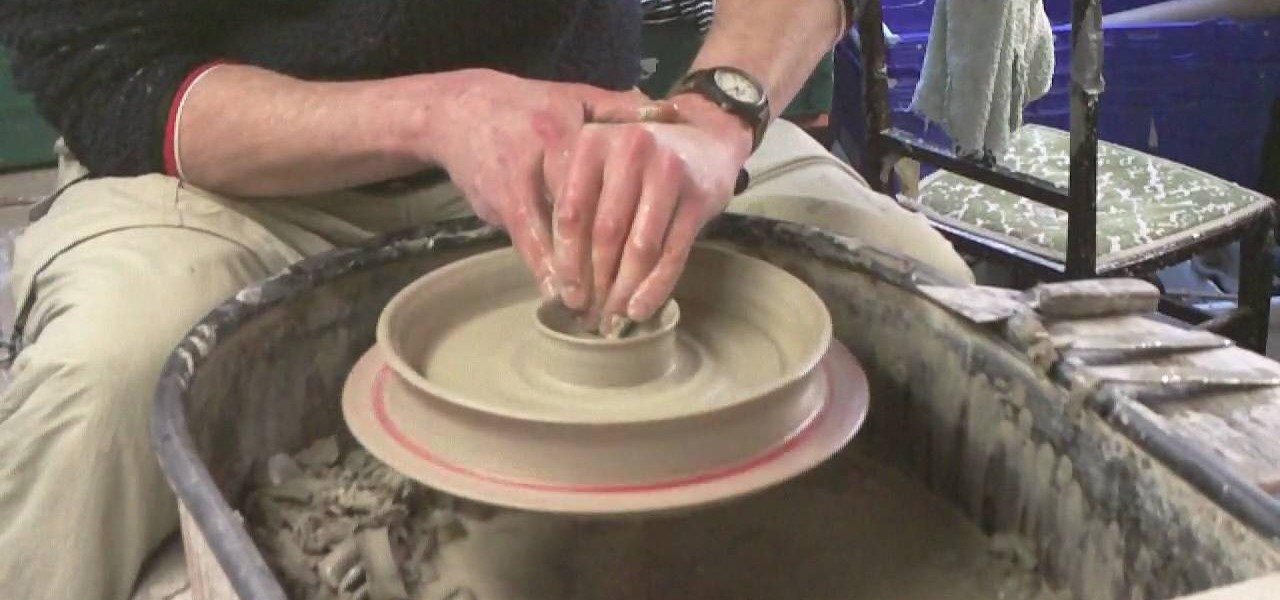
How To: Throw a chip and dip pottery plate
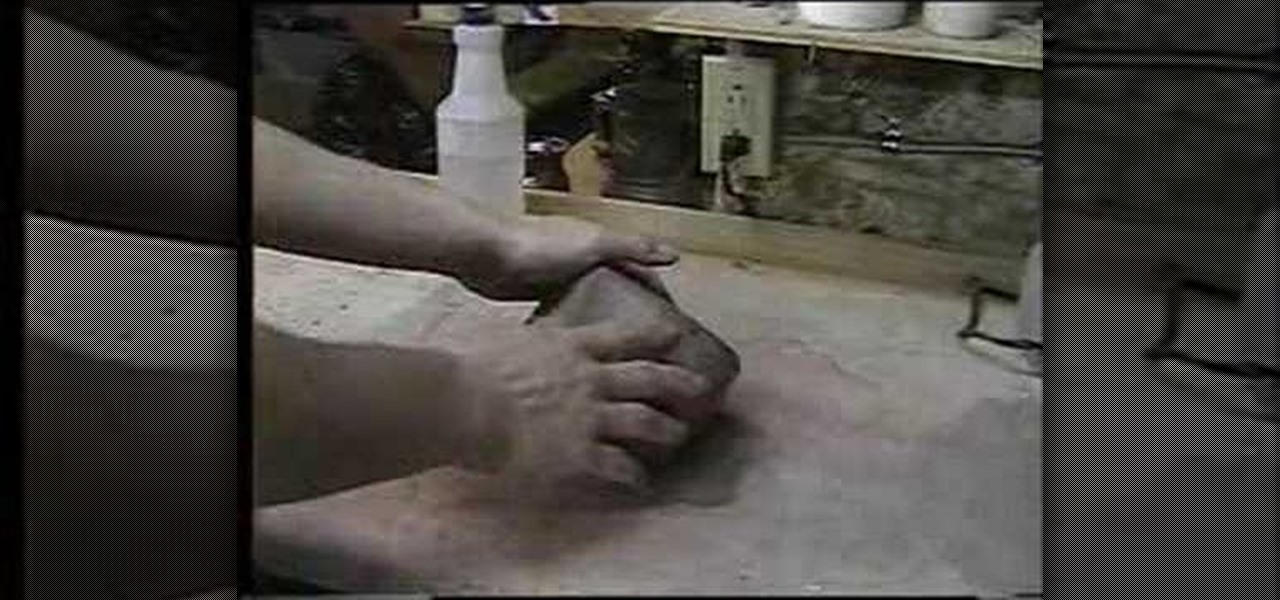
Ingelton Pottery demonstrates how to throw a chip and dip pottery plate. First, well a ball of clay and put it on a pottery wheel. Use your hands and ample amounts of water to depress the sides of the clay forming an indented rim with a raised center. Use your thumb to define the center hub. Create a thin side to the plate. Wet your hands and press down on the center hub, creating a depression. The plate should now have a two bowls with one sitting inside of the other one. Use a blade to scra...
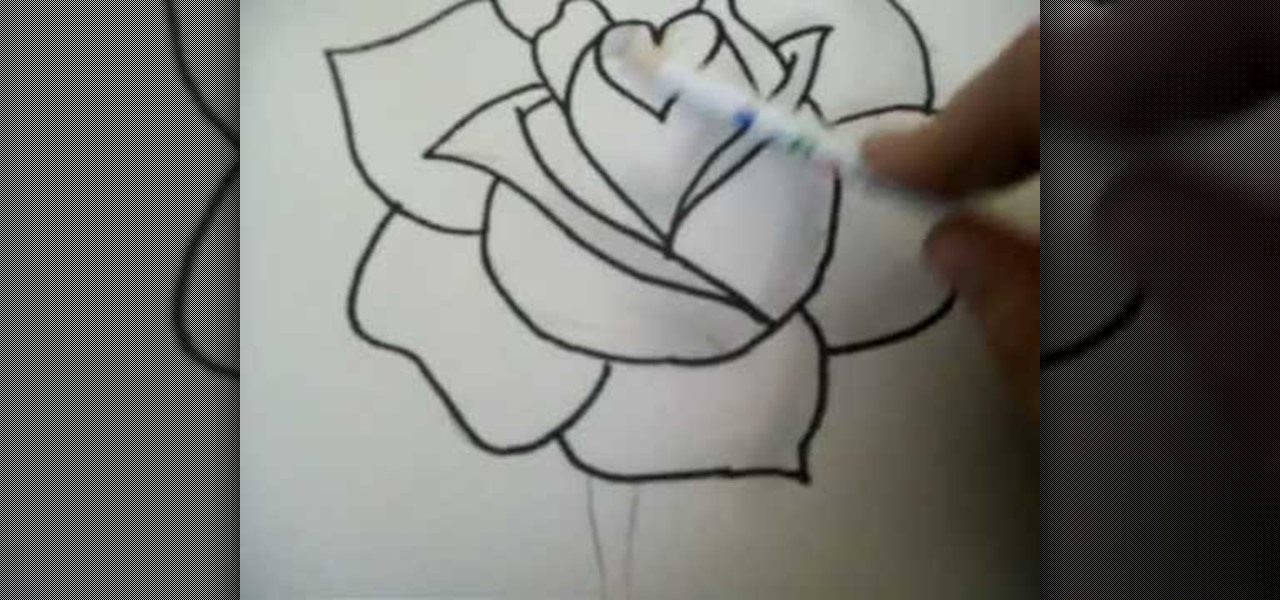
How To: Draw a rose step by step with pencil
In this video you will see how to sketch a picture of a rose using a pencil. You will start from the but and work your way outward adding petals. Each line is shown slowly so that it is easy to recreate what is being drawn. This is a basic rose that you can vary to your own esthetic because just like no two flowers re the same neither are two flower sketches.

How To: Do a simple drawing of Shy Guy from Mario Brothers
In this how-to video, you will learn how to dry a simple version of Shy Guy from Mario Brothers. You can use a pen or pencil on paper, or even software such as Illustrator or Photoshop. First, start off by making a circle. This will be the face of the character. Draw in the two elongated ovals for the eyes and shade in with black. Next, draw a small black circle for the mouth. Now, draw the hood and robe of the character. The arms and feet are next. Draw the belt and buckle of the character a...
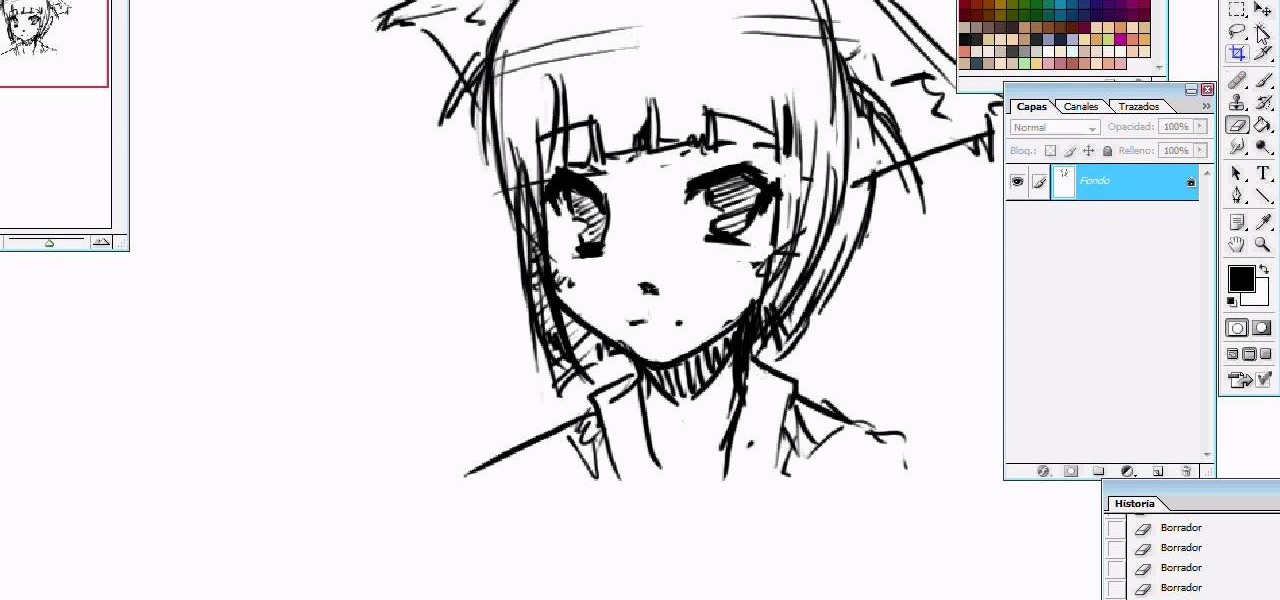
How To: Draw a manga fox girl
co23ghttoe is here to show you how to draw a manga fox girl. You first start with a circle and two lines to line up the eyes on the face. The eyes can come out looking pretty rough but with the proper use of eyebrows, it can make a "cuter" expression. You then outline the bottom half of the face, like the cheeks and the chin. Follow up with the hair by dashing your lines down her face. Finish up with her neck and shoulder line. Now is time to add the fox ears. Erase some of her head as demons...

How To: Draw a graffiti character
This video illustrate us how to draw a graffiti character. Here are the following steps:Step 1: First of all take a paper and start drawing a semi circle and then from this semi circle draw another semicircle bigger then the previous one.Step 2: Now draw two oval within the semicircle and one small square showing the face and the belly of the character.Step 3:Now draw two lines sideways to the character and draw a small circle on these lines showing a tree.Step 4: Now write free hand letters ...

How To: Bleach your jeans for a stylish faded look
In this tutorial, Tom Howard shows us how to bleach jeans the proper way. This is far better than just placing your clothes in the washing machine the normal way. To do this the correct way, put your water level low (for one item) in your washing machine. Now, make sure the temperature is around 50 degrees give or take 5 degrees. Now, add 1/2 c of chlorine, adding more if you want your jeans to be lighter. Now, leave this is to soak for about 20 minutes and wash your jeans for 30 minutes. Mak...
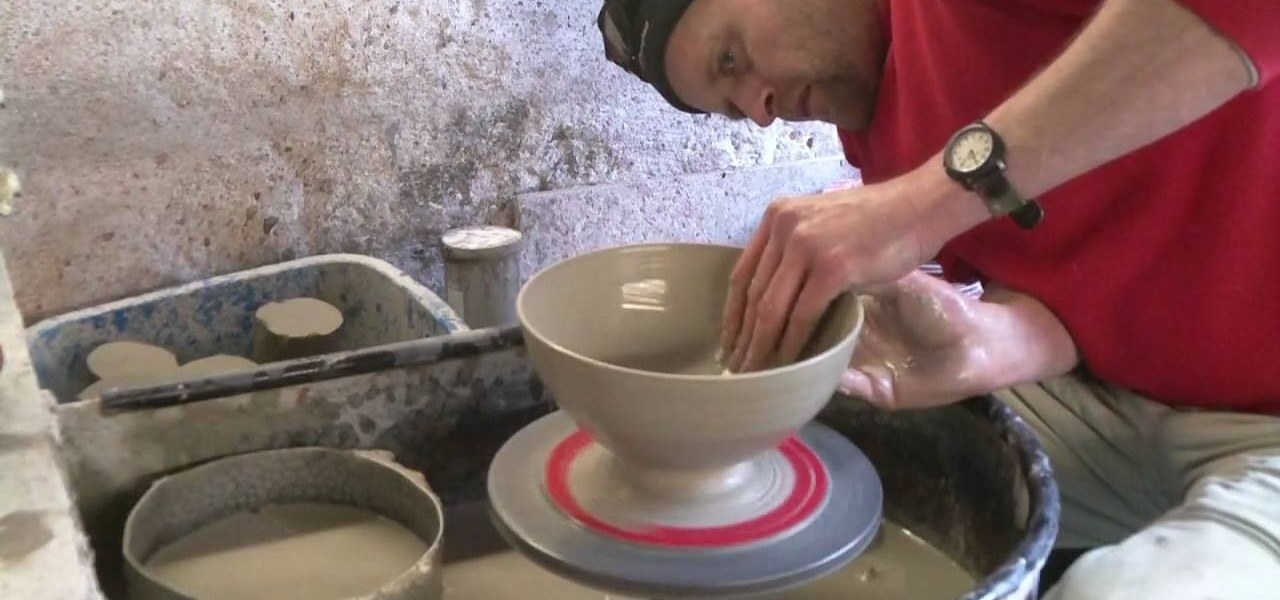
How To: Throw a clay pottery fruit bowl
To throw a clay pottery fruit bowl, place a lump of clay on the potter's wheel and wet it with water. Use the foot pedals to spin the wheel while shaping the clay with your hands. Draw the clay up and then use your thumbs to create an indentation in the center of the clay. Apply slight pressure and the clay should assume a bowl form. Use water as necessary to create the right clay consistency. Draw the clay up to make the bowl walls thin. While shaping the bowl walls with one hand, create a r...
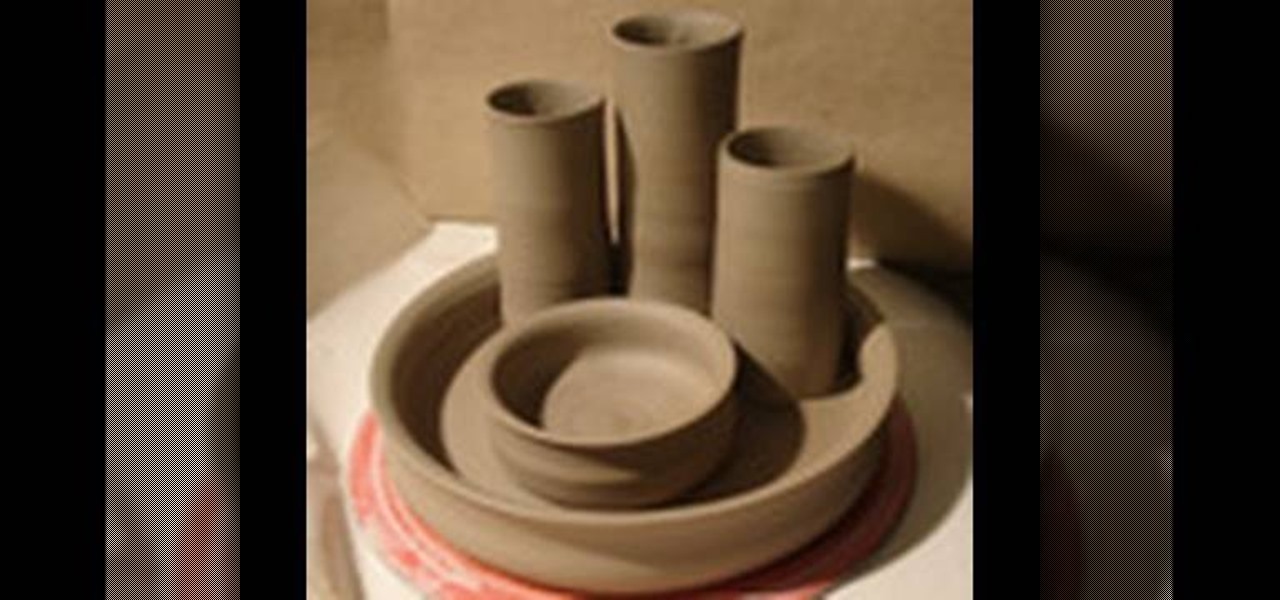
How To: Make a desk organizer out of clay
This video illustrate us how to make a desk organizer out of clay. Here are the following steps:Step 1: First of all take clay in different colors and now shape them round.Step 2: Now take one ball and press it into a flat sheet.step 3: Now take another ball and shape them in cylinders.Step 3: Now place these cylinders on the flat sheet keeping space between them.Step 4: Now take two balls and make small vessel out of these two balls .Step 5: Place these vessels between the cylinders, these v...
How To: Become a better artist & stay motivated
In this video hosted by I Paint Girls, the idea of motivation and becoming a better artist is discussed. The artist's old work is compared to his new work, as a means to show how practice makes... not perfect, but better. Learn how to become a better artist and get motivated with help and tips given in this video.

How To: Draw the letter "A" as a 3D block letter
In this tutorial the viewer is taught how to make a 3D letter "A". You will need a piece of paper and two different colors so the 3D letter is more dramatic. The directions from the video state to draw the letter "A" just as you would normally. Continue by coloring the "A" to make it a solid letter. Next you need to make lines from the "A" to make it appear as if its popping off the page. These lines should be parallel from the "A" this way it comes across as a 3D letter. As you connect the l...

How To: Draw Luigi on a snowboard
The video demonstrates how to sketch the cartoon character of Luigi on a snow board. First the character is drawn with a soft pencil using faint lines. The action of the character on the snow board are detailed ,even the minute details like the hand ,legs, eyes and its expression are slowly etched out. Once the faint sketch is complete the features are highlighted with a dark pencil or sketch pen. A depth to the sketch is given by shading the parts and giving it third dimensional feeling. A d...

How To: Draw realistic looking people with Michael Weisner
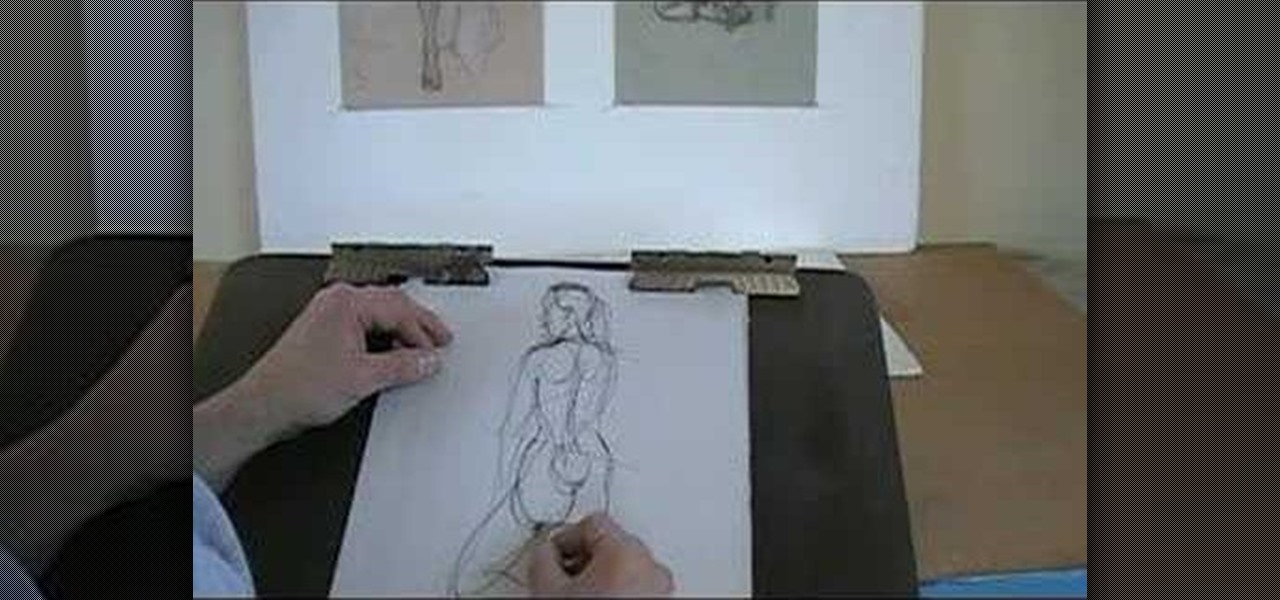
Illustrator Michael Weisner takes us through the steps on how to draw realistic people. Needed:PaperDrawing Utensils

How To: Draw an eagle with an American flag
Michael Weisner, a 2D illustrator and graphic designer teaches us how to draw a majestic Eagle on a waving American flag. To start, you should box in the area for the flag. It should be roughly centered on the page, add a bit of a wave to box to simulate the wind on a flag. Complete the rough outline with the flag pole on the left side. Now you can begin with the Eagle. Use an oval to draw the chest of the Eagle and allow you to easily place the wings and other important features. You should ...
How To: Make a nuno felt purse
This video illustrates the method to Make a nuno felt purse. You need colored paper, a piece of cloth and a pair of scissors to make it. This process is comprised of the following steps -Step 1Cut a oval shaped figure from the sheet of colored paper. Make a crease in the middle and fold the paper.Step 2Cover the paper with the cloth piece. Stitch the end of the piece of cloth and cut the cloth in a proper manner.Step 3Make the oval shaped figure into a rectangular figure. Add some nuno paste ...

How To: Use a pugmill in pottery throwing
This video shows the method to use a puggmill in pottery throwing. Take the two packets of clay and take the clay out on the table. Take a thread and cut the two pieces of clay in the middle to form four bricks. Put the bricks in the puggmill one by one and wait for it to come out. The pugged clay comes out from the bottom in a cylindrical shape. Take out the four cylinders from the four bricks of clay. After this, put the cylinders in the pugmill again so that they are pugged thoroughly. Put...
How To: Tie dye the spider design like a pro
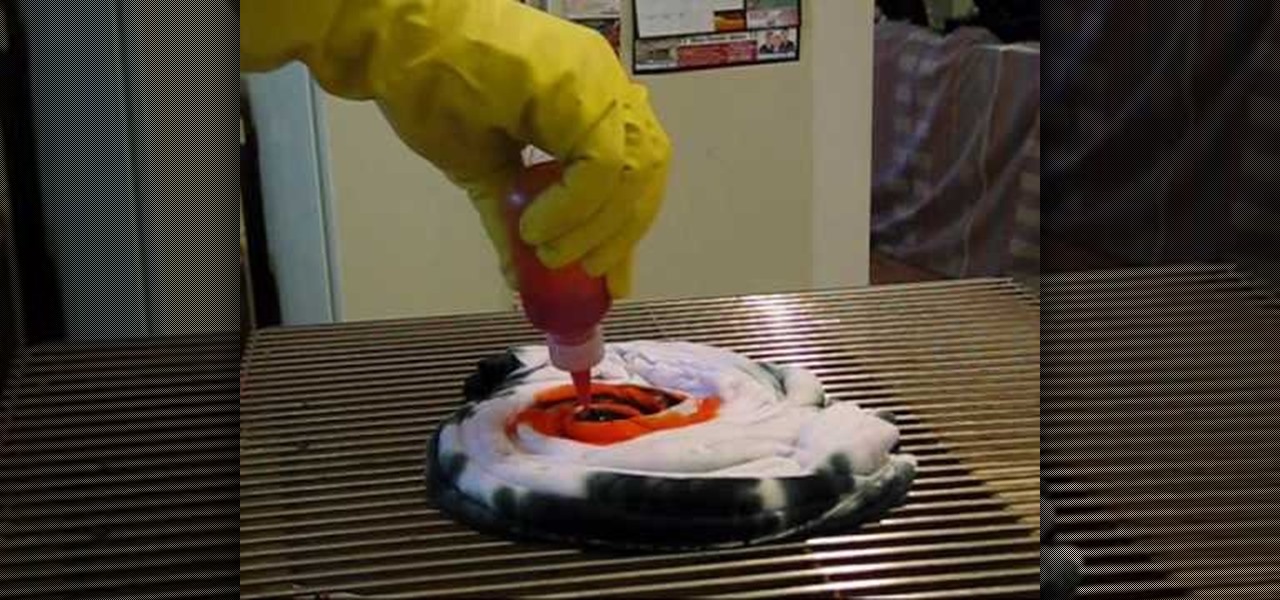
Tie dying a spider design on a t-shirt starts by folding the t-shirt in half vertically. Between one quarter and one half of the way down the shirt grab a piece of the shirt and spin around the table to create a coil of the shirt. Tie a string around the outside of the coil to make sure it stays in a disk. Set a rack on top of some type of basin that can catch liquid to work on the dyeing. Set the t-shirt coil on the clean rack. Take dye that has already been prepared in squirt tubes or syrin...

How To: Draw the letter "B" as a 3D block letter
This is a clear video showing how to easily draw a 3D letter 'B'. First of all you start by just writing the letter 'B' normally; and then you double outline all of the lines you have drawn, both inside and outside of the letter. Color it in with a block color for a 2-dimensional letter. Then its time to make it 3D! In the middle you just add lines parallel to the 2D letter, and also around the top and left sides of the shape; color this in with a darker color, and voila! You should now have ...
How To: Draw an anime fox step by step
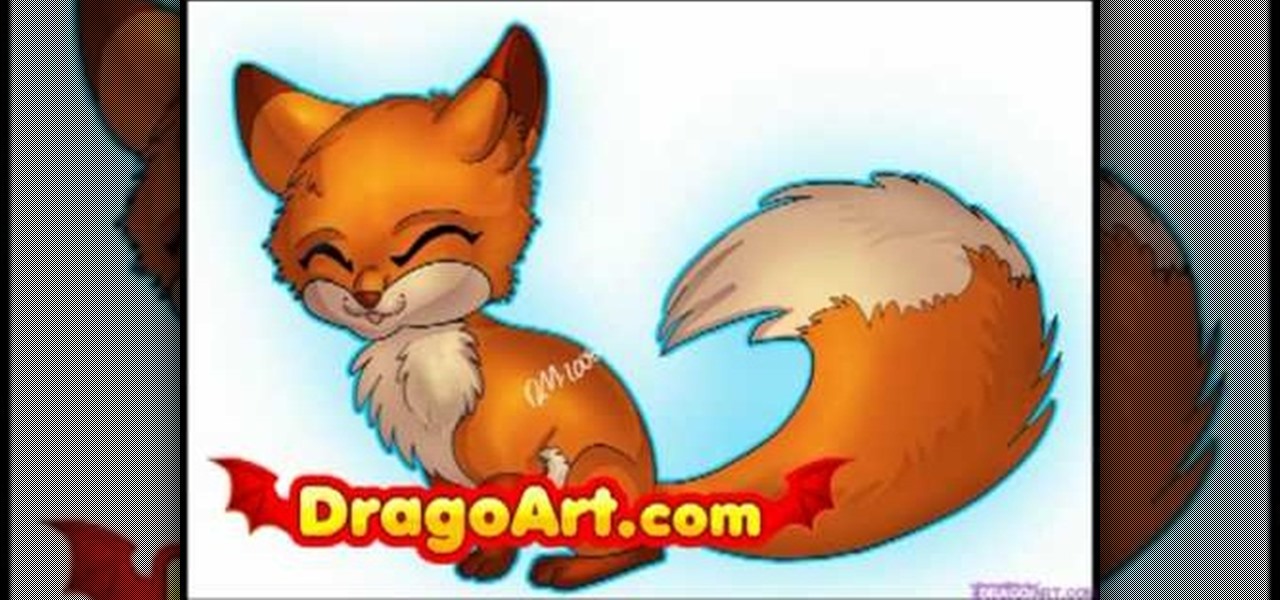
This video illustrate us how to draw an animated fox step by step. Here are the following steps:Step 1: Take a piece of paper and pencil.Step 2; Draw a small oval shape, this is the face of the fox and within this face draw two lines representing the eyes. Draw a small circle between and a bit lower then the eyes representing the mouth.Step 3: Draw the body of the fox by drawing a hands free semicircle and extend the semicircle with two very small circle on the lower side representing the leg...
How To: Draw a face with guide lines
How to draw a face with guide linesIn this video we are about to see how to draw a face with guide lines. Even though the tutorial don’t get into the full details of how to draw a face it guides us with the basics. To start with is drawing the outline of the face and the guide lines. The focus mainly is on placing the eyes, nose and lips on the right spots. The center vertical line to cut the head to two halves and horizontal line in the middle for our eyes. Draw horizontal lines for the nose...
How To: Build a light table for silkscreening and photography
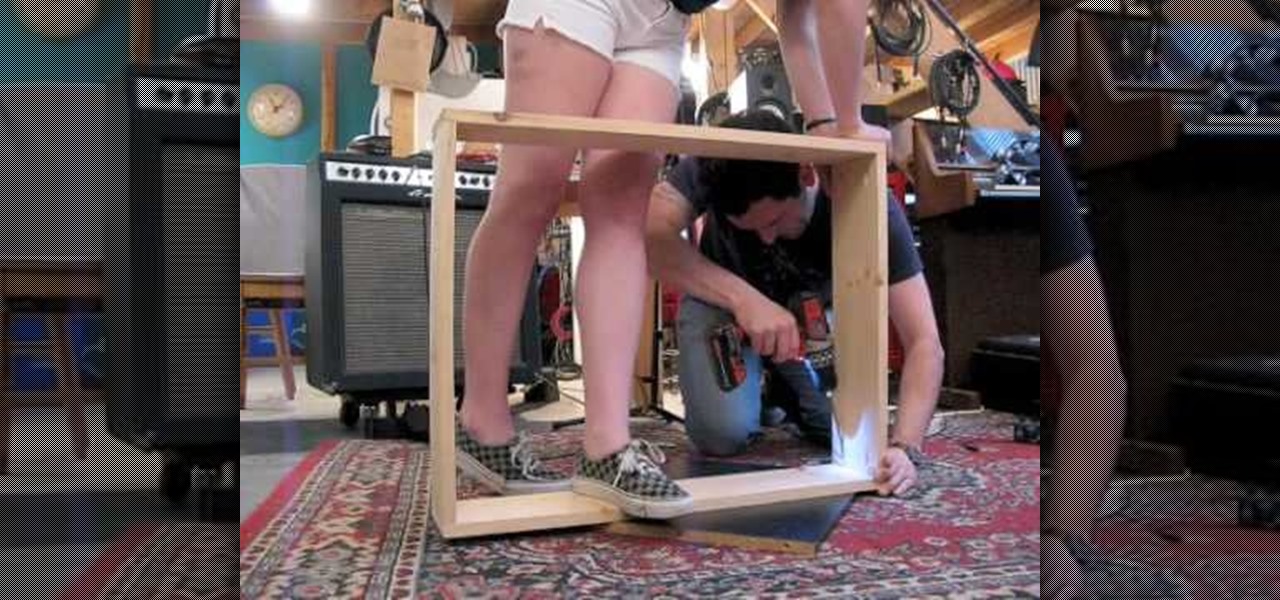
Josh Copp and Madeline Donahue show us how to build a light table from pine wood and plywood utilizing two fluorescent light fixtures as the light source inside the box. The frame of the box is fashioned out of two 1X8 planks cut into four pieces so that two sides are 30 inches and two sides are 22 3/8 inches. The base of the box is made of plywood or OSB and is 30X22 3/8. Once the pieces are cut and assembled using a pocket hole jig and wood screws, the inside of the box is painted with whit...
How To: Throw and carve a double walled pottery vase
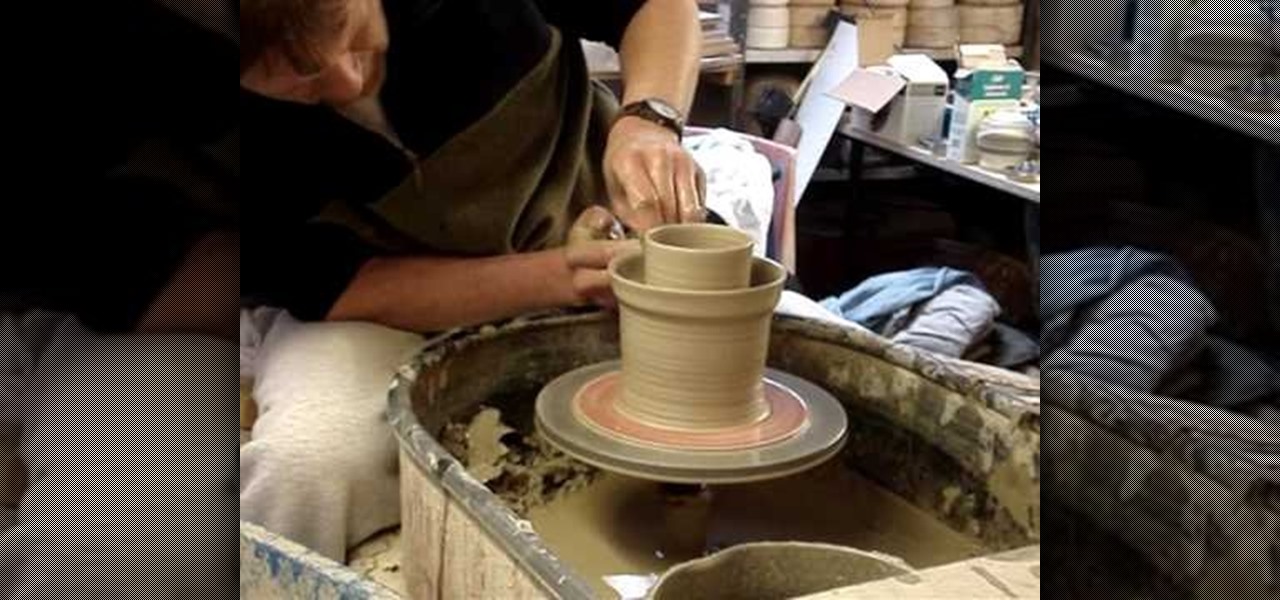
This video illustrate how to throw and carve a double walled pottery vase. Here are the following steps.Step 1: First of all take a potters wheel.Step 2: Now take clay and put it on the wheel and rotate the wheel.Step 3: Make inner and outer partition and slowly shape the inner clay into long vessel shape.Step 4: Now take the outer clay and shape it into vessel, now join the neck of this vessel to the inner vessel and shape it into a vase.Step 5: After the pot has half dried cut the outer bou...

How To: Draw Kaname Kuran from Vampire Knight
First of all you have the draw the outline sketch of the body. Draw the head, neck, shoulders and then the upper portion of the body. Now draw the long hair. You have to darken the eyes and the eyebrows. Now darken the outline of the face, hair, ears and the lips. Now draw the collar in the neck. Draw the tie below the collar. Then you have to draw the front portion of the shirt with buttons. Draw the collar of the coat and the top pocket. Now darken the outline of the cat and then draw the c...
How To: Draw the Clone Troopers from Star Wars
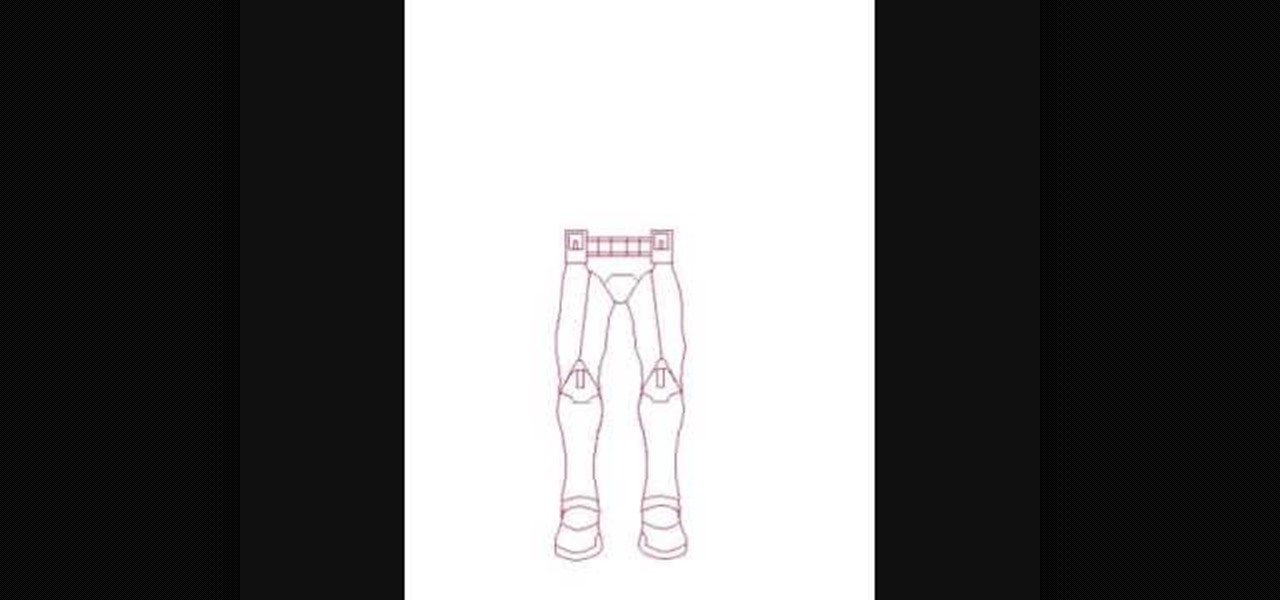
In this video, you can see how to easily draw the Storm Troopers from the Star Wars movies. Start out with the feet, which are a couple of easy circles. Then draw the lower half of the legs, with basic shapes again to form up to the knee. For the knees themselves you draw a shape somewhat resembling an animal hoof right above where you stopped before. The upper legs look somewhat like the lower half, but with a line down the middle. Add the belt and torso, then move onto the head. Finish it o...
How To: Draw Boo from Mario 64
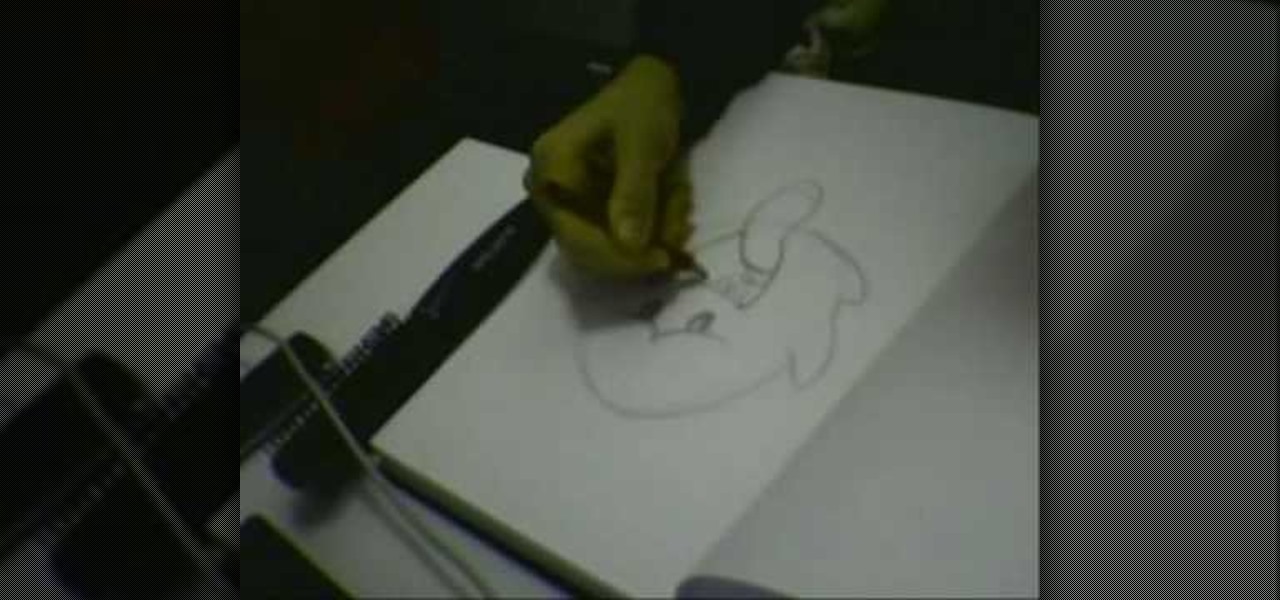
In this video he just draws a simple picture of boo. It maybe takes two or three minutes to make the sketch. First you just draw a circle roughly, and add ears to that. Next add tongue which is very long and outside of the mouth. You just have to give importance to the teeth in this drawing to make your sketch great. Next you just add teeth, which is wide. Next make the teeth highlight. Next draw two small circles like eyes and highlight it with the pencil. Next make the rough sketch into the...
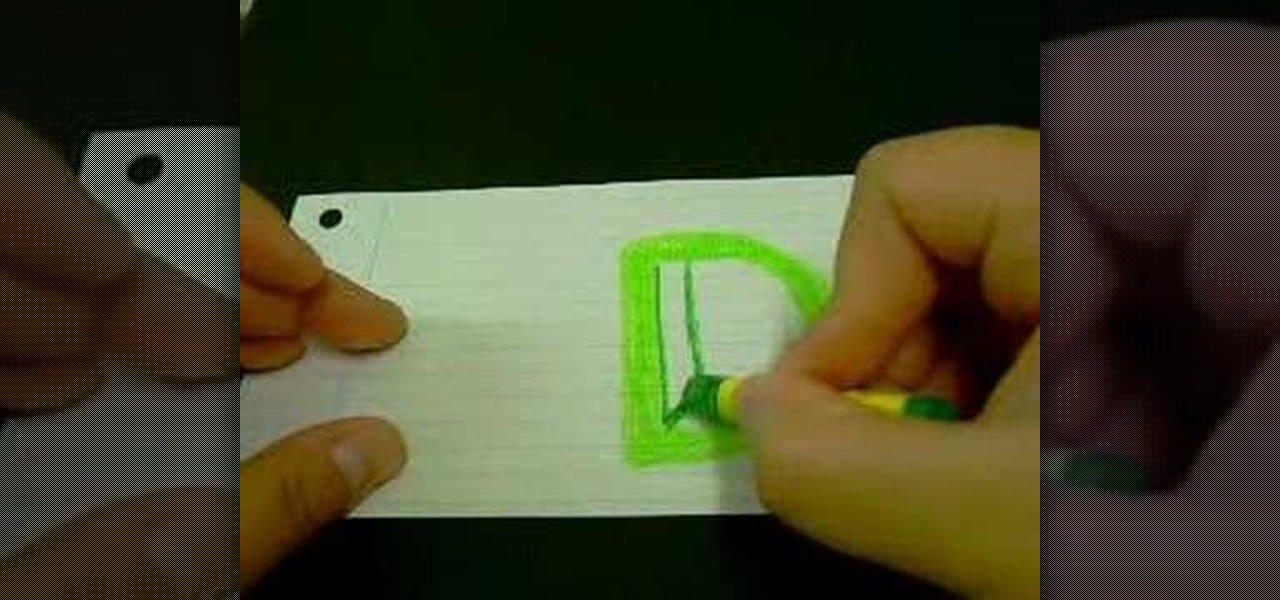
How To: Draw the letter "D" as a 3D block letter
Drawing the letter D as a 3D block letter is easy and fun. To start simply draw the D like you normally would. Next, you need to draw another smaller D inside the first D. From there, draw another D on the outside of the first D. Color in the 3 stacked Ds with your first color. To continue, choose a darker version of your original color. In the bottom left hand internal corner of the D draw a short line that extends at about a 30 degree angle in reference to the bottom of the D. From the end ...
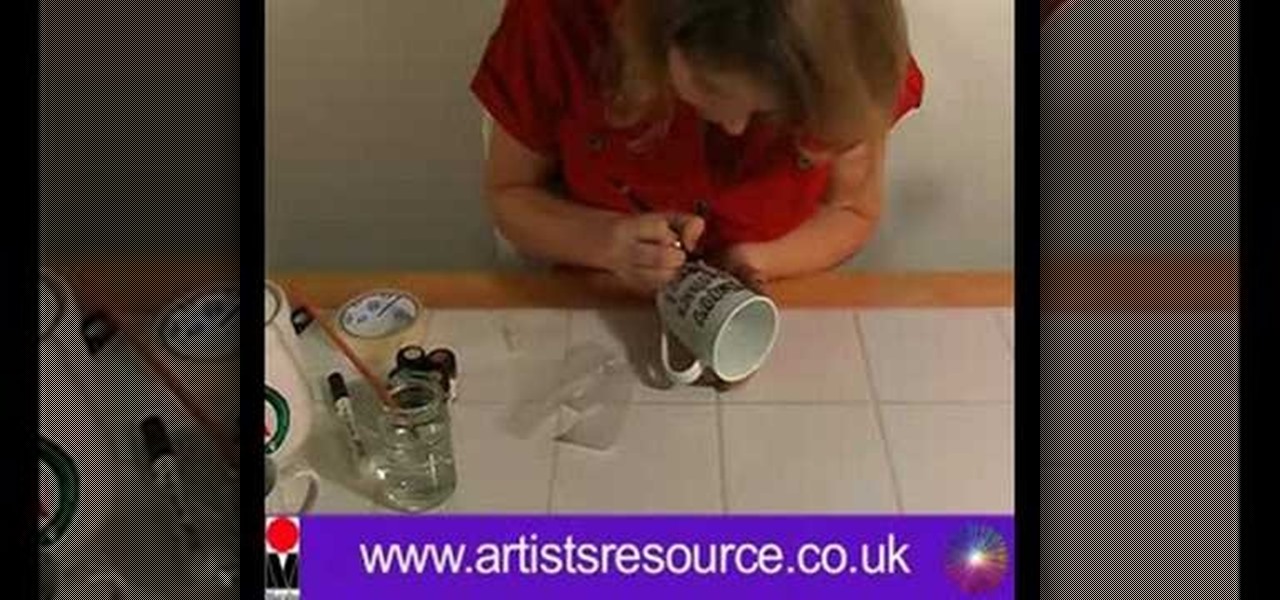
How To: Paint Mother's and Father's Day mugs
This video demonstrates how to paint Mother’s and Father’s Day mugs. This is a ceramic painting project. For this project, you will need the following supplies: 2 mugs, a Marabu ceramic kit, a paintbrush, a soft pencil, tissue, masking tape, a marabu porcelain paint pen, a jar of water, paper, scissors, tracing paper, and a sheet of paper with the lettering that you want to use on the cup. On your PC, use any decorative font that you like.

How To: Throw a terracotta long tom flower pot
You start out with putting a rater big lump of clay on the potter's wheel (the turn table if you want) and make sure you got water close by. By using your hands and your fingers you then start to shape the clay lump into the size you want it. Keeping both the clay and the hands wet all the time. Once the pot starts to get the size you want it to be, you start to give it a more detailed shape. In this case it is a bit wider in the top than in the bottom. Once your satisfied with the shape, you...

How To: Draw Goomba from Super Mario Brothers
This video is about drawing Goomba mushroom, a game character from the Super Mario Brothers. The materials required is a sheet of paper and sketch and coloring pens. The video begins by drawing the eyebrows, the eyes, the pupils, the mouth and then the face. Then you add in the rest of the body and legs. At the end coloring is done to the sketch to make it real life like and attractive. This is a great video for die hard fans of Super Mario brothers and those who want to pin up a neat picture...
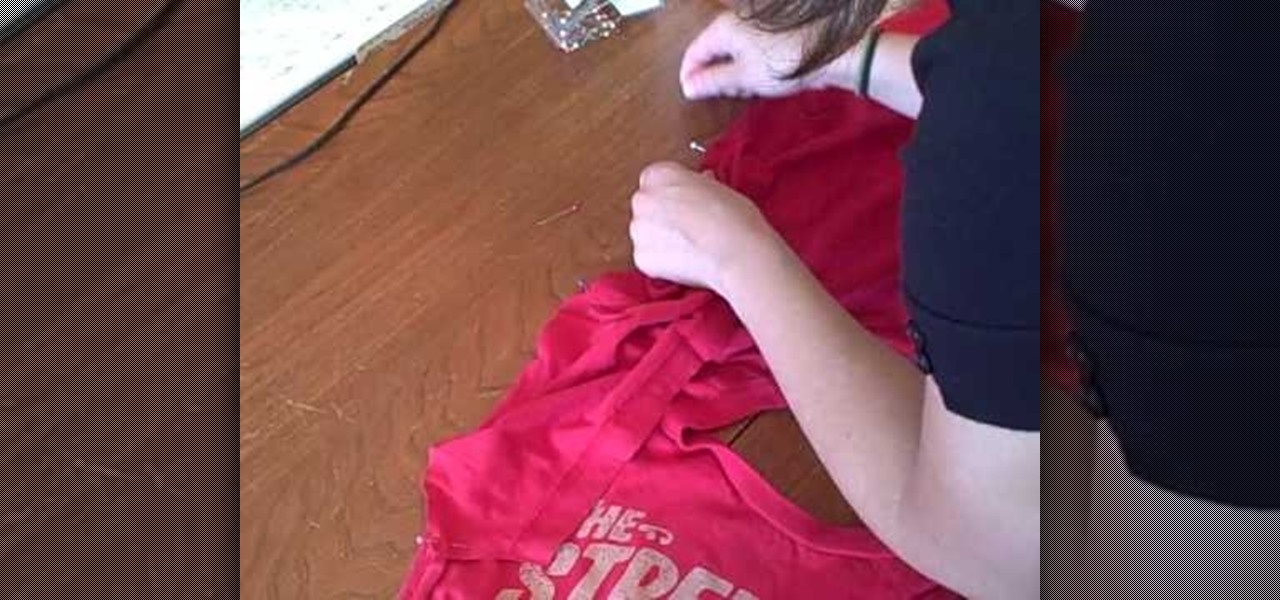
How To: Add puff sleeves to your shirt
The young lady in this video describes to the viewers how to make "Puffed Sleeves". You can use shirts, jackets, men's' shirts, ladies shirts, just about any shirt to make these on! She starts out with 2 ladies shirts, one oversized and one fitted. She also gathers scissors, thread, straight pins, a marking pencil, paper to trace the pattern on and paste. She then demonstrates how to cut the pattern by tracing the outline of the sleeve onto the paper, how to pin the shirts using the straight ...

How To: Draw a duck or swan the easy way
In this how-to video, you will learn how to draw a duck or a swan in the easiest way possible. To do this, you will need a writing tool such as a sharpie, pen, or pencil and a piece of paper. First, draw a v like shape smoothly. Next, Follow the shape once more, except make the outline of the swan. Next, fill the top in to complete the drawing, as well as the eye of the swan. You can add water to the drawing with a blue pen or marker. This video shows just how easy it is to create this drawing.

How To: Make a novelty duct tape bow tie
In this video tutorial, viewers learn how to make a novelty duct tape bow tie. Begin by cutting a piece of duct tape to the size that you want the bow tie to be. It is recommended about 5-6 inches. Then cut another piece of duct tape the same size and tape it over the sticky side of the other piece. Now fold it about 1 cm down, flip it over and fold it again. Continue folding until it reaches the end. Now pinch it in the middle and tape it to hold the bow tie. This video will benefit those vi...

How To: Draw Dead Bones Brook from One Piece
In this how-to video, you will learn how to draw Dead Bones Brook from One Piece. First, draw the skull that is the face of the character. This will include the eyes and nose socket. You can move onto the suit and instrument of the character. Next, draw the hair of the character. You should remember that he is wearing a hat on top of his hair. Once this is done, you can fill in the shadings of the character to complete the entire look. This video shows how easy it is to draw Dead Bones Brook ...
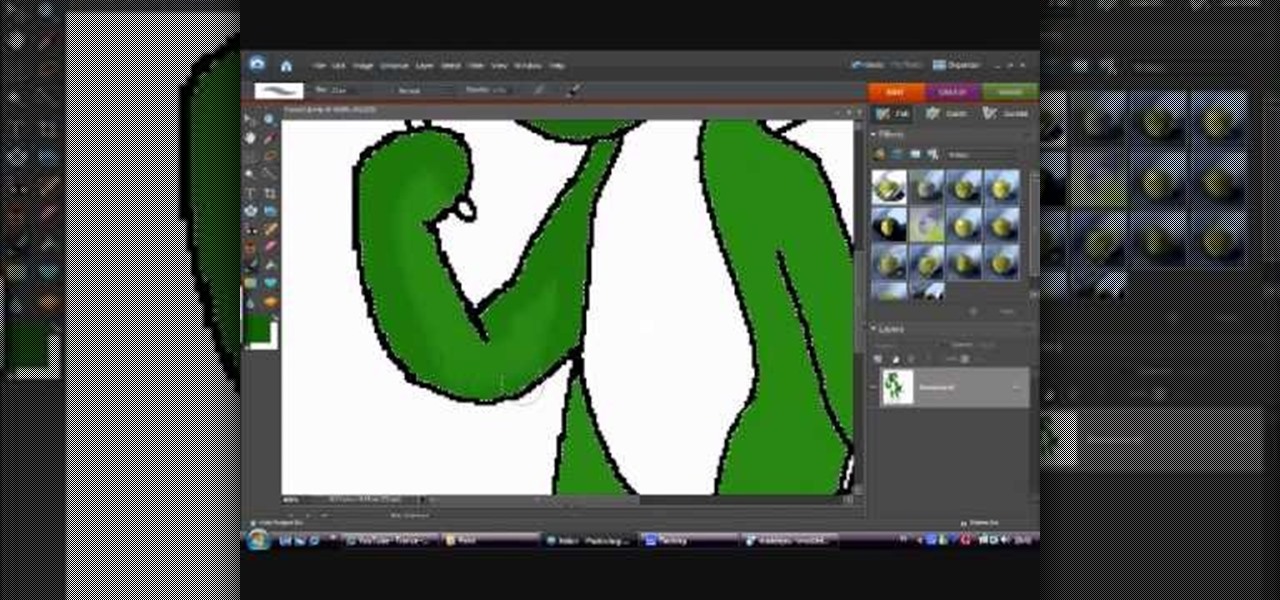
How To: Draw Yoshi from Mario Brothers in MS Paint
In this how-to video, you will learn how to draw Yoshi from the Mario Brothers universe using MSPaint. First, have a reference photo ready. Open the program and use the line, curved line, and freehand tools to draw the outline. Start off with the face. Outline the body, and then move on to the eyes and mouth. Move on to the outline of the body. Just as with the head, move on to the interior details of the body. Once the outline is finished, fill in the basic green color of the body. You can a...

How To: Draw green Yoshi from Super Mario Brothers
Ian shows us how to draw Yoshi from the Mario Brothers video games. First, you draw three quarters of a circle, for the snout. Next, on the top right edge of the circle, before the opening you've left, you draw two ovals on top of it for the eyes. Next, finish out the circle (snout) by connecting the bottom end with back of the farthest-right eye, using a outward-bulging line. Draw a smile at the bottom of the circle, then fill in the eyes with a black oval in the bottom right corners of both...
How To: Draw an anime Fox Furry
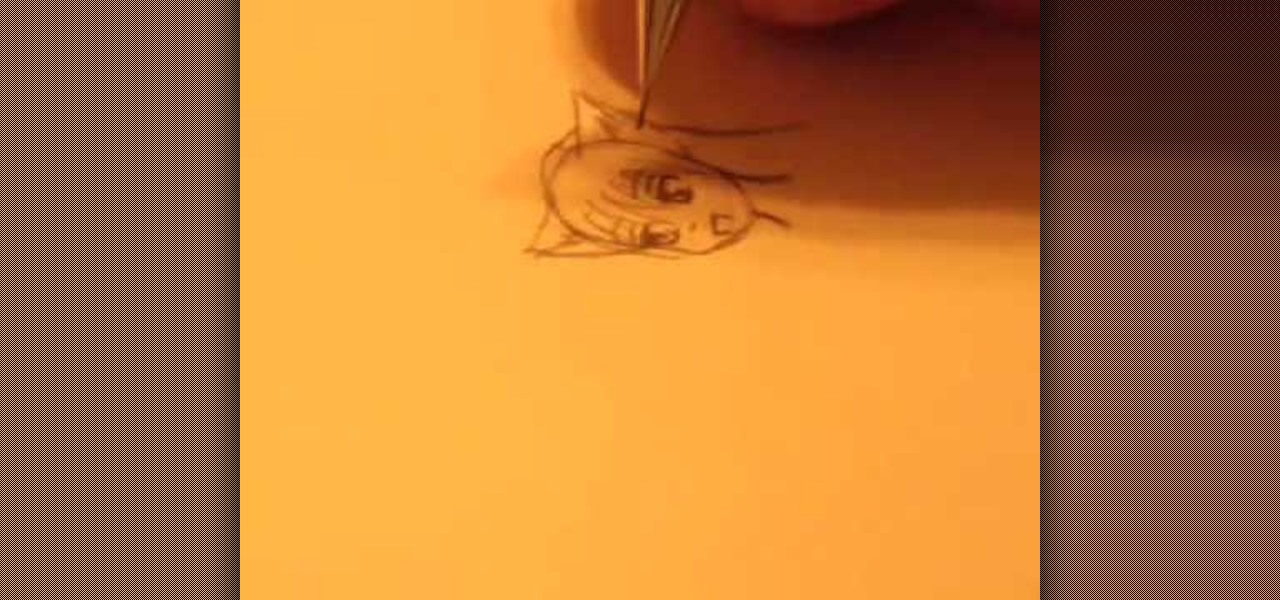
This video shows how to draw an anime Fox Furry. First, draw the outline of the face, neck and straight-up ears. Then draw the eyes with eyebrows and make them prominent, to look nice and real. Then draw the nose and mouth. Then give borders and shades to ears to look prominent. Then outline and draw the hairs over the head, a little on the face and also side hairs. Then for finalizing the eye part, adding pupils to the eyes to look a little real, and more bordering the eyebrows. Then, draw t...
How To: Draw the Hammer Bros. from Mario Brothers
In this easy to follow video, the artist will walk you through her simple illustration of Hammer Bro, one of the infamous villains in the Mario Bros. video game series. She begins by breaking down the character's beak, head and helmet into basic shapes, (such as triangles and half circles) and then pencils in the detail. Finally ending with the shell and arms, she leaves you with an excellent depiction of the Hammer's character. Given that you have something to draw with and something to draw...

How To: Draw Mario from Mushroom Kingdom
First of all you need a pencil and a sheet of white paper. You have to start with the cap and then the round face. Now draw the eyes and the mouth. Draw the badge over its cap. Now draw the ears. Then you have to draw the two hands. Draw the body and make some pockets as shown. Now draw the boots. Now make the eyebrows. Make the soles of the boots. Shade in the forehead with your pencil and then wipe it with a tissue paper. Then use an eraser to erase it a little. Now darken the eyebrows. Mak...
How To: Throw a small jug and handle
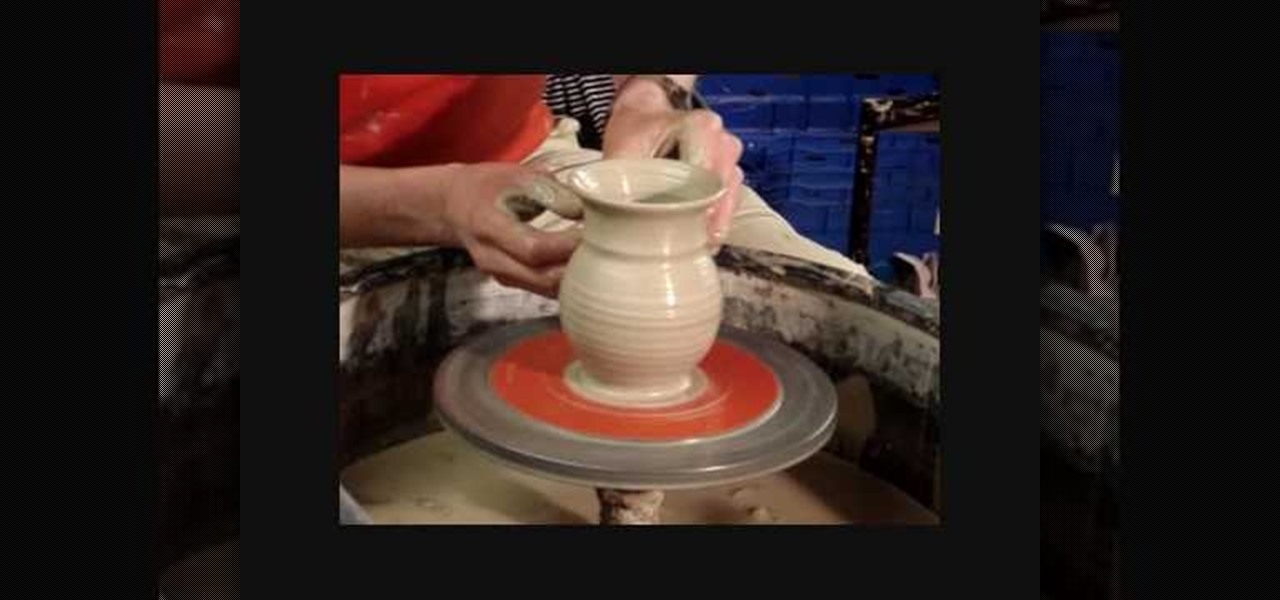
In this how-to video, you will learn how to make a small jug with a handle using a wheel. Place the clay onto the wheel and start spinning it. Grasp it with your hands as it spins and make a vertical shape. Use your thumbs to make the interior bowl shape. Now, use your hands to make the clay more vertical. Keep doing this until you get the desired height. Now, insert your hand into the interior to widen the shape. Make the top more narrow with your fingers. Make the edge stick out as well wit...
How To: Draw Manic the Hedgehog
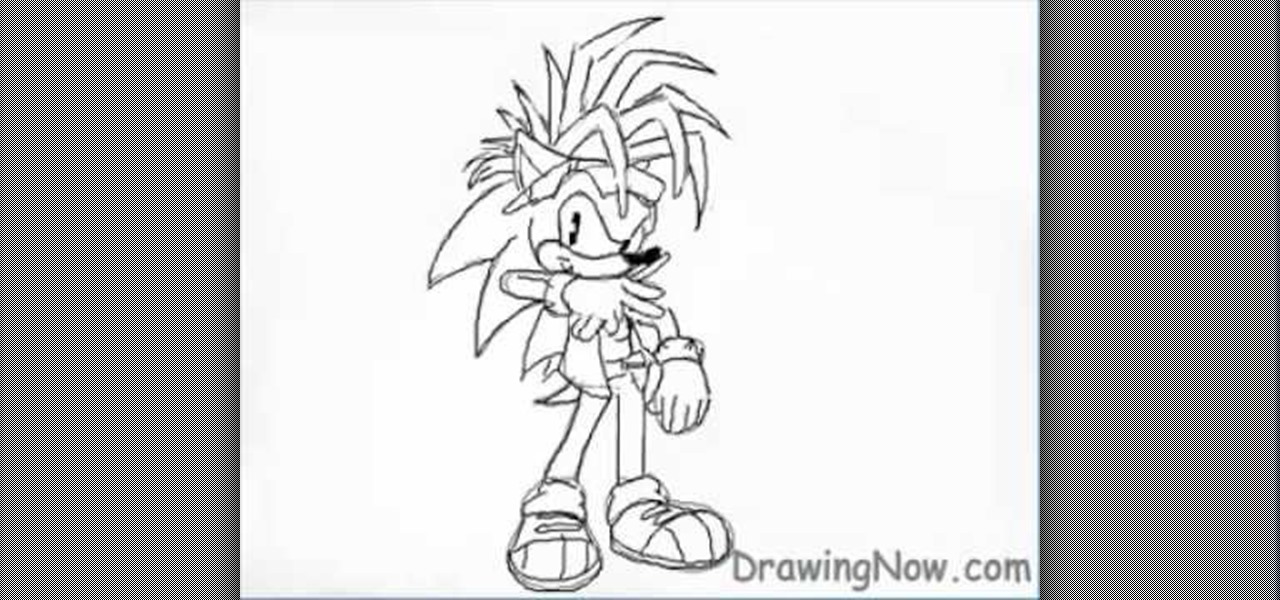
To draw Manic the Hedgehog, you should start by sketching a rough outline of the body, including Manic's hair. Once you have your sketch outline, start drawing over the outline with a darker line, including details like the eyes, nose, mouth, arms, hands, clothes and shoes. Once you have your final outline, go back and erase your initial rough sketch, so that your line drawing looks clean. Now that your line drawing is ready, you can start filling in with color! Start with Manic's green areas...


