Active Fine Art Posts

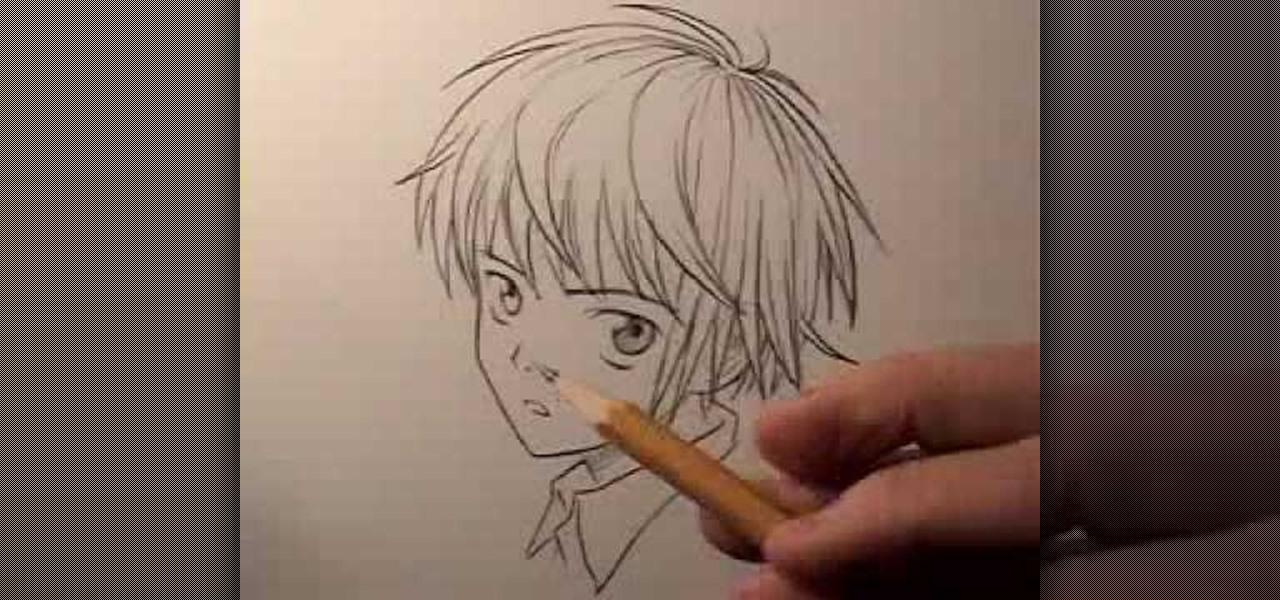
How To: Draw a boy or male teenager in the manga style
This clip offers lessons in how to draw boys in the Japanese manga style. Breaking down the hair, eyes, and mouth, it gives you a bunch of tips and tricks to make a very realistic face. For more information, including step-by-step instructions, and to get started drawing your own manga boys, watch this video guide.

Bio-Couture: Designer Makes Clothes from Bacteria
Wish there were a way to combine the glitz of wax paper with the glamor and status of bacteria? Consider these singular, single-cellular garments by sartorial scientist Suzanne Lee, who grows clothes from cultures of yeast and bacterial cellulose.
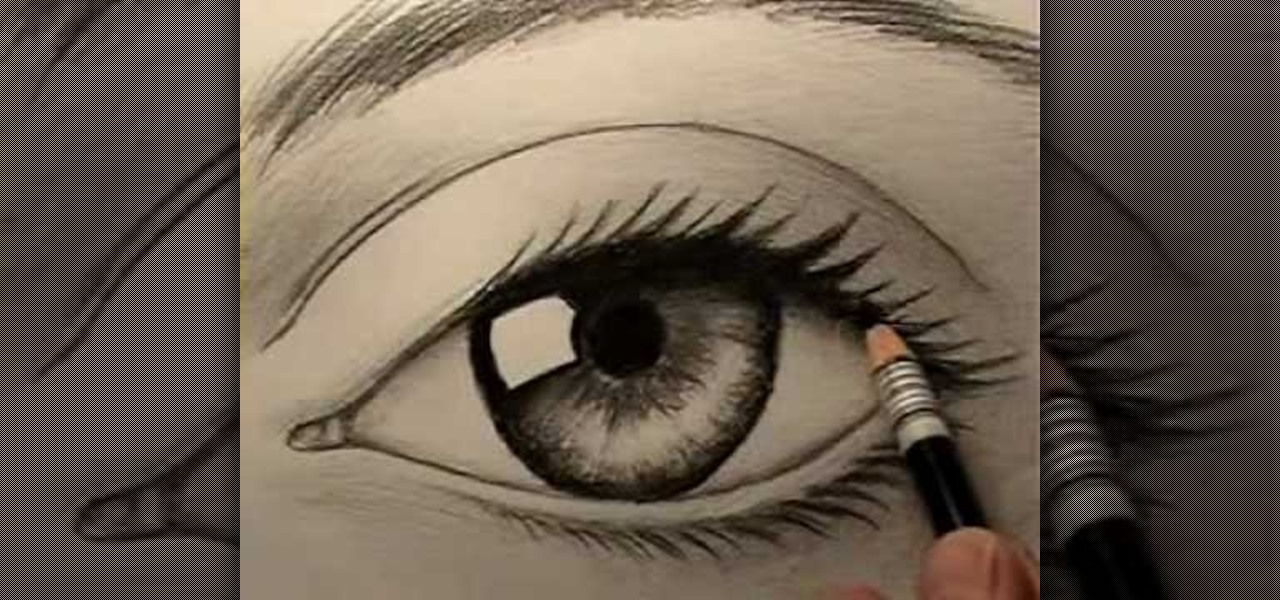
How To: Draw a realistic human eye
In this video tutorial, "Miki Falls" manga artist Mark Crilley shows us how to draw a realistic eye. For any artist who aspires to draw realistically, it's essential to get eyes right. The eyes, after all, are the "window to the soul," and if something's off with a drawing of an eye, we will always notice.

How To: Create your own light art with camera and lights
Light art is a cool way to express yourself… or just make some pretty cool light images. Starting out with light art can be tricky, but as long as you have the right equipment and the determination, you'll be making a light art masterpiece in no time.

HowTo: Play With Fire on Camera
Here at WonderHowTo, we appreciate the fine art of photography (including its extensively vast bag of mind boggling tricks). We also enjoy playing with fire. Sorry, most of us are little boys at heart, and we can't get enough tutorials that fall within the playing-with-matches realm.
How To: Draw a scary vampire face
In this video tutorial, viewers learn how to draw a vampire. Begin by using the paint bucket tool to fill the entire background in black. Then start drawing the vampire in transparent blue. Sketch the outlines of the face and draw curves for the guidelines of eyes, nose and mouth. Now erase half of the face and fill it in black. The other half of the face is filled with tints of blue and purple airbrush. Finish by adding the details with opaque shades of blue, purple and white pencil lines. T...

How To: Draw a cartoon bird
In this video tutorial, viewers learn how to draw a cartoon bird. Using the gray pencil tool, draw an oval shape for the body of the bird. Then create the lines for the wing and tail. Now add the details with black outlines. Then use transparent colors to fill the body, tail and wing with different shades of color. Add details to the wing by drawing some lines. The beak should be short and sharp, and the eyes should be highlighted in white. Color the branch with the brown paint tool and the l...
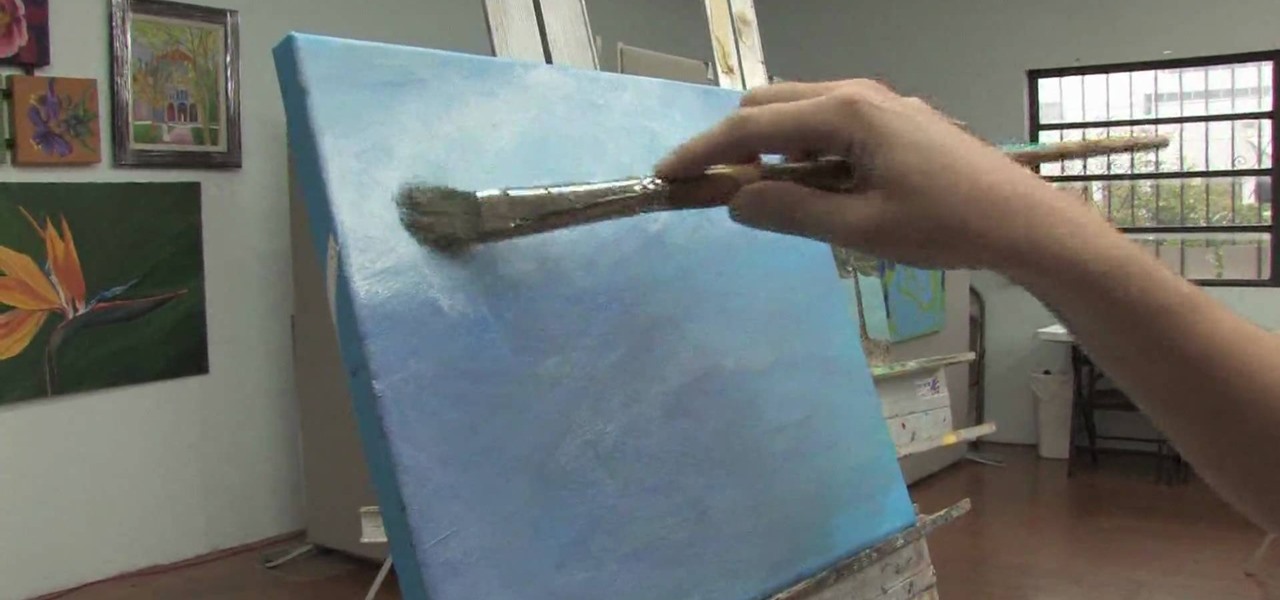
How To: Embellish a painted sky
In this video, we learn how to embellish a painted sky. To do this, use white paint and gray paint. Add some clouds with your paint brush and make them loose and puffy in the sky of a painting. Be very loose and let the blue shine through the white like a regular sky. Paint the tops of the clouds more white than the other parts and paint this throughout the entire picture. If you want to take off some of the embellishment, use blue paint to cover up some of the white you have painted on. This...
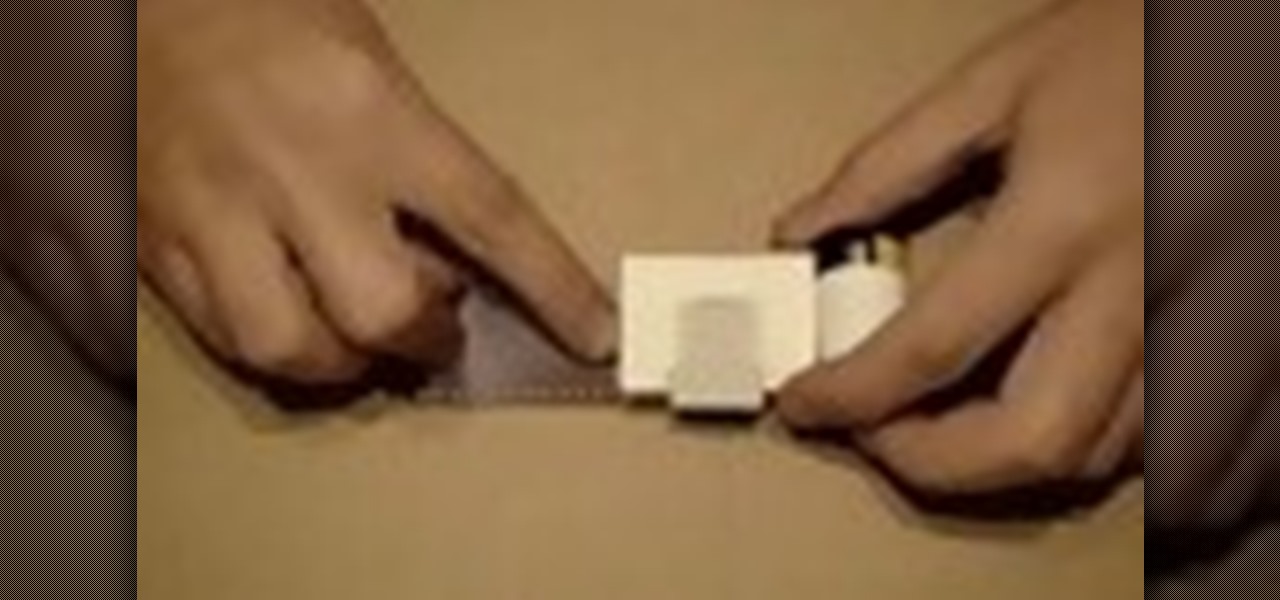
How To: Convert a matchbox into a camera
In this tutorial, we learn how to covert a matchbox into a camera. First, take your matchbox and cut out the bottom, then cut out a square piece. After this, paint the inside of it black with a marker. Next, cut a small hole in the top of the box. After this, cut a small square out of a soda can and hammer a small hole in the metal square. Now, tape the metal to the match top box, then cut the excess tape off. After this, take the bottom off of the top and place it over the metal hole in the ...
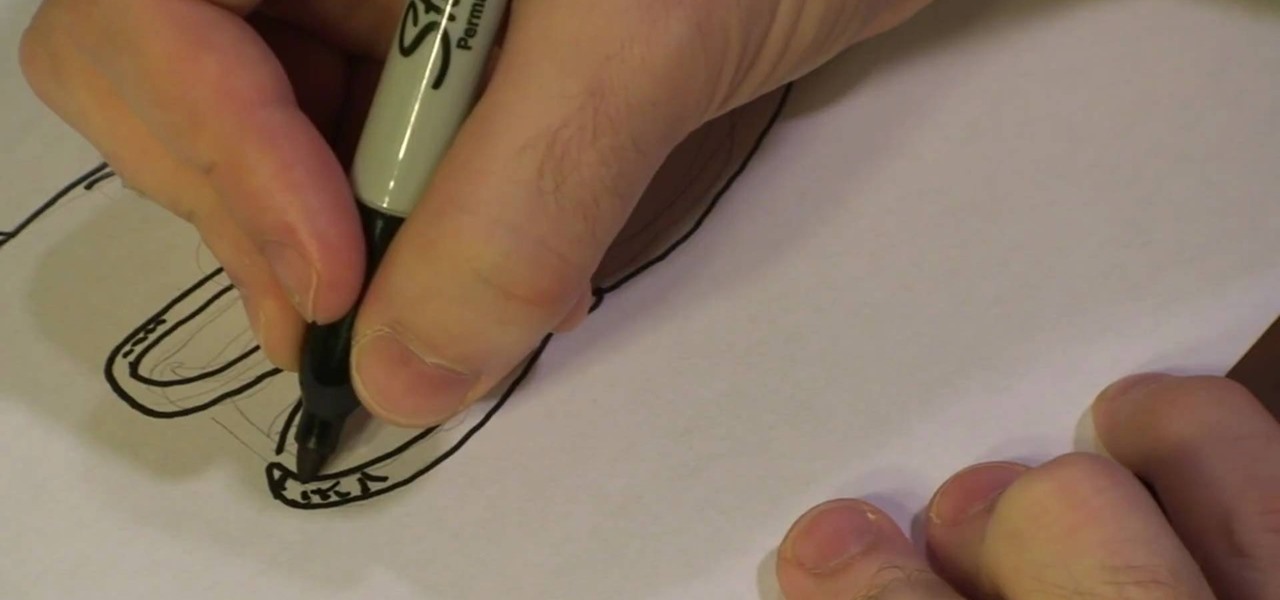
How To: Draw a sports logo
In this tutorial, we learn how to draw a sports logo. You will need: paper and a writing utensil to do this. Do a rough draft of the logo with a light pencil before beginning. When finished, draw a basic helmet shape with a Sharpie marker. Trace around the lines that you made and make sure to draw the face guard when you are finished with the helmet outline. Next, add on a grille to the mask and then add more detail to the helmet as it would look in real life. When you are finished, add color...
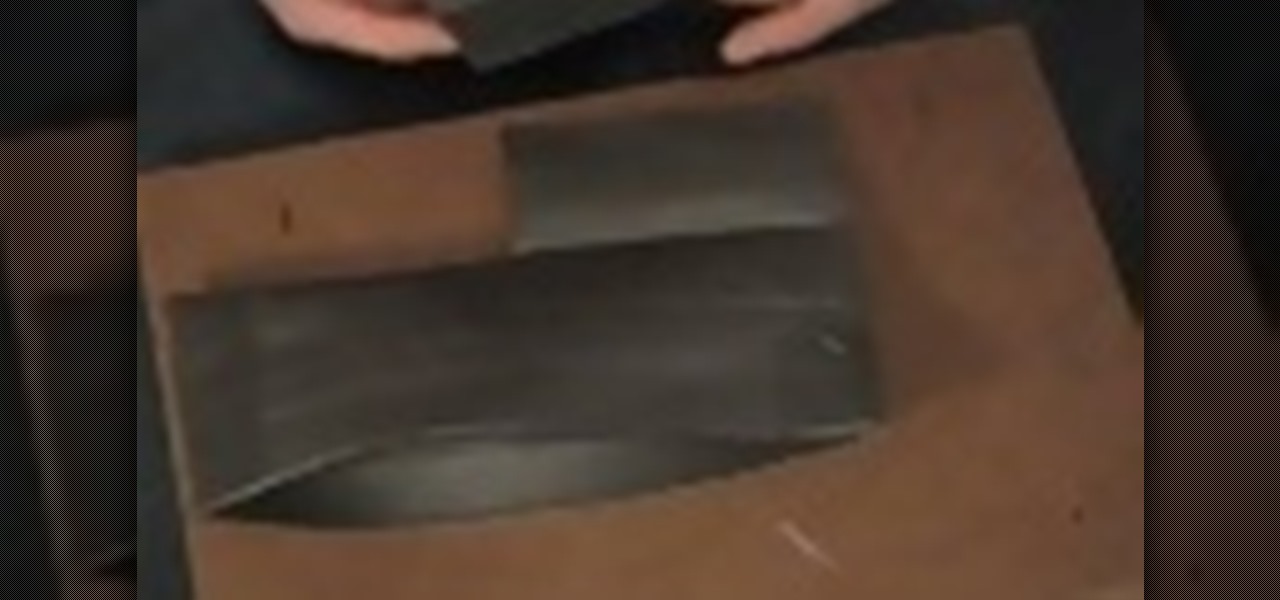
How To: Craft a duct tape wallet
In this tutorial, we learn how to craft a duct tape wallet. First, tear out a 7 inch piece of duct tape and fold it so there is a sticky side just overlapping it. Next, tear out another piece of tape and fold it just over the sticky side of the other piece of tape. Continue to do this for around 10 pieces of tape, or until you have enough to make a decent sized wallet. When you reach the end, fold the bottom over itself, then cut off the sides and seal with another piece of tape. Then, measur...

How To: Draw Obi-Wan from Star Wars
In this video tutorial, viewers learn how to draw Obi-Wan from Star Wars. Begin by drawing a circle for the head and rectangular shape for the jaw. Then draw a line 1/3 way across the circle. Draw the eyes on the line and the nose just underneath the line. Now draw 2 lines from the ends of the eyes to the rectangular shape. Use those lines as a guide to draw the length of the mouth. Then add the ears, eyebrows and beard. Now lightly draw the hair. Finish by coloring and shading the image. Thi...
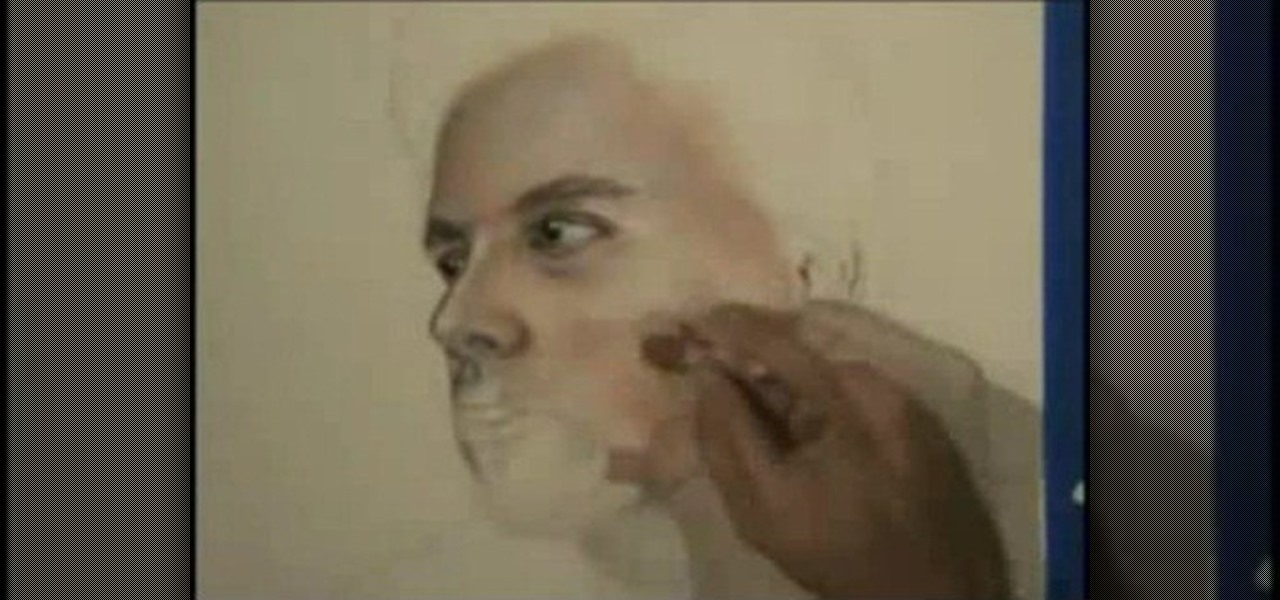
How To: Draw with colored pencils
In this video tutorial, viewers learn how to draw with colored pencils. Begin by sketching out the shape to now how it will fit. Then sketch in the placement and angle of the main features. Now add more loose detail to the main features. Use an eraser to gently remove the heavy pencil marks, leaving out the faint outline. Using a brown pencil, begin lightly sketching the form. This video will benefit those viewers who are interested in art and drawing, and would like to learn how to draw with...
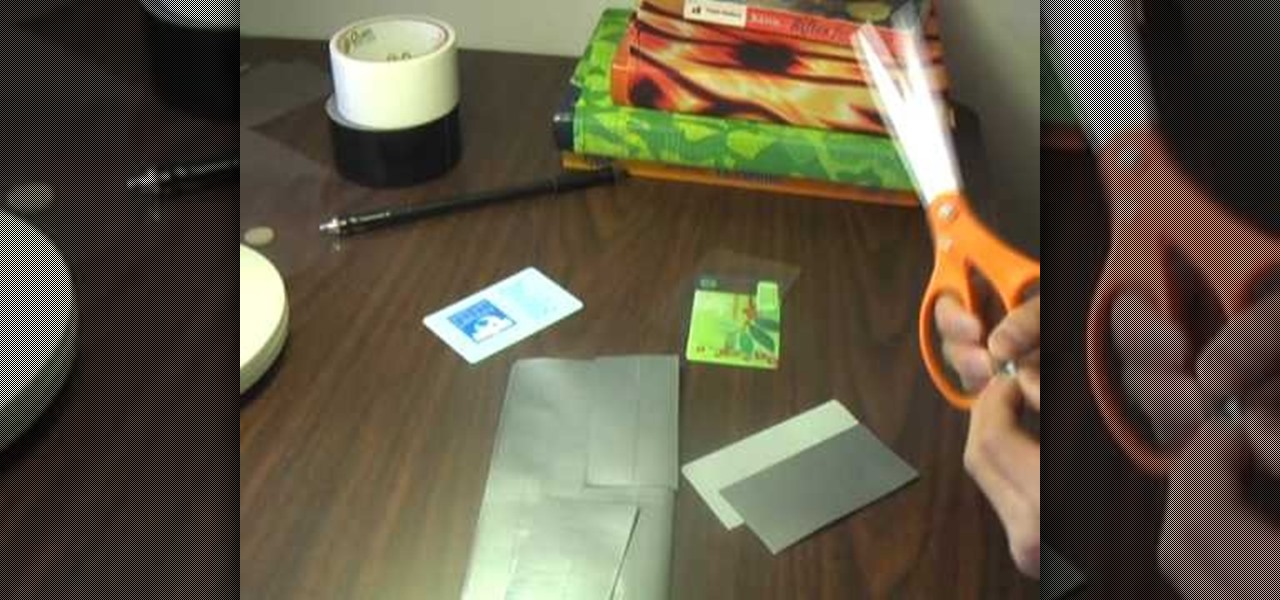
How To: Create a custom duct tape wallet
In order to make a wallet with duct tape, you will need the following: duct tape, scissors, a ruler, a pen, plastic, credit card, and a smooth surface. Cut a strip or duct tape 8" long. Place it on a flat surface, with the silver side facing up. Cut another piece. Attach it to the first piece, laying it down at half the width of the first piece. Fold it over. Try to avoid making bubbles. Now, make a sheet by cutting 8 strips and attaching them together in the same manner. With a ruler, measur...
How To: Make a simple silicone mold
In this tutorial, we learn how to make a simple silicone mold. You will first need a silicone base, which is an off white liquid. You will also need the hardener, a thickener, and a thinner. To build the mold, cut a paper cup in half, then fill the container with rice. Measure the amount of rice in the cup so you know how much silicone needs to go into the mold. After this weigh your ingredients for the silicone, then mix them and pour into the mold. When the mold is finished hardening, use i...

How To: Make a realistic pencil sketch of a human skull
In this video tutorial, viewers learn how to draw a skull. Begin by selecting a skull image to draw from. Then draw a circle and sketch a few lines to position the eye sockets, nose and mouth cavities. Now erase the guidelines and re-sketch the drawing. Then start toning the eye sockets and nose cavity by shading. Now tone the other parts of the skull. Finish by shading the background. This video will benefit those viewers who are interested in drawing and art, and would like to learn how to ...
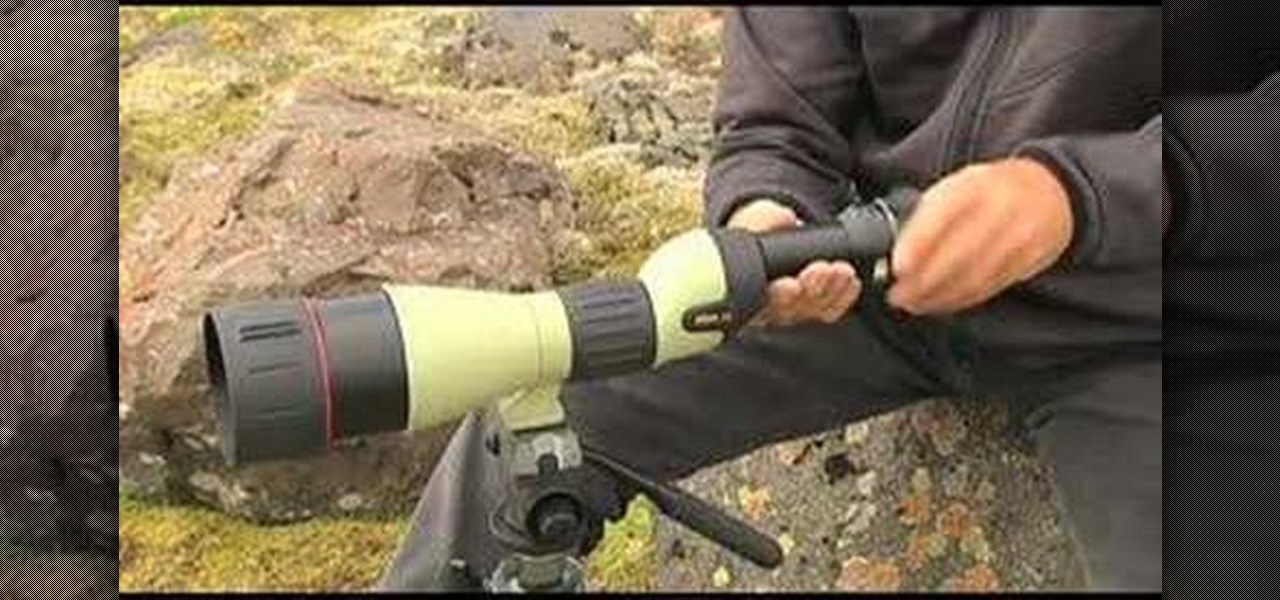
How To: Use Nikon digiscopes or telescopic lenses
In this tutorial, we learn how to use Nikon digiscopes. This means taking digital pictures with a digital camera through a lens. You can use two different versions of lenses with the Nikon Coolpix camera. You will need an eyepiece to use the camera with these lenses. You can get up to 75x magnification while using these, but risk of camera shake is greater. First, mount the camera on the triPod and apply the lens adapter, then the Coolpix camera. After this, use the view finder to see through...

How To: Convert a halogen lamp into a makeshift ring light
In this tutorial, we learn how to convert a halogen lamp into a makeshift ring light. Instead of pointing this light straight at the person you are photographing, you can use a ring light to make the halogen light less harsh. The prices for ring lights are very expensive, so making this yourself can save you a lot of money. First, go out and buy a round metal mesh object wherever you can find one. You will also need tin foil, a plastic cup, and wire cutters. First, set the metal bowl on top o...
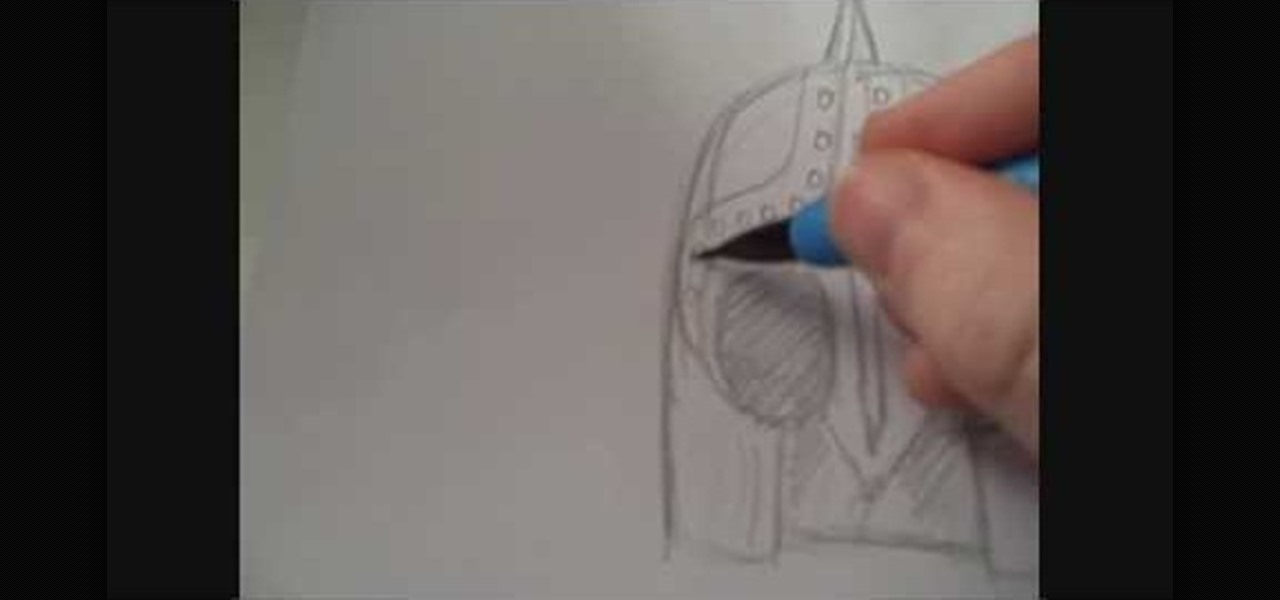
How To: Draw a sci fi warrior's helmet with Tully
Let's face it: Without armor, we'd all be very squishy. While armor isn't necessary on the every day when we're going to school or hitting up the post office (at least we HOPE armor isn't necessary where you live), it certainly is and has been in battle.
How To: Draw complex figures using stick figures as a base
You know how people who proclaim they can't draw always muddle through drawing assignments by piecing together a couple of stick figures? Well, that's because stick figures are the absolute easiest figures to draw.
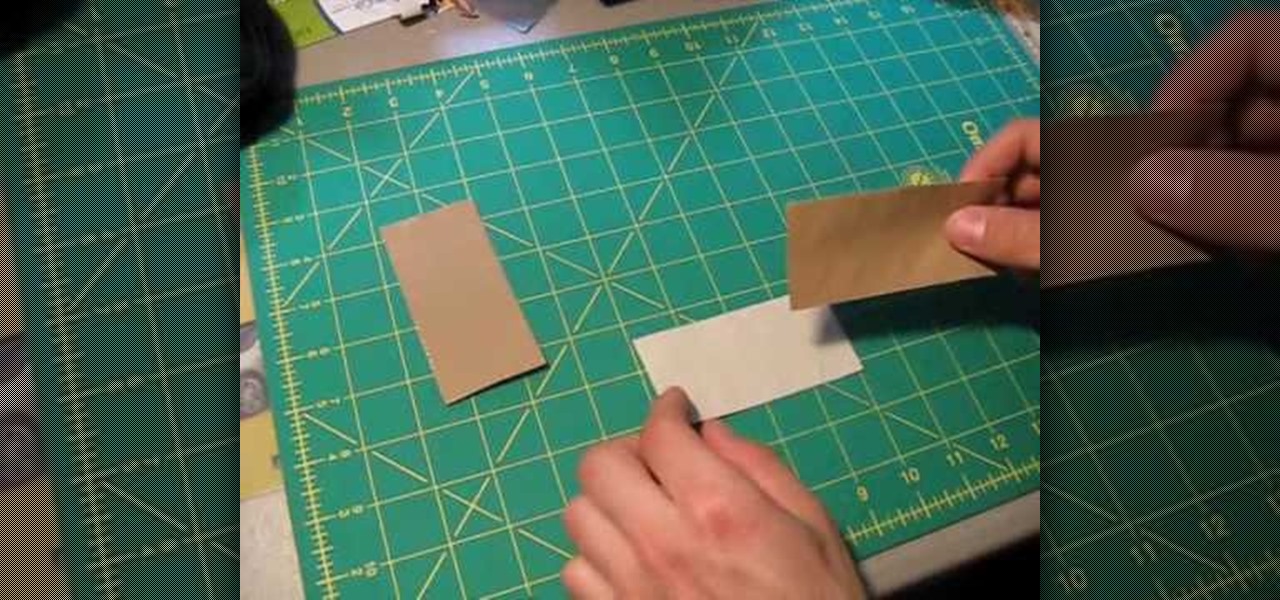
How To: Craft a silver duct tape pocketknife holder
You never know when you're going to need a knife. Whether you carry it on your person for protection or simply use it to open stubborn packaging and envelopes, pocketknives are super practical yet also very dangerous if they accidentally open up in your pants.
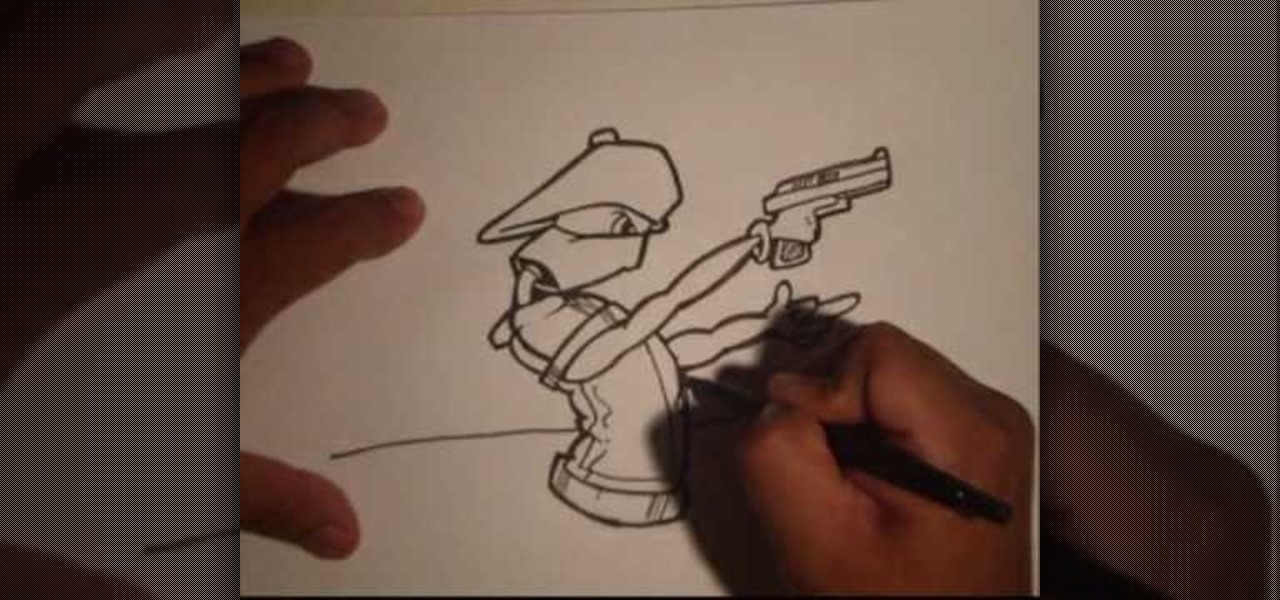
How To: Draw a gangsta graffiti spraycan holding a gun
Just a few years back, spray cans glorified their artists, writing reputations in stone with florid colors and extreme street stylization. These days, though, graffiti artists are increasingly glorifying spray cans, the very tools of their art and, for some, livelihood.
How To: Make a duct tape iPod holder
Alex shows us how to make a duct tape iPod holder in this tutorial. This will prevent damage and is also waterproof! You will first wrap four piece of duct tape around your iPod with the non-sticky side first. Stick one piece on top of each other so it covers the iPod completely. Don't make it to tight. Next, use the sticky side to tape the last two pieces onto the other pieces of tape. When finished, you will have a unique iPod holder that protects your iPod and is a cheap alternative to cos...
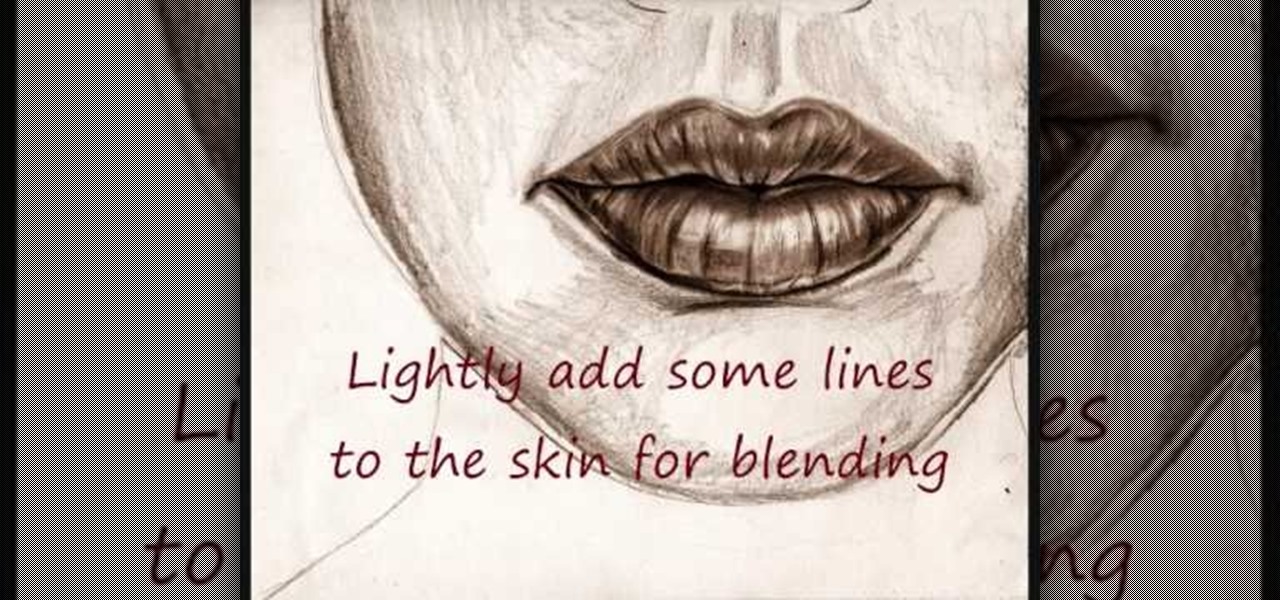
How To: Draw big pouty lips
In this video tutorial, viewers learn how to draw lips. Begin by drawing a horizontal line for the mouth and draw a Mickey Mouse shape in between the line. Then sketch the upper lip with the 2 smaller circles on top and draw the lower lip with the large circle as guidelines. Now users may draw the rest of the face. Then darken and define the upper and lower lips. Now lightly sketch some lines on the lips to show depth. Then darken and shade the lips. This video will benefit those viewers who ...
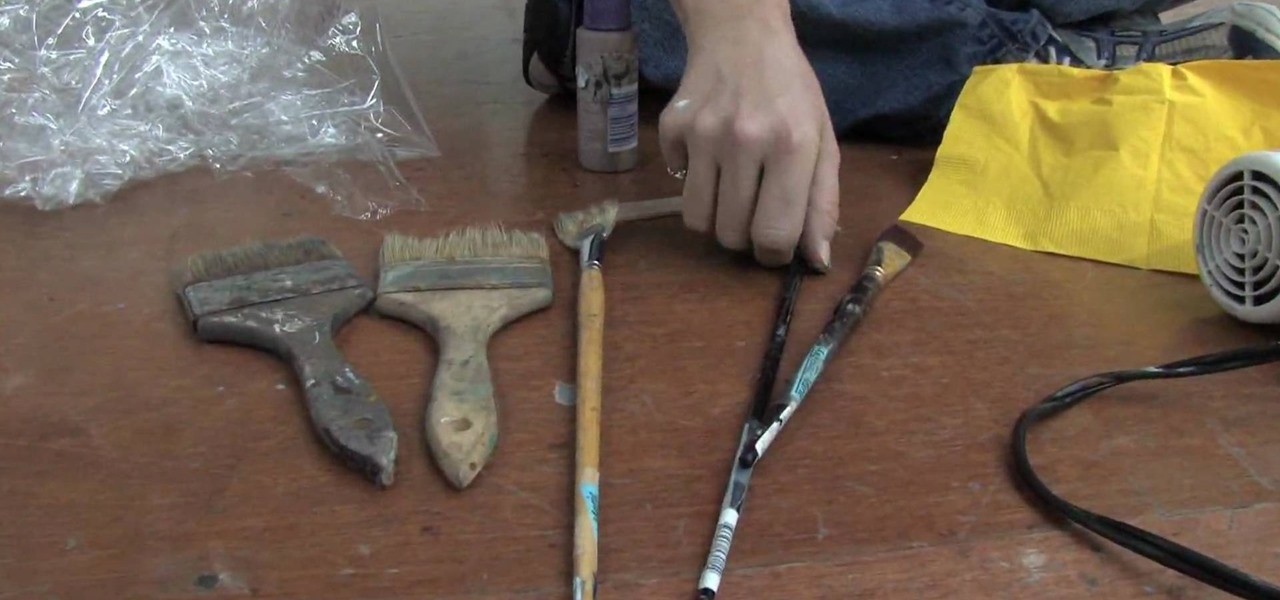
How To: Understand artist tools for painting
In this tutorial, we learn how to understand artist tools for painting. The first tool is plastic, which can be use for great textures on the painting. Cheap brushes are great for painting in big spaces and fan brushes are great for painting wider widths. A badger hair brush will be best for painting tails on canvas and different types of papers. A synthetic brush is very easy to clean and perfect for oil or acrylic paint. A hair dryer is a tool that is great to speed up the drying time of pa...
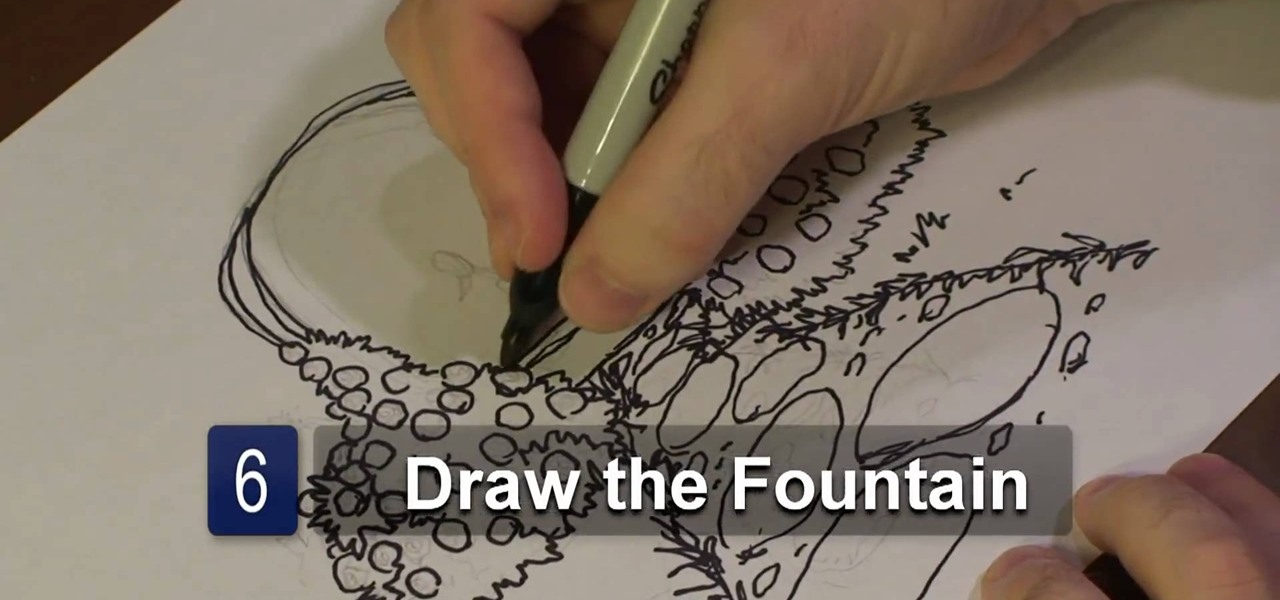
How To: Draw a rose garden with Michael Weisner
In this video tutorial, viewers learn how to draw a rose garden. Begin by marking the locations of the objects. Then draw the rose bushes around the garden pathway. Draw the lines with some cross hatching. This will give the bushes some form and feel. Add some circular boxes in the bushes to represent the roses. On the pathway, add some grass on the edges and stones on the path. In the center, draw a center piece and draw an arch over it. Finish by adding details to the roses. This video will...
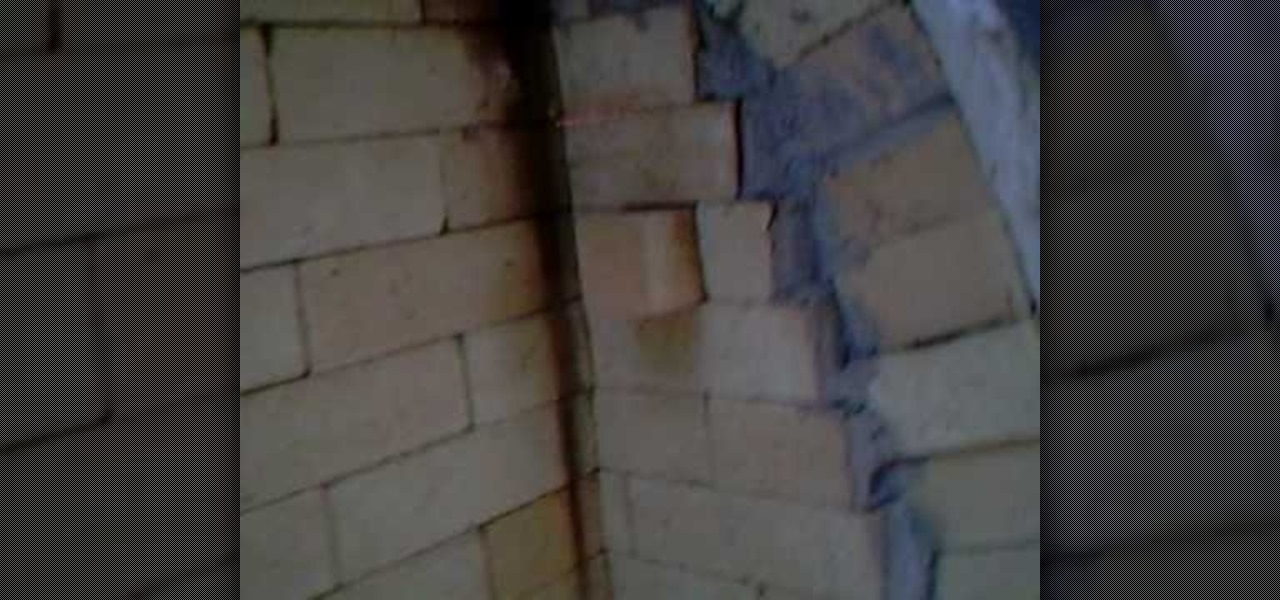
How To: Fire a kiln
In order to fire a kiln, you will need the following: you will need to have a damper. There will also need to be a means of checking the fire, looking in to see the flame. Each stage will have to be closely monitored. Let it fire until it reaches an adequate temperature. It will transition through phases of heat. As it reaches reduction, you'll need to monitor the rate of rise. This stage, the reduction phase, is a slow stage of rise. It will take many hours to reach reduction phase. It will ...

How To: Draw a fun bunny doodle
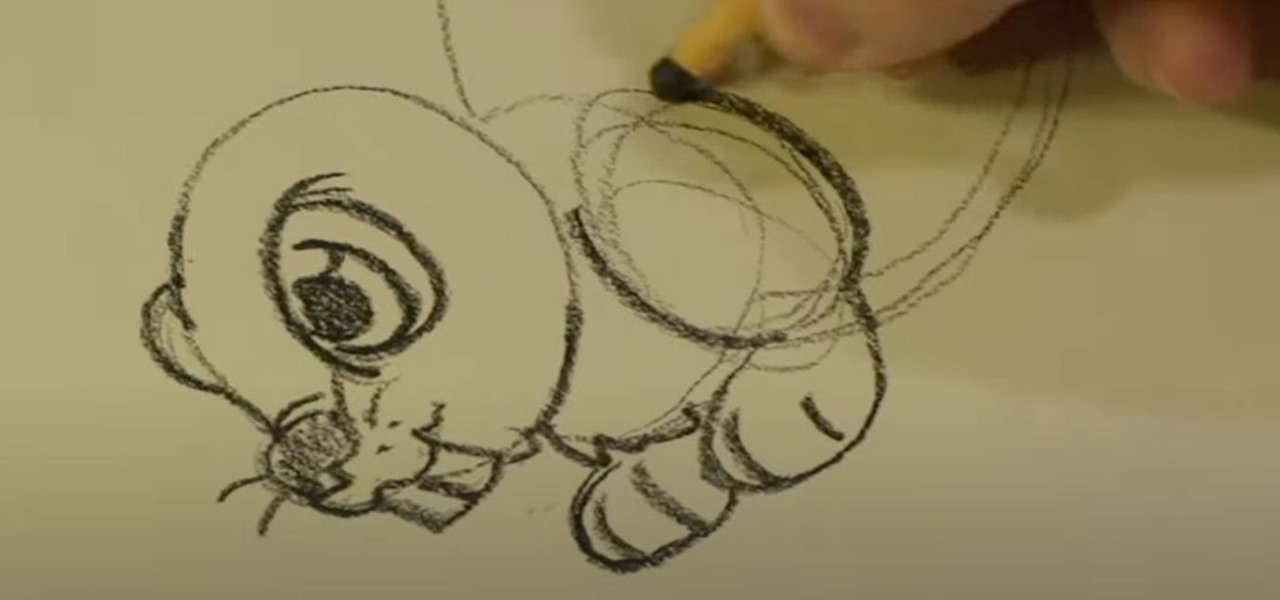
In this tutorial, we learn how to draw a fun bunny doodle. To begin, draw an upside down triangle with two straight lines coming out of the top middle. Next, draw a half circle over the eyes, then draw two large bunny ears on top of the half circle. Then, connect the curls on the end of the ear to the bottom of the head. Now, do an additional line to make the inside of the ear. After this, draw another circle around the bottom of the face, then draw a line with two humps at the bottom of the ...
How To: Make a hat out of felt
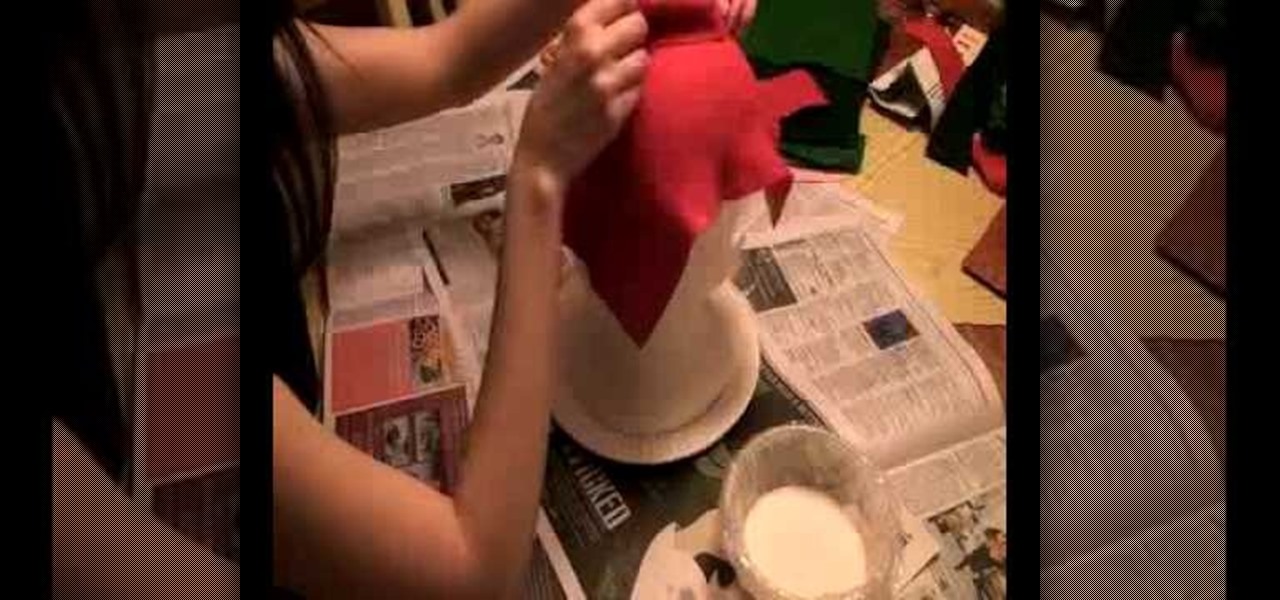
This video tutorial is in the Fine Art category where you will learn how to make a hat out of felt. You will need glue, silver wrap, a plastic bowl, pins, felt and a mold of the head. Take a red felt and cut out a big square piece, a small triangular piece and four curved shapes as shown in the video. Now cut four curved strips from each of pink, light green and dark green felt. Pour glue in the plastic bowl, add equal quantity of water and mix well. Take the square piece of felt and dip it i...
How To: Write in lowercase calligraphy letters
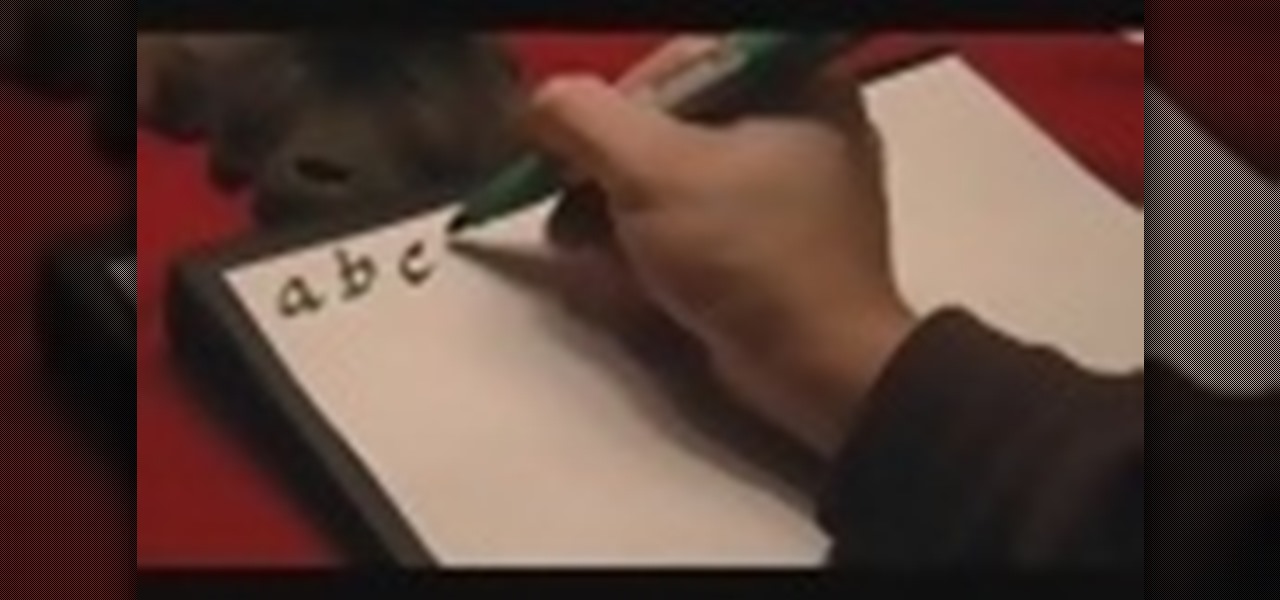
In this tutorial, we learn how to write in lowercase calligraphy letters. To begin, you will write in lower case letters just use a more find edge then you do when writing normally. The letters will all have a twist to the edge of them to make them look more fancy than normal. There are no straight lines, all the lines have a slight curve or curl at the end of them. Practice doing each letter on a piece of paper with a calligraphy pen or marker. The letters will look very similar to the usual...
News: Careful, No Pooping in This Pizza Box
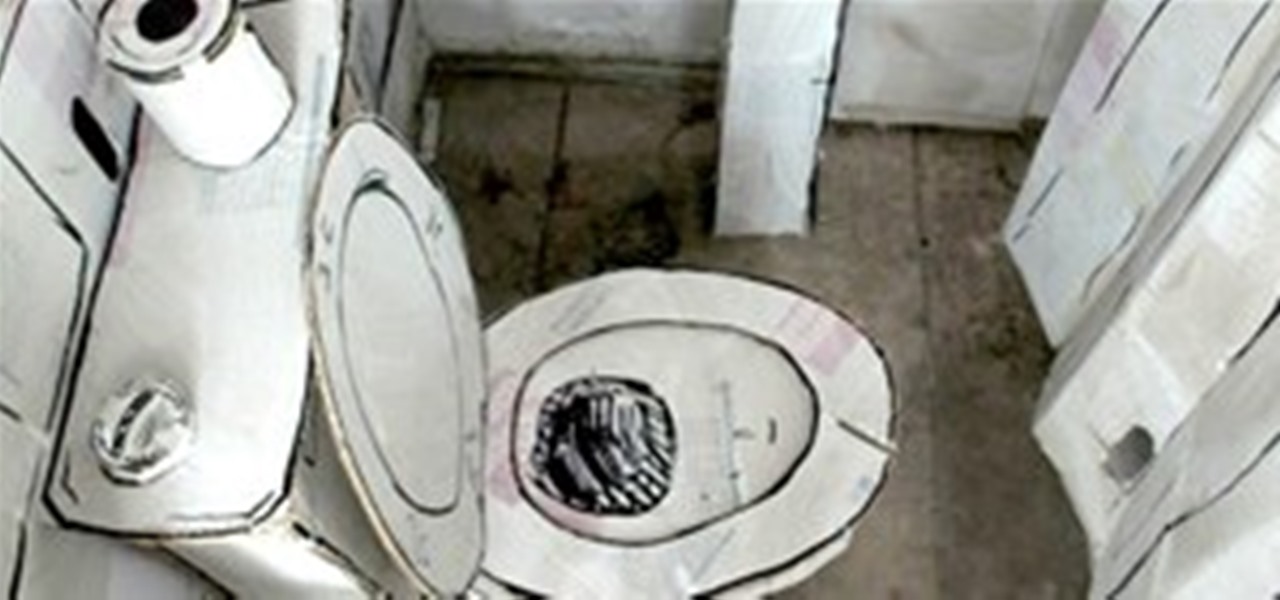
It's amazing what you can do with an ordinary material like cardboard... or a truckload of discarded pizza boxes.

News: Barf to Beauty
Ok, the word "barf" may be a little strong... but, c'mon, would you put a dead rat on your scanner bed?
How To: Sew fins and teeth onto a shark costume
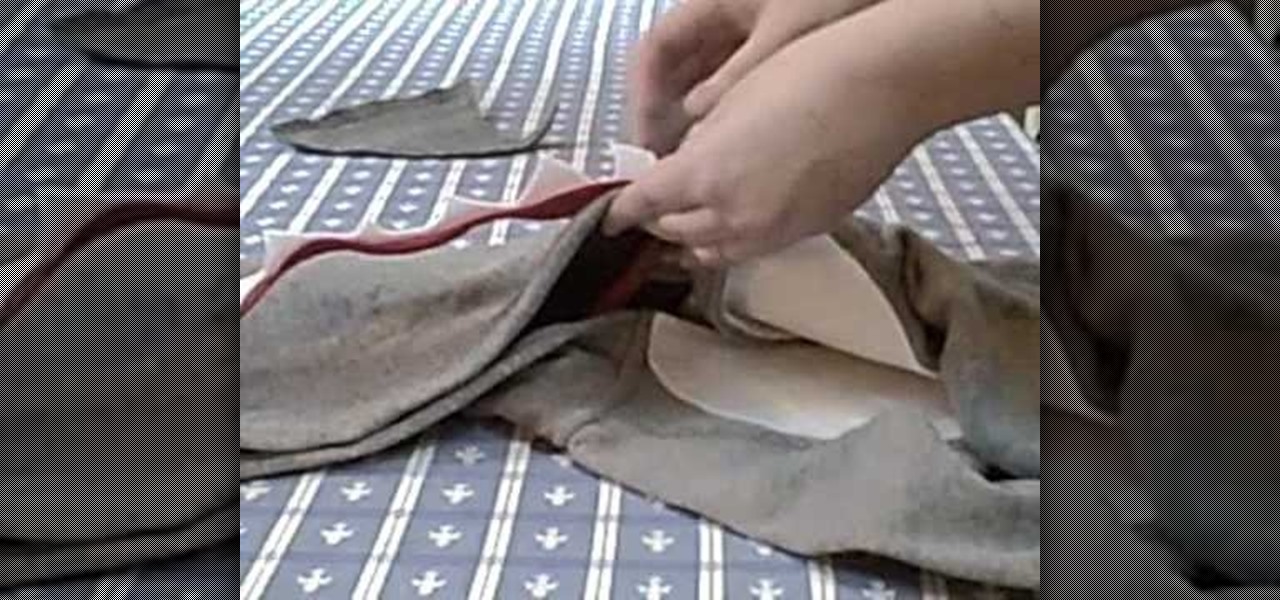
In this tutorial, learn how to add felt fins and teeth onto your child's shark costume. These easy to add embellishments will really make your little guy or girl feel like they are a part of the costume. This costume is super cheap to make and only requires some extra fabric and a sweatshirt to get started. Have fun!
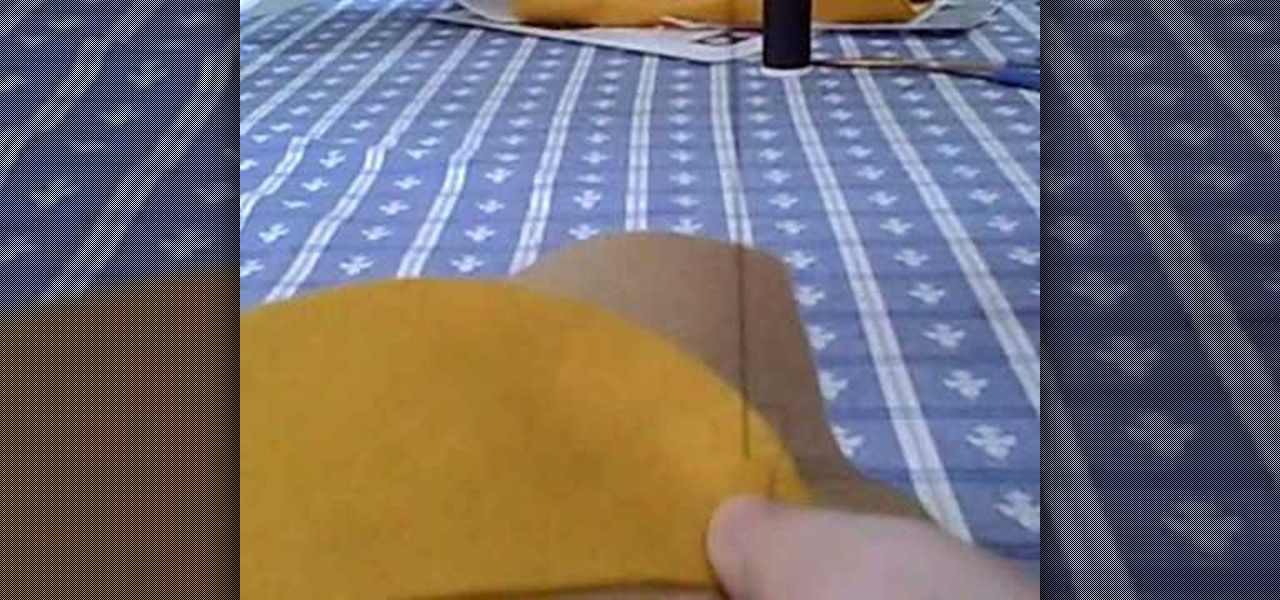
How To: Sew a whip stitch into clothing by hand
In this clip, learn how to sew a whip stitch into clothing to make cute, easy Halloween costumes. This video will show you how to whip stitch your way to a new warddrobe in no time - no sewing machine required!
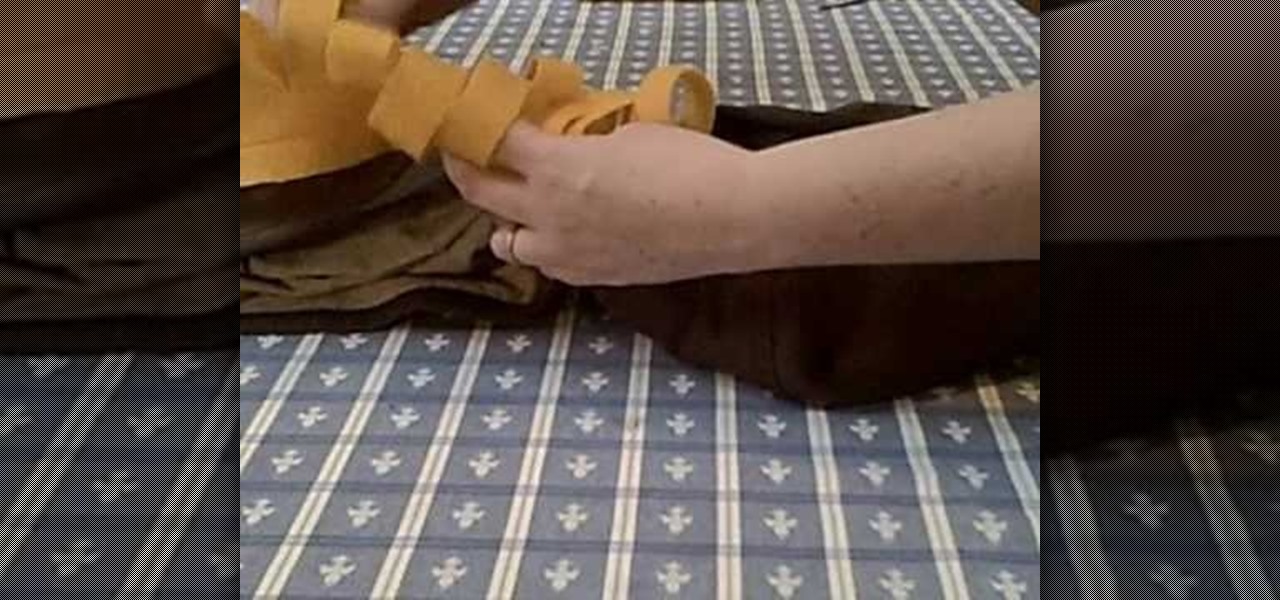
How To: Sew an easy mane onto a lion costume
In this clip, learn how to make a warm and cheap costume that is still adorable. This video will show you how to take a piece of fabric and sew it to a sweatshirt to make a lion mane for your little girl or boy. This is a super cute way to make an inexpensive costume that your kids can wear for years.
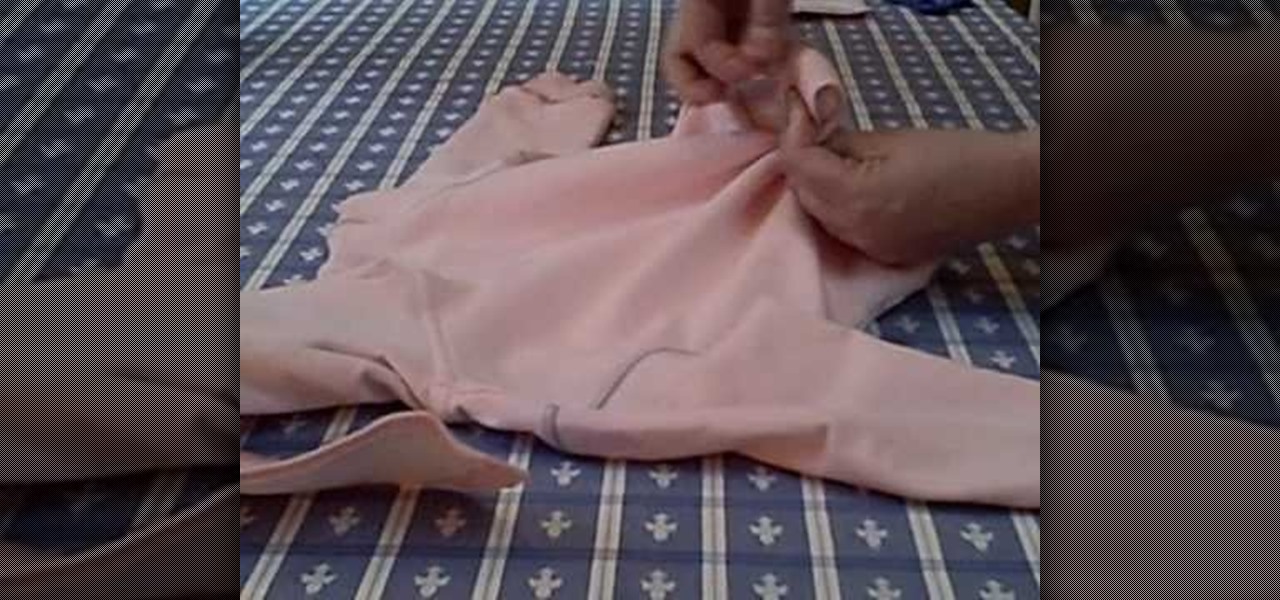
How To: Sew a tail onto your Halloween costume
In this clip, learn the easiest way to sew a tail onto a costume. Whether you are dressing as a bunny, bear, lion, tiger or anything else with an animal bum, check out this tutorial. This video covers fluffy tails like rabbits and long tails like cats and tigers. Have fun!

How To: Sew spikes to the back of a dinosaur costume
Is your little guy or girl going as a big green dino for Halloween this year? Make your kids a warm and adorable costume by using an old sweatshirt and some fabric. This video will show you how to stitch on easy spikes so that your costume will look nice and ferocious. The process is super easy, so have fun!

How To: Sew ears on animal costumes
In this quick tutorial, learn how to install ears to the top of your animal inspired costume. This can be used for anything with ears on top of your head such as cows, pigs, cats, etc. Have a look at this clip and complete your costume.
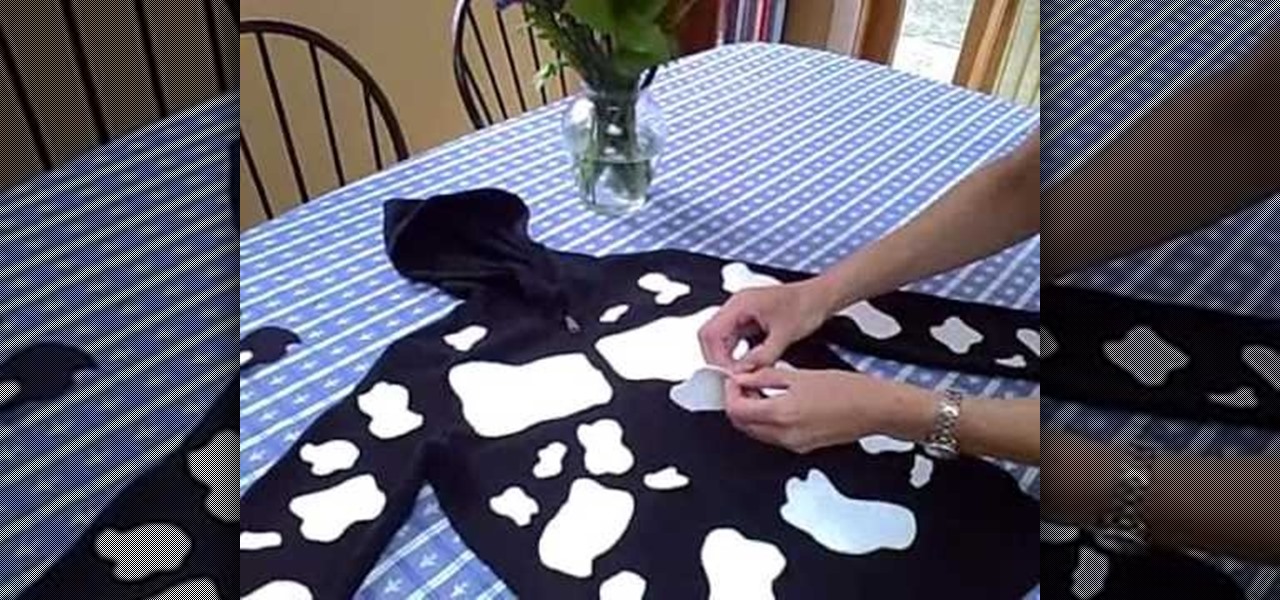
How To: DIY a cow costume for Chick-fil-A Cow Appreciation Day
This summer, come into Chick-Fil-A dressed as a cow and get your entire meal for free! The Southern chicken chain is celebrating poultry and steering clear of red meat for a national campaign.
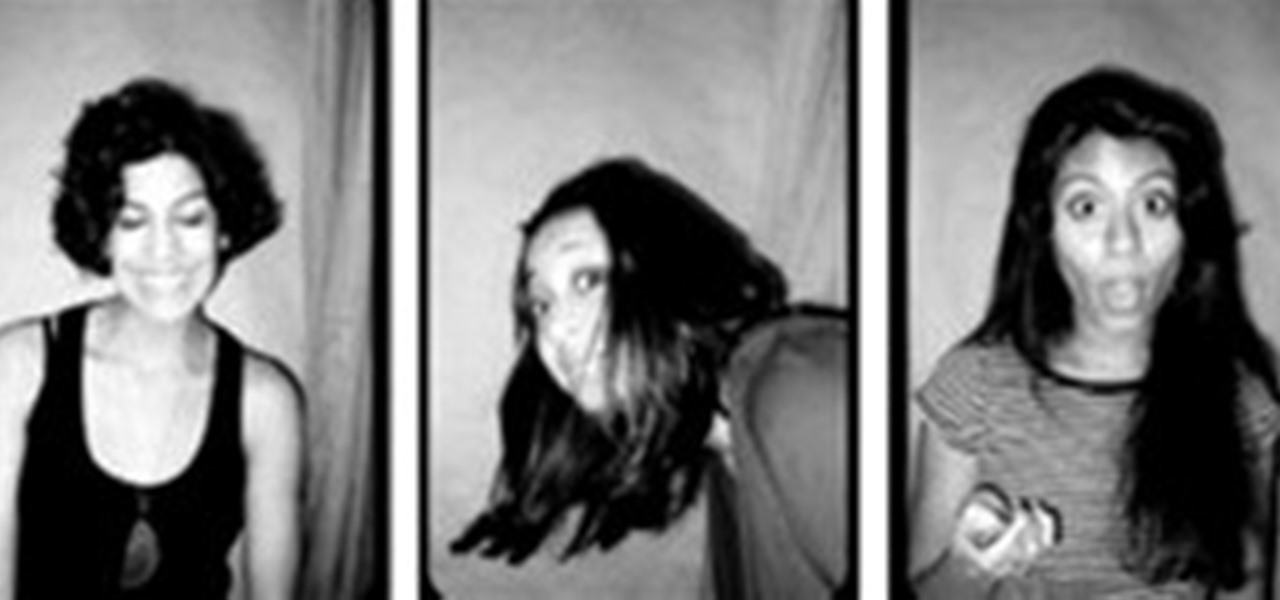
HowTo: DIY Home Photo Booth
We love the photo booth. Inevitably the best pictures from any wedding come from, not the professional photographer, but the photo booth stationed in the far corner where tipsy guests act very very silly. Brett Ratner, director of Rush Hour and X-men, has a photo booth installed in his house. After several years of parties...he decided to publish a book of all the candids. Jay-Z, Paris Hilton, Justin Timberlake and many others mug for the camera without the aid of fancy lighting or make up ar...


