

Active Fine Art Posts


How To: Draw a daffodil for St David's Day
In this tutorial, we learn how to draw a daffodil for St. David's Day. Start off by drawing a circle to measure out where all of the different petals are going to go, then draw a circle in the middle you know where the middle will go. Next, start to draw out the petals onto the circle. After this, draw the middle of the daffodil with the seeds that are in the middle. After this, draw the lines that are in the middle of the leaves. You might want to use a real flower for a reference picture on...
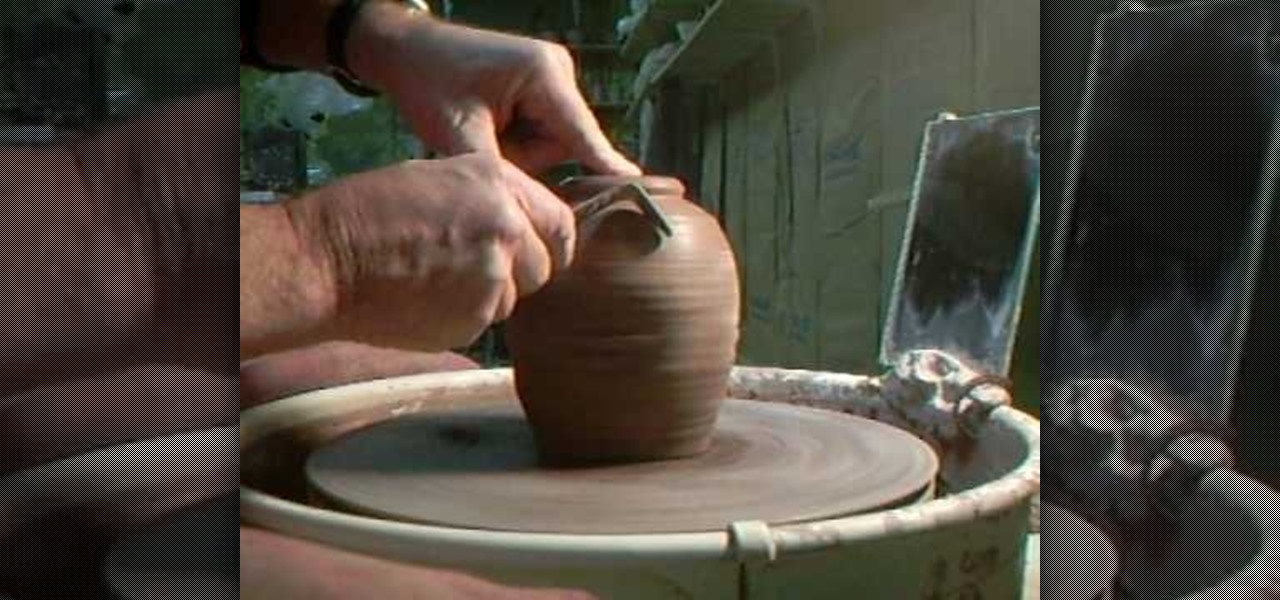
How To: Trim a pot
In this video, we learn how to trim a pot. First, you will want to get your pot wet and place it onto a ceramic bowl shaper. Start to spin the bowl and get it wet as you use a sharp tool to remove the trim from around the pot. Continue to do this until all of the trim you want to remove is gone. When finished, you will need to refire this and place glaze back onto it. This can be done with any type of ceramic pot, just make sure you keep it moist while you are cutting it, so it doesn't break ...

How To: Write the letter S in calligraphy copperplate
In this video, we learn how to write the letter "S" in calligraphy copperplate. First, dab your calligraphy into ink, then start to writ on a your paper. Make a large half bowl shaped curved line, then make a loop and go down, creating a curved line with a dot at the end. To make the lowercase letter, make a thin line, followed by a thick outer line that curves into the large line making a lower case s. When you are finished with both of these, you will have beautiful letters that look great ...
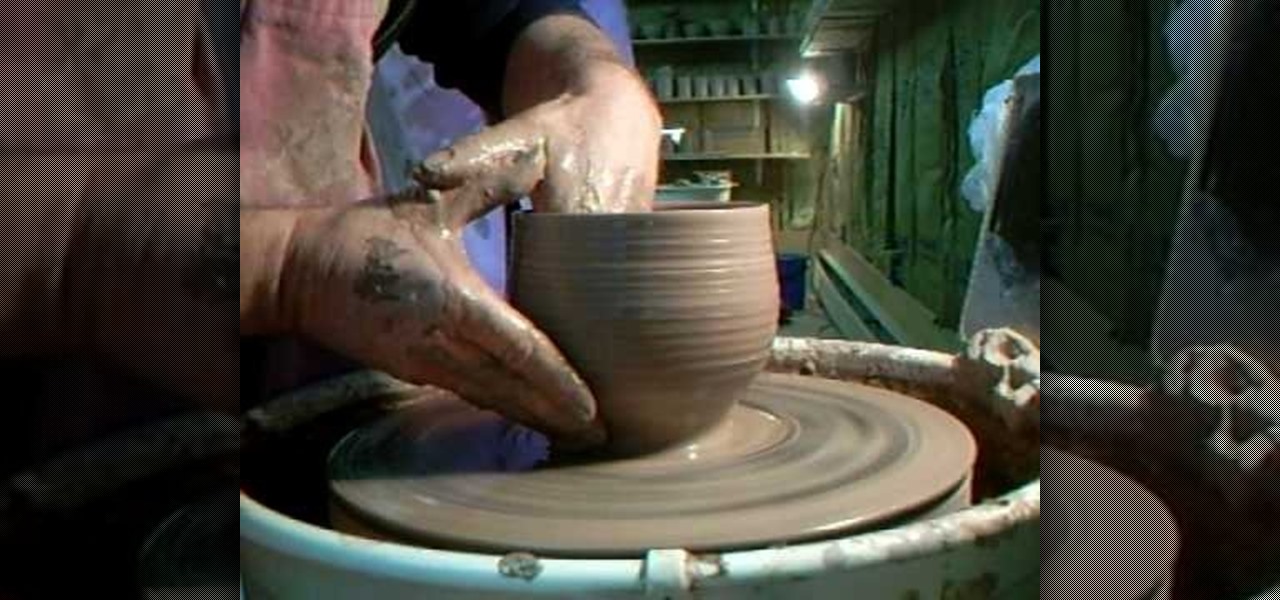
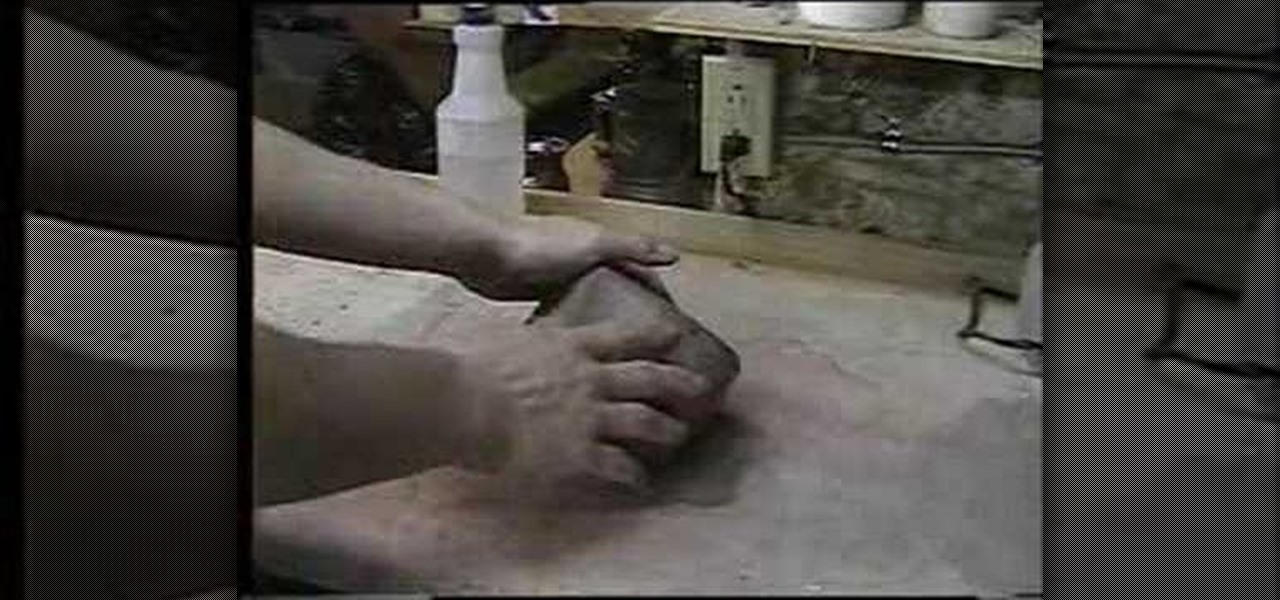
How To: Paddle clay
In this video, we learn how to paddle clay. Start off by placing the clay on the wheel and turning it on so it's moving quickly. You wan tot make sure you are using a lot of water and keeping the clay moist, as well as your hand. Make sure the bottom is even around on all sides, or it will turn out off center. Place your hands around the clay and cradle it until it makes a round and even shape. Continue to do this until you can put your hands on the side of the pot and work your clay on the i...
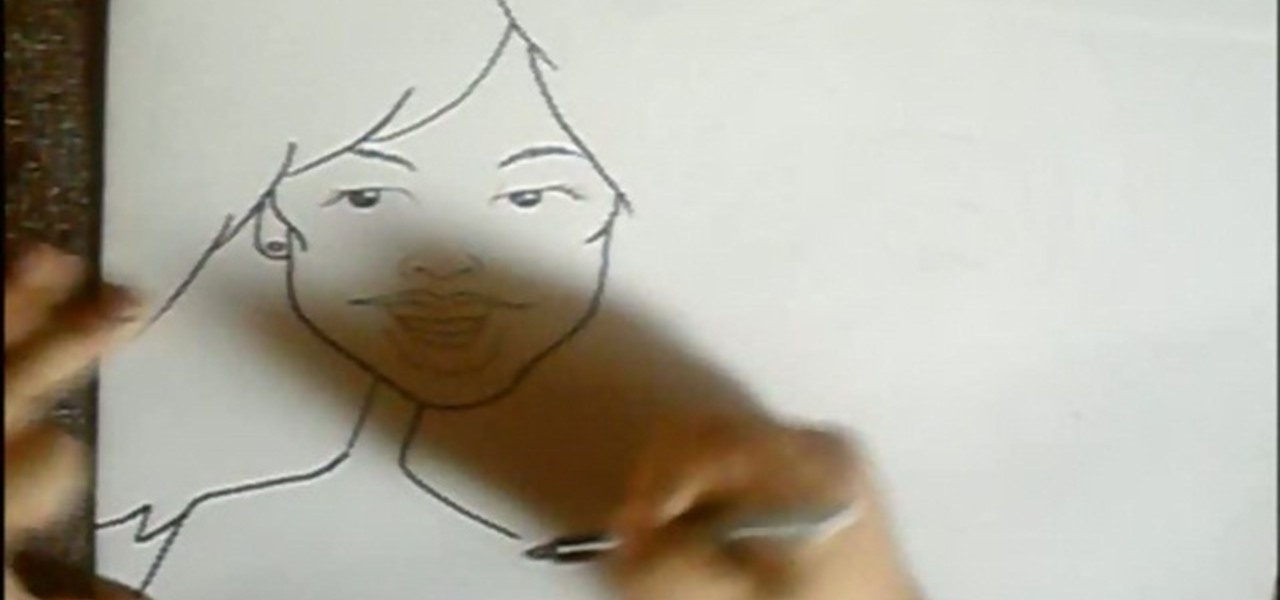
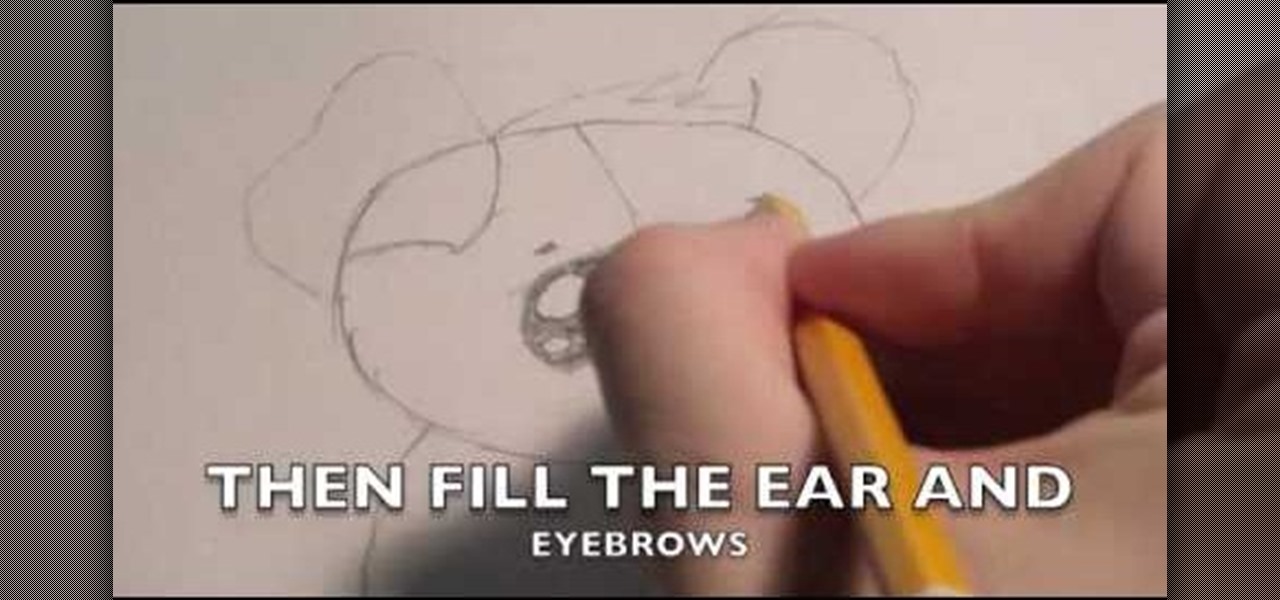
How To: Draw cartoon caricatures
In this tutorial, we learn how to draw cartoon caricatures. Start off by drawing the eyes and the eyebrows. Next, draw in the hair on the forehead and then start to make the face surrounding the hair. After this, you will need to draw in the ears and make a note to draw in any prominent features that the person you are drawing has. Make sure to draw larger lips and a small neck, making the head look larger. For men, do the same thing and give each of the pictures a bit of personality! Don't b...

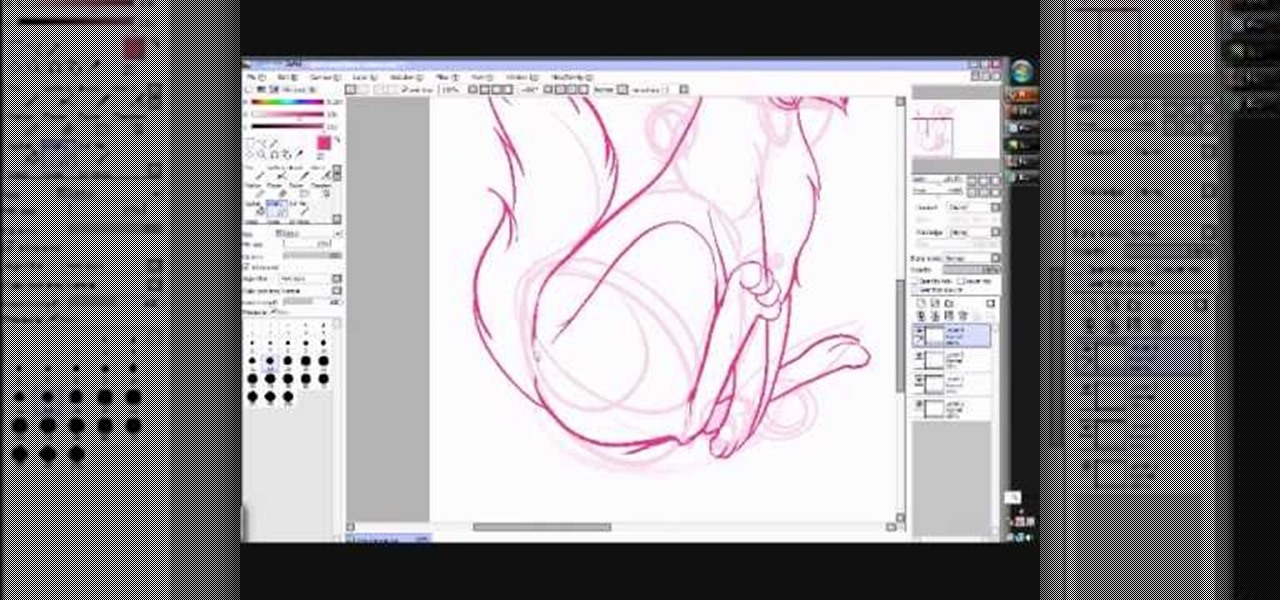
How To: Draw wings
In this tutorial, we learn how to draw wings. To start, use line options to make curves that bend out and turn into a long and thin wing. You can copy and paste this wing so that all the different parts of the wing are the exact same. After this, use a free hand brush to draw curved lines onto the top of the wing outline. After this, start to add circles and other details to the wing. You can fill it in with color or add in more feathers where they would be on top of the wing. To finish, save...
How To: Draw Neopet cartoon cats
In this tutorial, we learn how to draw Neopet cartoon cats. First, use a small brush to create the outline of each of the cats. Use light strokes to make the outline, then start to add in the details onto the cat with a darker colored brush. Add in the details of the face, including the whiskers, mouth, and eyes. Don't forget to add on the ears as well. Erase and lines that are on the back of the drawing, so all you see is the darker and more exact lines. Continue on drawing the body, making ...

How To: Revamp a junk shop dress
In this tutorial, we learn how to revamp a junk shop dress. First, you will need to measure out how short you want the dress to be while still wearing it. After this, take the dress off and pin it where you want to sew it. Cut off excess fabric, then sew the hem of the dress where you want it to be. Next, place the dress back on and pair it with some cute leggings. You can buy a cheap dress and make it look nice without having to pay a lot. Pair this will some cute accessories and you will ha...

How To: Draw a cartoon brontosaurus
In this video, we learn how to draw a cartoon brontosaurus. First, draw a large hump that is a half circle, then draw a line on the other end of this. After this, draw a tail on the other end of the hump and then go down and draw the feet on the bottom. Continue going and draw up the neck and make a circle for the head. Draw in a large eye on the head and make a smile on it. Next, draw soft spikes on the back of the dinosaur and color it in if you prefer, then enjoy your cute drawing!

How To: Draw a rose, step by step
In this tutorial, we learn how to draw a rose, step by step. start off drawing the petals of the rose, making the inside of the flower first. After this, start to draw in more details and draw around the inside of the flower, making the rose larger and larger. After you have done this, draw on the stem underneath where the petals are, and add leaves onto the stem. Continue to add in any details that you see fit throughout the picture. When you are done drawing, color it if you prefer, then si...
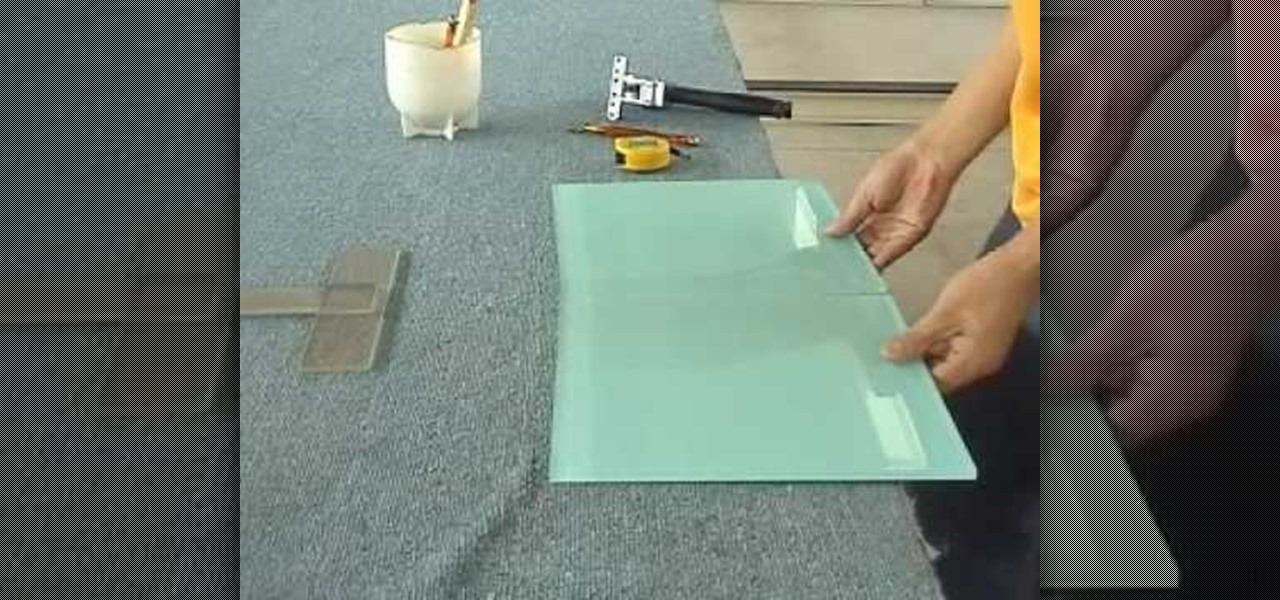
How To: Cut large format glass tiles
In this video, we learn how to cut large format glass tiles. First, measure out where you want the cut to be on the glass, then cut it with a sharp X-acto knife. After this, use a glass cutter to cut the bottom of the glass and create a crack what will go down to the cut that you just made. After this, break the two sections apart and you will have two piece of tile out of your large one. You can do this on any kind of tile and it takes just a few short steps. When you're done, sand down the ...
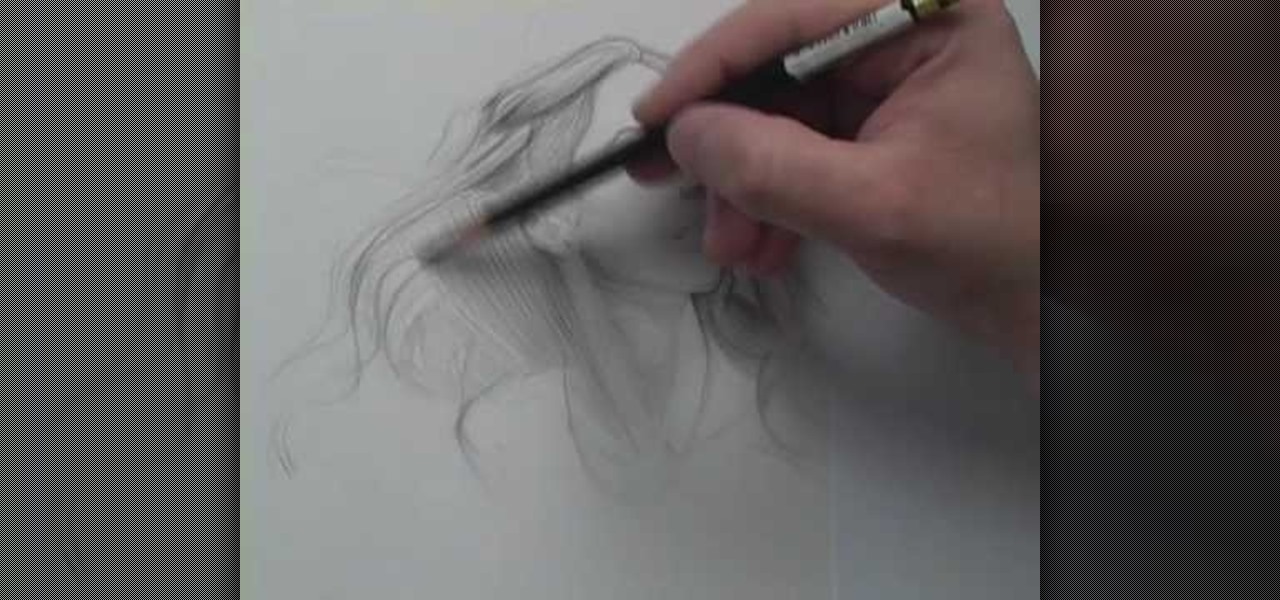
How To: Draw wispy hair
In this tutorial, we learn how to draw wispy hair with Matthew Archambault. When drawing these, you will first start off with a light pencil to make the hair look soft. After this, you will want to make the shapes of the strands look unique, then work from light to dark with the different strands. Use a harder pencil mark when you draw the outline of the hair. Make sure you don't do hard edges at all, everything needs to be soft. make sure you are drawing the hair outwards to make it look lik...

How To: Draw cartoon style mouths
In this video, we learn how to draw cartoon style mouths. Start out by grabbing a marker and drawing a round circle, then draw a shape on the inside and draw teeth on the top and bottom of it. After this, draw a tongue inside of it. For the next mouth, draw a curved line with teeth on the top, then a tongue in the middle. For the next mouth, you will draw a long tongue sticking out of a mouth. These mouths can be used in a number of different pictures, depending on what kind of face you are g...
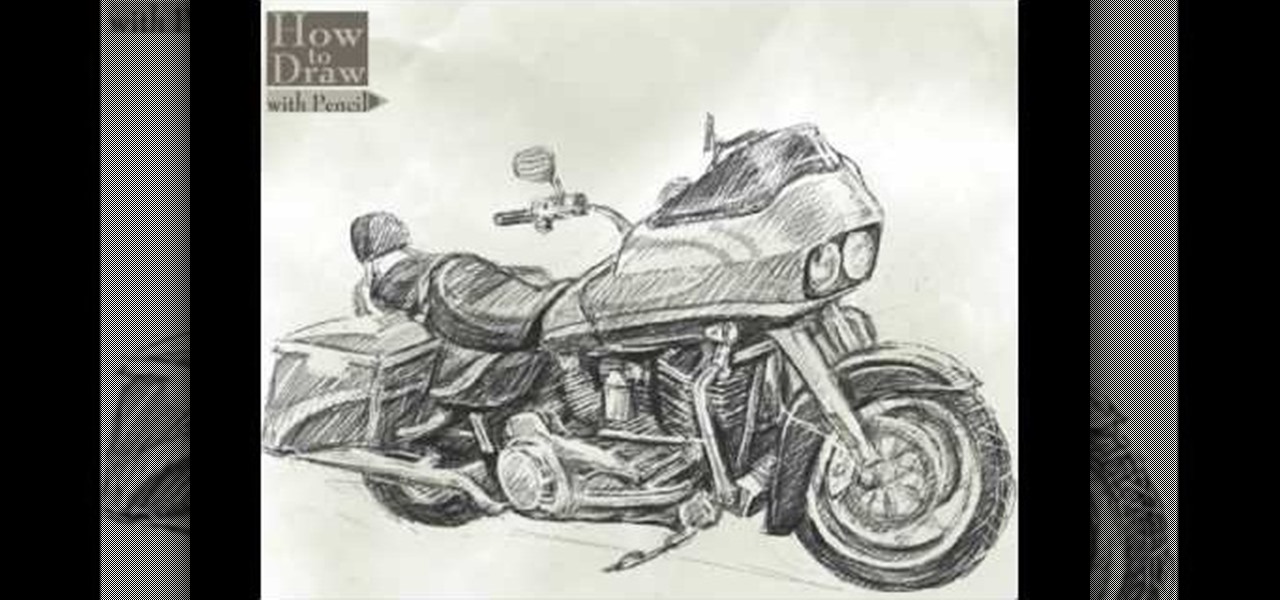
How To: Draw a Harley-Davidson Road Glide
In this video, we learn how to draw a Harley Davidson Road Glide. Start off by drawing the body of the motorcycle as a rough outline. After this, start to fill in the different areas by making large sections of the bike 3-D. Draw in the wheels and the back of the bike, as well as the handle bars, mirrors, and lights. Draw the seat and back seat in, then start to add in further details. Apply shadowing to the car, making some parts darker than others. When you are finished with the drawing, co...

How To: Draw Naruto (face and head)
In this video, we learn how to draw Naruto. Start out by drawing a circle as the outline. After this, draw the jawline. Next, draw lines in the middle so you know where you are going to draw the eyes and the rest of the facial features. Next, define the features on all the different parts of the face. Start to add in shading to the face, then draw in the hair. Next draw in a hair band at the top of the head, followed by spiked hair coming out of the top and ears on the side of the face. When ...
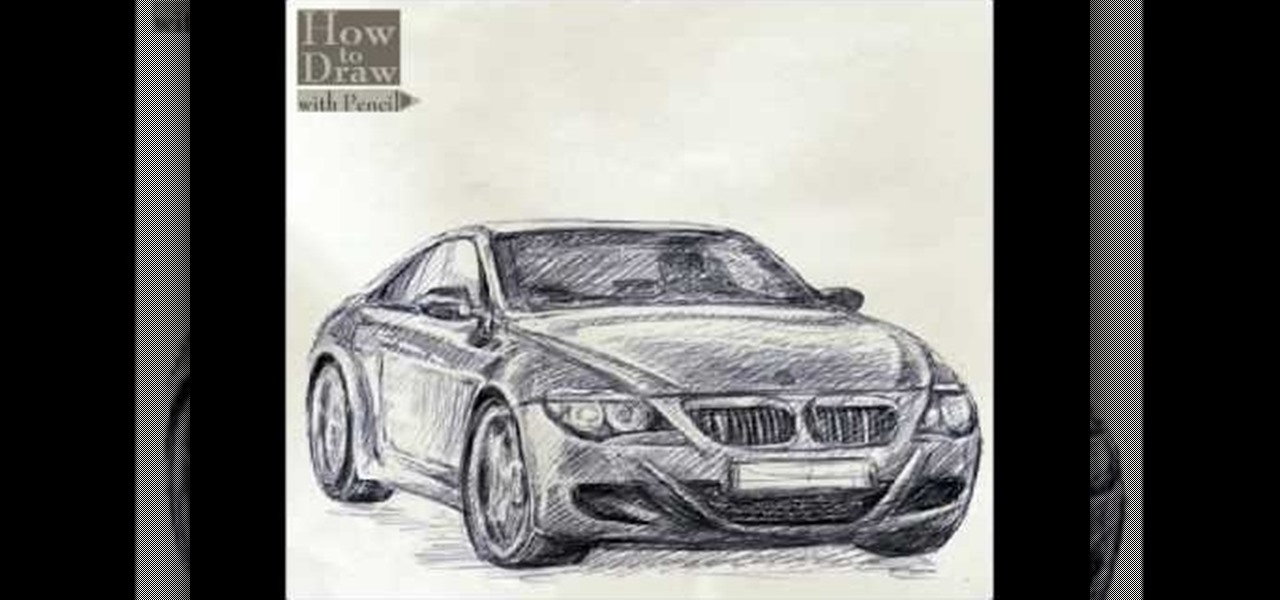
How To: Draw a BMW car
In this video, we learn how to draw a BMW car. Start off by drawing the outline of the car. After this, start to shade the drawing and add in the details of the car. Draw in the windshield, headlights, grill, license plate, and all the other small details. Make sure to use shading underneath the car to make it look more realistic. Also do shading inside the driver's seat to make it look like someone is inside of the car driving. Erase lines where you don't need them to make the car look more ...

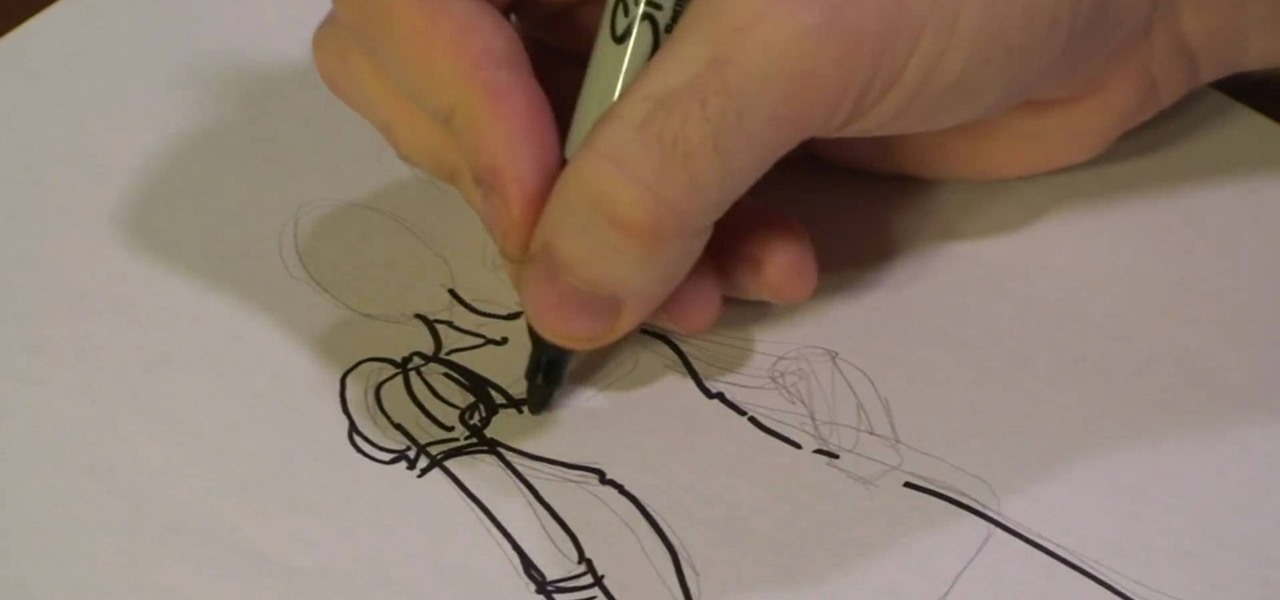
How To: Draw a game character in motion
In this video, we learn how to draw a game character in motion. First draw the outline of the game character and make the body more prominent with details. After this, start to add in darker lines around the outside, then start to shade in the drawing and make the different parts pop out of the page. Next, add in colors throughout the sketch and add in white marks to show the glare on the picture. You will want to keep adding in all the small details to make this picture look even better. Whe...

How To: Draw and color a room with art markers
In this tutorial, we learn how to draw and color a room with art markers. Start off by drawing a basic room, using a vertical vortex as your map of where everything goes. Draw in the stairs as you see them, then draw the hallways, windows, picture frames, and more. Draw in the carpet that is on the floor, then add in any other details you may have in the home. After this, start to add color to your picture as you prefer. Color the walls and the floors in different colors that blend together a...

How To: Draw Hamtaro
In this video, we learn how to draw Hamtaro. Start off by drawing the large head, followed by the body and the ears. After this, draw the arms and legs onto the character. Next, outline the drawing in a darker pen, then add in additional details. Draw on the eyes, nose, and pupils. Don't forget to draw on the paws and feel as well as lines to make it look like fur. To finish up this picture, you will need to add colors to the hamster. You can go with the traditional colors, or change them up ...

How To: Draw My Neighbor Totoro
In this tutorial, we learn how to draw Totoro. Start off with the ears, then connect the top of the head around them and continue to draw the rest of the head. Fill in the eyes and the nose on the face, then make lines on the side of the face to show whiskers. After this, draw an egg shape as the rest of the bottom, then add hairs onto the stomach area. Draw small little lines on the bottom of the character to make it look like he is sitting on something. To finish, draw the character holding...

How To: Draw an adorable little puppy
Michael Weisner teaches us how to draw an adorable little puppy in this tutorial. Start out by drawing the outline of the dog, drawing in all the details as well as the body. After you have the base done, grab a Sharpie and start to draw the top of the head and the ears. Make lines on the top to make it look like the dog has fur and don't forgot the eyes and nose on the face. After this, trace out the rest of the body, including the front and back paws. Make sure to add in any shading you fee...

How To: Draw a palm tree
In this tutorial, we learn how to draw a palm tree. Start off by drawing the ground on the bottom, then draw the base of the tree. Make it curved, so it looks more realistic. Two lines will be going up until you start to draw the leaves on the tree. After this, you will want to start in and shade one side of the tree that the sun will have touched more than the other. Add lines to the tree as well, so you can see the textures that are on it. When drawing the leaves, make sure you are drawing ...
How To: Draw a variety of prom dresses
In this tutorial, we learn how to draw a variety of prom dresses. First, you will need to start out by drawing the dresses on different body shapes. Make dresses that are long, short, and knee-length. After this, use a marker to draw the outline of the body and the dress, then start to add in the pleats and the dress details. Add on scarves and other items to the different types of dresses, then continue doing this for the different types of dresses and body shapes. When you are done, draw in...

How To: Draw the anime character Tobi
In this tutorial, we learn how to draw the anime character Tobi. Start off by using light pencil markings to outline the face and the head. After this, use a marker to draw in the eyes and pupils. Next, draw in the eyebrows over the eyes, then make a small mark for the nose. Draw in a line for the mouth, then make one of the eyes a diagonal line, like the character is winking. Start to outline the chin, then draw in the ears and start making the hair. The hair should be spiked and going down ...
How To: Make a vintage inspired vest with Threadbanger
In this tutorial, we learn how to make a vintage inspired vest. First, measure yourself around the bust waist and hips. After this, write down what your measurements are, then mark them on a piece of fabric you want to use as your vest. Cut out the shape and then fold in the edges and sew the sides to hem them and reduce and frays. After this, add in any scrap pieces of fabric you have laying around and sew them to the vest to make your desired look. After this, sew on buttons to the front of...
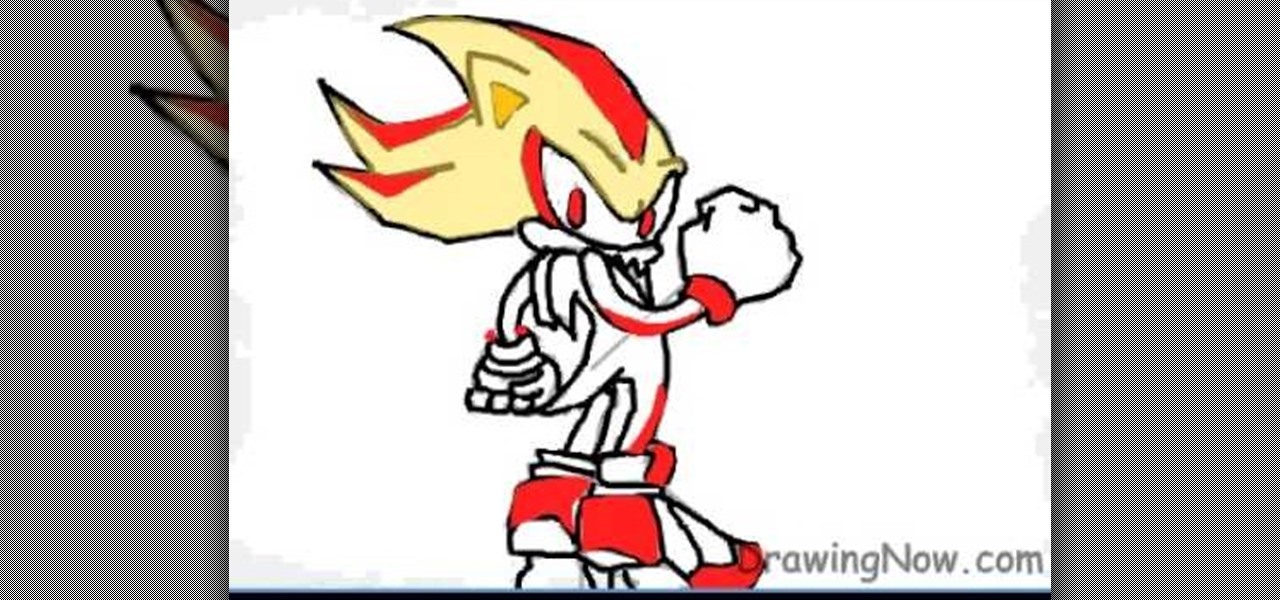
How To: Draw Super Shadow from Sonic the Hedgehog
In this tutorial, we learn how to draw Super Shadow from Sonic the Hedgehog. Start off by drawing the spikes for the hair, then draw the ears and the eyes on the face. After this, draw the arms, upper body, lower body, and legs. When you are finished with this, use a dark pen to outline the cartoon character and draw in any additional details. Next, you will add in colors to the character, using reds on the outside of the hair and legs, then orange and tan on the inside. Finish this off with ...
How To: Start drawing things
In this video, we learn how to start drawing things. To get started with drawing, you have to have a passion for it and know what you want to draw. If you are going to draw with your computer, you will have to learn what all the different tools mean and you will have to learn how to use them. Make sure that when you are drawing, you use shading to your advantage. Start off drawing small things and use outlines to help you draw more precisely. Take your time when you draw and use different tou...
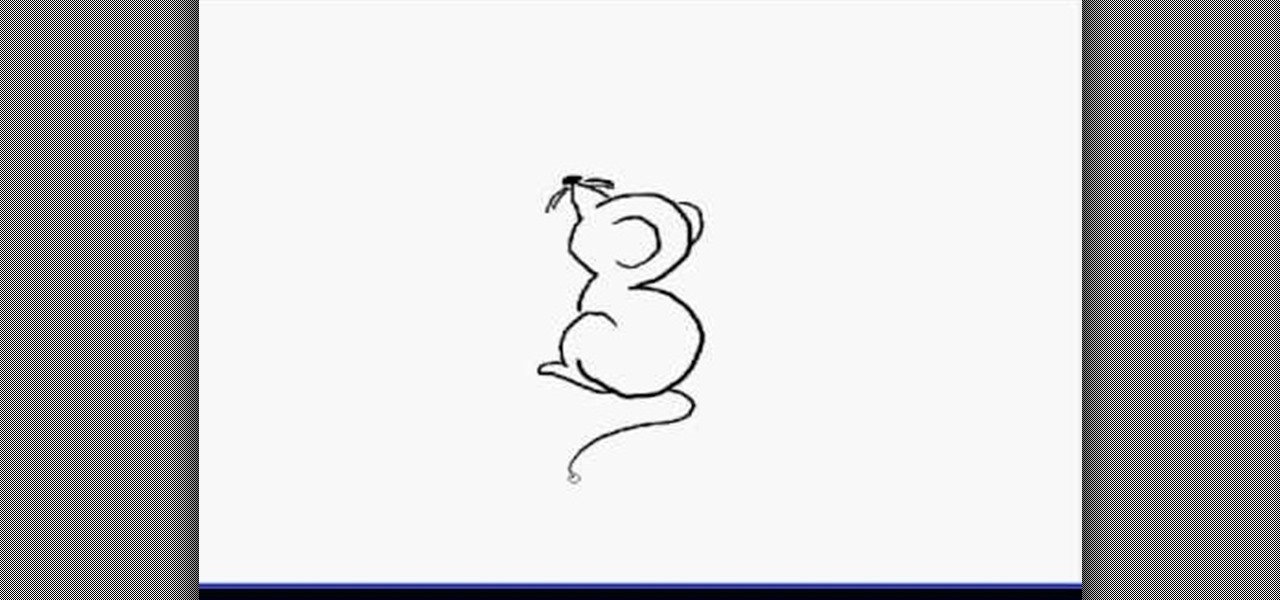
How To: Draw a cartoon mouse from the number 3
In this video, we learn how to draw a cartoon mouse from the number three. First, draw out your number three. Now, create a triangle shape on the end of the top of the three, then add in a circle and whiskers. Next, add in a half circle on the first hump of the three, then connect the body of the mouse going down the end of the three. Add in a tail at the bottom of the number, then add in a foot next to the bottom of the three. You can adjust this drawing how you prefer and add in any other d...
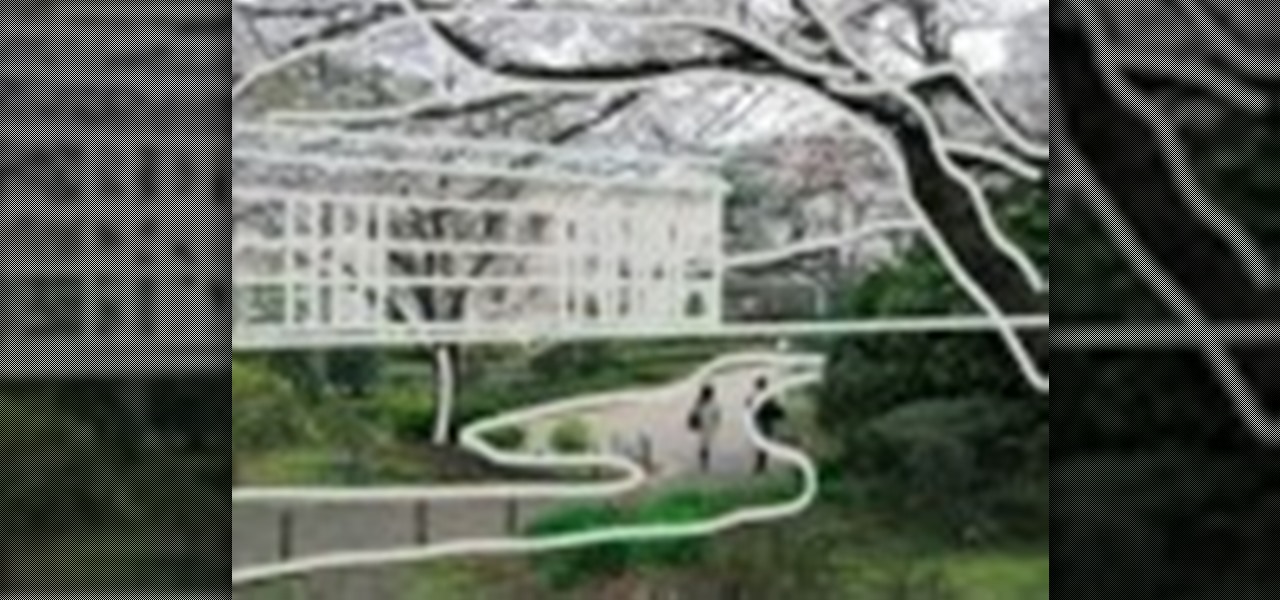
How To: Measure your space when drawing a landscape
In this video, we learn how to measure your space when drawing a landscape. First you want to draw a line in the middle and measure out the line to the top of the building, and create another line there. Measure the length and then measure the edge of the outside of the building. After this, find the end point for the building and measure from the top down or from the second line to the roof, then draw the line across. Measure in from the end to get the angle, then find the layout for the tre...
How To: Draw a cute puppy
In this tutorial, we learn how to draw a cute puppy. First, you will use a pencil to draw the outline of the body of the puppy. After this, start to draw the details of the face and add in the ears and details for the hair. Next, draw in the pupils of the eyes and then draw in the nose and the mouth. After this, draw in the details on the body and add in lines and shadowing. After this, add details to the paws and then erase any lines that you don't need. When finished, color this in or leave...

How To: Draw a wolf step-by-step
In this video, we learn how to draw a wolf step-by-step. First, draw out an outline of the body using circles and lines to show where the legs will go. Next, make the snout for the nose and then draw in the ears and the eyes. Next, draw in lines around the outside of the wolf to show that it has fur. Next, use a darker pen to outline the wolf, then add in details to the legs and the rest of the lower body. Add in a tail that is curved but not high in the air. When you are done, you will have ...

How To: Write the letter B in calligraphy copperplate
In this video, we learn how to write the letter "b" in calligraphy copperplate. Start off with a piece of lined paper and your calligraphy pen. Create a smooth curved line going down, with a dot that is at the end of the line. After this, create a swirl on the left hand side of the line, then curve it out to make the top of the letter of the humps on the "b". Make sure you grab ink often, especially when you want to make a bolder line. Continue down to make the humps of the letter, then when ...
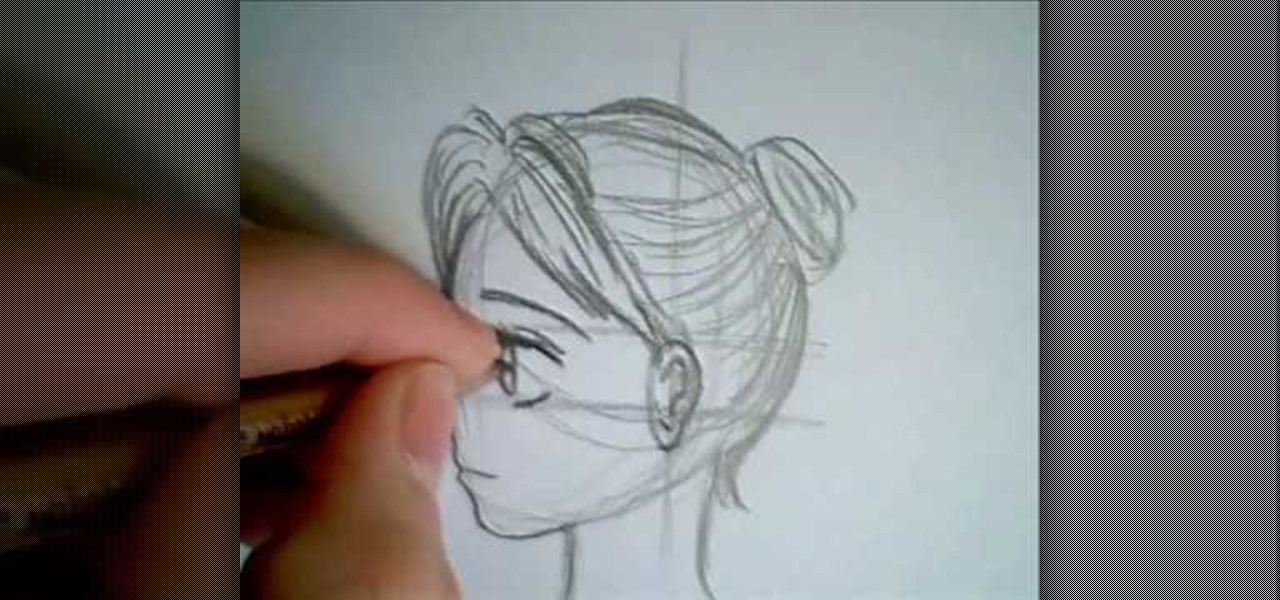
How To: Draw a manga face sideways
In this video, we learn how to draw a manga face sideways. start by drawing a round circle with a light pencil. After this, draw a chin that is from the side view. Next, add on the nose and make the chin look more prominent, like you are seeing the profile of the face. After this, draw on the ear to the center of the face, then start to add in further details. Make the eye and add shading by the nose to make it appear as though there's another eye. Add in eyelashes, then start to add in hair ...

How To: Draw the characters Super Dog Bolt, Mittens and Rhino
In this tutorial, we learn how to draw the characters Bolt, Mittens, and Rhino. Start off by drawing the body of bolt, then drawing the bodies of Mittens and Rhino on both sides of the dog. Start to draw in details after you get the main bodies drawn, then use a dark line to outline all of the animals. After this, start to color all of the different animals. Also, color the background of the picture bright red with a touch of yellow in the middle. Finish this off by adding in further details ...

How To: Master Figure Drawing By Erasing
Master Figure Drawing using an Eraser Having trouble with the human form in your figure drawing class? Or just looking to impress your girlfriend or boyfriend with your art skills with a beautiful drawing of their figure? Here is a simple tip to trick your brain into using more of the right, creative, side of your brain. You will need:

How To: Easily draw wings
In this video, we learn how to easily draw wings. First, take a piece of paper and grab a pen. Next, use light marks to draw in the outline of how you want the wings to look. Draw in the sides and make sure to show the feathers out on the edges of the wings. After this, draw in details on the wing. Make sure to show the different layers of wings, including the small and larger ones. Add in colors to the picture if you prefer, then you are finished drawing these. This is easy to do and great f...
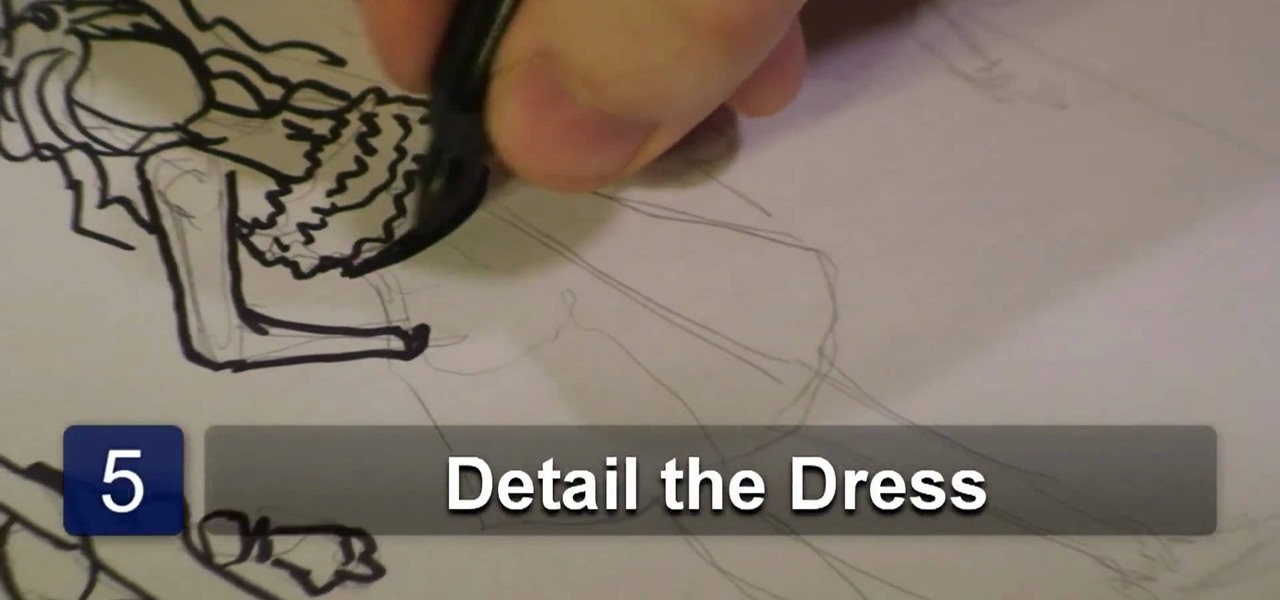
How To: Draw couture dresses
In this tutorial, we learn how to draw couture dresses. First, sketch the body onto the paper and then outline it with a black permanent marker. Make the lines soft and outline the body to have curves like a real woman. After this, start to add in the details of the dress, making the shoulders poof and adding accents to the side shoulder. Next, start to polish up the drawing by defining any lines and making different shapes. Make sure to draw the dress exactly how you want it, showing how it ...
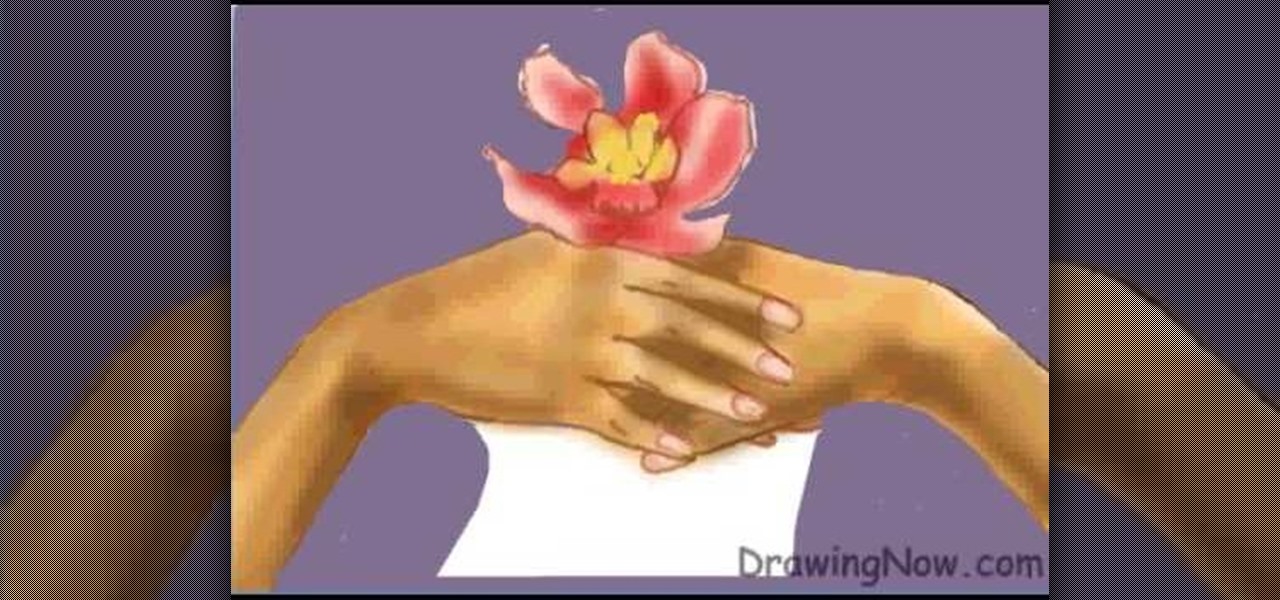
How To: Draw two clasping hands
In this video, we learn how to draw two clasping hands. Start off by drawing the two hands holding each others hand. Next, draw a circle above the hands like they are holding something. After this, draw a large flower on the circle and then start to erase the base lines from the drawing. Draw in the fingernails on the picture, then color in the skin color on the nail. Color the flower any color that you would like, then draw in the background to any color you prefer. Shade the wrist of the ar...
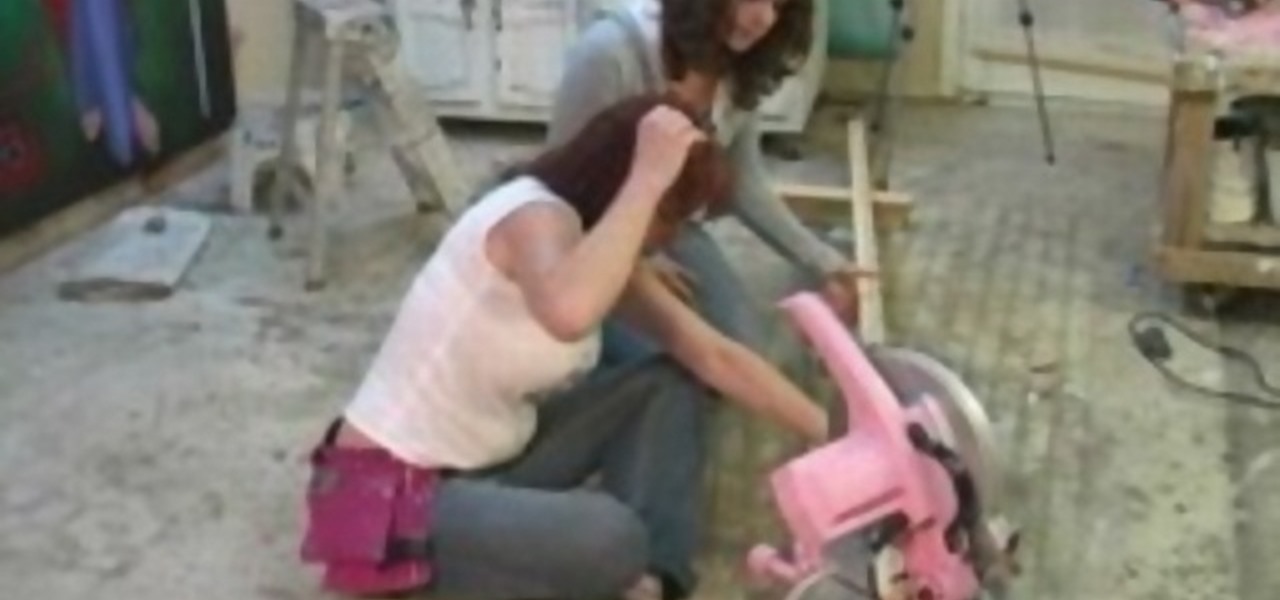
How To: Build a canvas frame stretcher
In this video, we learn how to build a canvas frame stretcher. First, you will need to choose lumber that is the size you want your stretcher to be. After you do this, use a hammer and nails to connect all of the pieces of wood together so you have a square shape. You will need to hammer in a lot of nails so the frame stays in place. Use a saw if you need to cut any points down or make it smaller than you have it. When you are done, screw any additional nails into the frame and make sure ever...

How To: Draw different kind of eyes
In this tutorial, we learn how to draw different kinds of eyes. If you are drawing an eye from the side, make sure you show the eye bulging out of the eye, and show the long eyelashes and layers of the lids. If you are drawing an eye looking up, make sure to show the socket of the eye and the layers underneath the top of the eyelid. To draw an eye closed, you will show the brow bone and crease of the eye, as well as the lashes and the circles underneath the eye. There are a lot of different e...