

Active Fine Art Posts


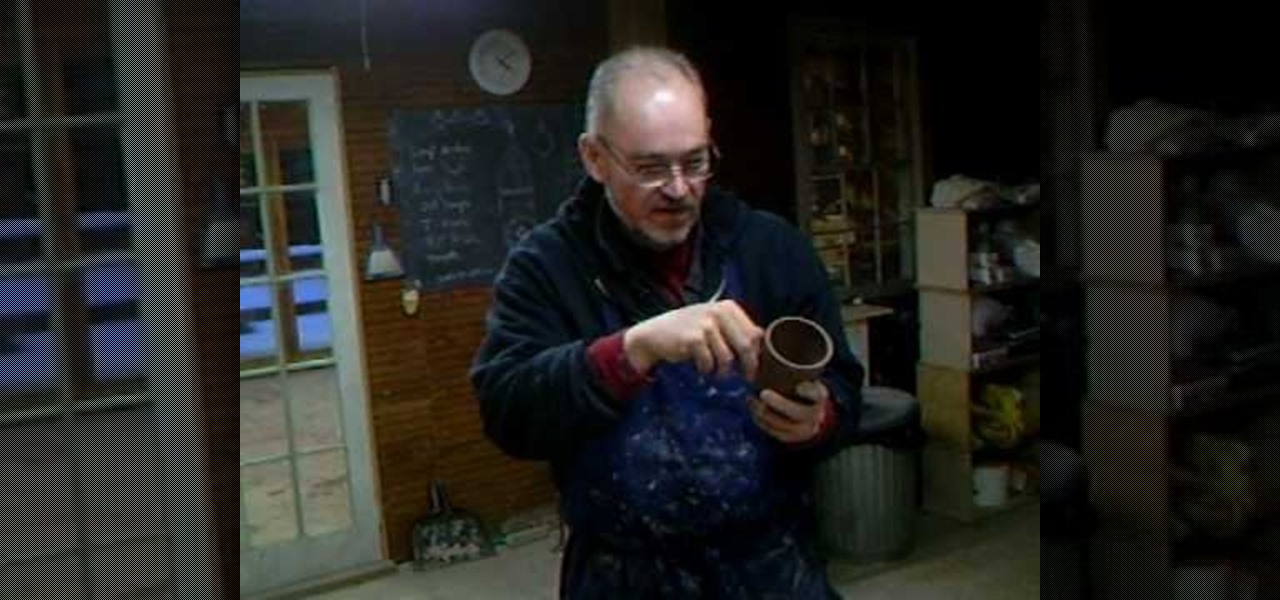
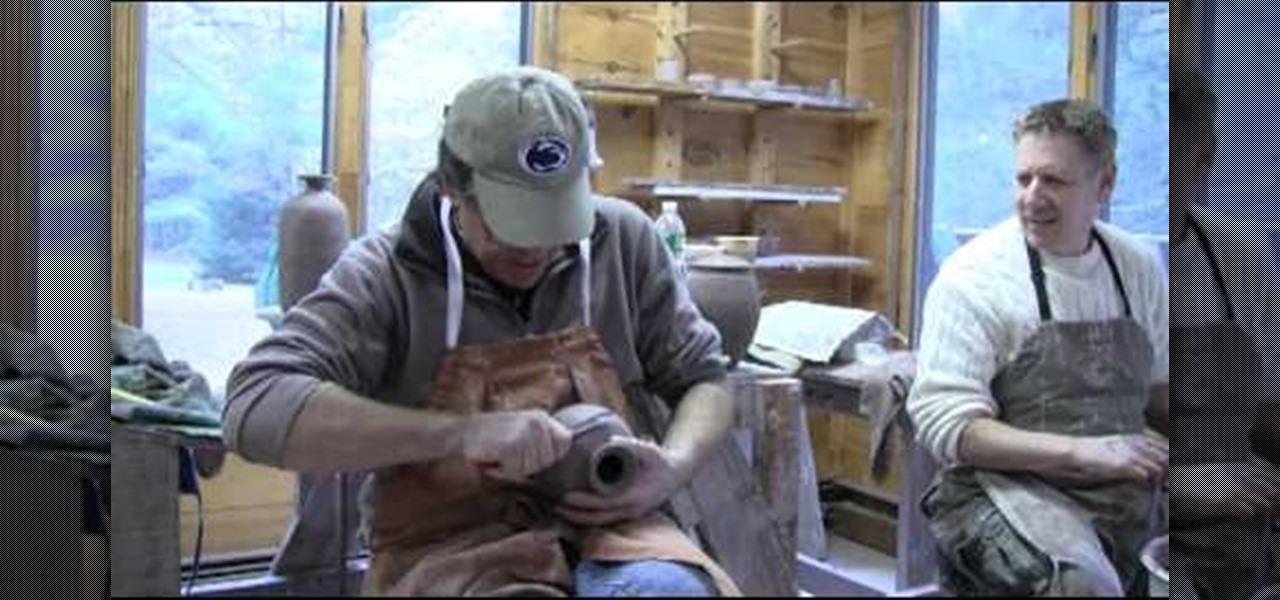
How To: Put handles on your ceramics
Simon Leach teaches us how to put handles on your ceramics in this tutorial. The key thing is to never let the handle fall as you are adding it to a cup, always keep it supported. Look at the handle as you are placing it on and think about proportion and size. If it's sticking out too far it's going to get knocked off. You need to have an elliptical shaped handle when you are shaping them so they can be gripped properly. Don't score the bottom part when you are joining the handle to the botto...

How To: Draw a head in 3/4 or side view
This video shows aspiring artists how to draw the head in a 3/4 or a side view. Three lines should first be drawn in a pie-wedge like shape. First, a line is drawn from the chin to the hair line and another one is connected to that, arching across the forehead to the back of the cranium. Then a final line is drawn from the endpoint here to the base of the chin. A face can then be drawn along line 1, to show the profile or side-view of your character. A triangular shape is drawn about half-way...

HowTo: Start a Fire With Stuff From Ikea
Apparently IKEA does not sell matches or lighters, so Helmut Smits was forced to improvise. Titled FLAMMA, this conceptual art piece is outdoor survivalism for the resourceful yuppie set.

News: "Living" Flower Dresses Change With the Seasons
While I don't find Mattijs van Bergen and Anouk Vogel's "Living" dresses aesthetically earth shattering, I'm wowed by the concept. The fashion designer and landscape architect created a collection of dresses made from recycled inner tubes and flowers for a late summer exhibition titled “Fashion & Architecture” at the Amsterdam Centre for Architecture.
How To: Make easy and quick duct tape shoelaces
By now you've probably heard of the duct tape crafting trend. If nothing else, the sour economy has inspired an upsurge of popularity in DIY stuff, including using duct tape to make everything from prom dresses to wallets.

How To: Draw Grenadier from "Gears of War" on Photoshop
There's nothing quite like drawing a venemous villian trying to throw a bomb at you to awaken your senses and get your fingers flexible for the drawing-filled day ahead.
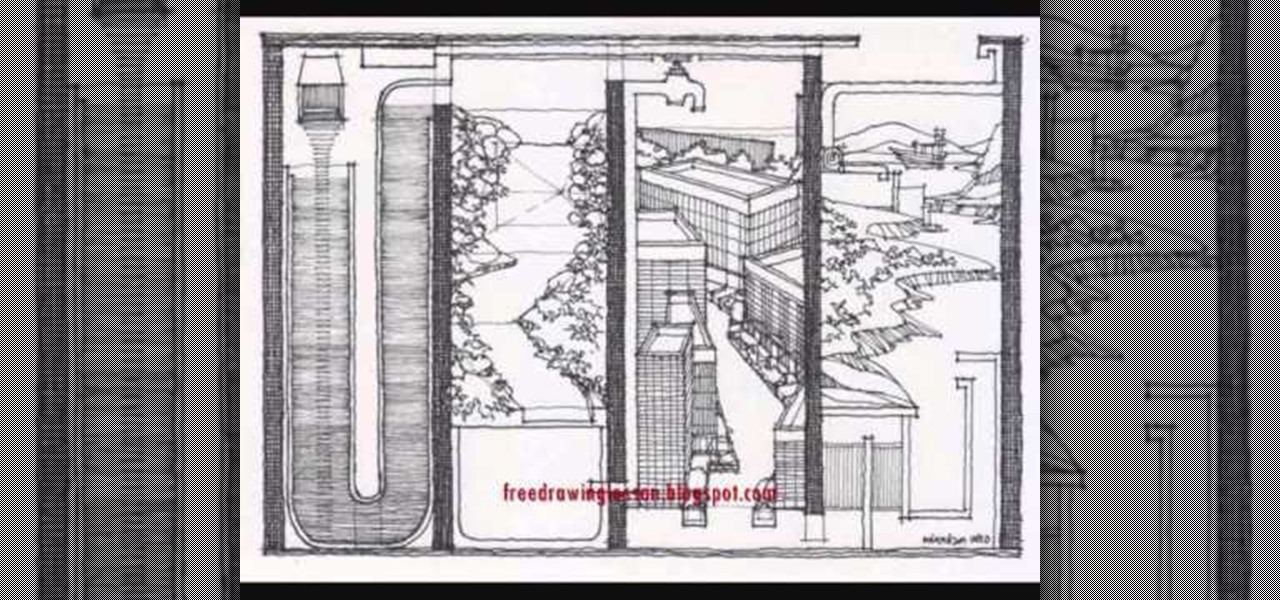
How To: Draw a boulevard of retreat houses with a stream running through the center
With all the stuff we have to do these days and our constant connectivity to the internet, it's no wonder most of us have a hard time taking a break. And no, by break we don't mean checking your Facebook and updating your satus.
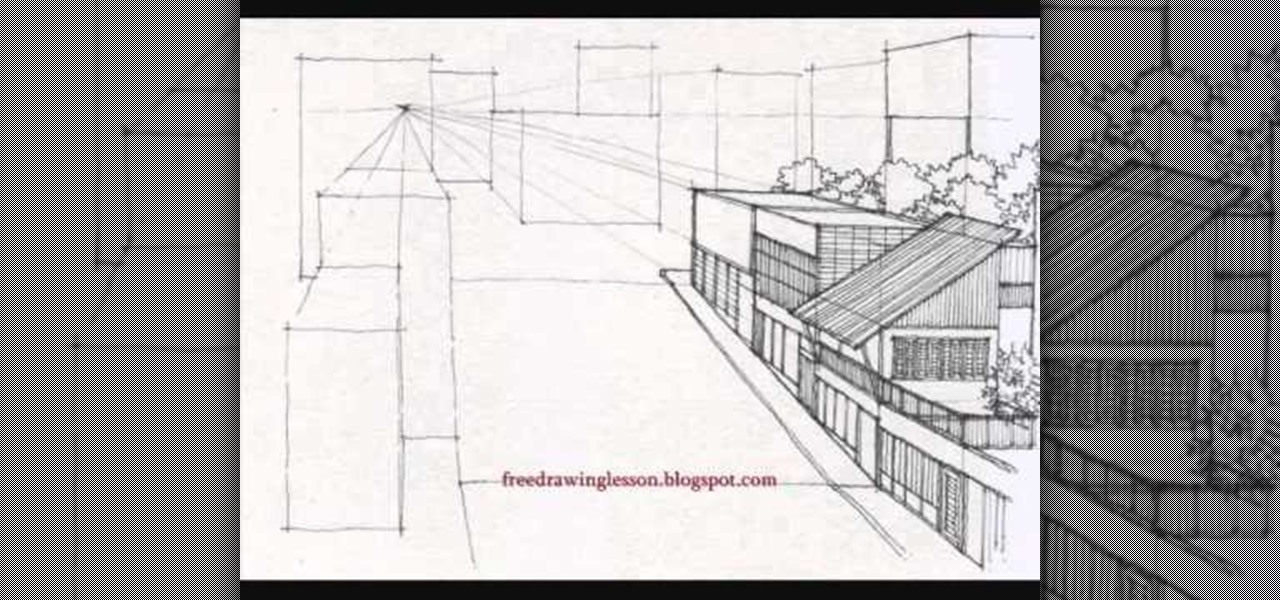
How To: Draw a small and cozy town with a single vanishing point
Artists discovered the almighty vanishing point during the early Renaissance and haven't stopped using it since. The genius of the vanishing point is that it gives a three dimensional quality to a two dimensional space, meaning increased depth perception and more believability.
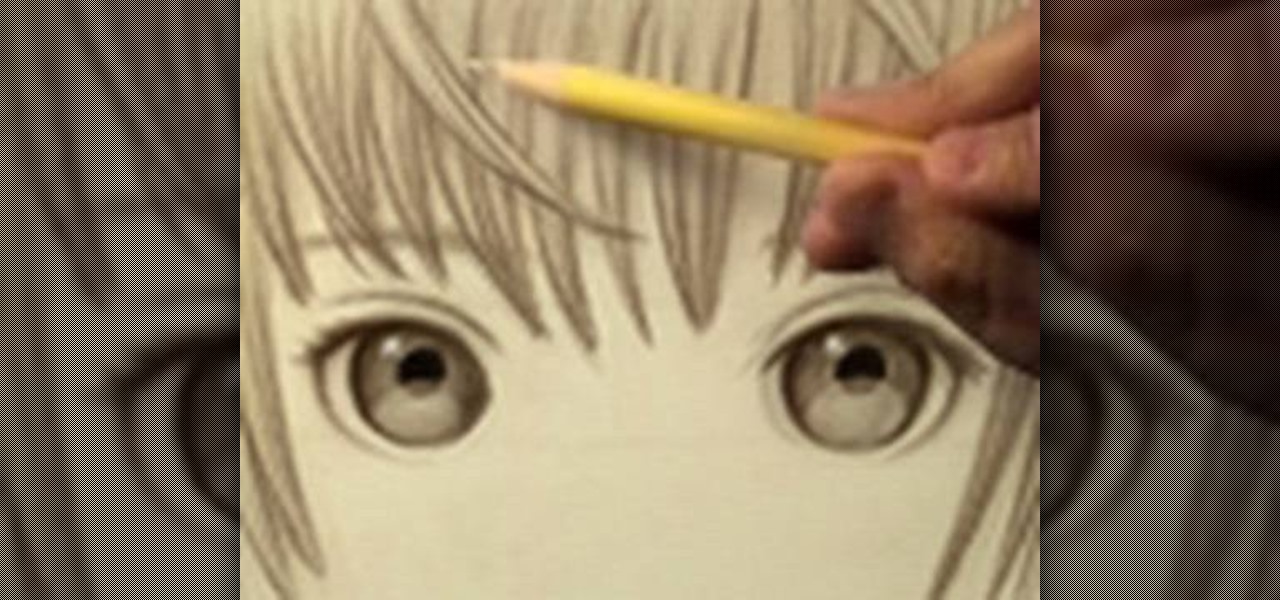
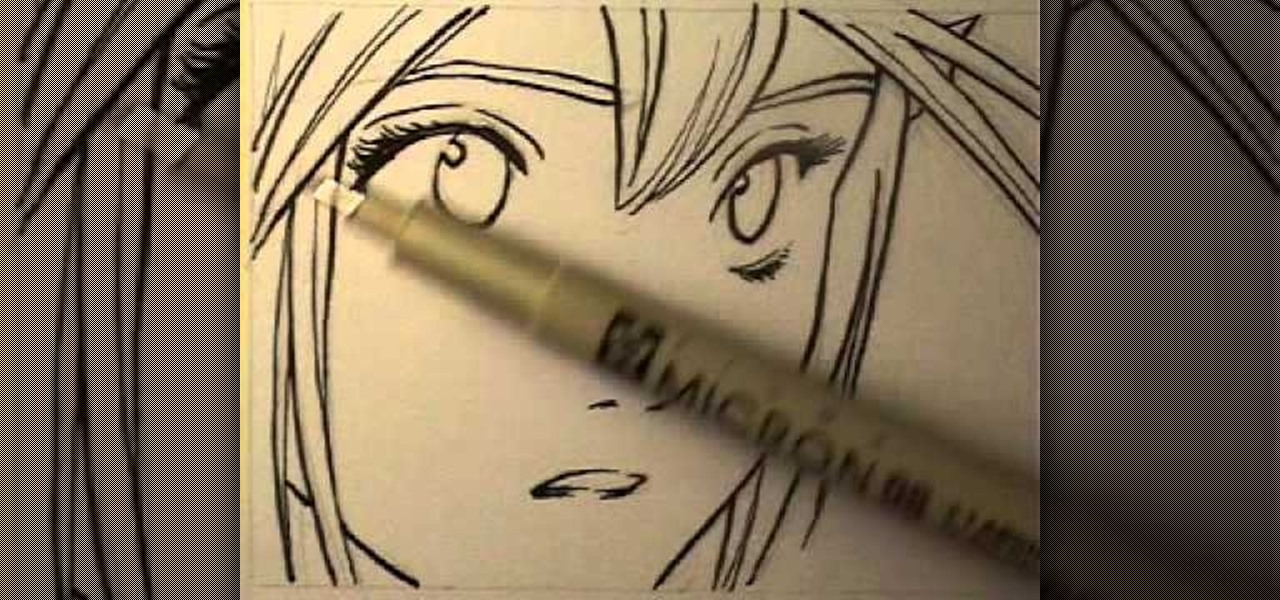
How To: Draw a pretty young anime girl with large eyes
The great thing about drawing in the anime or manga style is that once you've learned how to draw one girl you can easily learn to draw any girl, from the main female character in "Chobits" to Sailor Moon. This is because there's so much crossover in how women are depicted.
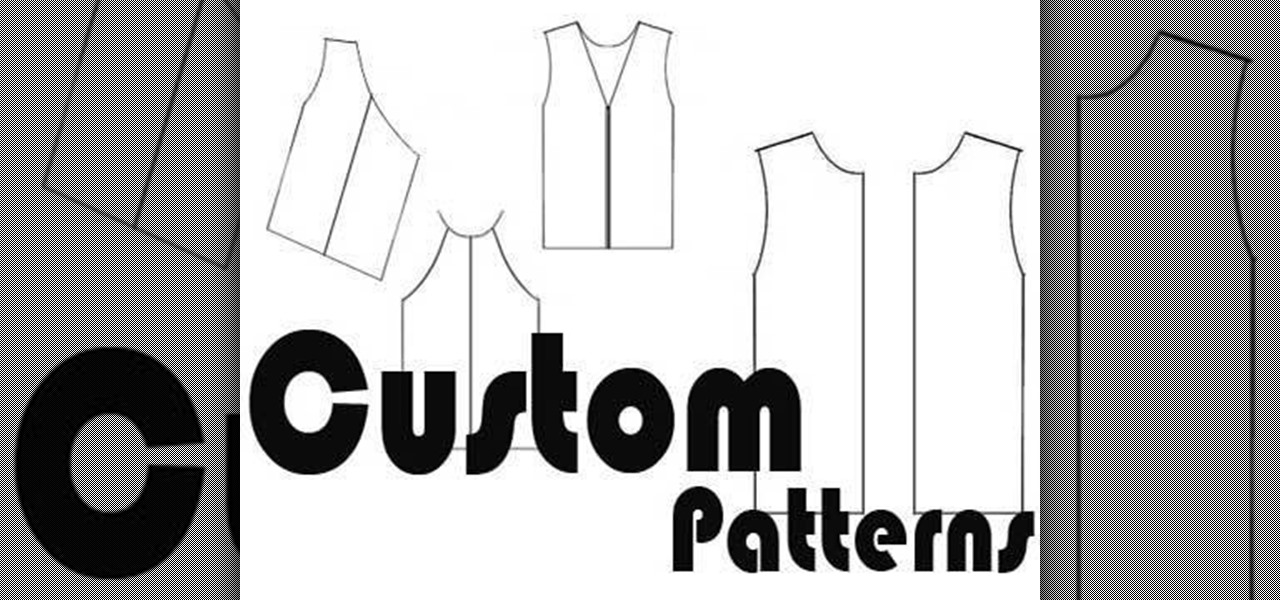
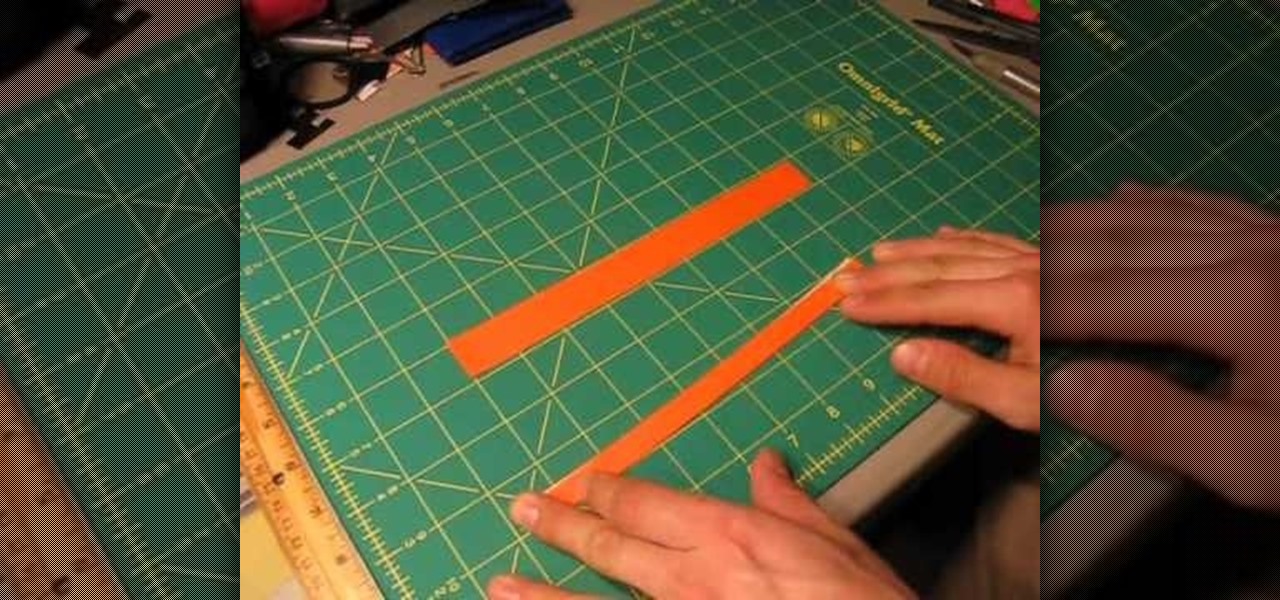
How To: Take self-measurements and make a custom tank top pattern
In this Threadbanger video, Secret Life of a Bionerd gives you tips on making a custom tank top pattern. She'll teach you how to measure yourself, along with making a simple pattern from those measurements. Making this tank pattern sure makes life easier when sewing. This is the basics to starting your own tank top designs, and opens the door to create many other pieces as well. Once you get this method down, you will love collecting homemade patterns.
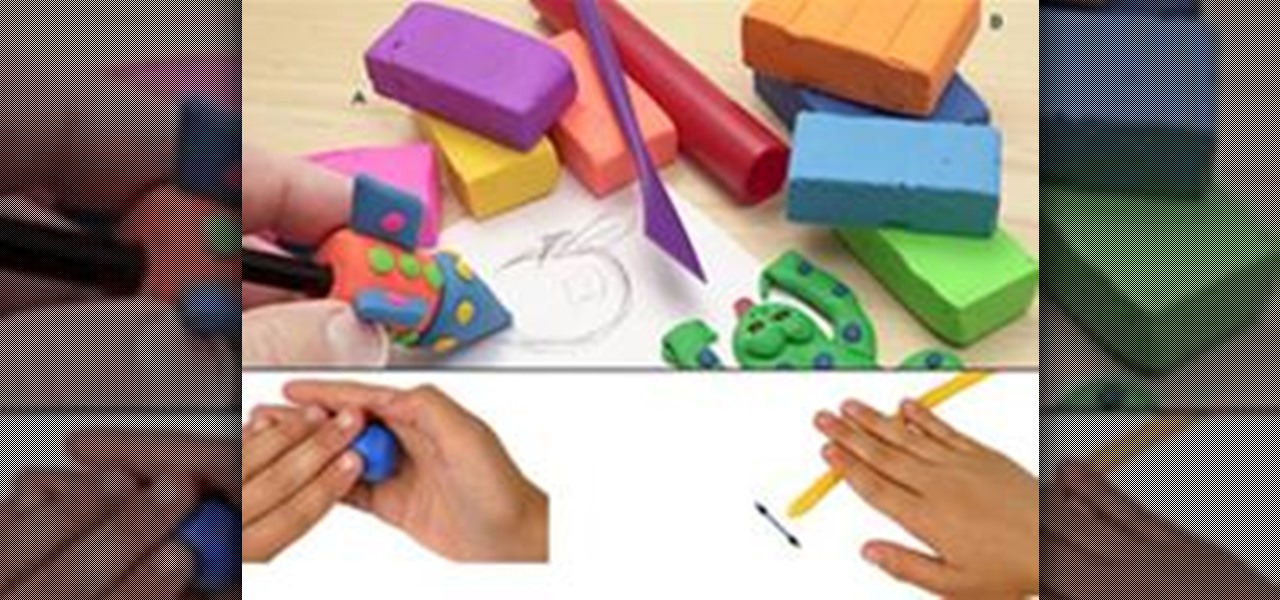
How To: Work with Polymer Clay for Beginners
Polymer clay is an exciting arts & crafts medium. Actually, "clay" is a misnomer; it contains no true clay, but rather consists of tiny particles of polyvinyl chloride (PVC) combined with plasticizer, which is what makes it malleable like clay.
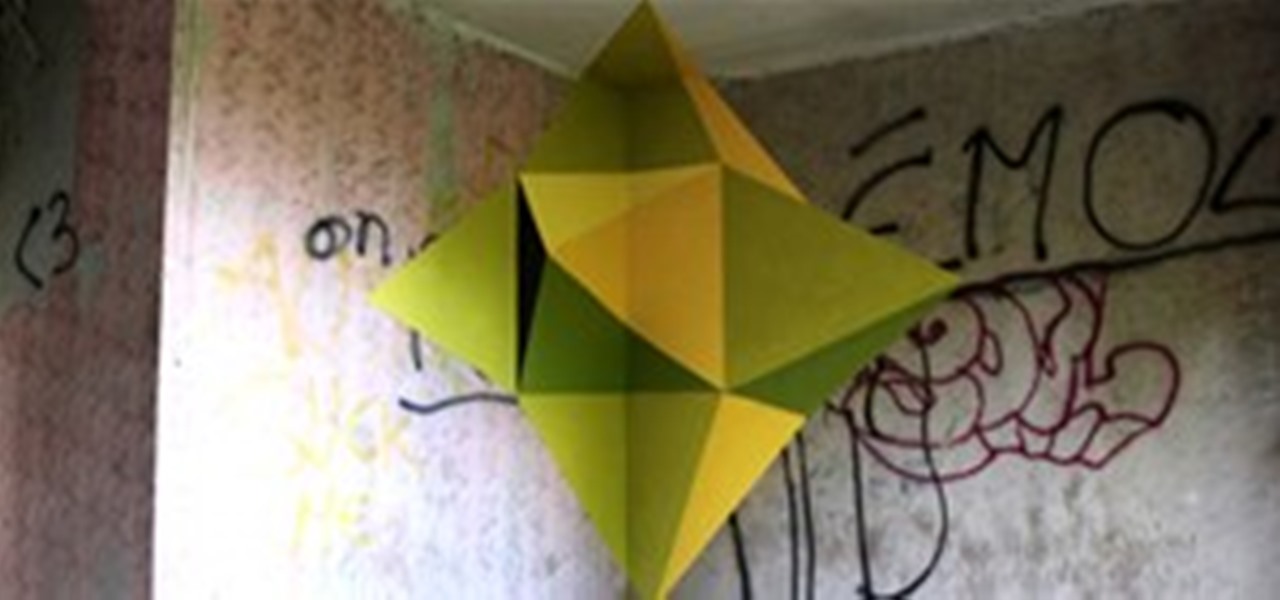
News: Trippy 3D Illusion Graffiti
Paper Donut is a collaborative graffiti project between Justine Ricaud and Alexis Facca. The French duo paint geometrical illusions as urban art (with the exception of the gallery installation below). They've also posted some detail shots that give you some sense of how it was done.

News: 108 Garbage Bags Become 1 Giant Computer-Breathing Organism
Berlin based artist Nils Vöelker's plastic bag installation entitled "One Hundred and Eight" features 108 plastic bags that inflate and deflate by 216 individually controllable computer cooling fans. Völker originally intended the piece to be a giant display screen, but the end result became something much more compelling. Via Wired:
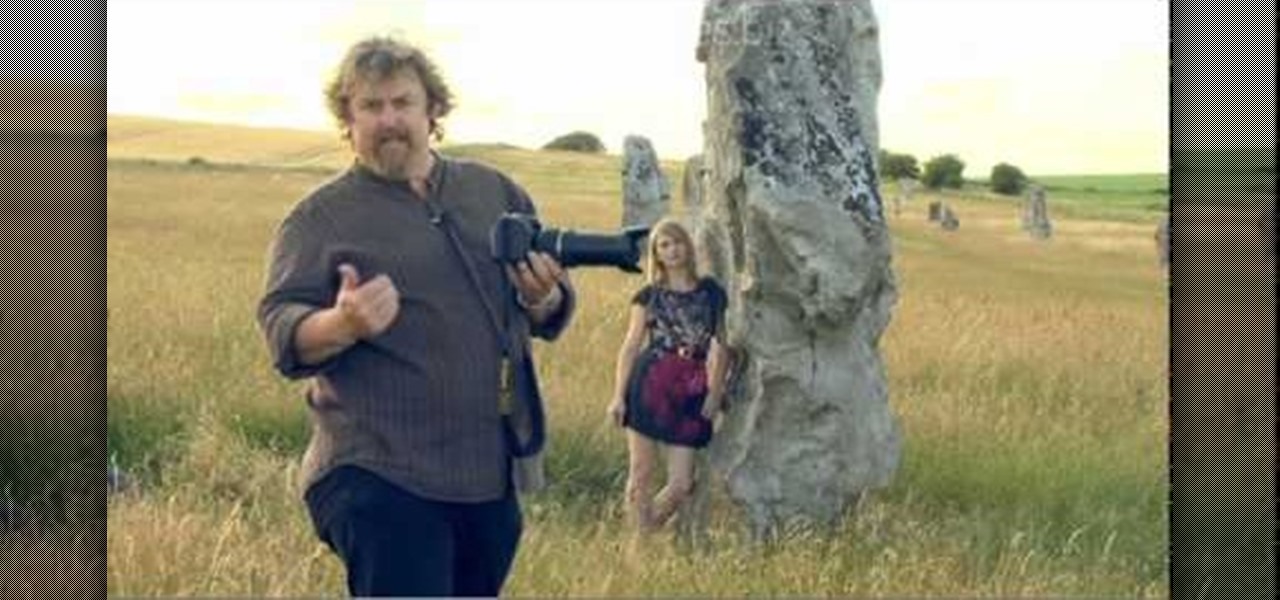
How To: Take striking pictures with telephoto lenses for digital SLR photography
There's a technique available for digital SLR cameras that most amateur photographers do not know about, or do not use correctly, and that's using a simple telephoto lens (long lens) to create blurry background, great portraits or awesome up-close macro shots. Without the telephoto lens, you lose a lot of the emphasis on your subject, because the background blends in, whereas telephoto lenses help create a degree of depth, blurring out the background, giving concentration on the foreground. I...
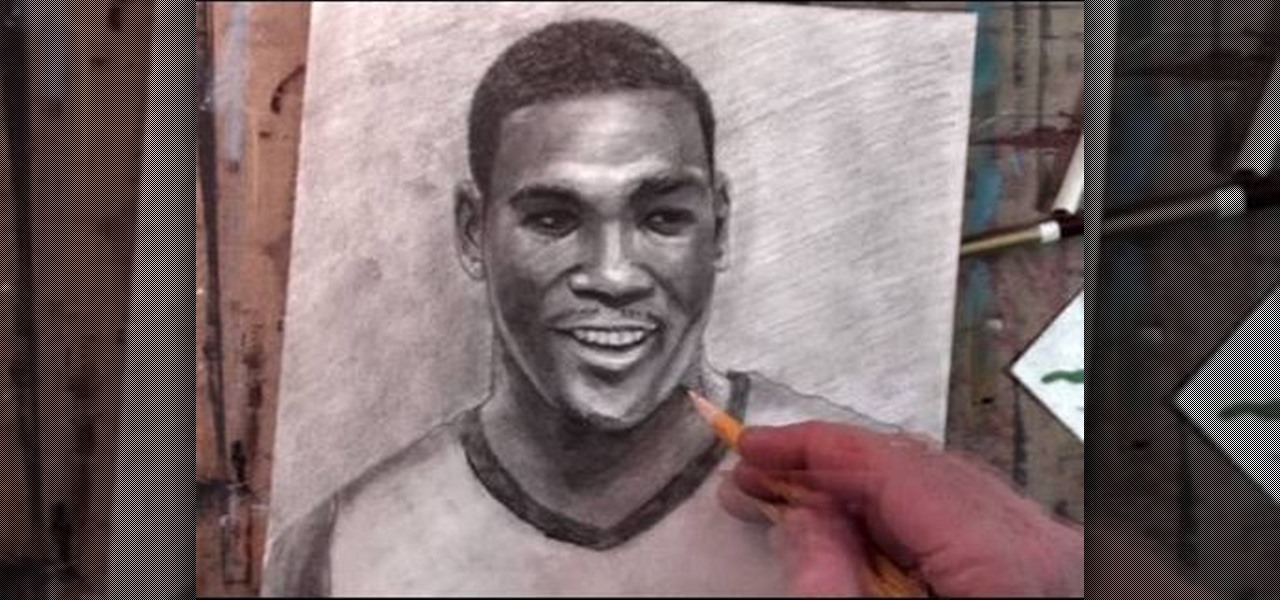
How To: Draw Kevin Durant of the Oklahoma City Thunder in his Team USA duds
If you're a fan of the Oklahoma City Thunder, then you must be a fan of Kevin Durant (previously of the Seattle SuperSonics). And since you're a fan of Kevin Durant, you should try putting your art skills to test and attempt to draw a nice portrait of this great basketball player in his Team USA uniform.

News: Interactive Super Mario Street Art
Students of Columbus College of Art & Design have created an "interactive" 8-bit mural, with a Super Mario Bros. backdrop. Mario and Luigi have been omitted so passers-by can jump into level 1-1.
How To: Draw a top-down view of mile high skyscrapers
You've probably already encountered a lot of video tutorials and books that show you how to depict skyscrapers from the front, side, and even looking up. But have you ever drawn them from the top looking down before? If you wish to truly excell at architectural draftsmanship then this is the perfect drawing tutorial for you.
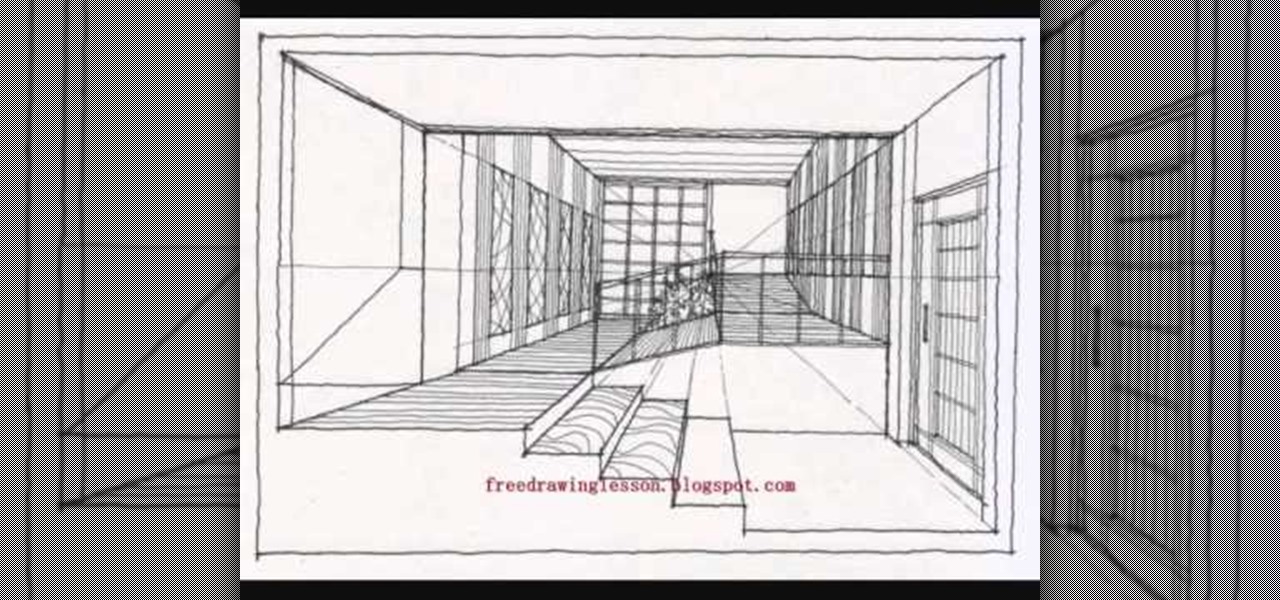
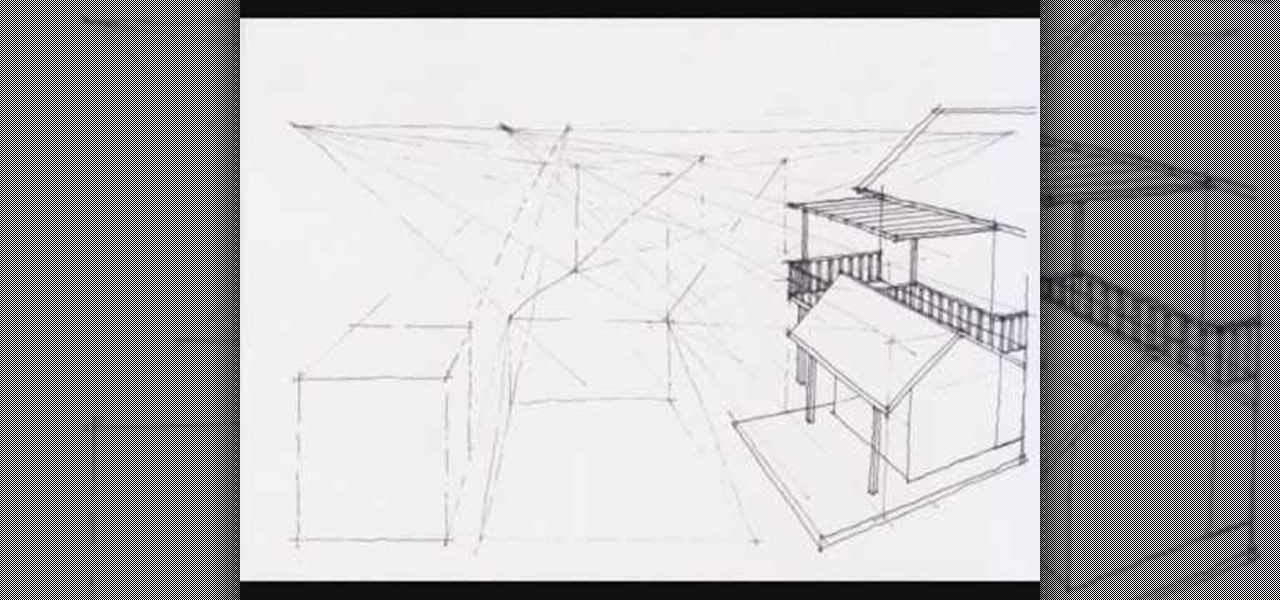
How To: Draw an architectural sectional interior with a vanishing point
If you're interested in architectural drawing, or are in fact practicing to eventually become an architect, then this is a great tutorial for honing your draftsmanship.
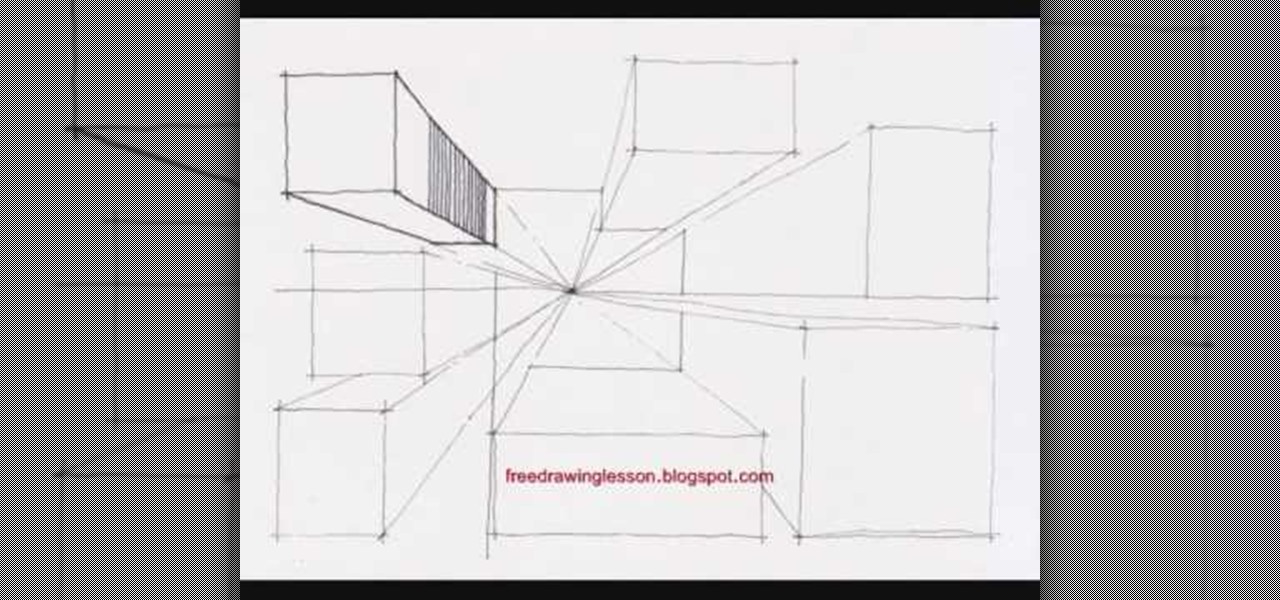
How To: Draw four side-by-side scenes of a suburban city
What's the best way to get better at drawing? Practicing, of course! When it comes to art, especially its more technical side of drafting, sketching out buildings in relation to a vanishing point or a suburban garden scene filled with lots of architectural elements increases your ability to draw more realistically.
How To: Go from a rough pencil sketch of "Brody's Ghost" to a final ink version
"Brody's Ghost" is a popular anime series that's depicted in typical anime style: Characters have ginormous eyes and pupils, small, cherubic faces, and teeny mouths. If you're into the anime style of drawing then check out this tutorial to learn how to go from a rough pencil sketch of a "Brody's Ghost" female character to a final version with ink.
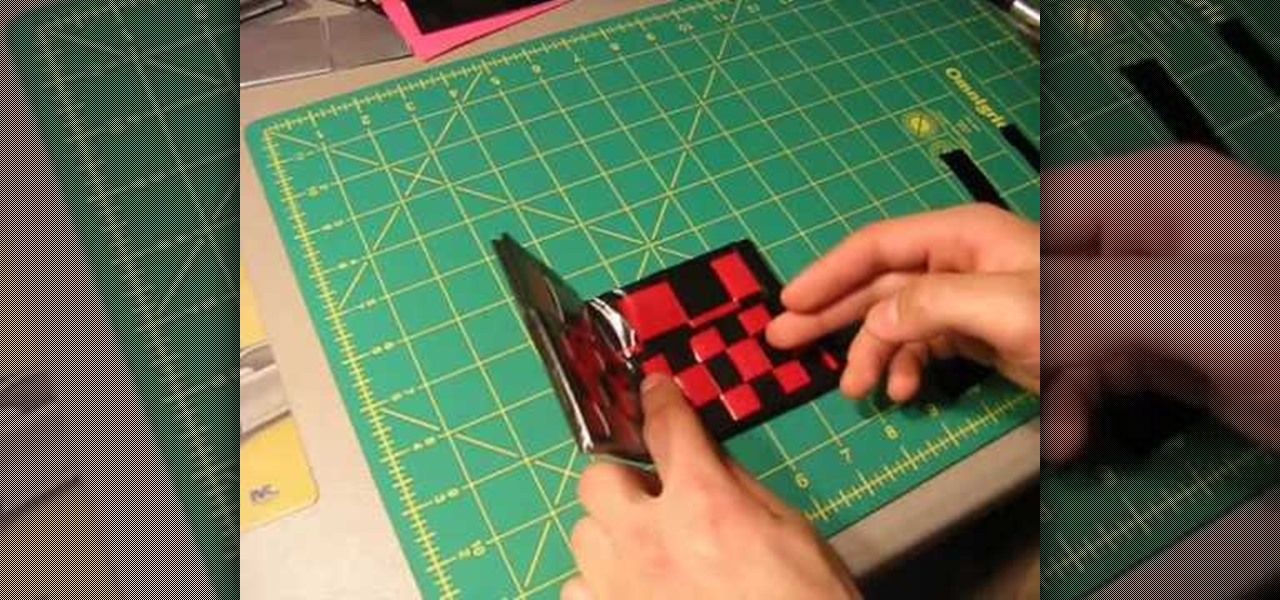
How To: Craft funky woven duct tape credit card holders
Wallets are our least favorite item to purchase. Why? Well, they're either super crappy in quality and looks (think a pleather wallet you can purchase at the clearance bin at Wal-Mart) or gorgeous but out of this world expensive (Dior, anyone?). There's selmonly a space in between where we can get a good-looking wallet for cheap.
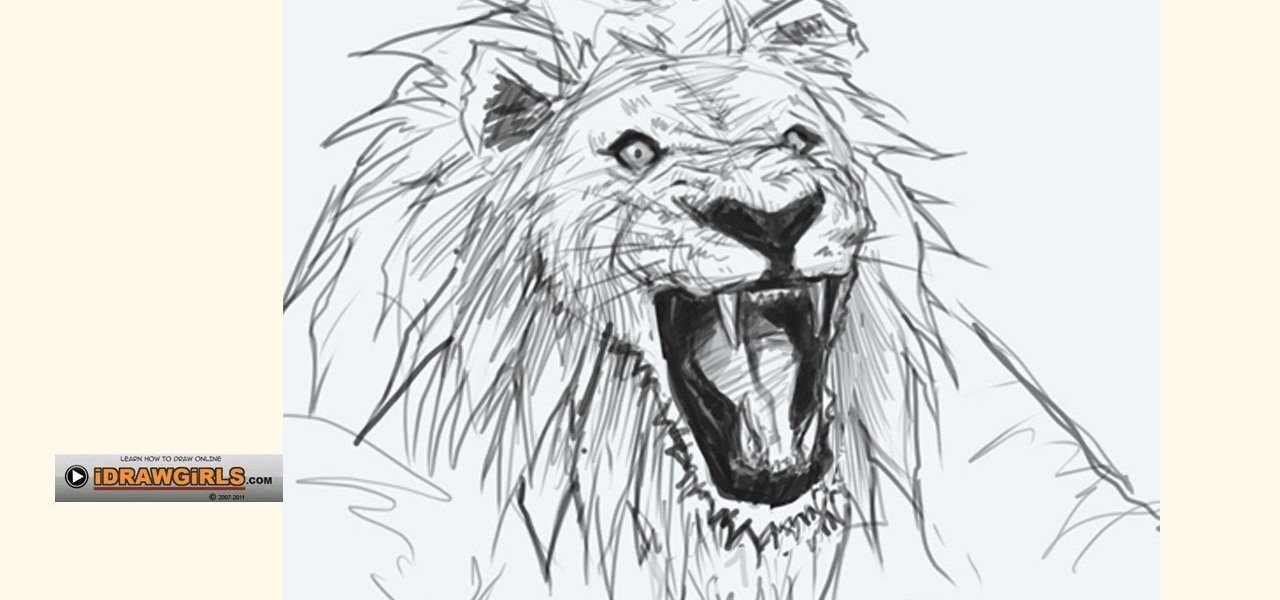
How To: Draw a bemused lion head for beginners
Simba from "The Lion King" couldn't have done it better himself. In this video tutorial you'll learn how to sketch out a very realistic lion head held in a bemused expression. Whether you love lions or find them frightening, drawing this lion head is an excellent way to gain knowledge of anatomy and how it affects different poses.
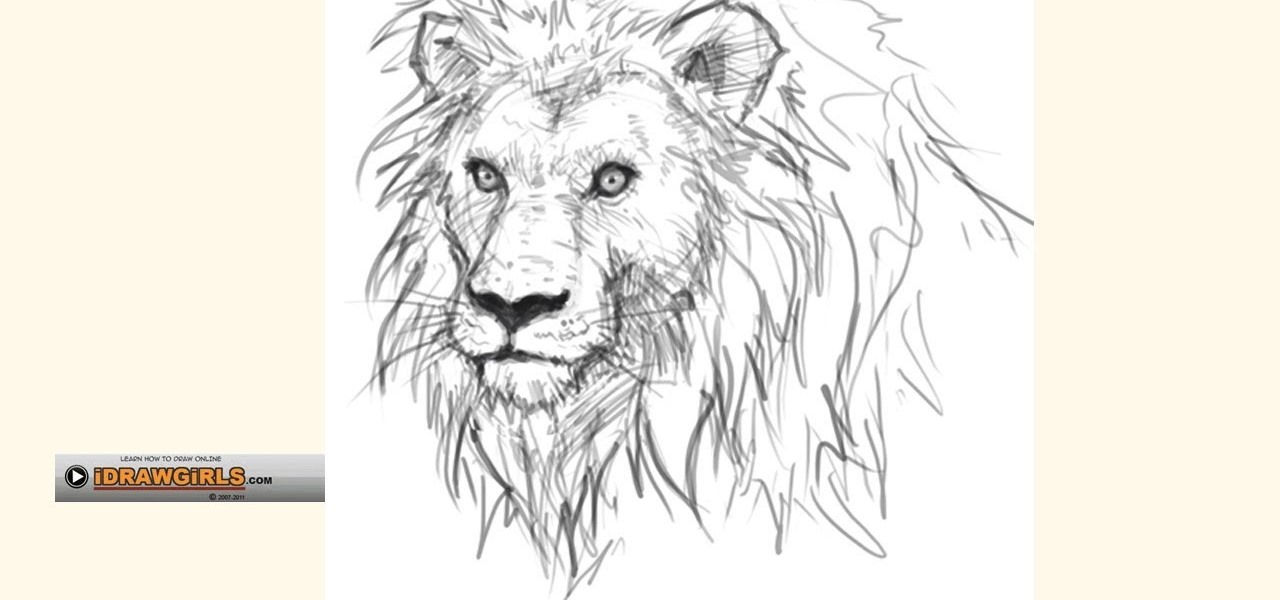
How To: Draw a regal and proud lion for beginners
If you've ever watched "The Lion King," then you know just how kick-ass lions can be. Kings of the pride with a very prosh stride and a bark to match their bite, they are creatures of the hunt yet hold a regal stature about them.

How To: Write numbers in calligraphy copperplate
In this video, we learn how to write numbers in calligraphy copperplate. To write the number five, you will simply make the shape of the number, but add in a thick edge to the bump and curved edges to the end. To write the six, use a thick line on the side of the number and a thin line for the circle in the middle. To make the seven, the top should be curved and thick, and the lower line should be very thick with a straight edge. To make the eight, draw the number so that the left edge is thi...
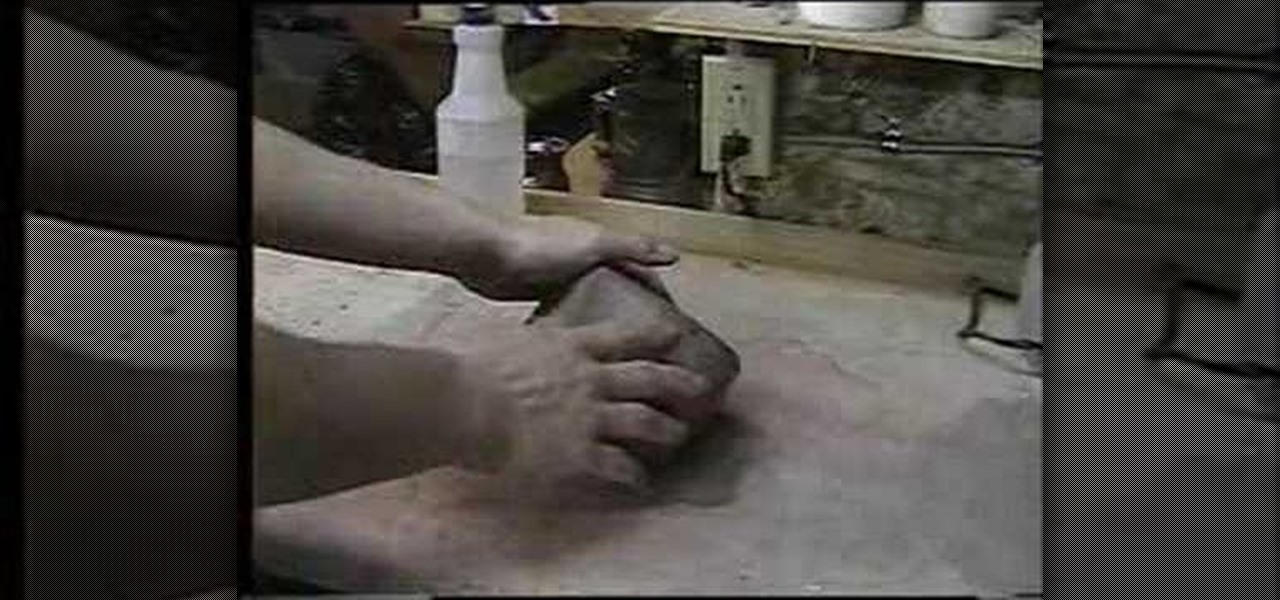
How To: Use a potato peeler as a fluting tool
In this video, we learn how to use a potato peeler as a fluting tool. First, take your wet pot and then grab the potato peeler. Use broad strokes along the side of the pot and press down hard and you peel the clay off of the sides. You will need to go over the same spot a few times to be able to see, but once you go around the entire pot you will see the different shapes in the marks. Once you are finished going all the way around the pot, your hands will be tired but it will be fluted with t...

How To: Draw and color landscape scenery
In this video, we learn how to draw and color landscape scenery. First, draw your starting point, making a horizontal line. After this, draw other reference points on the paper, then start to draw in lines to see where your structures are going to be. After you do this, make trees on the paper, then start to fill in details of plants and flowers around the trees. Draw in buildings and stairs, making mountains and hills in the background. Add as many detail as you feel needed, and then start t...
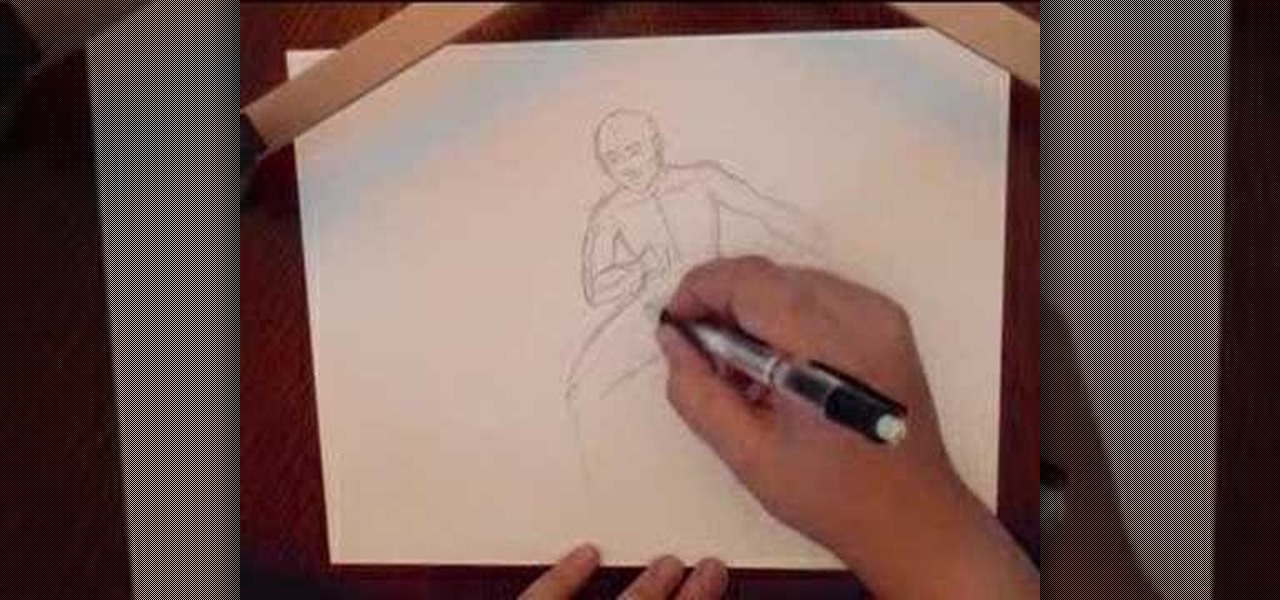
How To: Draw a basic human figure
In this video, we learn how to draw a basic human figure. Start with a circle first as the head, then draw cross hairs over the circle to indicate the tilt and direction the head is facing. Then, add in the chin, shoulders, then circles where the joints are. Draw in the rib cage and spine, then the hip bones. After this, draw the legs and continue down until you reach the feet. When you finished with this outline, use a darker line to draw more details and shading in on the face and body. Whe...
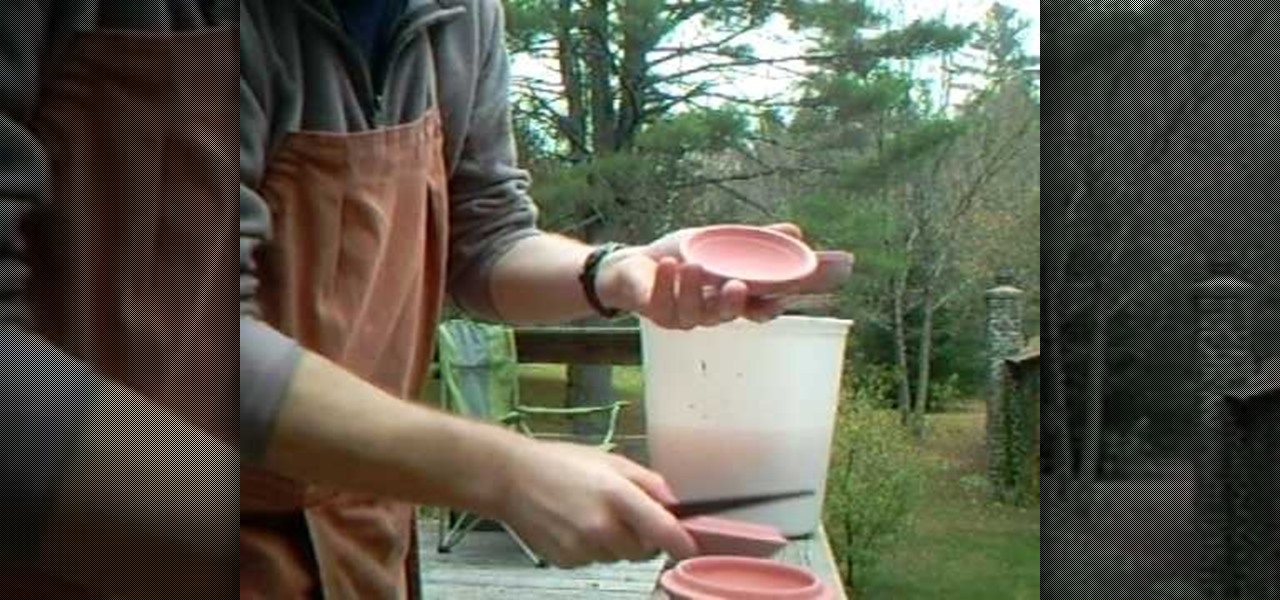
How To: Clean off ceramic pots before firing them
In this video, we learn how to clean off ceramic pots before firing them. First, take a knife to clean off any bits that need to be removed to make the pots completely smooth. After this, dip the top of the pot into glaze and let it dry on a flat surface. For the base, hold with your two fingers on the inside, then dip in the glaze and let dry. Once these are dry, take a knife and scrape the edges where excess glaze may be at. Then, scrape all around the edges and clean the back of the side w...

How To: Chroma key green screen video
This video tutorial is in the Fine Art category in which you will learn how to chroma key green screen video. Chroma key is the magical process of making images where the background or any object in your scene can be made transparent so that you can replace it with a different image. First shoot some footage in front of your Chroma key backdrop. Then shoot the background footage. Next put the 1st video track over the background track in the editing time line. With Chroma key you can have some...
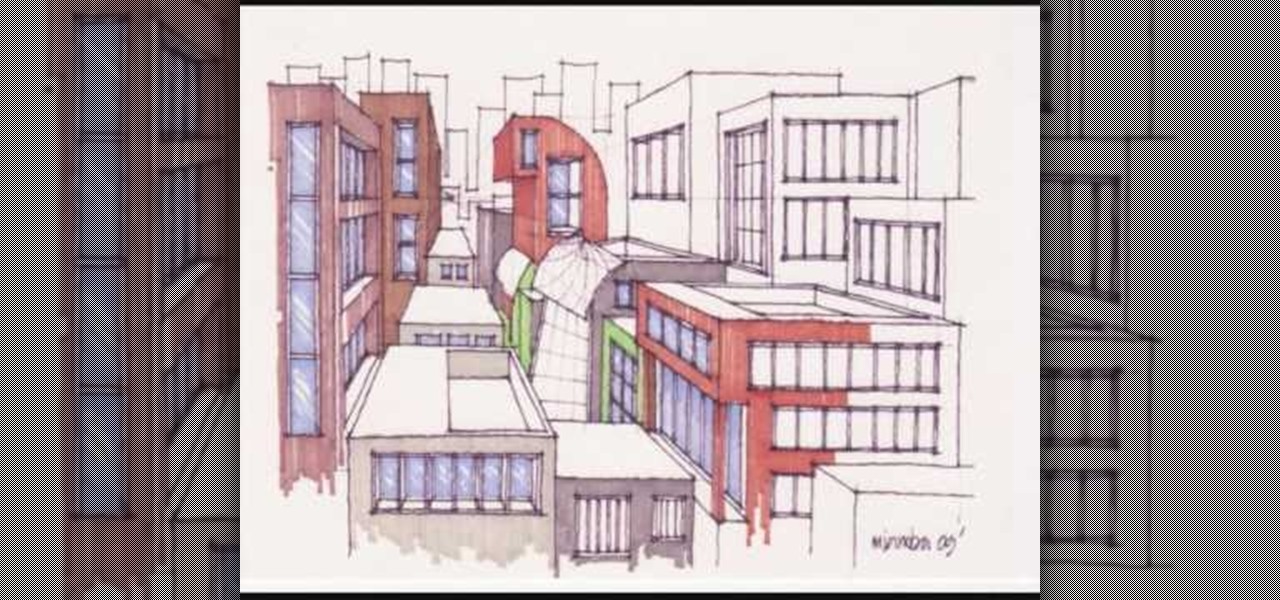
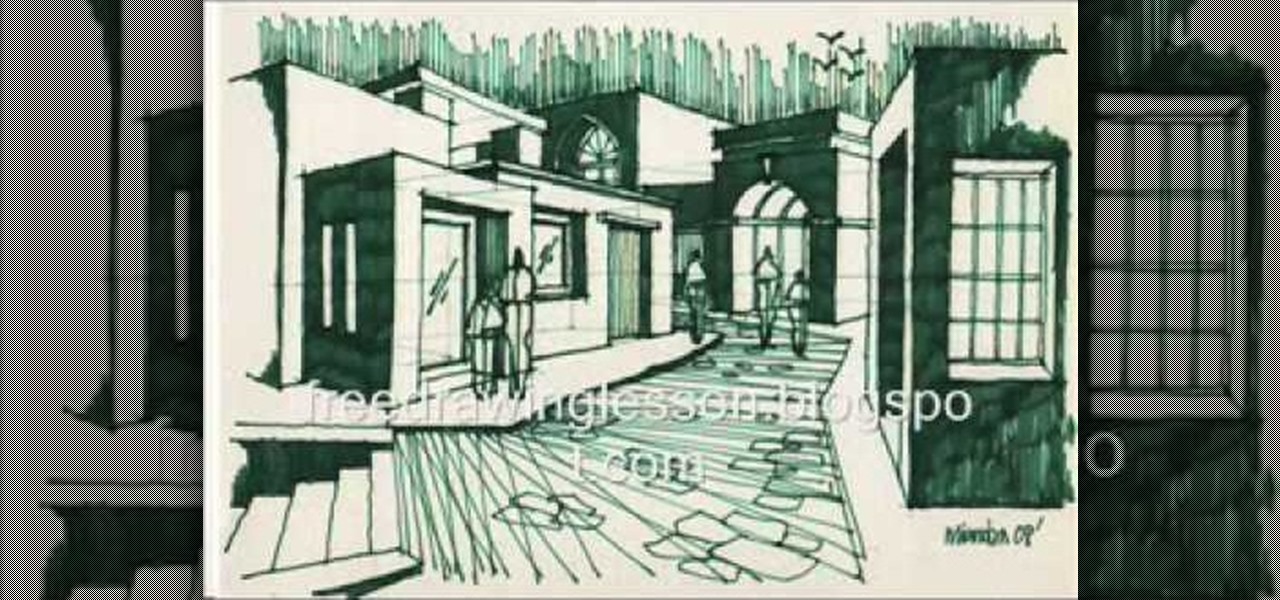
How To: Color a complex street drawing with art markers
In order to color complex street drawings with markers, you will need the following: markers in assorted colors and a street sketch.
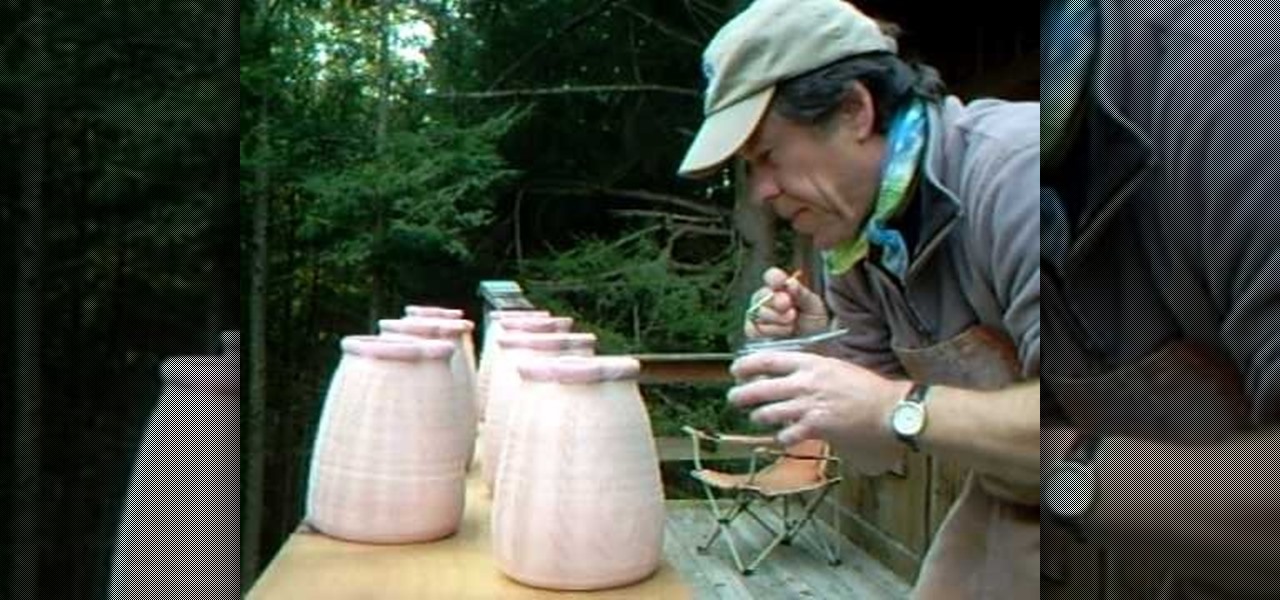
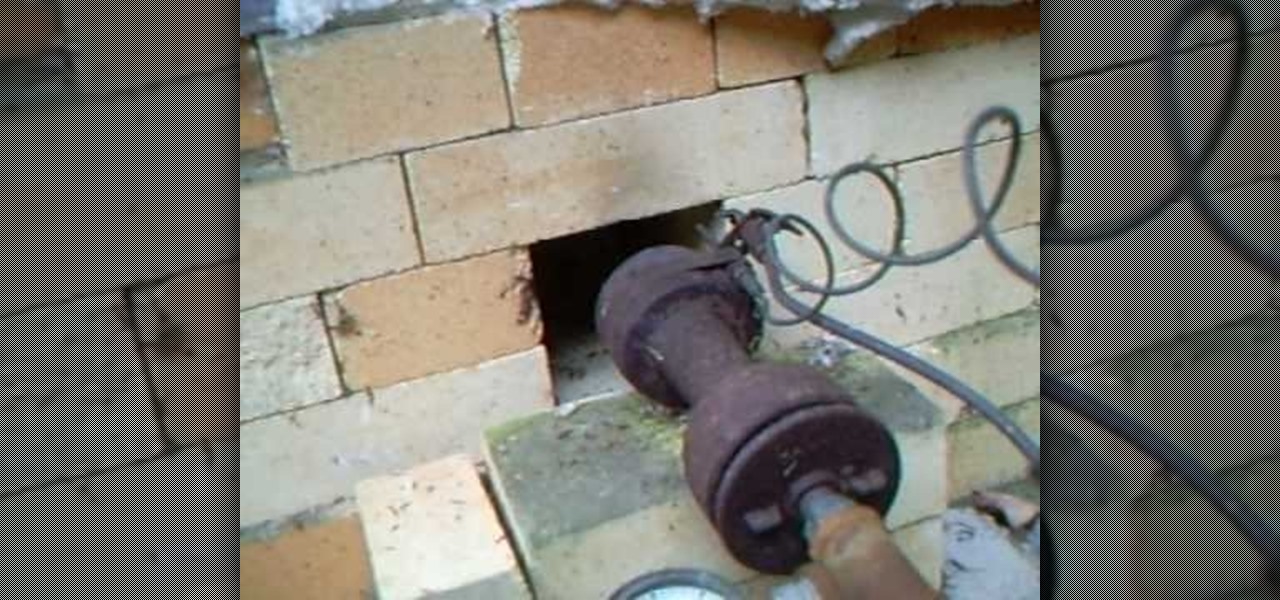
How To: Use wood ash to prep pots for the kiln
In this video, we learn how to use wood ash to prep pots for the kiln. First, grab wood ash and place it into a container that sprays. After this, blow in the appropriate hole and hold the container so the ash gets all over your pots. Continue to do this all the way around the pots. You will get out of breath while doing this, so take your take and take breaks to breathe. Make sure you do this in a quick amount of time so the ash inside the container stays ready to be blown. After this, the p...

How To: Capture your holiday in 8 digital photos
In this video, we learn how to capture your holiday in eight digital photos. This is a challenge for most people, but it can help you remember your vacation without taking hundreds of photos. First, make sure you have different lenses to capture shorter and longer distances. Find photographs of the most beautiful places, using travel guides and locals as help on where they are. Capture a beautiful sunset or a memorable church with your camera, this will help you remember your surroundings. Al...
How To: Pack a kiln
In this video, we learn how to pack a kiln. First, you will place all the largest pots on the top and towards the back of the kiln. If you have a third row, place the most large ones on the bottom, packed next to each other. After this, pack the smallest ones to the front of the kiln until you have no more room or all the pieces are packed in. Give the kiln a warm up during the night, then you will be ready to fire it to create your pieces. Once finished, remove the pieces and you are done!
How To: Draw a simple scenery
In this video, we learn how to draw a simple scenery. Start by drawing a horizontal line across the page. From here, draw reference boxes along the middle of the line. Now you can start filling in more details, making buildings out of the boxes. After this, make people outside of the buildings, then make a street and trees in the background. Fill in shading and lines to make the picture more realistic. The key to this is to learn how to start with your reference point to make everything flow ...
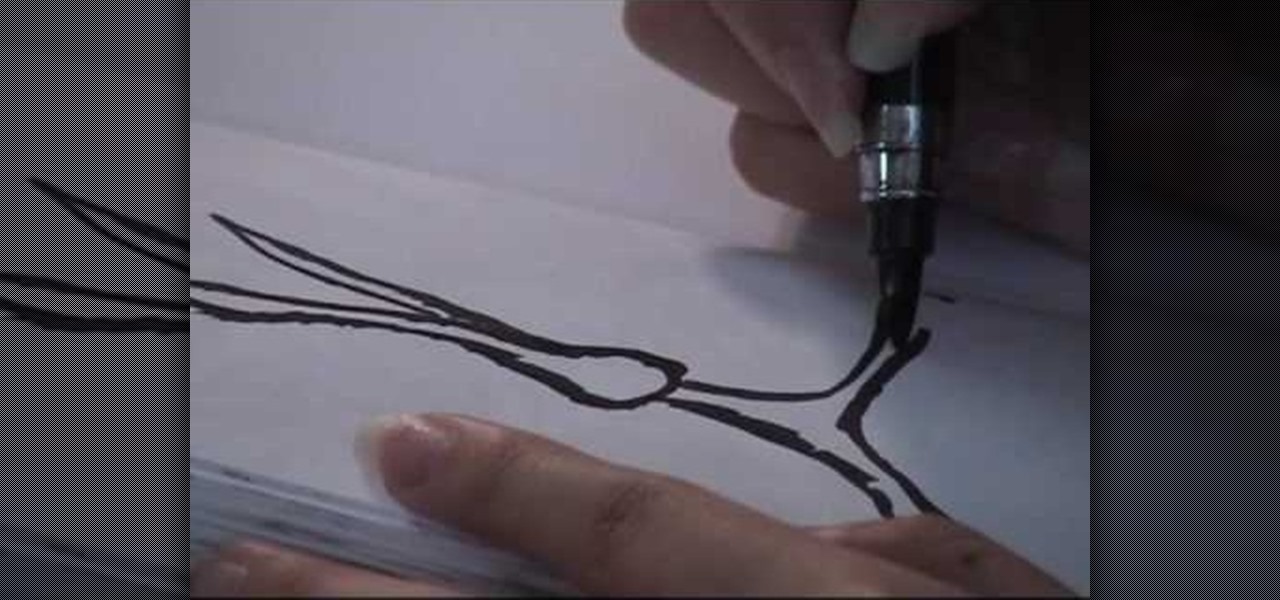
How To: Refill ink in a pocket brush pen
In this video, we learn how to refill ink a pocket brush pen with Henry Lee. First, mix water with the ink, depending on the color of ink you want. After this, you will take the pen and soak it in water, then into the ink. Turn the knob on the handle as you do this so the ink starts to infuse into the pen. To get more ink in, point the brush to the sky and turn the knob slowly to drive the extra air out of the pen. Then, dip the pen into the ink and turn the knob in the other direction. Conti...
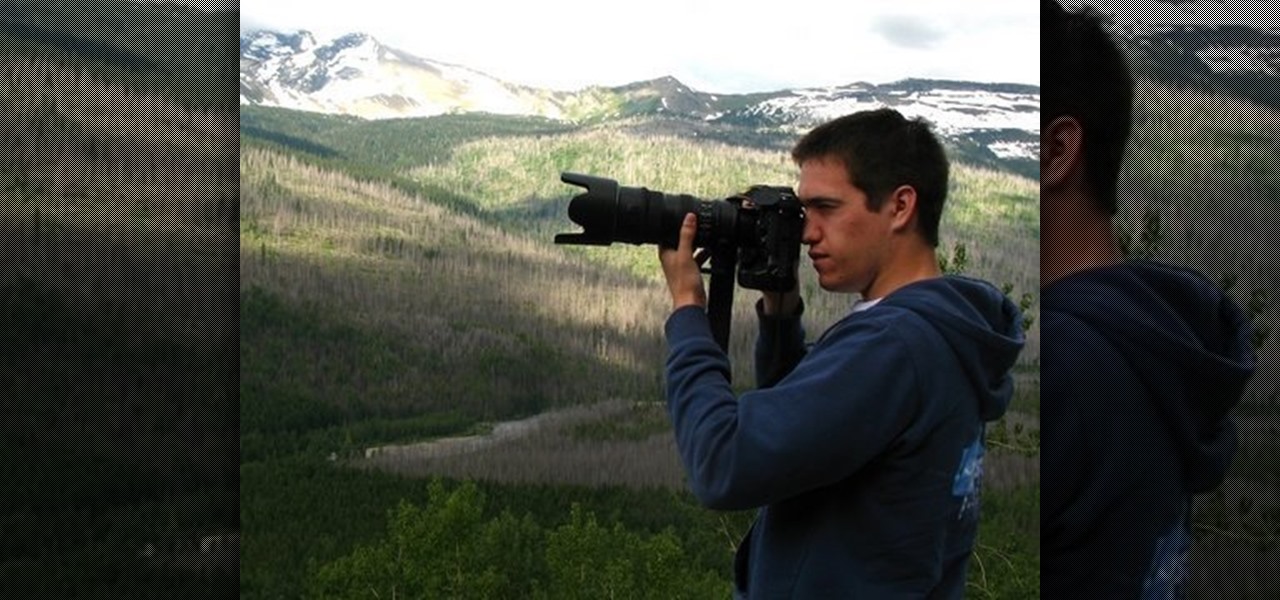
How To: Photograph wildlife
In this video, we learn how to photograph wildlife. When you go to take photos of wildlife, you have to be very careful and quiet so you can get up close to these animals. You don't want to disturb them or make them come charging at you. Use your camera to capture their true beauty in their own serene and peaceful environments. Don't yell out or chase the wildlife, or you will scare them away and you won't get any photos. There are hundreds of amazing photo opportunities out there, you just h...

How To: Draw and color a city with art markers
In this video, we learn how to draw and color a city with art markers. First, draw a horizontal line as your reference point to where the city buildings are going to go. Make a point in the middle as the background line. Now, start to draw in the buildings around the middle line, making diagonal straight lines, then drawing in the details of the buildings. Draw in taller buildings in the back, then start to draw the larger details in the front of the drawing. Add in shading and details as nee...
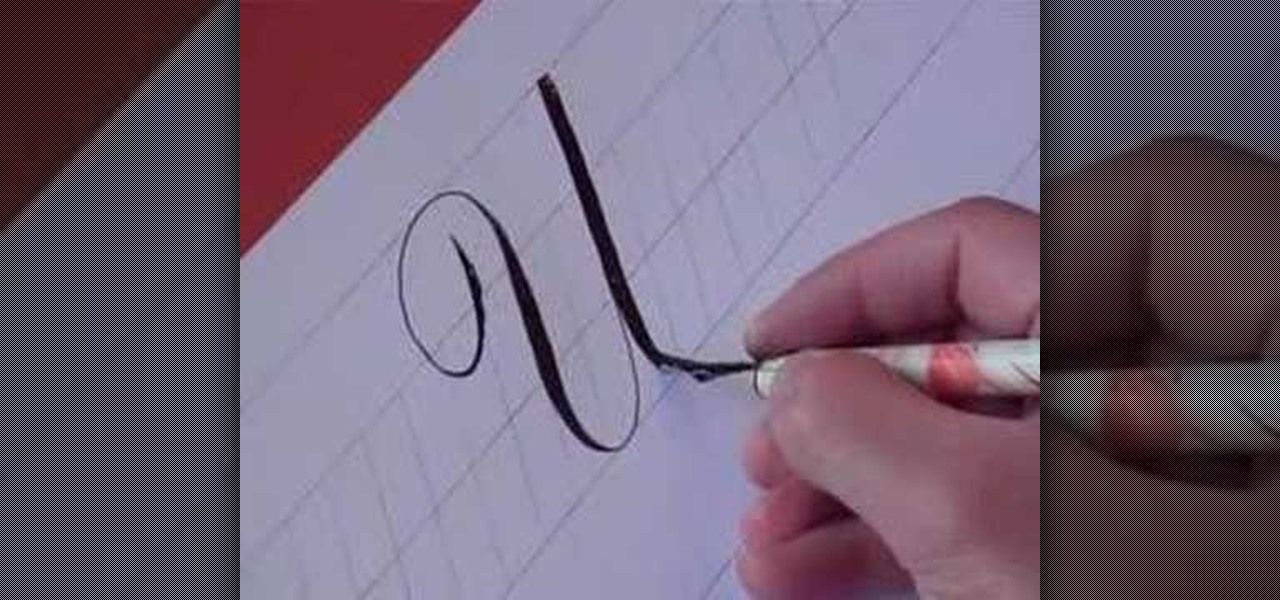
How To: Write the letter U in calligraphy copperplate
In this video, you will learn how to write the letter U in calligraphy copperplate. Capital U: Take the calligraphy pen with black ink and scaled calligraphy paper. Make a narrow, looped curve to start the "U". After the loop, make a broad brush stroke down. Narrow the brush on the up stroke and broaden again on the down stroke. Narrow the brush on the final upstroke.
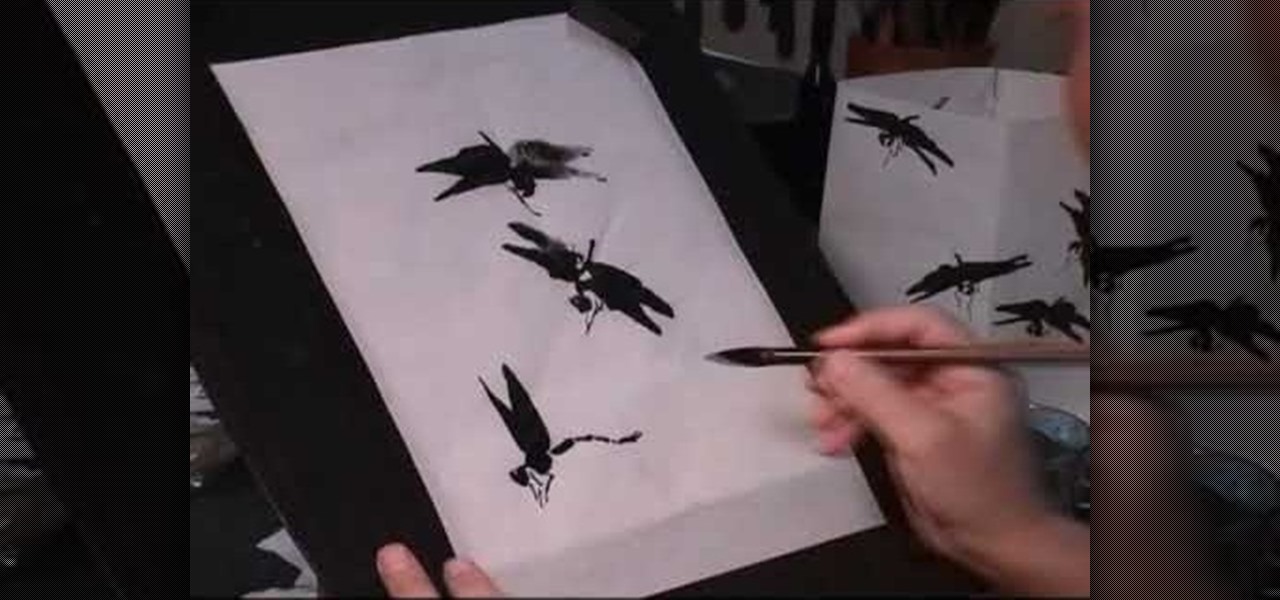
How To: Draw dragonflies in Chinese painting
In this video, we learn how to draw dragonflies in Chinese painting. Start out with rice paper, then soak your medium sized combination hair brush in water. Next, squeeze the moisture and then push the ink out. Now, position the brush so it's comfortable and touches the paper lightly. Draw the wings on the insect first, then draw the tail on the bottom. After this, paint a small circle shape for the head and continue to draw the other dragonflies. You can vary how these look by making the win...
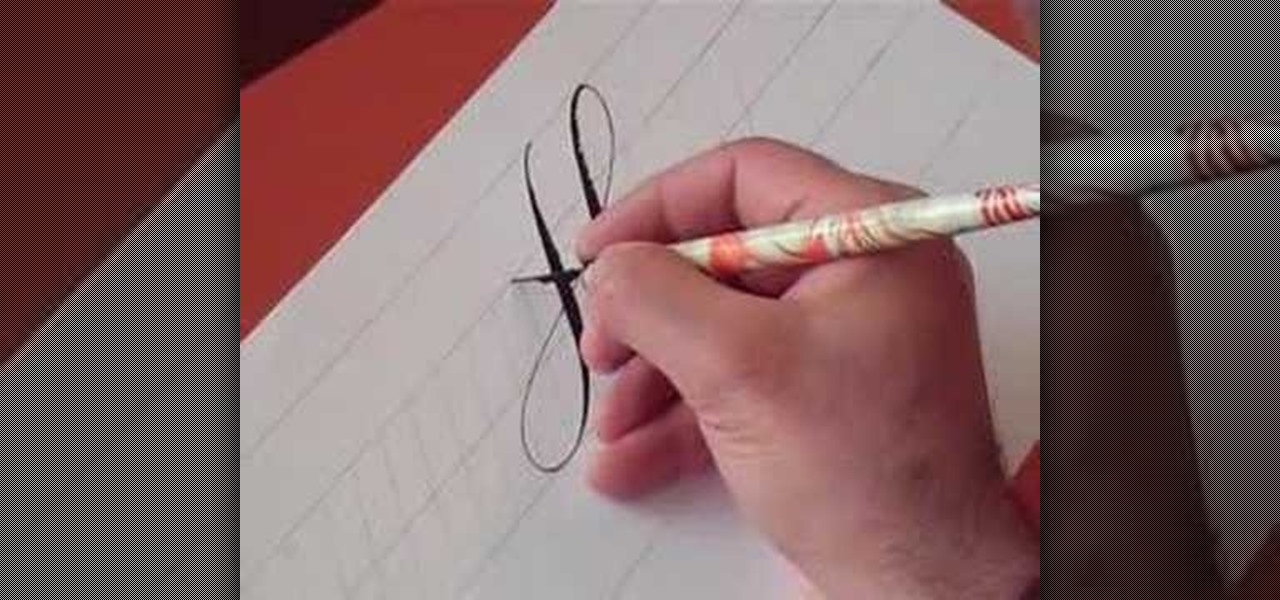
How To: Write the letter H in calligraphy copperplate
In this video, we learn how to write the letter H in calligraphy copperplate. To make the upper-case letter, start off drawing into a thick line, with a curve at the end of the letter. Make the curve end touching the line, then draw it out to the right side of the letter, bringing it back down to a line to make the "h" shape. Next, draw a line across the two lines with a curve at both ends. To make the lower-case letter, start by drawing a thin line to make a loop at the top, then bring it do...