

Active Fine Art Posts


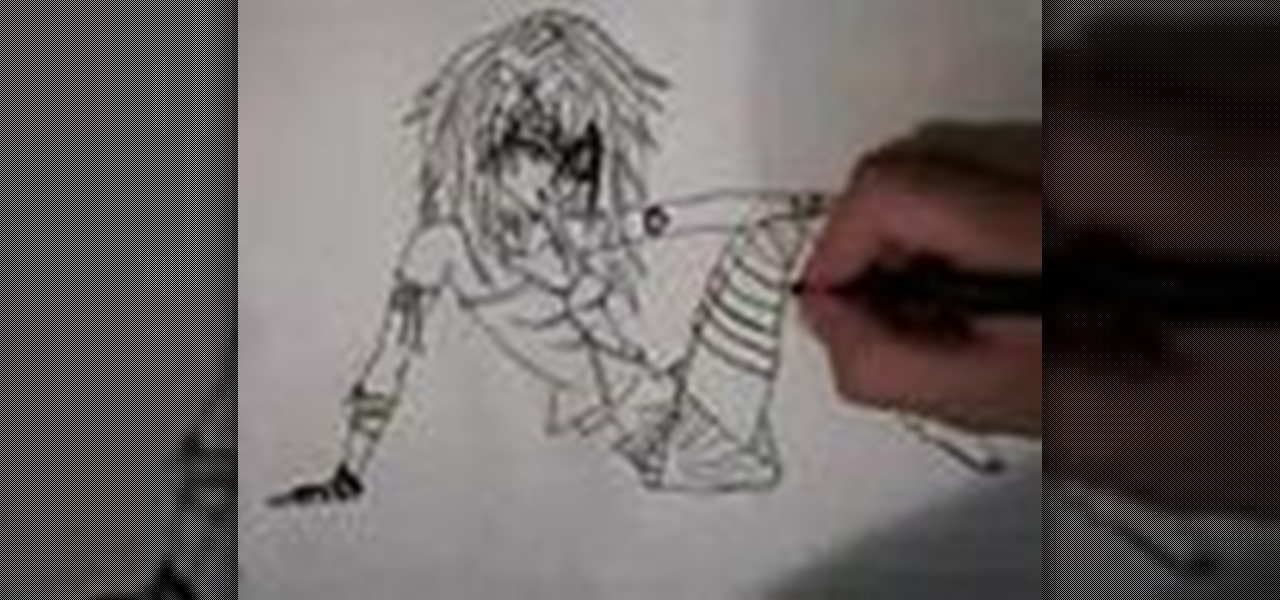
How To: Draw Johnny from Johnny the Homicidal Maniac
In this tutorial, we learn how to draw Johnny. Start off by drawing Johnny's head, then draw a stick for his body, arms, and legs. Once finished, draw an outline over this body to create the shape. Next, draw in the hair for him and then draw his eyes in. Next, draw in the hands and arms, then a knife in his hand as well. Erase any background lines that you have drawn, then shadow and add more lines to the entire drawing. Once you have done this, add in his eyebrows and any other details to f...

How To: Draw manga eyes
In this tutorial, we learn how to draw manga eyes. Start off by drawing the top of the eye, the measure how long it is. Then, make one eye width between each of the eyes and draw the other eyelid. Now, if you want to draw eyes in a different perspective, you will draw the line from the outside of the eyes to see where the line of vision would be. Next, draw in the lower lid and go around the form slowly. Draw large irises to make it look more like a manga character, then you will need to draw...
How To: Make a homemade pinhole camera
Want to create your own camera? The simplest one that you can create is a pinhole camera which can be constructed from everyday household items.
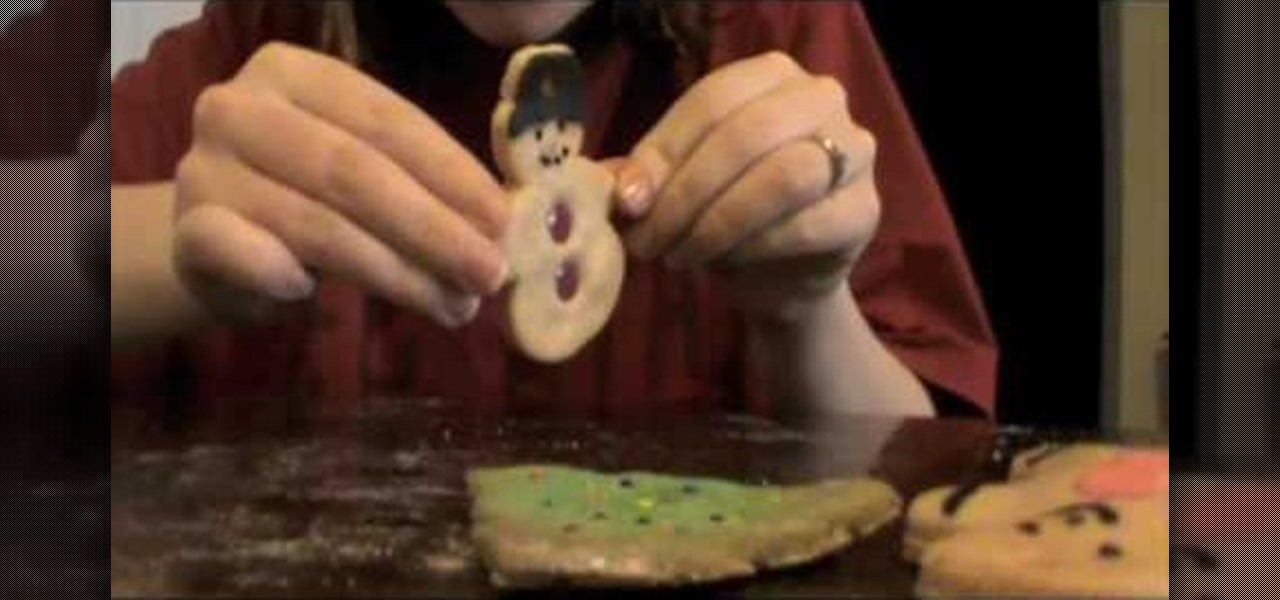
How To: Make models and ornaments with salt dough
In this tutorial, we learn how to make models and ornaments with salt dough. First, grab a baking sheet and place aluminum foil over it. Now, grab some gloss sealer, salt, food coloring, flour, ribbon, glitter, cookie cutters, and buttons. To make the dough, combine flour with water and salt. Mix this together until you get a dough shape, then roll out and cut into shapes with cookie cutters. Cut a small hole in the top of it, then bake until golden brown in the oven. Tie a string in the hole...

How To: Draw Stitchpunk
In this tutorial, we learn how to draw Stitchpunk. Start out by drawing the outline of the entire body. After you do this, draw in the details of the feet and the hand. Next, start to draw in further details of the hands so you can clearly see the claws and the hand area. Once finished with this, draw in the details of the face. After you do this, you can erase any reference lines that you drew and fill in further details. Draw in any other details needed throughout the character, then erase ...
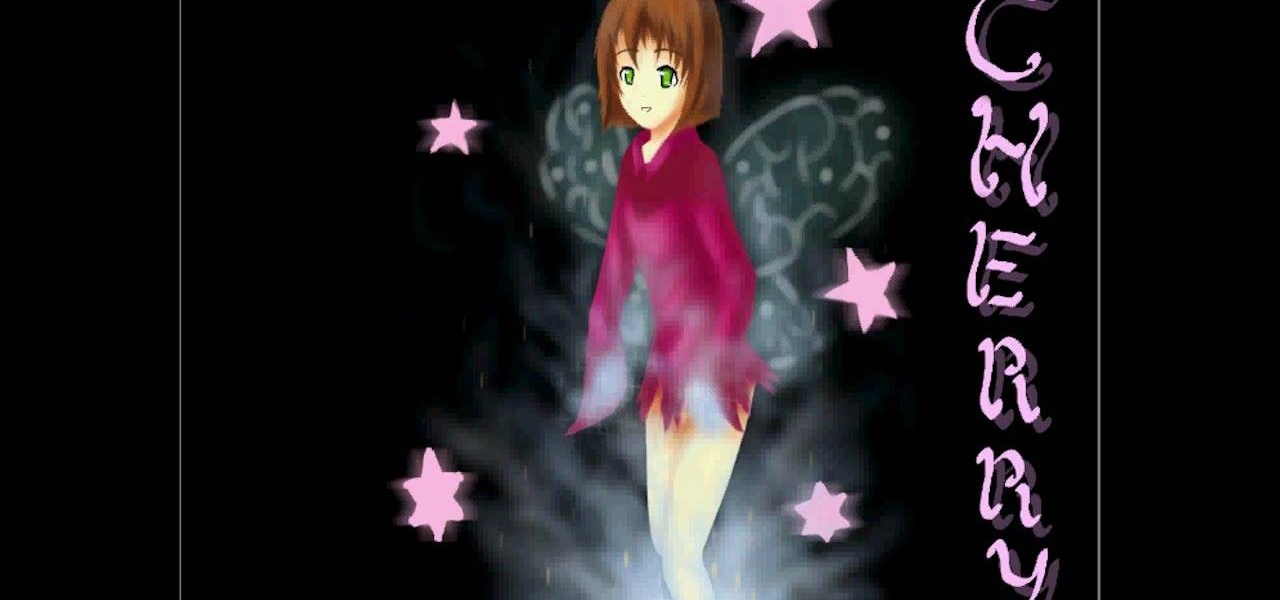
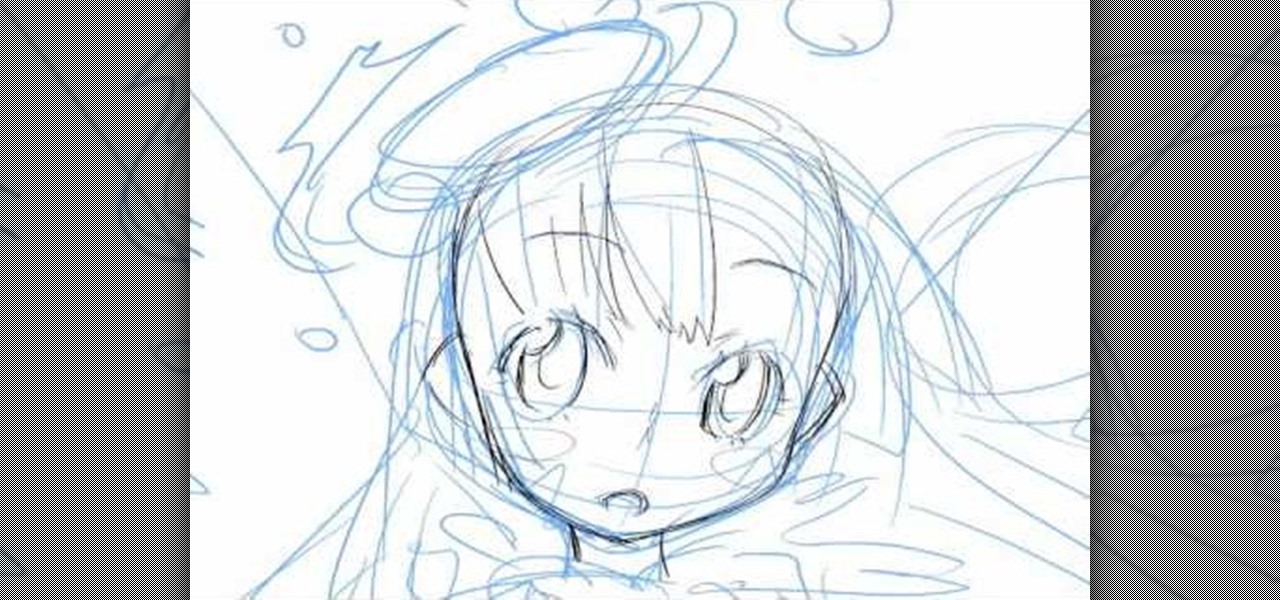
How To: Draw a manga style cherry fairy
In this video, we learn how to draw a cherry fairy. First, sketch the entire picture before you start to draw in any detail. After this, draw in darker lines where you want the features of the body to go, then start to add in features of the face. Next, add in color to the face and to the outfit of the fairy. Make sure you give her hair and bangs that are surrounding her face as well. Once you have the color completed, create a white light coming from the bottom of the fairy and going up into...
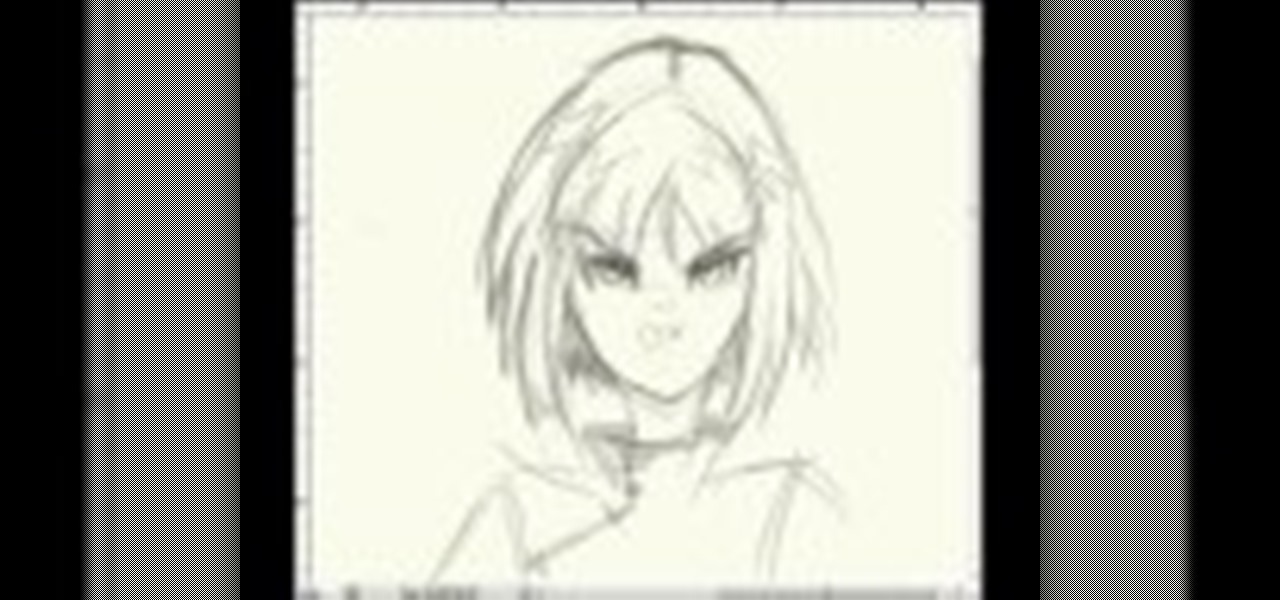
How To: Draw manga facial expressions
In this tutorial, we learn how to draw manga facial expressions. To draw an angry face, you will draw a circle for the head with a point for the chin. Then, you will draw in a slight frown for the mouth and half circles for the eyes. Then, draw in slanted eyebrows above the eyes to make the character look angry. Add in highlights around the face to make the expression larger. Then, add in lines around the face to show it being crunched up and the person being angry. You can also make the mout...

How To: Draw Rock Lee from Naruto
In this tutorial, we learn how to draw Rock Lee. First draw a circle for the head, making a chin underneath and using lines to reference where the facial features will go. After this, draw eyes that are slightly aligned to the left hand side of the face. The right eye should be larger than the left, both off center. Then, draw two dots for the nose and a "u" shape for the mouth. After this, draw a larger circle around the head and then draw in angry eyebrows above the eyes. Start to erase the...
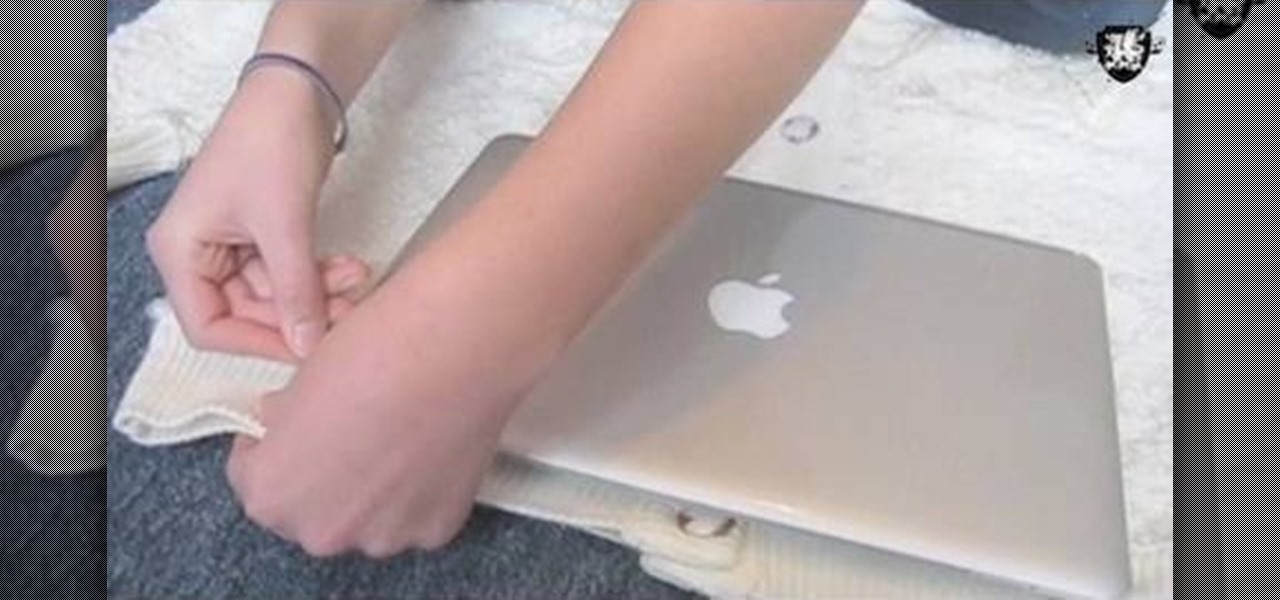
How To: Make a sweater for your laptop
In this tutorial, we learn how to make a sweater for your laptop. First, grab an old large sweater and cut it out to the same size as your laptop. After this, set the rest of our sweater to the side and put the right sides of the sweater together. Then, pin and sew the three cut edges, but do not sew them closed. Sew with a zigzag stitch on the edge of the fabric. After you're finished sewing, use this on your laptop and use the rest of the fabric you have left over to make additional sweater...

How To: Draw Toad from Mario Bros.
In this video, we learn how to draw Toad. Start out drawing toad with the out line of the body. Make sure to incorporate the mushroom helmet on top of the head. After you have the basic outline finished, draw on the features of the outfit. Include the pants and the scarf around the neck. Also, add on the features of the face and darken up the eyes. Next, draw in half circles on the mushroom helmet and then shade around the character to make it look 3D. Practice drawing this to perfect the cha...

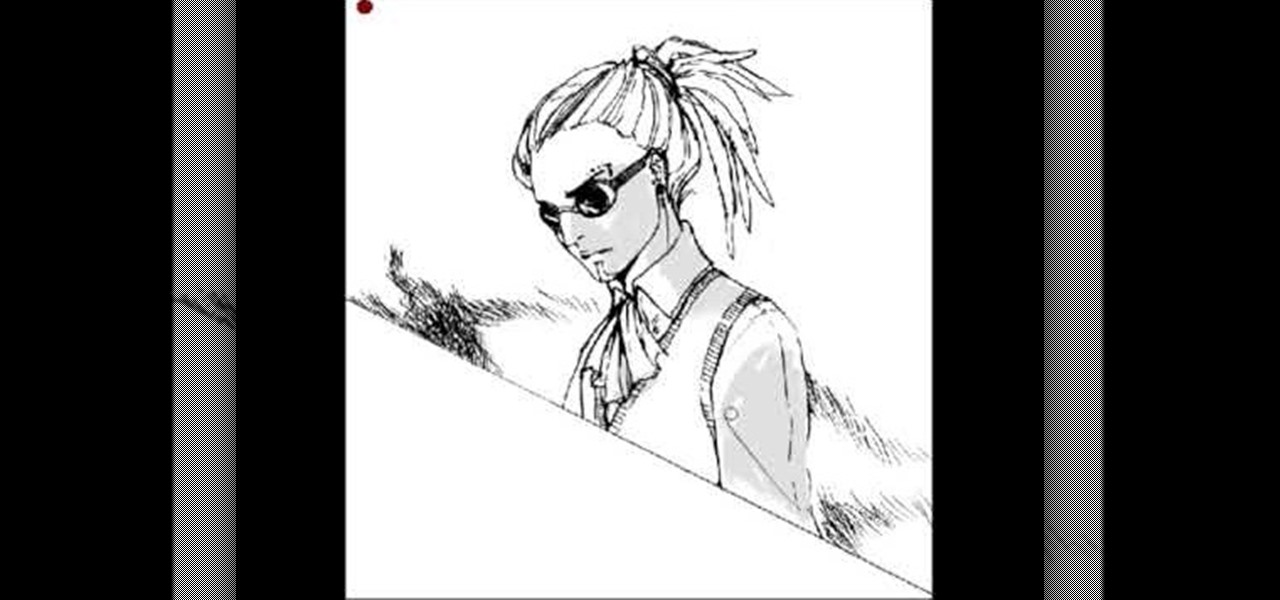
How To: Draw the face of an anime young man
In this tutorial, we learn how to draw the face of an anime young man. Start out by using a pencil on a white piece of paper, drawing spiky hair at the top of the page. After this, draw in additional lines to create more hair around the face, then draw in the sides and the bottom of the face. Next, draw in the features of the face, including the eyes, nose, ears, and mouth. Then, start to draw the clothing and add shading in on the clothing and the top of the hair. Add in more lines to make i...

How To: Draw Train Heartnet from the manga Black Cat
In this tutorial, we learn how to draw Train Heartnet. Start off by drawing a circle for his head, then lines in the head for reference of where the features will go. Next, draw a stick for the body and draw circles where the shoulders and wrists would be. After this, draw in the neck and the upper body. Draw in the clothes after this, adding in as much detail as you would like. Make sure to add in shading and lines to make the clothes look more realistic. Next, you will need to draw in the f...
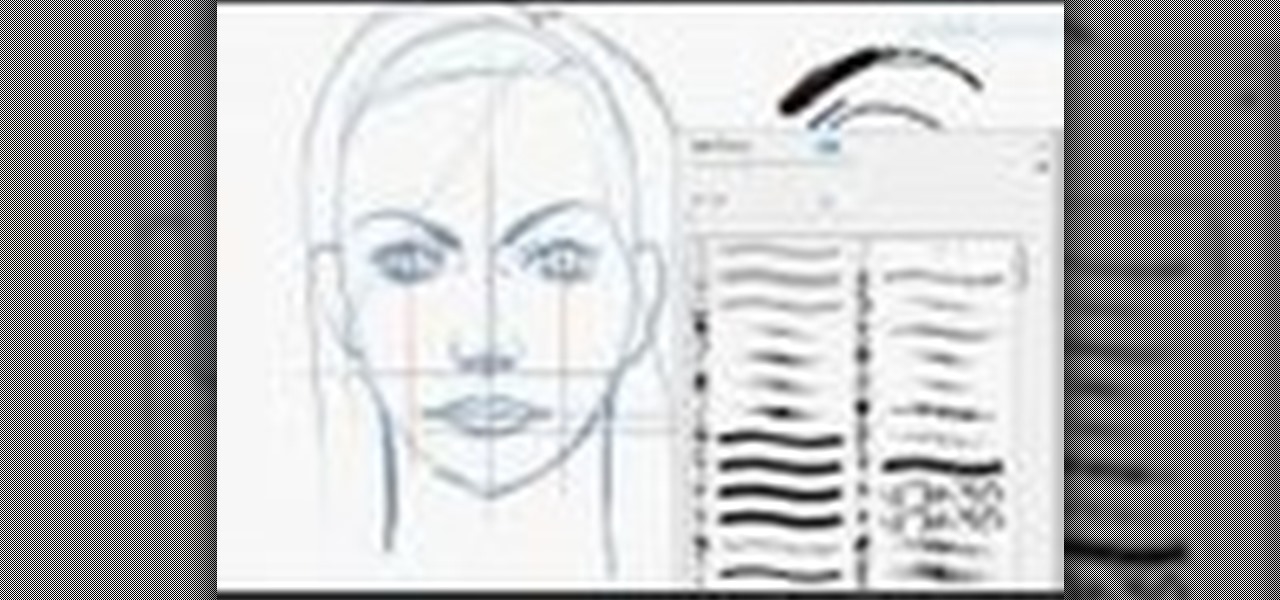
How To: Sketch a female face
In this tutorial, we learn how to sketch a female face. Start with an upside down egg shape for the face, then draw in the contours of the chin. Use reference lines on the face to help you place where the eyes, nose, and mouth are going to go. After this, start to draw in the additional features, using a lot of lines to contour the face and make it look as realistic as possible. It's very important to use the lines in the background of the face so everything is even and lined up. After this, ...
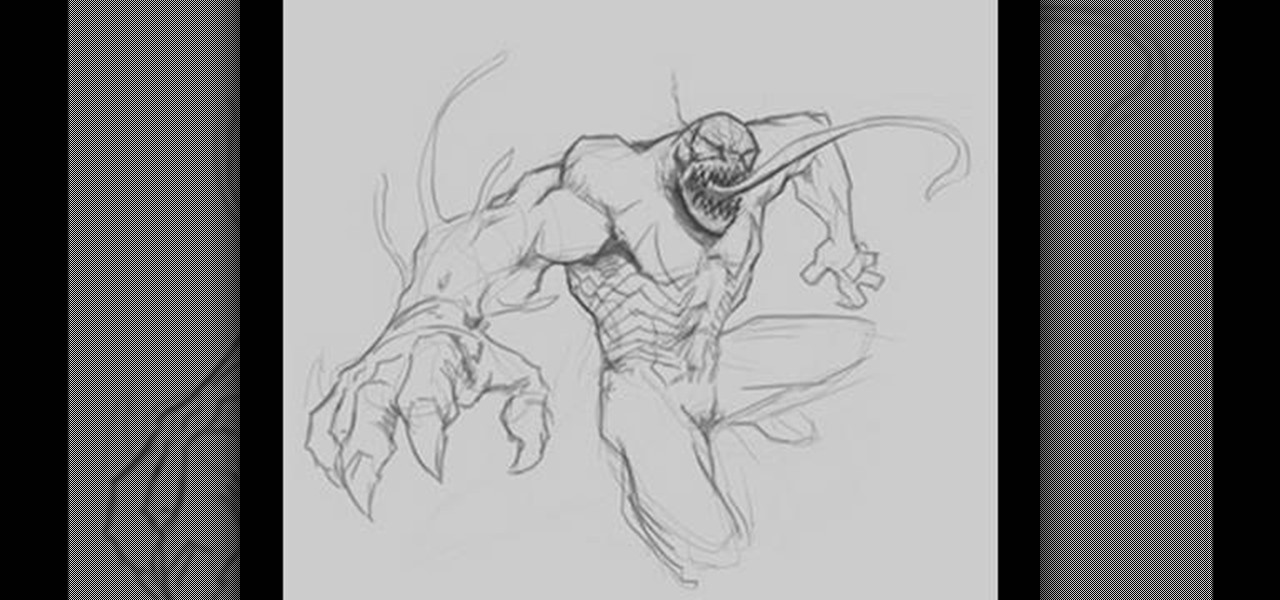
How To: Draw Venom from Spiderman comics
In this video, we learn how to draw Venom. Start out by drawing the outline of the entire body of the character. Use a soft line to create light lines throughout the entire body. After you have completed this, use a more bold line to draw around the body and start filling in details. Add the veins to the arms and then use shading to make them look more realistic. Draw in the details of the face and tongue, then continue on until you reach the torso to the feet. Once finished with the drawing,...

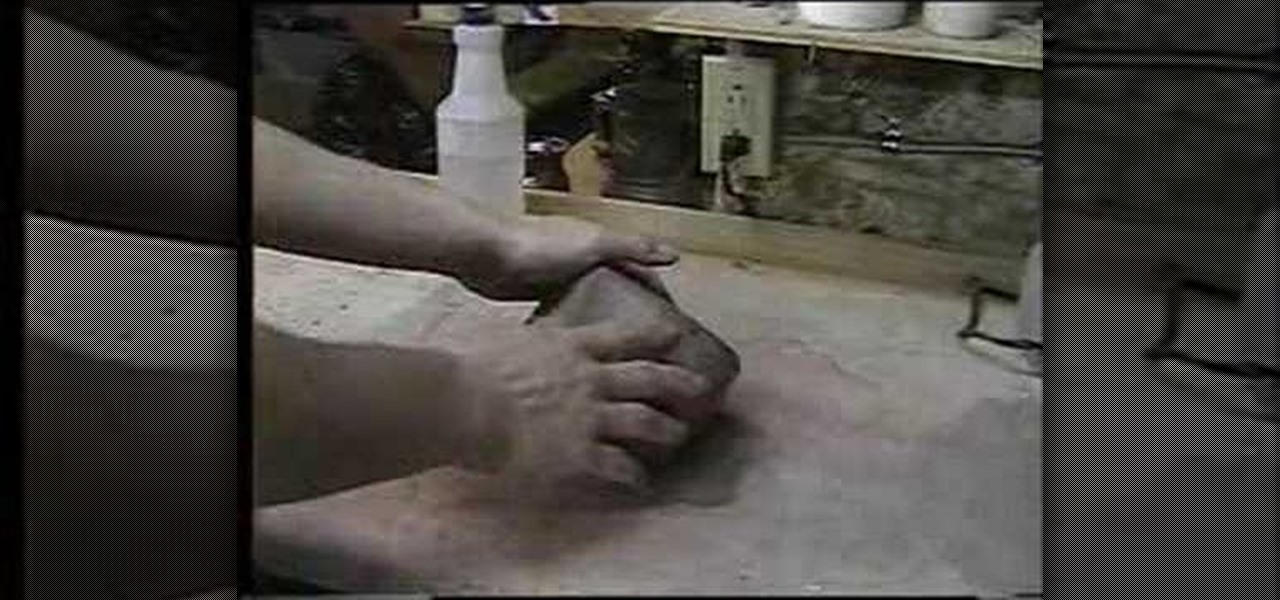
How To: Double dip or glaze ceramic
In this tutorial, Simon Leach teaches us how to double dip or glaze ceramic. This trick will save you a lot of time, just make sure you practice a lot. First, mix your glaze up in a large bucket and grab your pot that you want to glaze. Now, place your piece into the glaze and then flick the wrist to lift the piece up quickly. Don't let the glaze go over the base of the piece or it will become too messy. Now, dip the piece back in, getting some glaze on the inside and swishing the liquid arou...

How To: Draw Raichu from Pokemon
In this tutorial, we learn how to draw Raichu from PokŽmon. Start off with a pencil on a piece of white paper, then start to draw the face of the character. Add in the outline of the facial features, then all in the details of them as well. Next, draw the ears of the character on, then start to draw the rest of the body. Make sure to add on the feet and the arms of the character as well. Make sure to draw on details that are needed, then draw on the tail coming from the back. To finish, add i...

How To: Draw Marik Ishtar from the anime Yu-Gi-Oh!
In this tutorial, we learn how to draw Marik Ishtar. Start with the outline of the head (in a circle shape) and draw the reference lines around the front of the face. After this, draw in darker lines around the features of the face and start to add in details throughout the entire head. Draw in hair, a nose, eyes, ears, and everything else. Once you have finished with this, draw in the neck of the character and then the shoulders. After this, finish the hair off on the back of the had, then a...
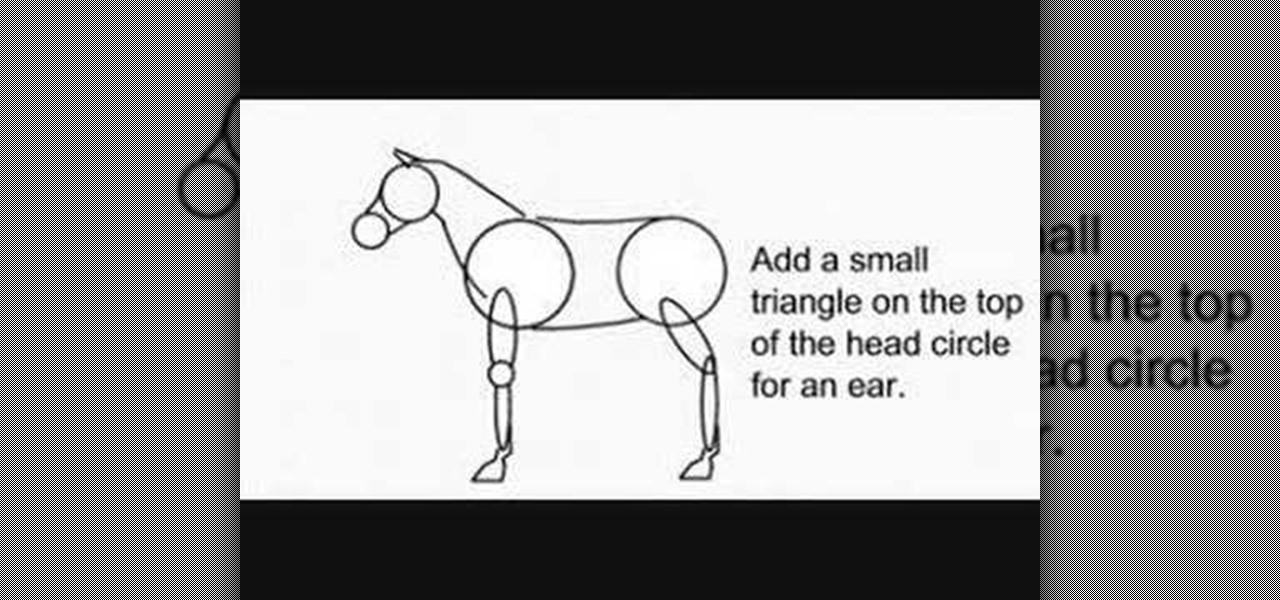
How To: Draw a decent horse
In this video, we learn how to draw a decent horse. First, start with two circles connected by two curved lines. Next, add a sausage for the top of each leg and add a small circle for the front of the knee. Then, add another for the lower part, and add two hoof outlines at the base of each leg. Then, add the back of the hooves. Next, draw two more lines that are far apart at the bottom and narrow at the top for the neck. Then, draw two circles for the top of the head and the muzzle. Join the ...
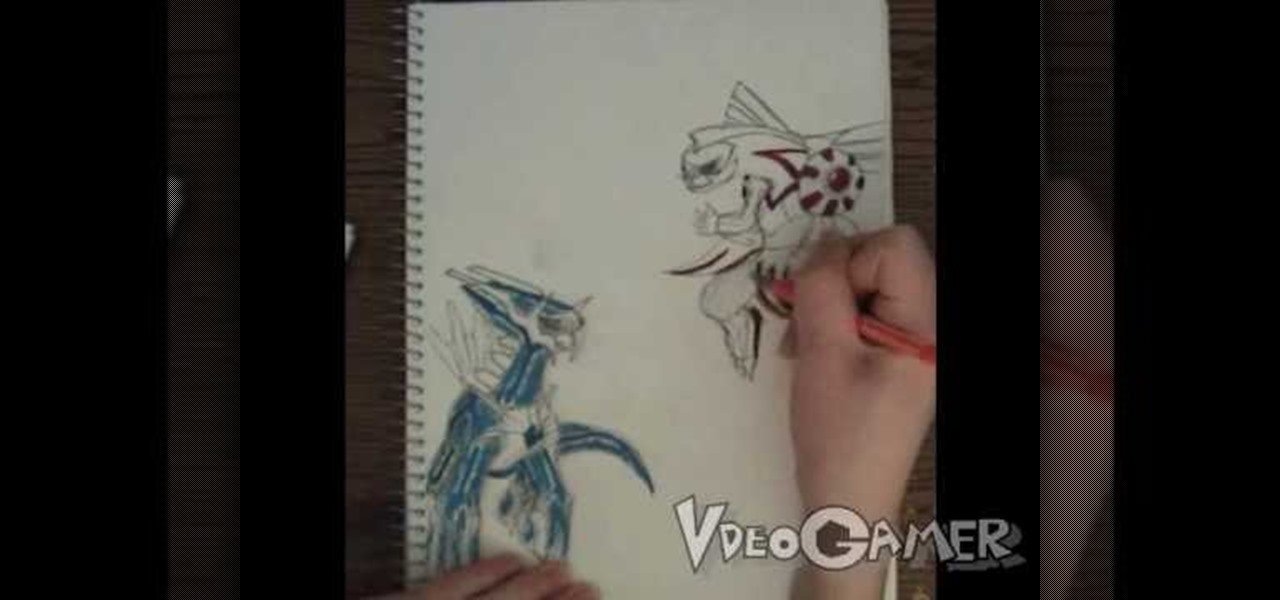
How To: Draw Palkia vs Dialga from the Pokemon video game
In this tutorial, we learn how to draw Palkia vs Dialga. First, you will need a pencil, pen, sketch paper, and colored markers on hand. Now, start to draw the characters by drawing the outlines of their bodies first. After you have completed this, start to draw in the details of both the characters. Make sure to draw in even the smallest details that are featured on their wings and throughout their body. Next, you will use a pen to shade in some areas darker and trace over, then use the marke...
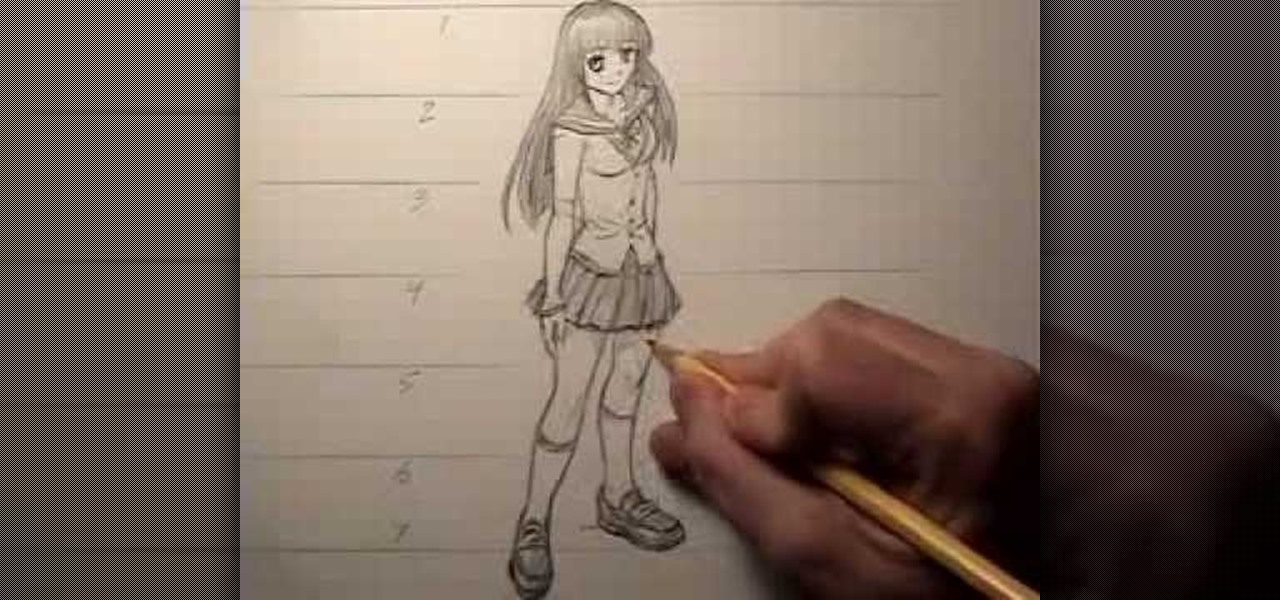
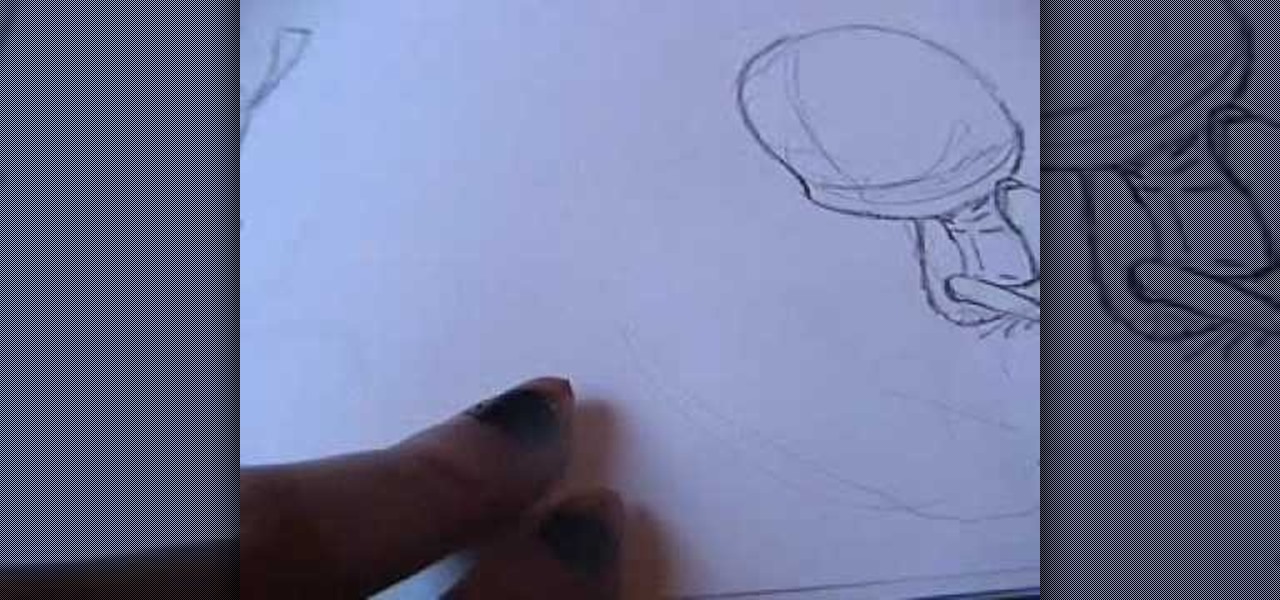
How To: Draw female body proportions in the manga style
In this tutorial, we learn how to draw female body proportions in the manga style. First, you will need to mark your paper evenly with lines to see where you want the head to be at. After this, draw down the rest of the body, looking at the lines as you continue to draw. Use these lines as measurement tools to make the body look proportionate. For example, the head should start at one and the fingers should end at the fifth line. The waist should come at line 3 or 4, then you can finish off t...

How To: Gel your flash to blend it with ambient light
In this tutorial, we learn how to gel your flash to blend it with ambient light. First, you will need to be indoors with lights on and grab your camera. Make sure you have a separate flash on the camera, then take an amber colored film strip and place it over the flash. Next have your subject sit down and start taking pictures. Use different shades of amber and when you see the pictures it will have the background light more dim than the subject in the picture. When finished, you will have a ...
How To: Draw an anime or magna illustration on your computer
In this tutorial, we learn how to draw an anime or magna illustration on your computer. To start out, you will open up a new draft and start to create the outline of the anime together. As you continue, you will draw in darker lines that will be the outline and the details of the character as well. Erase any background lines from the drawing that don't fit in, then create new additional lines. When you're done, start to add in the facial features and details, then add in the hair and clothing...

How To: Draw Death the Kid from Soul Eater
In this tutorial, we learn how to draw Death the Kid from Soul Eater. First, you will need to draw in circles around the body where the joints would go. After you do this, draw the outline of the body around the joint markers. Next, you will start to draw in the arms for the character and add in the full detail of the arms and machinery. Next, use a darker line to create the details in the body and the outline as well. When finished, you will need to add in the details of the face as well as ...
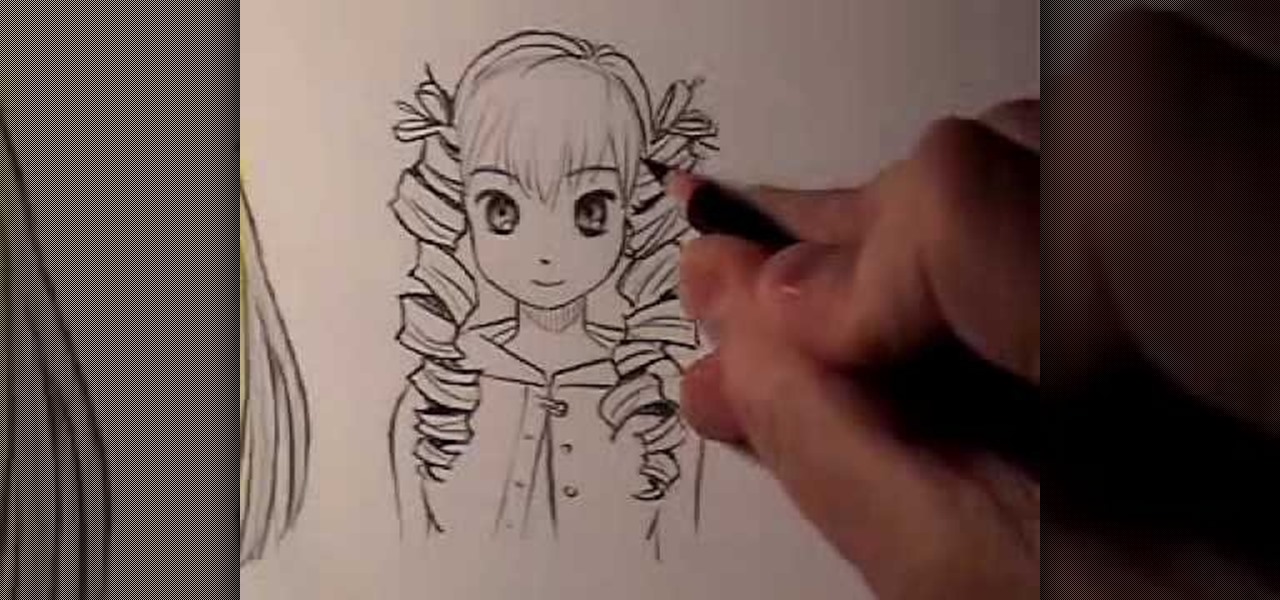
How To: Draw Manga hair (curly vs. straight)
In this tutorial, we learn how to draw Manga hair (curly vs. straight). When drawing the straight hair, you will draw lines first at the top of the head to indicate how the hair is coming out of the head. Then, draw some lines around the head you've sketched. Curve the hair around the body and draw it going behind the shoulders. Draw gentle curves so it looks more realistic. Add in lines in the hair to make strands. For curly hair, start by drawing in different shapes that kind of looks like ...

How To: Draw Tohru Honda from Fruits Basket
In this tutorial, we learn how to draw Tohru Honda. Start out by drawing a circle for the head, then lines on the face to reference where the facial features go. After this, draw a stick for the body alone with a neck. Draw in circles where the shoulders go, then start drawing around that to create the body. Draw on the school uniform for her, then draw on the ear and additional details for the uniform. After this, draw on the bangs and the hair, then add on the bows to the hair. Then, draw o...

How To: Draw Axel from Kingdom Hearts
In this tutorial, we learn how to draw Axel. Start out by drawing the head, then add in the facial features including the eyes, nose, ears, and mouth. After this, draw in the spiky hair that goes around Axel's head. Next, draw the neck and shoulders. Continue to draw down the body until you reach the feet. Add in the details of what the character is wearing, using lines on the clothing to make it look more realistic. After this, you will need to draw in shadowing on the drawing to make it loo...
How To: Draw Husky chibi-style from Anima
In this tutorial, we learn how to draw Husky. First, you will start by drawing the dorsal fin of the character. After this, draw the rest of the body including the lower and upper body. Also make sure you draw the head. Now, draw the arms crossing, then go over the drawing with a harder pressed pencil. Draw in the details of the face, then start drawing in the details of the fins and the upper body. Once the details are in, draw the hair and add in some scales along the entire body. Once fini...
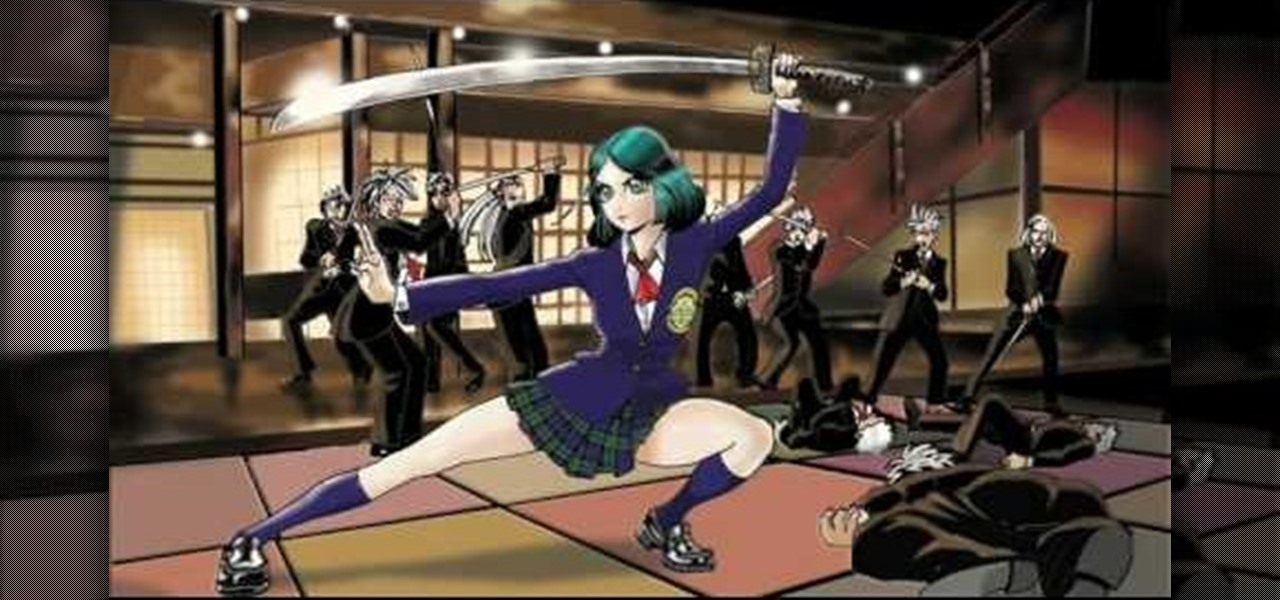
How To: Draw a female anime or manga school girl
In this tutorial, we learn how to draw a female anime or manga school girl. Start out by drawing the outline of the character, then drawing in the details along the middle and the body of the character. Use circles inside the body to create a references as to where the body joints would be. Then, draw in clothing on the body and add a sword in the hands of the girl. After this, draw in additional details to the drawing and then focus on the face. Draw in the facial details, then add the hair ...
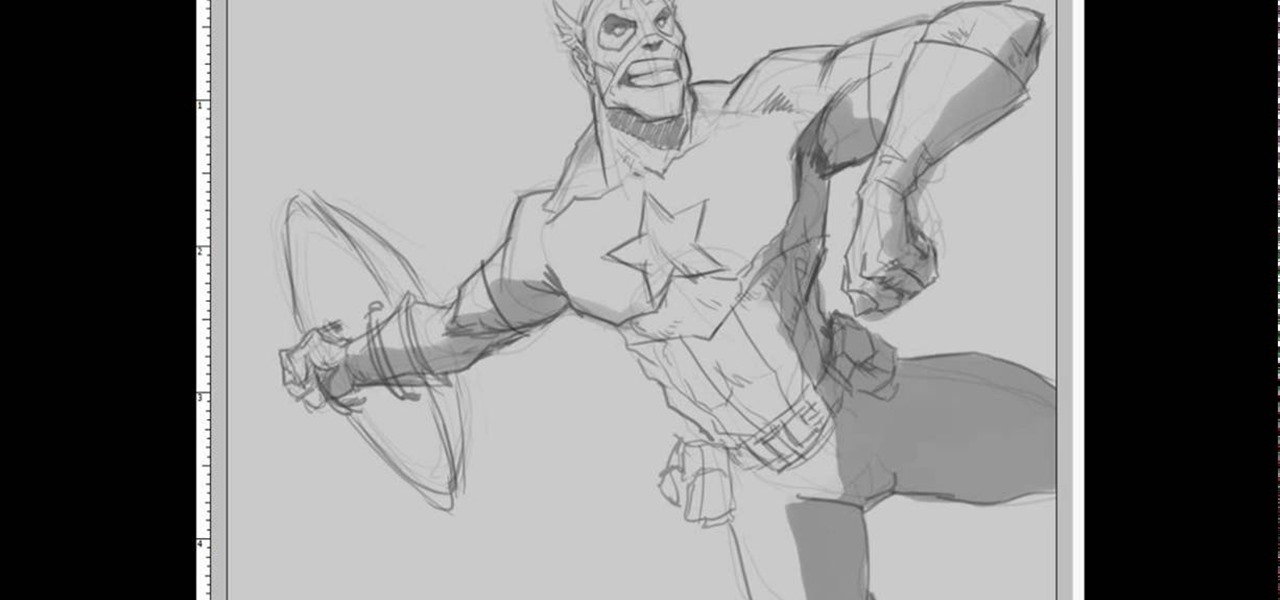
How To: Draw Captain America in an action pose
In this video, we learn how to draw Captain America in an action pose. Start out by drawing the torso, then the rib cage and pecks. Continue to draw the outline and small details of the rest of the body. Draw in arms gong out of the body so that they are spread apart, then draw in the head. Draw in lines for where the muscles are, then start to draw in the mouth, nose, lips, eyes, and other facial features. Once you do this, start to add in even more details of the outfit that the body has on...
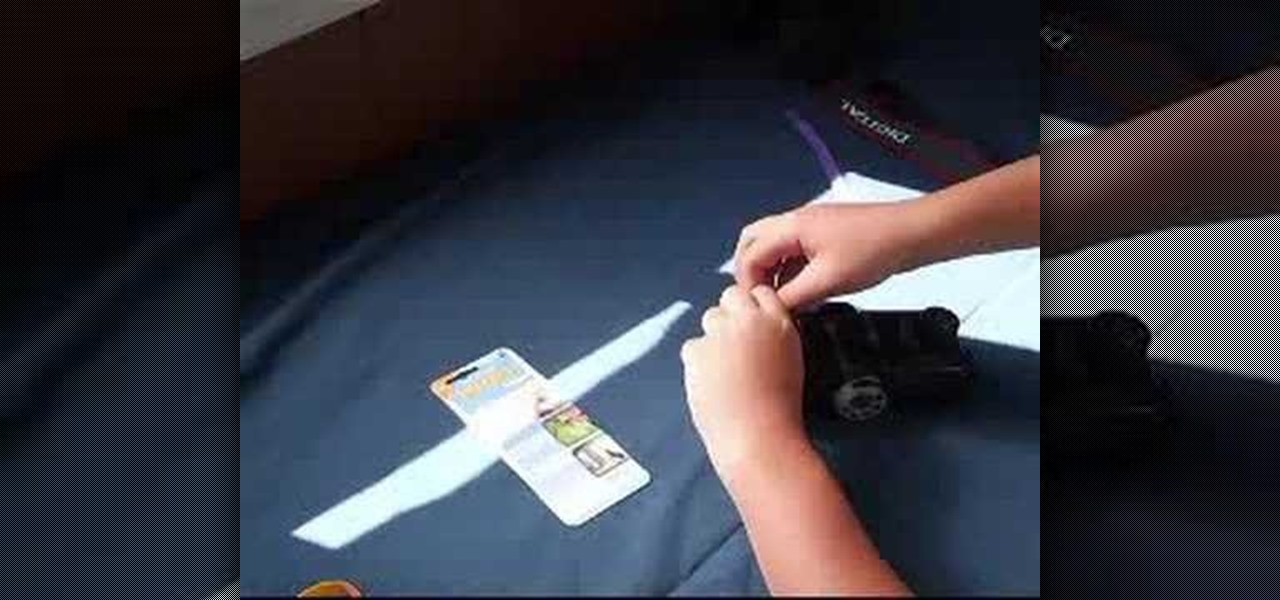
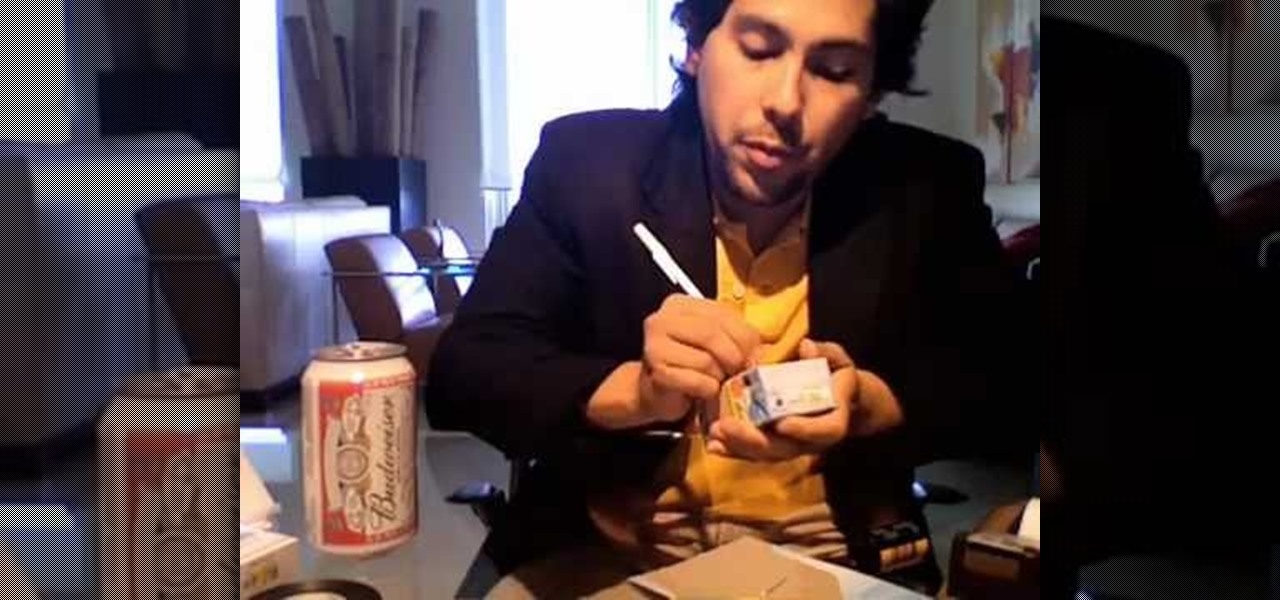
How To: Make a DIY three dollar camera speed strap
In this tutorial, we learn how to make your own DIY camera speed strap. It can save you a lot of money to make your own camera strap, all you need are some thick rubber bands. First, wrap some thick rubber bands around the lens of the camera. Then, take a strap with holes in it, and wrap it over the top of the rubber bands. Tighten this up, then you will be able to use it for all of the different lenses that you want to use! If you have a certain cover, this will keep it in place and help spe...
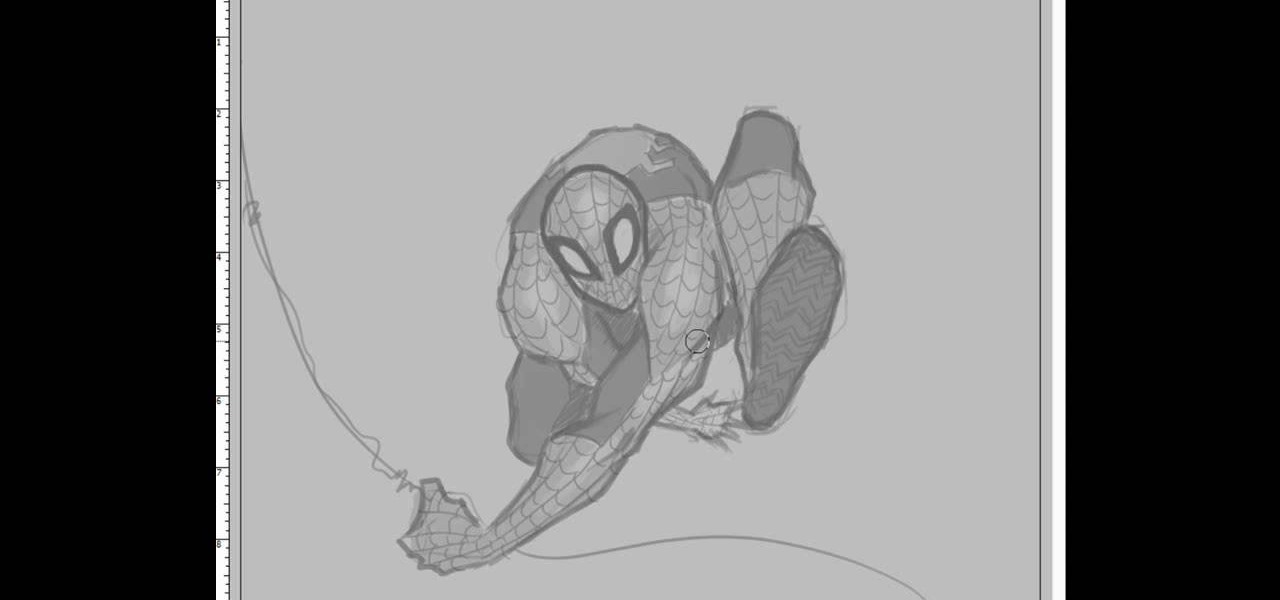
How To: Draw SpiderMan
In this tutorial, we learn how to draw Spiderman. First, draw the outline of Spiderman's body while hanging from a web up in the air. Then, use a darker line to draw over the original sketch of the body. Start to fill in details of the entire body and the face of the character. Next, fill in the small details of Spiderman. Draw the details down to what the bottom of the shoes on his suit look like. Make sure the face has all the right details, then add in lines to the web to make it look more...

How To: Draw Kagome Higurashi from InuYasha
In this video, we learn how to draw Kagome Higurashi. Start with drawing the head and the reference lines for the face. Draw in the eyes slightly to the left, then draw in the rest of the details of the face. Make sure the eyes are wide and bright, and there are eyelashes on the sides of the eyes. Next, draw in a nose and a mouth, then an ear on the right hand side of the face. Draw in bangs and the rest of the hair for the character. Make sure there is a long neck with shoulders draw in as w...
How To: Draw shadows in manga
In this video, we learn how to draw shadows in manga. When you are drawing shadows, you want to think in 3D. When you show the lights and shadowing, it's like you are drawing something you see a photo of instead of just a drawing on a piece of paper. Draw the shadows where you want the position of the light to be opposite of. If the shadow is on one side of the face, this would mean that the source of light is coming from the opposite side of the face. Use real pictures to figure out how to s...
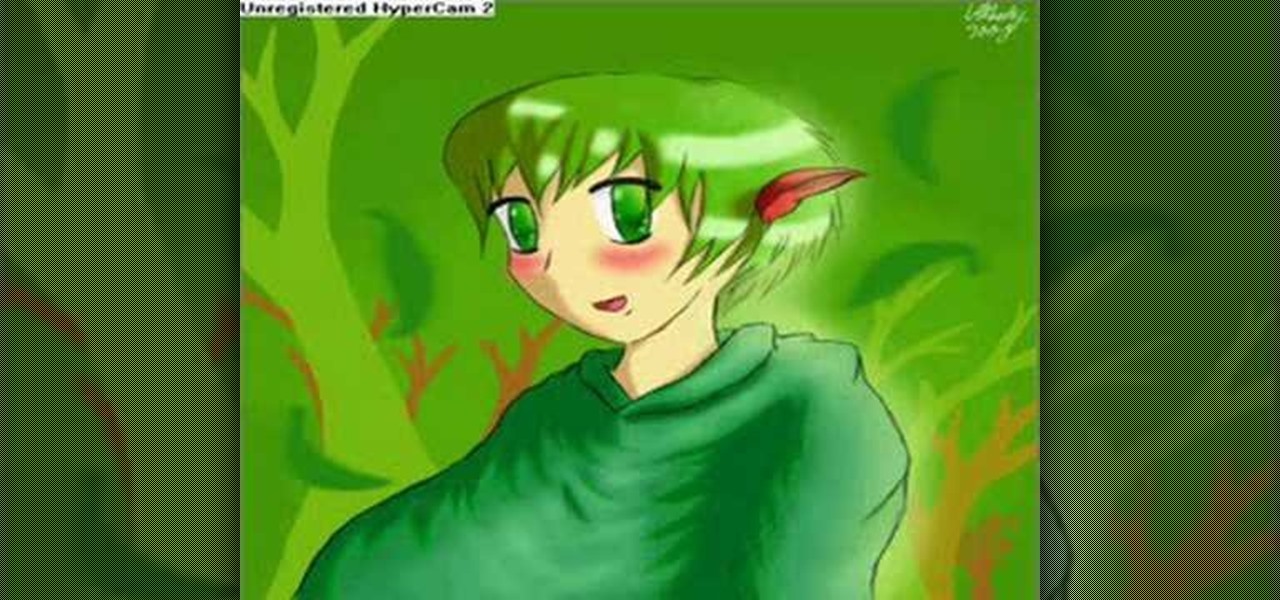
How To: Draw anime-style cartoon characters
In this tutorial, we learn how to draw anime. Start off by drawing the outline of the anime, then color in the face, hair, and clothing. Add in the ear on the side of the head, then add in the features of the face. Next, add in shading to the face, hair, and clothing to add dimension to the drawing. Next, add in details to the face to make this look more realistic. Then, draw in trees and leaves for the background of the drawing and color them green and brown. After this, add in a light sheen...
How To: Use AV mode & High Speed Sync (flash)
In this tutorial, we learn how to use AV mode & High Speed Sync (flash). First, go to AV mode and change the settings to 2.8. When you do this, your shutter speed will blink at 250. To fix this, hit the lightning bolt with the "h" and change it to the high speed setting. Now, your camera will be able to use the high speed shutter with the flash as well. Now, take some shots of your subject in the sun and you should be able to see a huge difference. The background should come in crystal clear ...
How To: Draw a manga cute emo girl
In this tutorial, we learn how to draw a manga cute emo girl. Start out by drawing the outline of the body, then add in the surrounding details. After this, use a darker marker to draw in the outline and the rest of the details inside the character. Make sure to draw in hair and all of the facial features to make her look feminine. Draw down the rest of the body, giving her a woman's shape and cleavage. Also make sure to draw on a pleated skirt and a tank top. Draw on the legs and feet, with ...

How To: Draw a Pikachu Pokemon
In this video, we learn how to draw a Pikachu PokŽmon. First, you should have a picture of the character in front of you so you can better draw it. Start out by drawing the eyes and filling them in with marker. Next, draw in the rest of the face, including the nose and the mouth. After this, draw the ears at the top of the head, then connect in the middle to create the head shape. Draw the sides and bottom of the head, then draw the body. Add in circles for the cheeks, then continue to draw u...

How To: Draw Gaara anime character from Naruto
In this video, we learn how to draw Gaara. Start off by drawing the head of the character, then creating your reference lines. Next, you will draw the neck and then create circles for where the shoulders are at. Now, draw around these to create the outline for the entire body. Next, draw in the details of the upper body, using lines to show where the pecks are and then draw in the outfit that Gaara is wearing. Next, draw in the chin and the jaw bone, then the ears and all the facial features....

How To: Draw a manga girl
In this tutorial, we learn how to draw a manga girl. Start out with a pen on a piece of paper and draw the eyebrows in the upper middle part of the paper. Color the brows in, then draw in the eyes, along with their creases and the bottom of them. Next, you will draw in around the face and add in the point for the chin. Add in the details for the face, making sure to draw in the eyelashes. When finished with the features, draw bangs on the front of the face, then draw hair all around the sides...
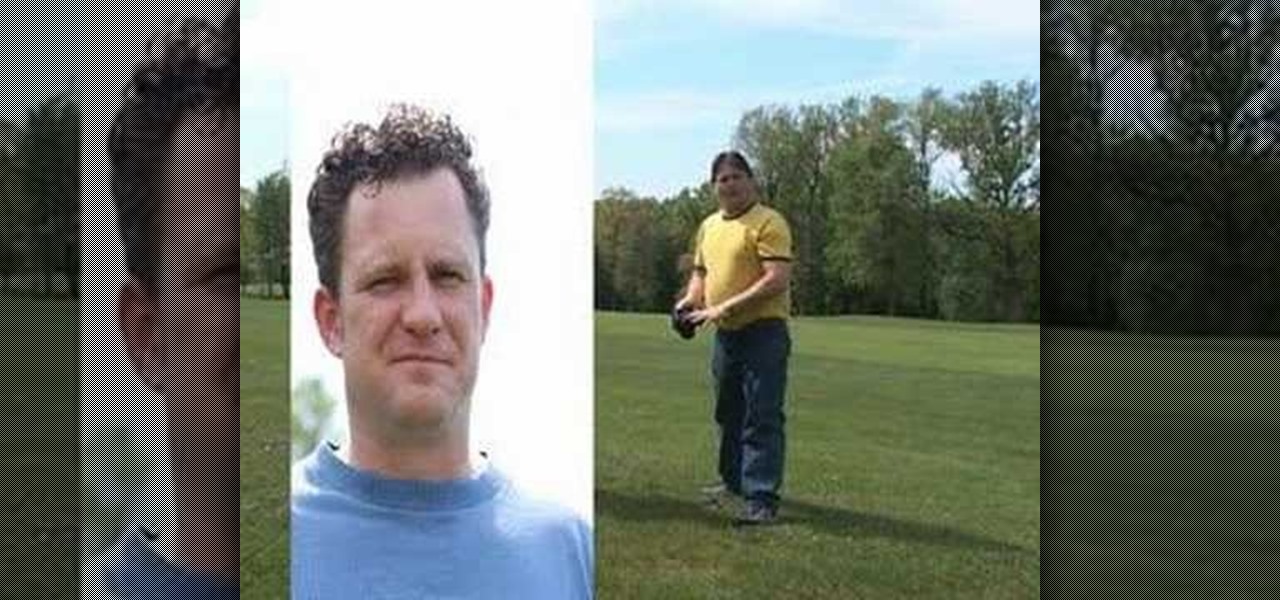
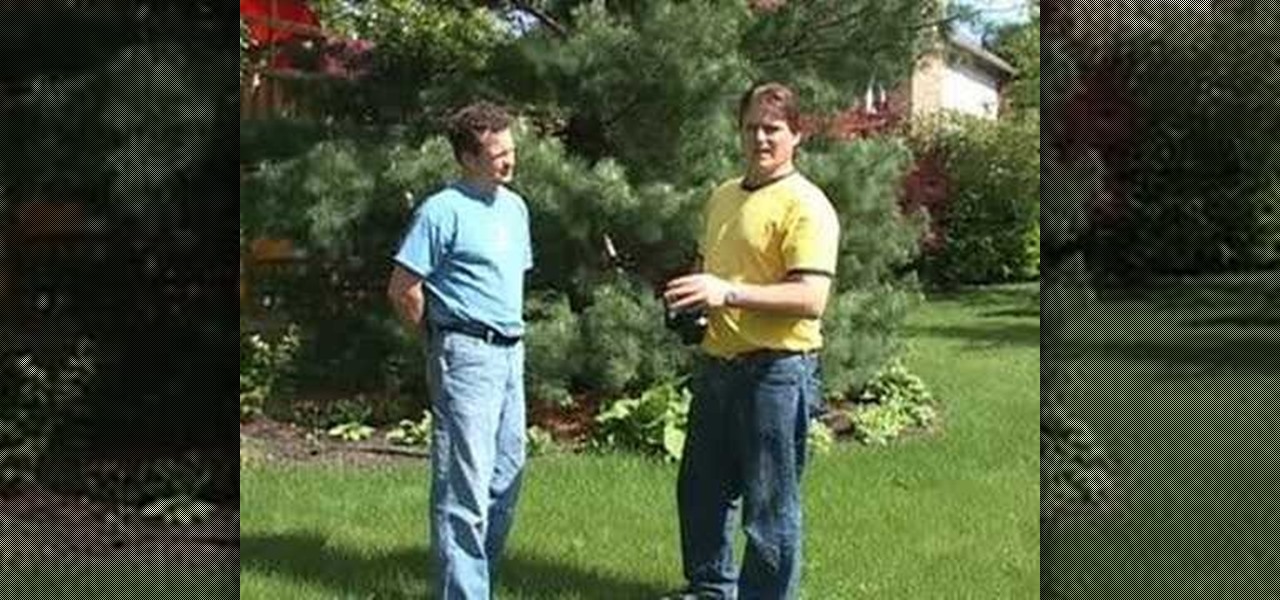
How To: Use fill flash to get blue skies
In this tutorial, we learn how to use fill flash to get blue skies. If you take a picture of someone in front of a blue sky, they will most likely have shadows on their face, making the sky look good and them look bad. If you change your flash, the sky will look pure white and the person will look good. To change this, put a flash onto the camera, then use the exposure compensation to -1. Then, adjust your flash exposure to 2 2/3 and take the picture of the subject again. Now, you will have a...