

Active Fine Art Posts


How To: Take dramatic digital photographs of stars and meteor showers
Being a light source themselves, as well as far away, and sometimes even moving, and only visible at night on top of all that... well, it's understandable why some digital photographers are intimidated at the thought of taking pictures of stars or meteor showers. However, this tutorial shows you some useful techniques to capture the night sky in brilliant detail.
How To: Paint T-shirts
Unique t-shirts are hard to find. So, learn how to paint your own custom t-shirt with stencils in this free craft video series from a professional tshirt designer.
How To: Make a backpack out of one roll of duct tape
Messenger bags are all the rage these days, and duct tape crafts have always been big with the indie crowd. Why not combine the two by making this cool messenger bag out of a single roll of duct tape! Watch this video to learn how.

News: The Astonishing Car-Part Art of James Corbett
Car-part sculptor James Corbett can do things with an automobile that would make a Transformer blush! We call him the Rodin of the Hot Rod. The gallery below should give you an idea as to why.

How To: Draw Little Sack Dude from the video game Little Big Planet
In this tutorial, we learn how to draw Little Sack Dude. Start out by drawing the outline of the body for the character. After this, draw on the limbs and then add in the details of the face. Once finished, draw in the details of the clothing, then the hands on the character as well. Draw in additional details along the feet and arms, then shade the entire character with the pencil. Once you do this, darken the eyes with the pencils to make them black and then darken the parts of the details ...

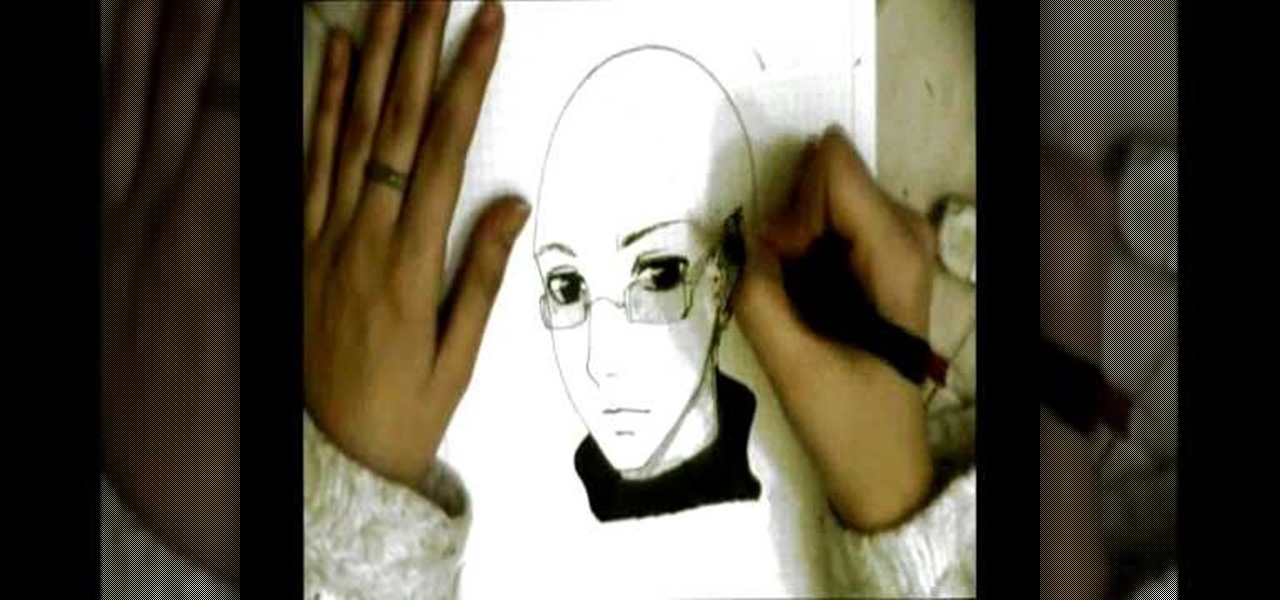
How To: Draw Orochimaru from Naruto
In this tutorial, we learn how to draw Orochimaru. Start with drawing a circle for the head, then draw lines crossing the circle to use as a measurement of where the features of the face will be. After this, draw in the eyes, nose, nostrils, mouth, and eyebrows. Next, draw in the neck and the shoulders for the body. Once finished with this, draw in the hair surrounding the face, then erase the back lines from the drawing because you won't need them any longer. To finish, add in details to the...
How To: Draw manga bodies
In this tutorial, we learn how to draw manga bodies. Start out by drawing circles for the body. These circles will start at the head, then go to the shoulders, arms, stomach, hips, knees, and ankles. After you do this, draw lines to connect them all together and make out the basic shape of the body. Now star to use a bolder line to create the realistic outline of the body. When you're finished with this, you will be able to do the fun part. You can fill in these spaces with color and lines to...

How To: Draw Sango and Kilala characters from InuYasha
In this tutorial, we learn how to draw Sango and Kilala. Start out by drawing a circle and reference lines for the head, then draw a stick for the body and draw a half circle going off the bottom of the page. Then, draw circles on the upper body to create the hands and draw fingers coming off of those. Now, draw in the neck and the clothing that is on the character. Erase the background lines, then all in the features of the face and the hair around the head. Also make sure to draw on the ear...
How To: Use extension tubes in place of a macro lens
In this video, we learn how to use extension tubes in place of a macro lens. First you will need to have your camera and a tube insert that will attach to your lens. Once you have this, you can attach it to the lens by screwing it on with your hands. Then, you can focus extremely close, much more than you would be able to do with a regular lens. After you have attached this, look through the camera and start taking shots close-up. Then, you will be able to see a better picture than you had be...

How To: Draw Electivire from Pokemon
In this tutorial, we learn how to draw Electivire from PokŽmon. Start out with a very sharp pencil and lightly draw the outline of the body of the character. After this, use a firmer hand to draw a darker line on the outline of the body, then start to add in details of the face and the rest of the character. Next, draw the details on the body to give it more of a personality and make it look more realistic. Continue to draw on the rest of the body parts, using lines and shading where appropri...

How To: Draw Karin from Naruto
In this video, we learn how to draw Karin. First, start drawing a circle and then add the eye line to help you place the eye. After this, draw in a triangle at the bottom of the circle as a reference to where the chin will go. Then, draw in a line for the body, then circles for the body and shoulders. After this, draw in the neck and then draw the rest of the body. Now, draw in the hair and the details of the face. Once you have finished this, erase the background lines from the face and then...

How To: Draw Tenten from Naruto
In this tutorial, we learn how to draw Tenten. To start this character, draw a light circle along with lines in the middle for reference points. Use a bolder line to draw the chin and then the eyes, nose, and mouth. also make sure to draw in slight eyelashes and eyebrows above the eyes. After this, draw a line around the head and erase the background lines. Draw ears on the top and then start to fill in the hair for the bangs on the front of the face. Finish this off with a headbands, then dr...
How To: Isolate your subject to get better photos
In this tutorial, we learn how to isolate your subject to get better photos. If you are taking a picture in an area with a lot of people or surroundings in the background, have your subject stand up on something. After you do this, you can take the shot and have nothing in the picture with your subject but the background. You can also have a child go on a playground and zoom in on them if you are taking a picture of a child. On the playground, you can find tons of spots where the child can be...
How To: Draw a horse step-by-step
In this tutorial, we learn how to draw a horse step-by-step. First, you will want to draw the face of the horse. You can use intersecting lines in the face so you place the features of the face equally apart. After this, draw the outline for the body of the horse. Once you have this perfected, you can start to add in the hair for the horse. Next, draw in the details of the body and draw the shoes on the bottom of the horses feet. Draw in the tail, then add in shading and other lines to make i...

How To: Draw a sportscar
In this video, we learn how to draw a sports car. Start out by drawing the wheels and the base of the car. After this, draw the rest of the body of the car and the windows. Then, add in the wheels, tail lights, and the rest of the details of the vehicle. Once you have finished this, add in shading and lines to create a more defined vehicle. Continue to draw using this same method, drawing different types of cars and vehicles that you like. Make sure to look at a picture of different cars as y...
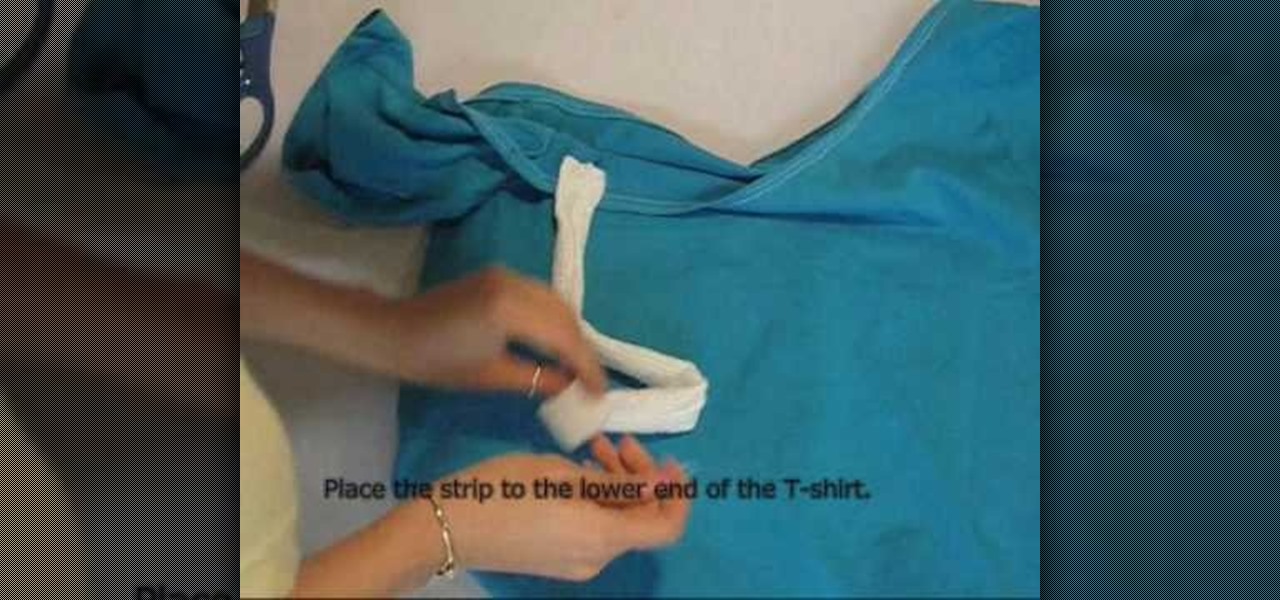
How To: Reconstruct a t-shirt into an off the shoulder top
In this video, we learn how to reconstruct a t-shirt into an off the shoulder top. First, take a large shirt of your choice color and cut along the line on the shoulder, leaving a 1/4" seam allowance. Next, roll the hem and sew with a sewing machine. Next, cut a strap 4" wide and fold in half, then sew along the edge. After this, use a safety pin to pin one side to the shirt and then to the other side of the shirt. After these are secure, draw marks along the neck line of the shirt. Cut out t...
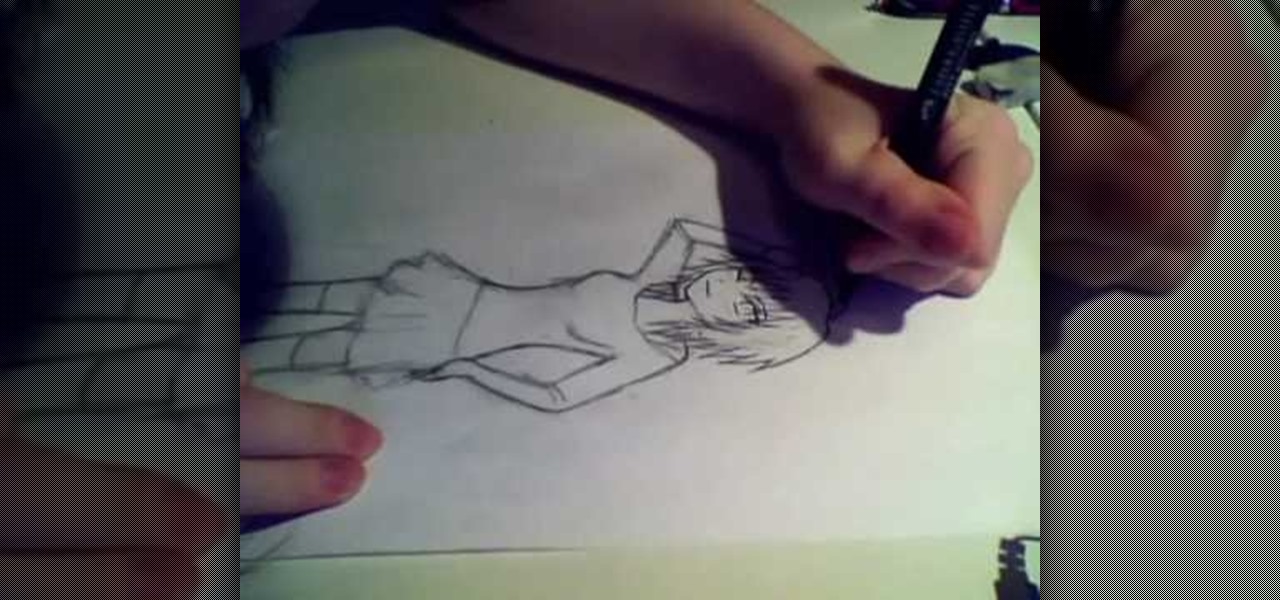
How To: Draw a manga girl
In this tutorial, we learn how to draw a manga girl. Start off by drawing the outline of the body, starting with the head. After this, draw the neck and shoulders, leading down to the rest of the body. Make sure to give the character feminine curves as you are drawing. Then, add in the features of the face and then give her bangs and short spiky hair. Next, draw a long sleeved shirt on her, that has wide shoulders on it. Continue to draw, making sure to add on lines to show contours where the...

How To: Draw Pokemon heads
In this tutorial, we learn how to draw PokŽmon heads. Start out by drawing a circle for the head, then drawing intersecting lines in it to create a reference point for the features of the face. Next, draw the ears coming out of the head and then draw the eyes, nose, and mouth. Once finished, you will need to fill in the eyes so they have the correct look, then add in further details along the face. Make sure to add lines to the edge of the head to make it look like it has fur, then add in any...

How To: Draw manga basics
In this tutorial, we learn how to draw manga basics. First, you will draw a circle for the head, then make a point at the bottom for the chin. After this, draw in lines on the face so you can reference where the eyes, nose, and mouth will be. Then, you will need to decide what expression you're going to use. Once you have decided, you will need to draw in the eyes, creases of the eyes, and eyebrows. Then, you will draw in the nose and the mouth. The female eyes look different from the male's,...

How To: Get sharp images in low light w/ a digital camera
In this tutorial, we learn how to get sharp images in low light w/ a digital camera. If you are wanting to take quality pictures indoors but don't have great lighting, there is still a way to make your pictures turn out great. First, you will need to take a camera with a long lens and zoom in on your subject. After you do this, hold the camera steady and take the shot. When you look at the picture you just took, the picture should be brighter than it would be if you took a wider shot and it w...
How To: Draw wavy manga hair
In this tutorial, we learn how to draw wavy manga hair. Start off with your manga face shot and then grab a pencil. Draw in strands of hair on the forehead and create bangs across to the eyebrows. After this, draw down hair on the head going down around the ears and throughout the rest of the head. Use a light touch of the pencil to create most of the strands coming from the root of the head, then use a darker line to create different types of strands. When finished, add in additional details...
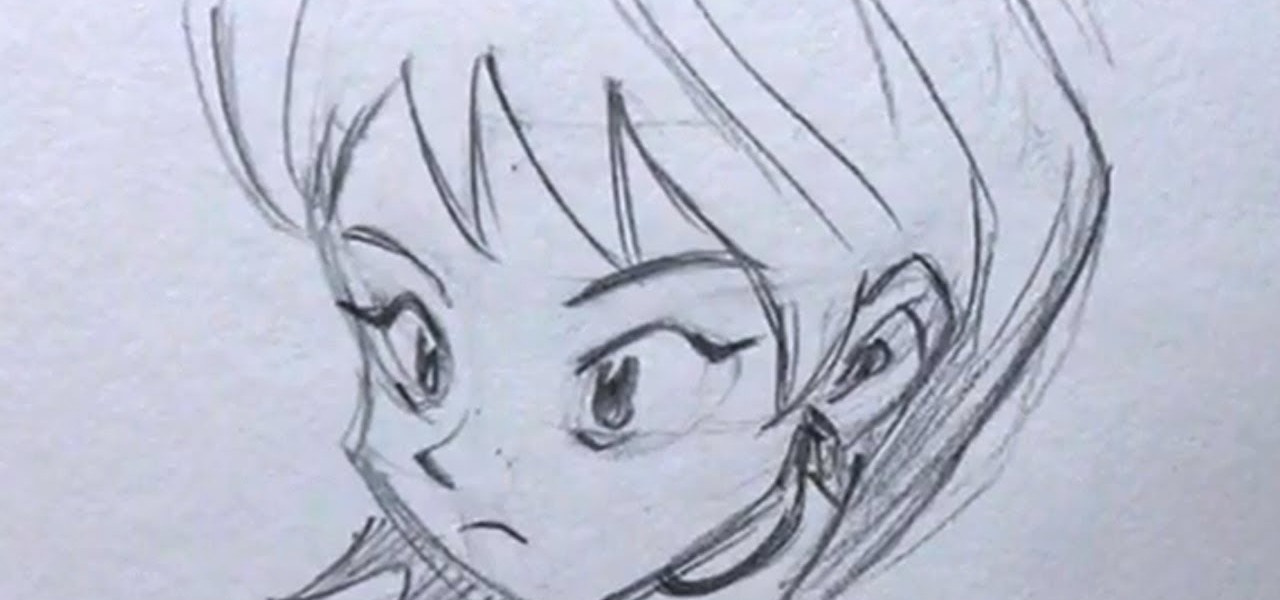
How To: Draw manga faces 3/4 view tilted down
In this tutorial, we learn how to draw manga faces 3/4 view tilted down. You will start with a circle for the head, but you will make the chin go off to the side slightly. Next, you will draw a horizontal and vertical intersecting line off to the side of the face where the chin is. Next, draw in the circles for the eyes, then draw in the brow line. The brow line should be lower than normal. Once you have all the guidelines set up, add in the ear and start to draw in the details of the face. W...

How To: Draw Karin 2 from Chibi Vampire
In this tutorial, we learn how to draw Karin 2. Start out with a circle for the head, then draw in your reference line so you can align the different features of the face. After this, draw in circles where the joints of the body would be for the upper body, then draw around this using bold lines. Once you are finished with this, draw in the rest of the arms and create clothing on the body as well. Next, you will need to draw in the features of the eyes as you would like, then add in the detai...

How To: Draw a dragon head
In this tutorial, we learn how to draw a dragon head. Start out by drawing the outline of the dragon head, giving it a pointed head and a large neck. Then, draw in flames coming from the mouth and large sharp teeth on the inside of the mouth. Draw in eyes, scales, and additional details around the entire area of the dragon. After this, you will be able to add in spikes on the back of the dragon as coming from the head down to the neck. Add in horns to the dragon, then shade in areas and add l...

How To: Decoupage a picture frame
In this tutorial, we learn how to decoupage a picture frame. This is the art of gluing paper onto a smooth surface, then applying lacquer over it. First, gather all of your tools, including foam brushes. Next, stick the papers you want onto the smooth surface, using glue. Then, smooth out the surface using a roller and a credit card to press down onto it. Do one last run through with the roller, then apply the lacquer onto the top of it. Once finished, let this dry 15-20 minutes. When dried, ...
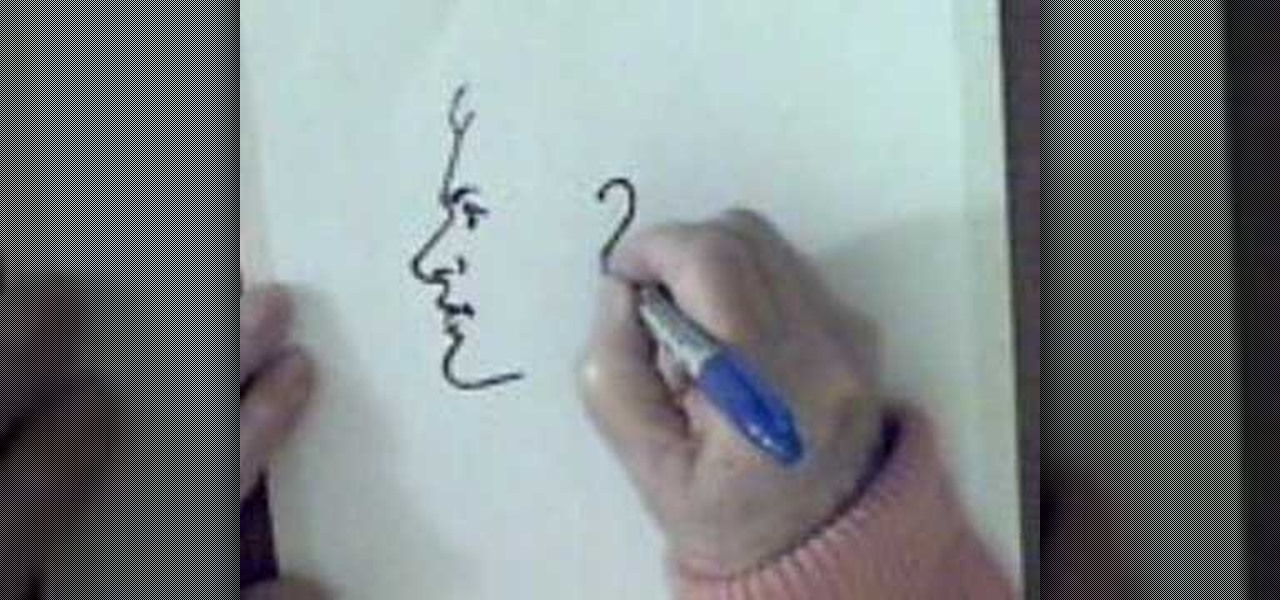
How To: Draw a man's face in profile
In this video, we learn how to draw a man's face in profile. With a Sharpie marker, first draw the bump to show the forehead of the face, then the bump for the nose. After this, draw the upper lip, then the bottom lip. Draw in a crease around the mouth the make the shape of the lips. After this, draw in the chin to the specifications you would like. After this, draw in the detail of the eye and the eyebrow around the area of the forehead. Next, draw in the nostril of the nose and then a creas...

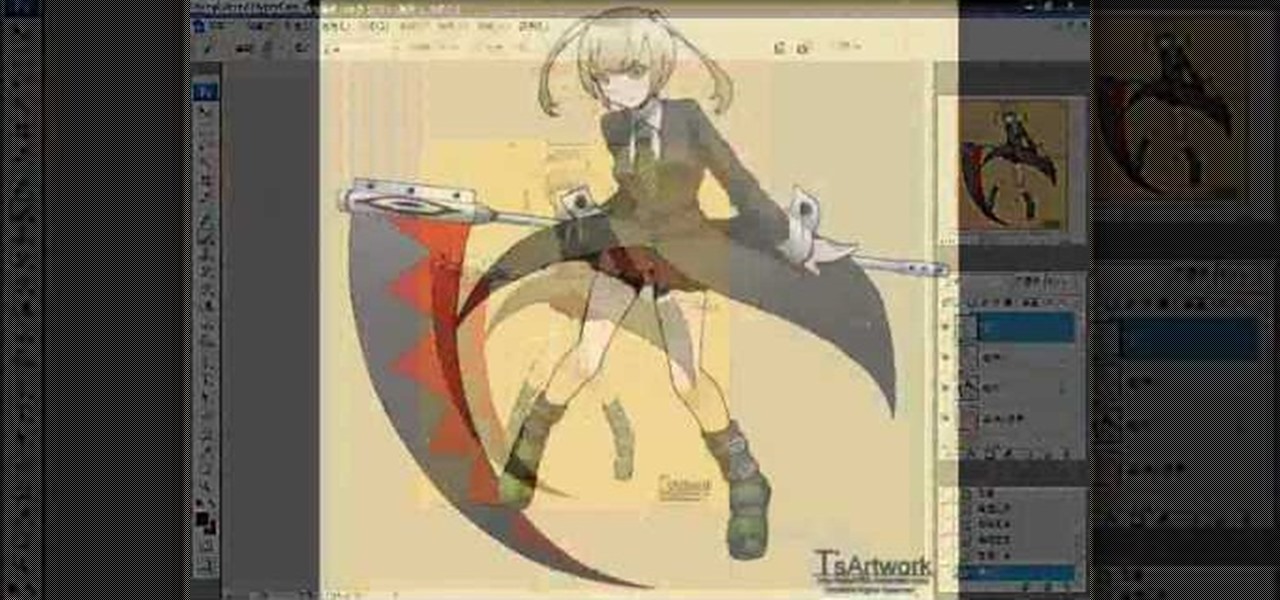
How To: Draw the Black Queen of Chess
In this tutorial, we learn how to draw the Black Queen of Chess. First, you will need to draw the outline of the character using a light pencil on paint or another drawing program on your computer. After this, use a dark blue pencil to draw the outline of the body on darker and to make it more detailed. Next, add in the details to the drawing all over the entire body. Make sure to draw on the clothes after you do this. Once finished, you will need to draw on the facial features and the hair, ...

How To: Tie dye an oval style shape
In this tutorial, we learn how to tie dye an oval style shape. Start with a square piece of a shirt that is damp, then fold it in half. Then fold it in half again, then in half again. After this, fold the shirt accordion style, paying attention to where the main corner of the shirt is. Once finished folding, tie two knots in the bottom, then fold the fabric up until you reach the ties. Now, tie or secure this bundle tightly with rubber bands. Apply your favorite colors of die on the shirt, ge...

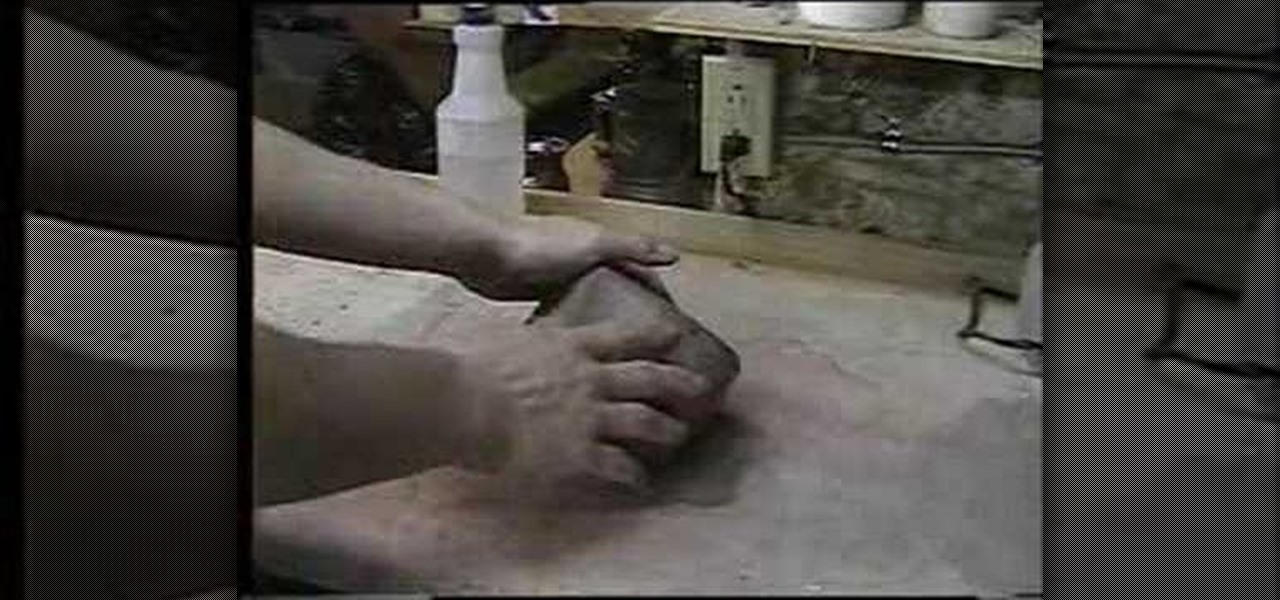
How To: Fashion a wallet from duct tape
This video tutorial is in the Fine Art category which will show you how to fashion a wallet from duct tape. For this you will need an X-acto knife, duct tape of any color and a tape measure. Rip off a piece of tape about 10 inches long and place it sticky side up. Rip off another piece of same length and place it on the 1st piece face down but, covering only half of the tape as shown in the video. Fold down the 1st piece on top of the 2nd so that you will have only one half piece of sticky ex...
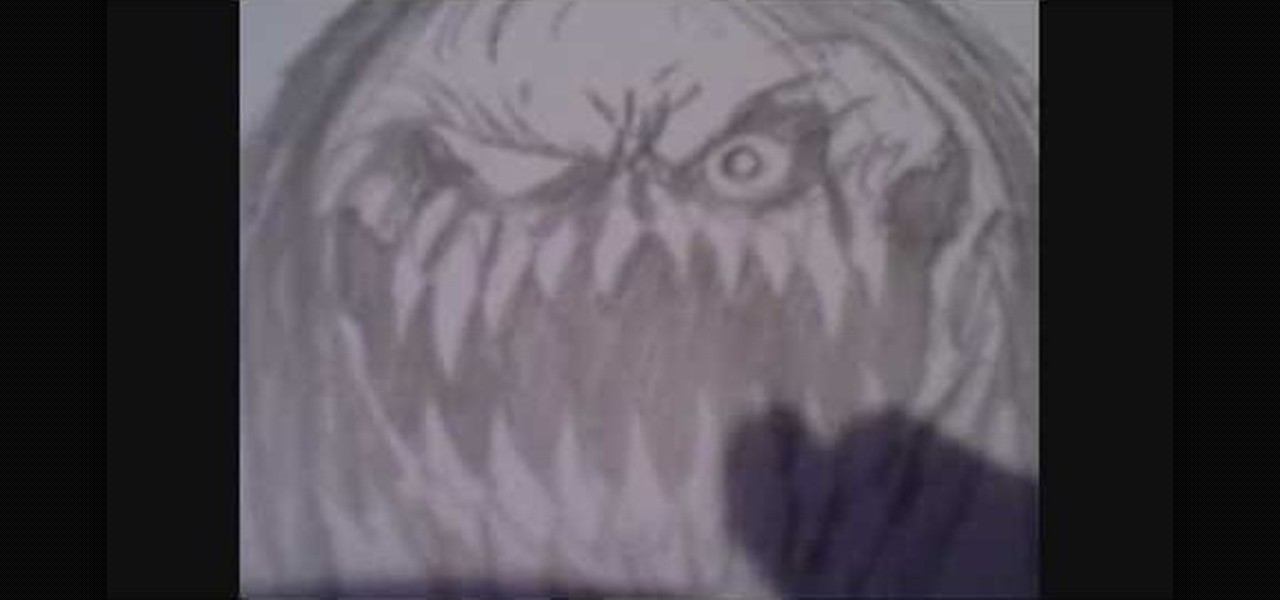
How To: Draw a scary demon mother
In this tutorial, we learn how to draw a scary demon mother. Start off by drawing a circle for the face with huge sharp long teeth and small evil eyes. Add in details around the face to create a more realistic feel and creases in the eyes. Next, draw in the hair by using your pencil and just drawing in straight and straggly hair. After this, add in additional details to the eyes and the rest of the face, creating a nose and other features you want. After this, draw in lines on the bottom of t...

How To: Draw Rukia from the manga series Bleach
In this video, we learn how to draw Rukia. Start out by drawing a circle with a triangle shape at the bottom. Then, draw reference lines in the face to measure where the features of the face are going to be. After this, start to draw in the details of the face. Draw the eyes, mouth, nose, eyebrows, and any other details you need. Make sure the eyes match the original character and leave white for the pupils to show. Draw in the hair to finish up the drawing, making sure to draw the eyebrows a...
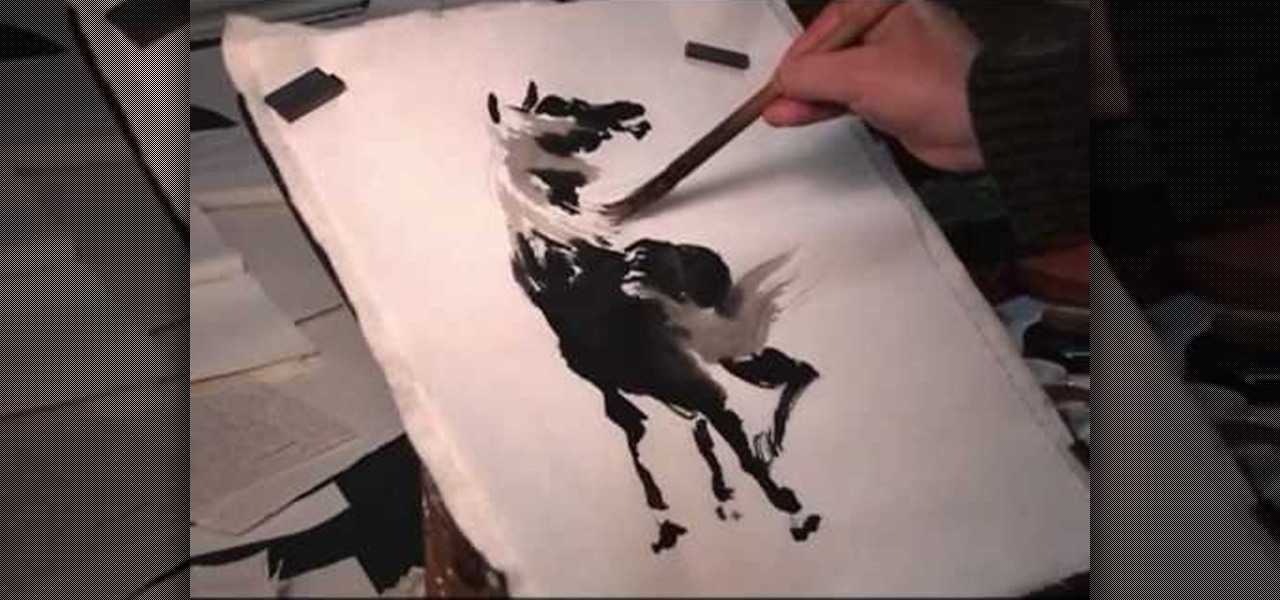
How To: Draw the back view of a horse
In this tutorial, we learn how to draw the back view of a horse. Start by drawing the tail. Use a horse main brush made out of real horse main hair. Change to another brush to use a darker color for the rest of the body of the horse. Paint around the tail that you made to create the rear end and the legs that are on the horse. Also create the feet and make sure to just use one stroke as you are creating these. Next, creating a neck and then the head along with the main on the top of the horse...

How To: Draw Dialga from Pokemon
In this tutorial, we learn how to draw Dialga. Using a pencil on a white piece of paper, use a light touch to create the outline of Dialga. After this, draw in the small details on the inside of the body. Use shading and lines to make it look just like the real character. Continue to draw down the entire body until you reach the feet. Make sure to draw the spikes on the side and add in the proper lines to make it look like the real character. Add in more details if you would like, then save t...

How To: Draw bat or demon wings
In this tutorial, we learn how to draw bat/demon wings. Start out using a light pencil marking to make the outline of the wings. You will want to draw wispy lines and make them light to create a light effect on the ends. Once you have the outline finished, use a hard pencil mark to draw over it. Create large wings with hard edges and mark in lines along the middle and the edges of the wings. After you have done this, make sure there is another wing on the side of the wings and then shade to f...

How To: Make a fashionable lace cardigan
In this tutorial, we learn how to make a Lace Cardigan with the Sewing Studio. First, you will need to gather all of your tools and the material. Now, cut out a piece of fabric into a large rectangle. Now, draw and cut out the pattern from the diagram you see in the video. After this, finish up the raw edges with stitching, then line up the two lower edges and sew along the edges. This will be the seam on the center back of the cardigan. Next, attach the triangle to the top of the neckline an...

How To: Draw a face using charcoal
In this tutorial, we learn how to draw a face using charcoal. Start out using a light touch with your pencil to draw the outline of the pencil. After this, use the darker touch of a charcoal brush to draw in the details of the eyes. Draw the eyeline and the creases in the eye, then draw in the nostrils and the middle of the mouth. Draw in shading around the neck and chin to make a difference between the two. Use a light touch of the brush to create shading throughout the entire face, not usin...
How To: Draw a basic dragon
In this tutorial, we learn how to draw a basic dragon. Start off by drawing the head of the dragon, then draw the neck and the rest of the body in a simple outline. Use circles throughout the body of the character to create a large body that looks realistic. Next, draw in details of the body of the character and the fur that is on the outside of it as well. Draw in the claws on the feet and the lines along the body to create a more realistic look. As you continue, erase any background lines a...

How To: Draw a young woman's face in profile
In this tutorial, we learn how to draw a young woman's face in a profile. Start by drawing the forehead, then drag the pen down until you reach the nose area. After this, draw down to the mouth, accentuating both of the lips. Next, draw the chin on the face, then the jaw line. After you have done this, start with the eye and make sure you add detail as to where the crease of the eye is at. Next, you will draw in the eyebrow and then start to add in the bangs and the rest of the hair. Add in a...

How To: Draw a neighborhood using an imaginary box
In this tutorial, we learn how to draw a neighborhood using an imaginary box. First, draw a straight line and then the boxes should go around it. Continue to draw additional boxes around the line, then fill them in with the outline and further details. Draw in the roof, walls, windows, and doors. When you finish with the details, start to shade them in and then add in the street details. Make sure to give the ground some rough edges and also add in lights on the street. Add as many details as...

How To: Draw Ino Yamanaka manga-style from Naruto
In this tutorial, we learn how to draw Ino Yamanaka. Start off by drawing the head, drawing lines in the center to use as reference points. After this, draw the rest of the body, including the hands, torso, and neck. Now start to draw in all of the details. Draw the eyes evenly apart, then add in frown lines, a mouth, eyebrows, and any other details of the face to make it complete. Next, start to erase the reference lines and draw in the hair of the character. Draw around your basic outline t...