

Active Fine Art Posts


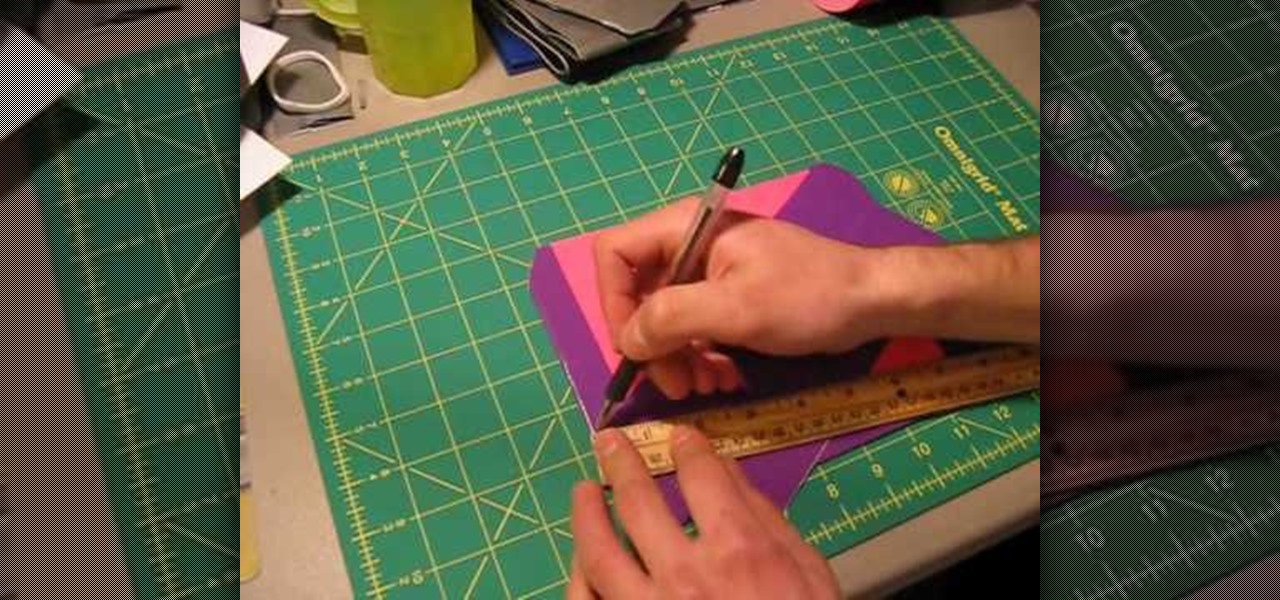
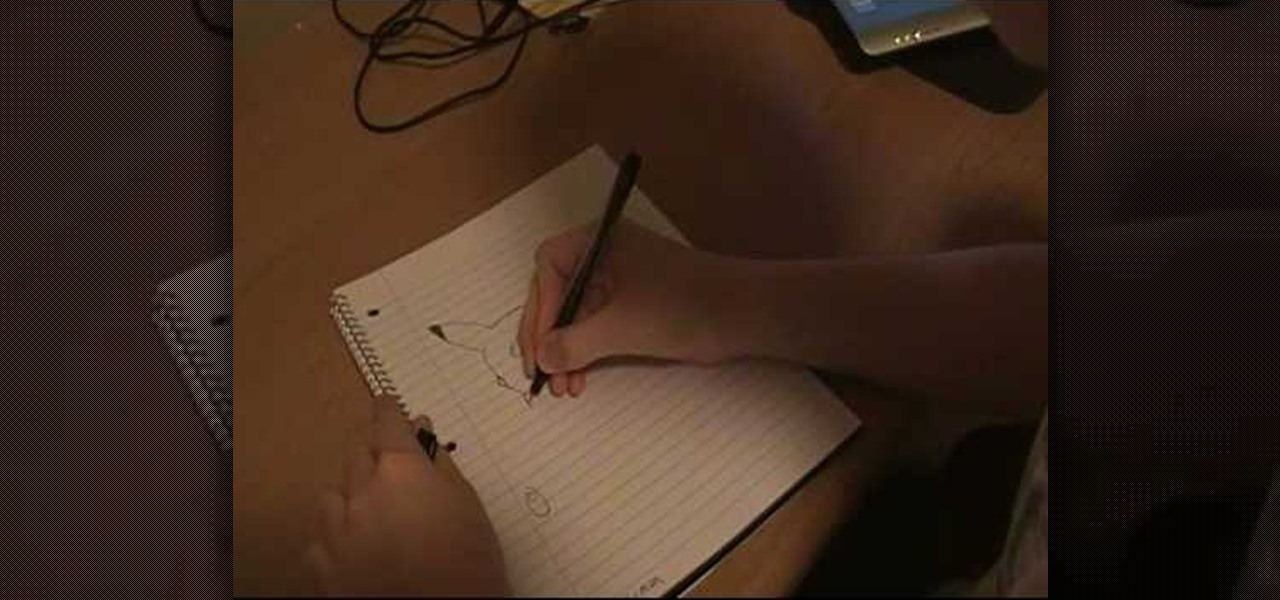
How To: Start a drawing with an outline
In this tutorial, we learn how to start a drawing with an outline. For your outline, you can use a grid system which will make your drawing easier and more precise. It will also make positioning a lot easier so everything is proportioned. From here, you can start to draw in the outline of what you are drawing. You can make your own grid by using a ruler if you would like to. Once you have finished the outline for your drawing, you can start to add in details using the grids as well. This will...
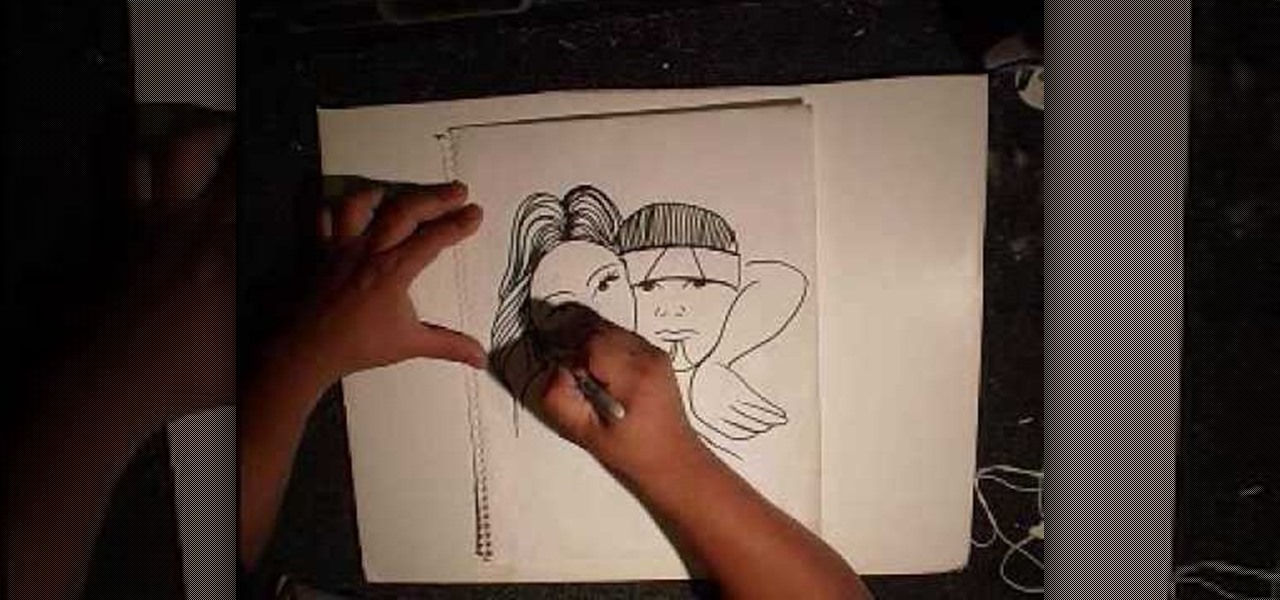
How To: Draw a gangster graffiti couple
In this tutorial, we learn how to draw a gangster graffiti couple. First, draw in the eyes on the piece of paper. Then, draw in the nose and the mouth, adding in details to make it look more realistic. Draw in the hair for the woman, then draw in the details for the man's face right next to the woman's. Draw in the rest of the face, then add in the hair with a band around the head. Draw an arm coming from the side of the woman and another on the neck of the man to show them hugging. Add in de...

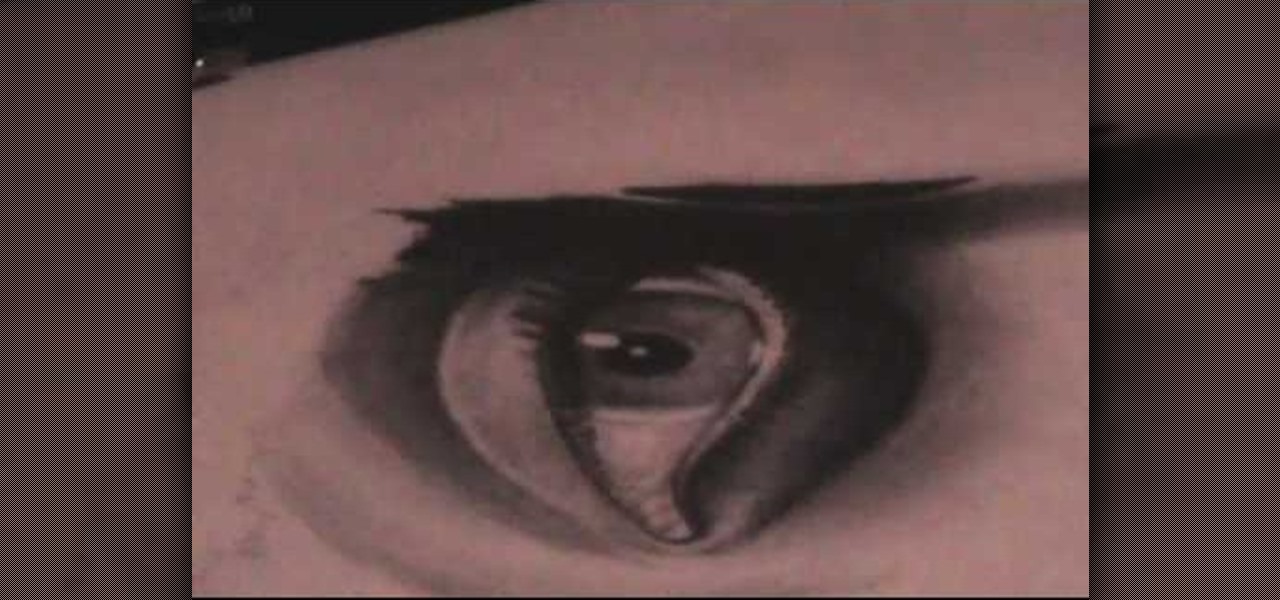
How To: Draw an anime eye step by step
In this video, we learn how to draw an anime eye step by step. Start out by drawing the outline of the eye. Then, fill in the eye with details and create shadows as well. From here, you will add in further details, including the shading and lines that make it look more realistic. Make sure you draw in the creases for the top and the bottom of the eye as well as the lashes on the top and the bottom. Draw in the details on the inner corner of the eye and add a white spot to make the eye appear ...
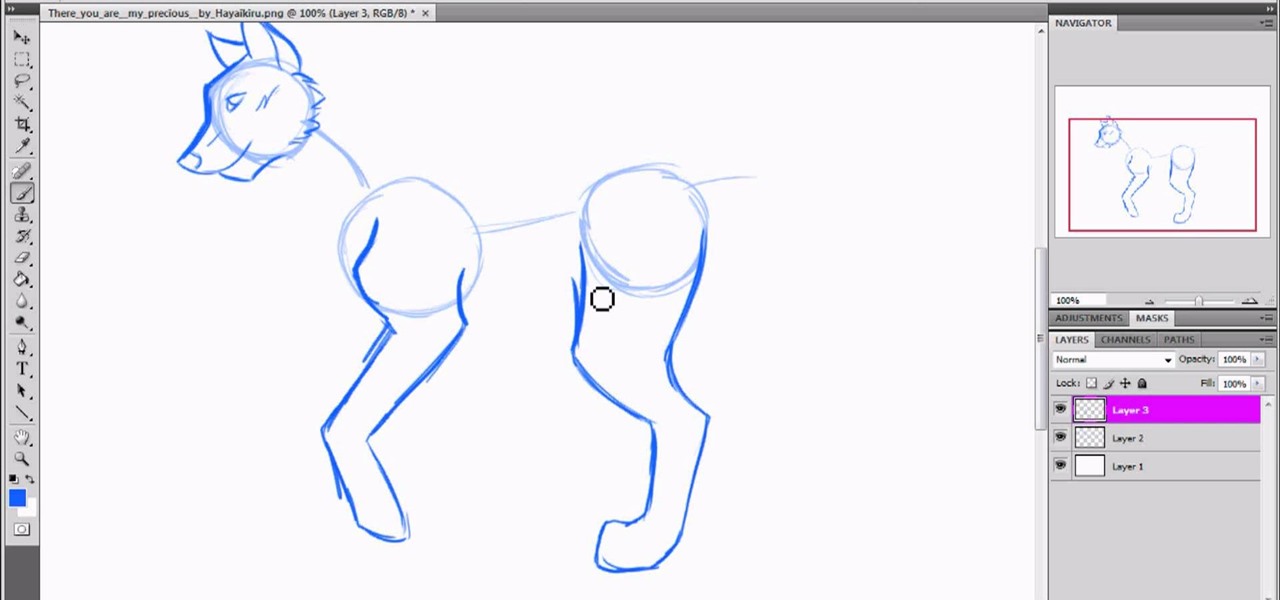
How To: Draw a wolf with basic guide lines
In this tutorial, we learn how to draw a wolf with basic guidelines. First, draw in circles from where the main sections of the wolf is. Now, draw a line connecting all of these and draw in the details of the face. Now, draw the back legs starting with the front leg and then the back leg. After this, draw in the stomach and the main part of the body. Erase the circles and background lines, then draw in the hair of the wolf and the stomach. Create a tail on the back, then add in the ears and t...
How To: Draw super-simple trees
In this tutorial, we learn how to draw super-simple trees. Start out with a pencil and piece of white paper. Draw a straight line for the trunk of the tree. After this, draw the branches coming off of the tree in diagonal lines. From here, draw smaller lines coming off of those to make more branches. Draw in a smaller tree next to the larger one and you will have created a very simple tree! You can add more detail to this by drawing on leaves and grass at the base, but this is the most simple...
How To: Draw Kirby with hair, eyes, and shades
In this tutorial, we learn how to draw Kirby with hair, eyes, and shades. First, draw the outline of the character and add in the basic shapes for the features on the face. Now, draw in the hair on the top of the head and connect it with the rest of the head. Next, draw the bangs around the eyes and shade in the hair on the head to make it look more like the actual character. Use the side of the pencil to get a better shade out of it. Then, shade the body of the character and darken the bangs...

How To: Draw a fairly realistic eye
In this tutorial, we learn how to draw a fairly realistic eye. Start with a pen and draw a wispy line for the eye, like a football shape. Then, you will draw the pupil inside the eyes and the ring around it. Draw in lines around the pupil and the eye to show where the colors and shades of the eye come into play. Then, shade in the entire eye lightly. From here, darken up the upper lash and create a create on the eye. Then, make the eyelid crease on the bottom of the eye and add in the inner c...
How To: Make a duct tape wallet with a change pocket
In this video, we learn how to make a duct tape wallet with a change pocket. First, grab your favorite color of duct tape and then place some down on a flat surface with the sticky side up. Overlap these until you have the desire size you want, then fold the edges over. After this, apply the sticky side down to this and you will have a nice little wallet that is made between them connecting to each other. Make the change pocket by doing the same process, just use a smaller piece and connect w...
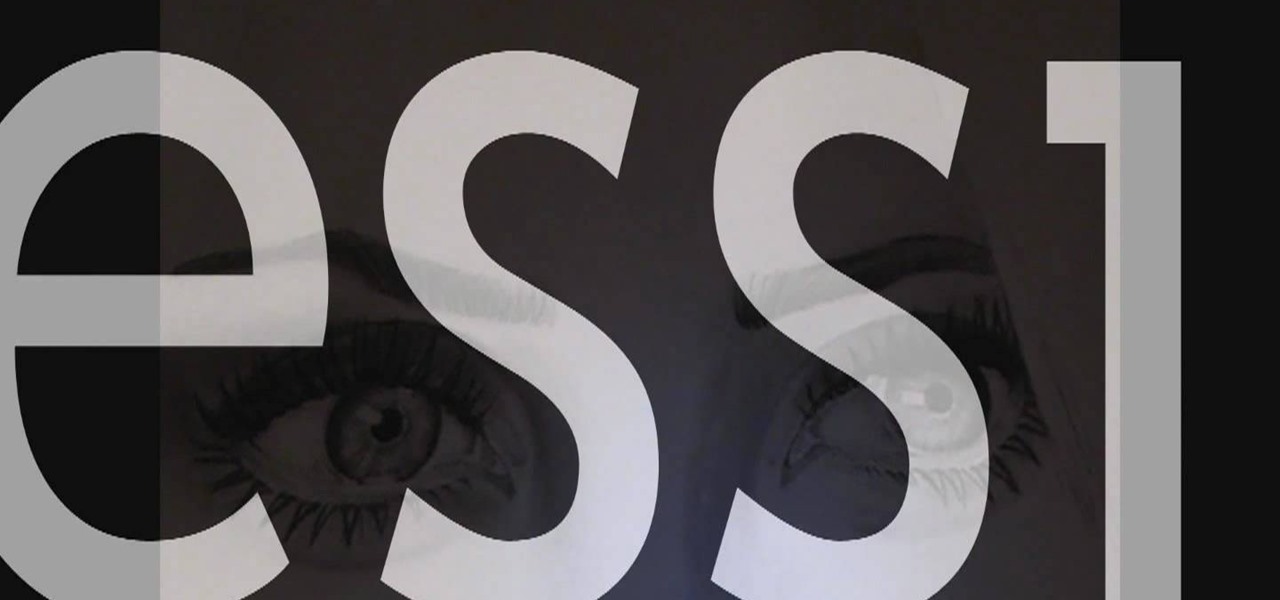
How To: Draw a realistic mouth, nose, and eyes
In this video, we learn how to draw a realistic mouth, nose, and eyes. Start out by drawing the outside shape of the eye, then draw in the details inside the eye. After this, shade in the pupil and add a white circle to make the eye look glossy. From here, add in the eyebrows and add darkness and lines to make it look more realistic. For the mouth, you will first draw the outline of the lips, then draw the teeth on the inside followed by additional details. Make the teeth different shapes and...
How To: Draw graffiti
In this tutorial we learn how to draw graffiti. Graffiti can be done in hundreds of different ways, depending on your taste and your abilities. Remember when you draw on graph paper that it will help your letters stay to scale so you have a more even looking word or letter. Also, when you draw your characters you want to draw them with large features and exaggerated clothing, so it gives the gangster loose clothing look. Use a brush pen to create a flared effect and shade in around the letter...
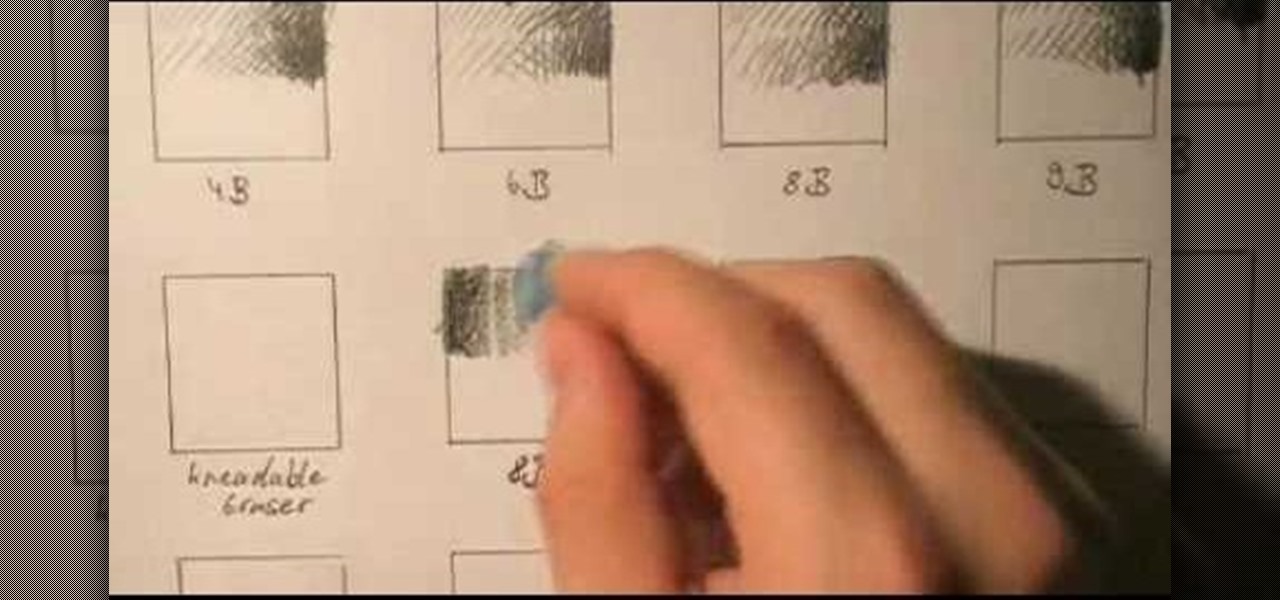
How To: Draw with basic concepts and techniques
In this video, we learn how to draw with basic concepts and techniques. To shade with different pencils, you will start out by doing a light touch on the pencil and then push down harder to create a darker shade. Use different pencils to get long and wider lines from the shading. A 4B and a 6B pencil will have lines that look the same, but they are different in the way they apply graphite to the paper. Practice using all of your pencils to get an idea of how they write, then you can choose wh...
How To: Draw a realistic portrait
In this tutorial, we learn how to draw a realistic portrait. Using a pencil, you will first draw the out line of the face. After this, add in the details and bold lines to the eye. From here, you will add in the details and shading to the rest of the face. Use your eraser to create smooth lines and white lines to make the features look glossy. Draw in a white line on the bridge of the nose to make it look more realistic. Also make sure to add in lines that are on the face as well as hair that...
How To: Make a purse or handbag out of duct tape
In this video we learn how to make a purse or handbag out of duct tape. Start out with your duct tape and a flat surface. each piece needs to be 8 inches long and laid out in front of you. Then, stick these on top of each other. Once you do this with two, take your other pieces and overlap them, then connect them together. After you have the four strips together, use a different color around the edge of this, making it with the same process. Now you will have a pouch, which will be your purse...

How To: Draw realistic lips and teeth
In this tutorial, we learn how to draw realistic lips and teeth. First, draw on your outline for the lips and teeth, using a light pencil. Try your best to get it as natural looking as possible. Now, draw in the shadows and the mid-tones for the lips. Also add in reflective lights and draw in the teeth. Add in details to the teeth and use darker lines to separate them. Use dark creases to form the lips and then continue to add in additional details. When you're finished, darken around the mou...
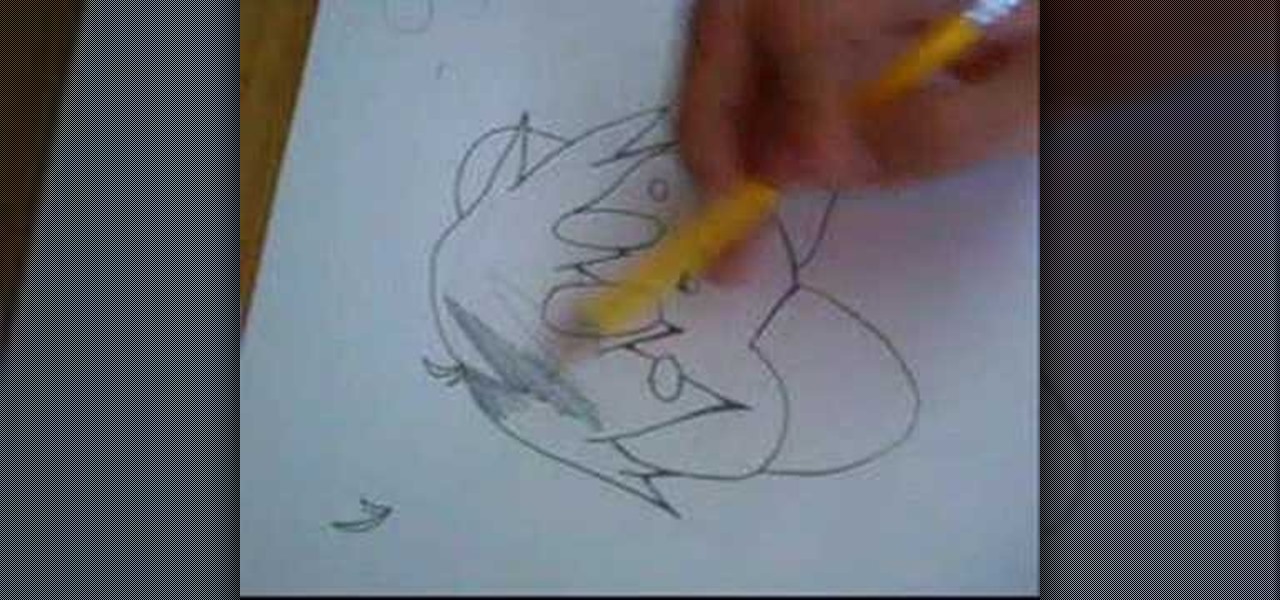
How To: Draw Pikachu from Pokemon
In this video we learn how to draw Pikachu from Pokemon. First, draw the ears and the top of the head. After this, create the sides of the head and color in the tops of the ears. Draw in circles for the eyes and then draw in the nose, cheeks, and smile. Continue on to draw the rest of the body and the details of the chin of the character. Add in the details for the side of the body and then add in shading and body lines wherever possible. When you are finished, share this with others and be a...
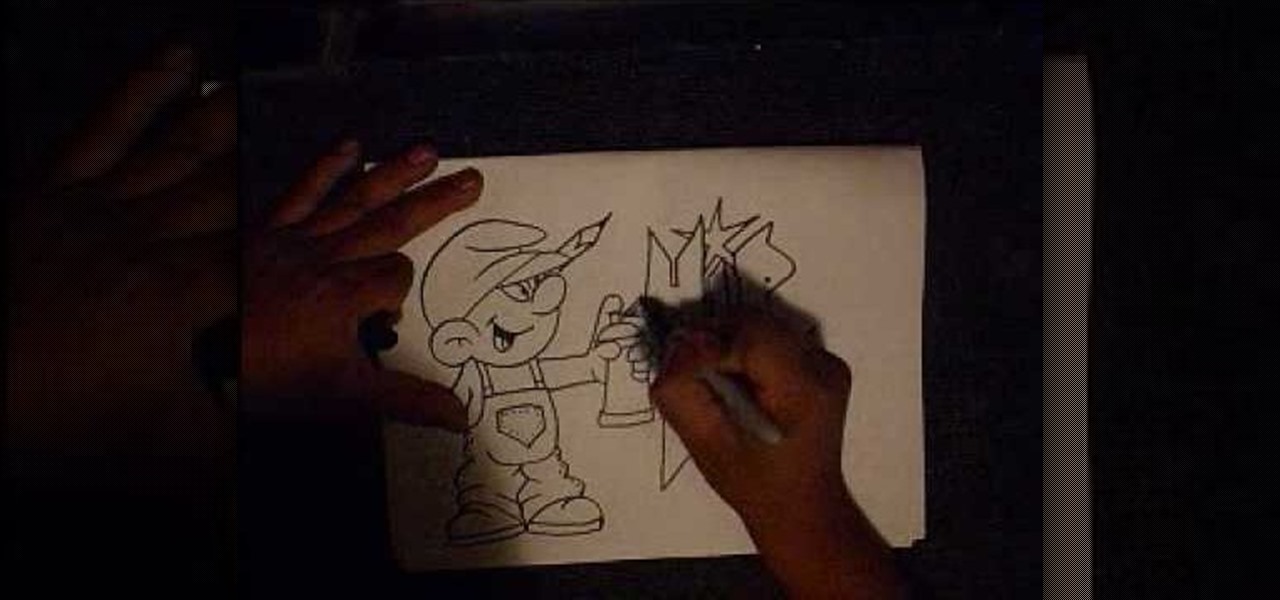
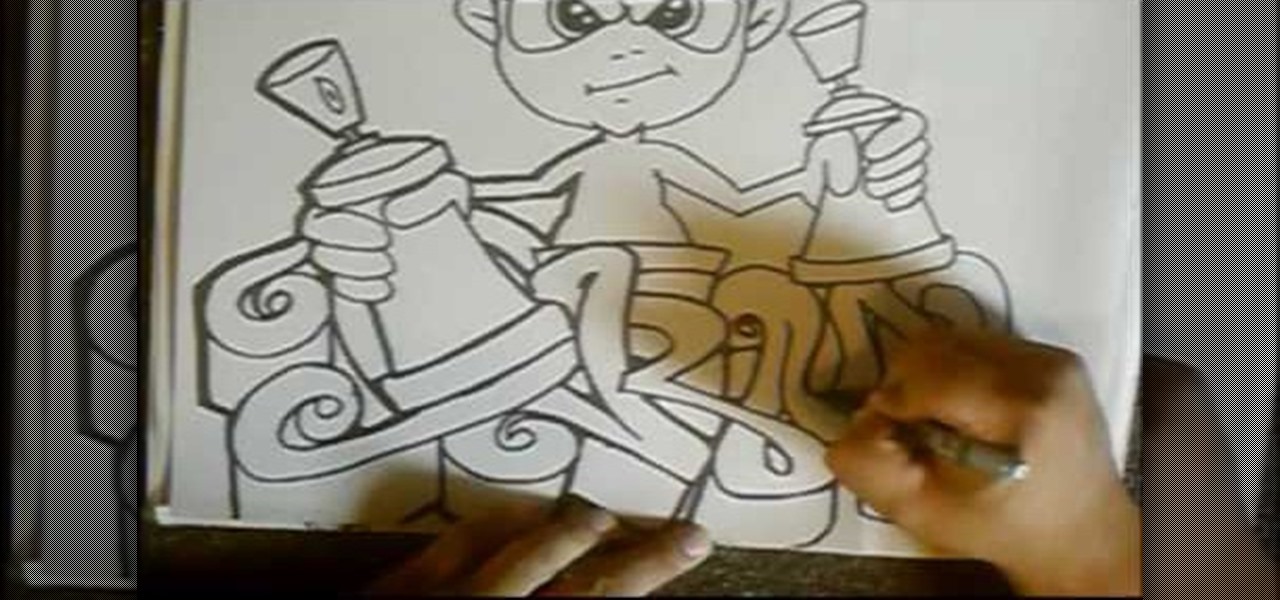
How To: Draw a graffiti Smurf character
In this tutorial, we learn how to draw a graffiti Smurf character. Start off by drawing the hat for the Smurf, then draw in the ear on the side of the head. Then, draw in the face and start to add in the details. Draw in the mouth, nose, and eyes. After this, draw in the upper body and the clothing that the Smurf is wearing. Add crinkled lines on the edges to make it look like the pants are too big, then draw in the feet, arms, and hands. Draw a spray paint can in the hand of the Smurf, then ...
How To: Draw wolf paws
In this tutorial, we learn how to draw wolf paws. First, draw a rectangle on the paper and then draw in curves inside the rectangle that will give you a base for the paw's features. After this, draw two lines coming up from the paw and then draw claws on the bottom of the paw. After this, erase the sides of the rectangles. Start to add in additional lines for the claws on the paws and then add in details for the knuckles. To finish, draw in lines for the hairs and then finish off the paw with...

How To: Draw the iris of an eye
In this video we learn how to draw the iris of an eye. First, draw the outline of the eye and then draw the first layer of crosshatch on the eye. This is just diagonal lines overlapping each other. For the next step get out your 3B or 2B pencil and go over the first layer that you just made matching the tones of your reference image. Then, add in the darkness for the pencil making it completely black. Leave a square on the upper corner of the eye that is white to create a glare. Then, add in ...
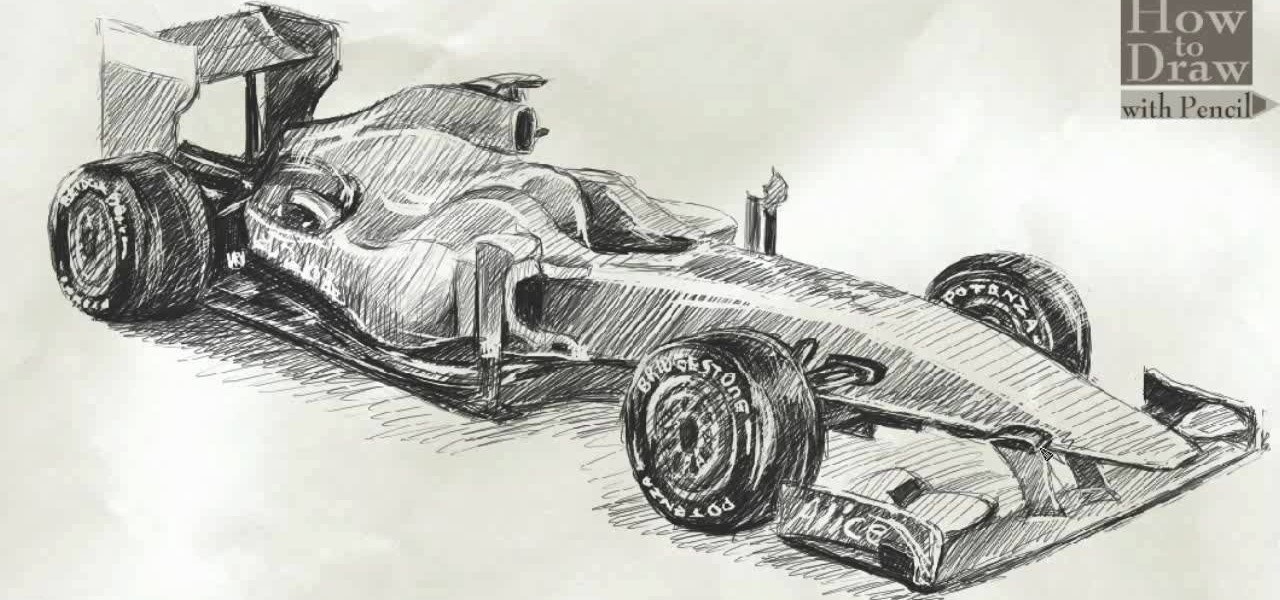
How To: Draw a Formula 1 Ferrari F60
In this video, we learn how to draw a Formula 1 Ferrari F60. Start out by drawing of the car, then start to shade it in. Shade in the wheels and then the rest of the vehicle with a lighter pencil. After this, use the eraser to erase different parts of the car to make it look more realistic. Draw in darker lines with the pencil to make it more shaded. Then, add in shading on the bottom of the car and continue to darken the care until it's completely filled in. Add in writing on the wheels and ...
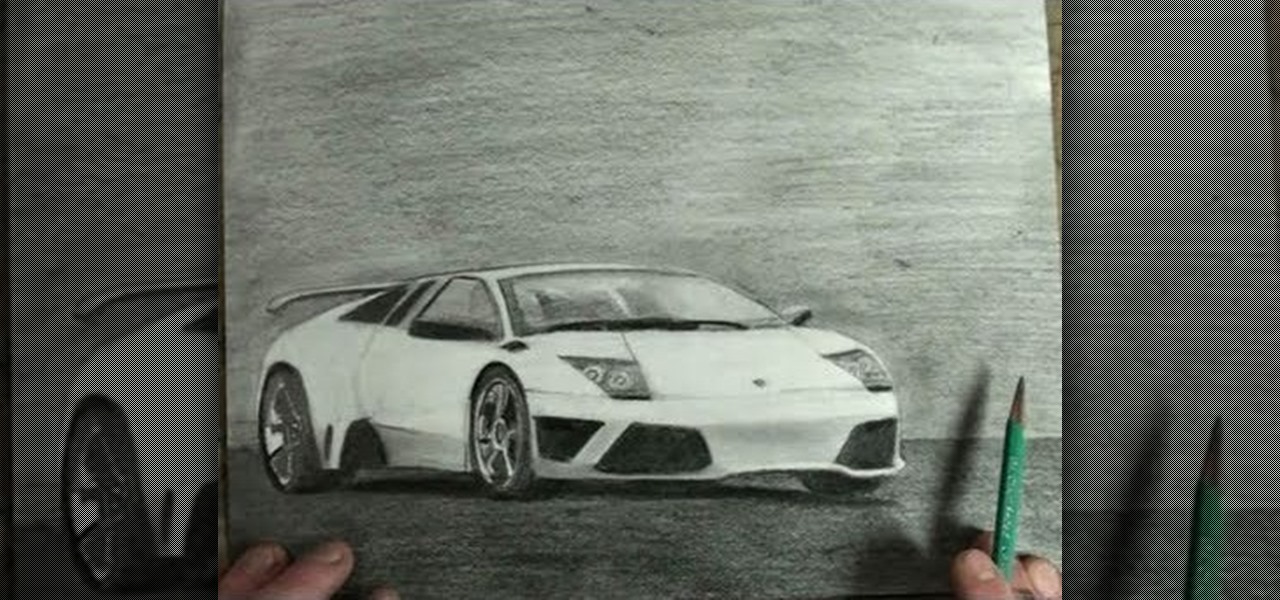
How To: Draw an expensive 2-door Lamborghini Gallardo sports car
The Lamborghini Gallardo is a sports car that most auto enthusiasts can only dream about, and with its cost at over $200,000, it's literally a "dream car". But you can get one step closer to reality with this realistic and artistic drawing of the Gallardo sports car. Maybe you can sell your masterpiece sketch for $200K and finally get behind the wheels of this 2-doored beast. Follow along with Merrill K to replicate this Lamborghini model on paper. Pause the video when needed.
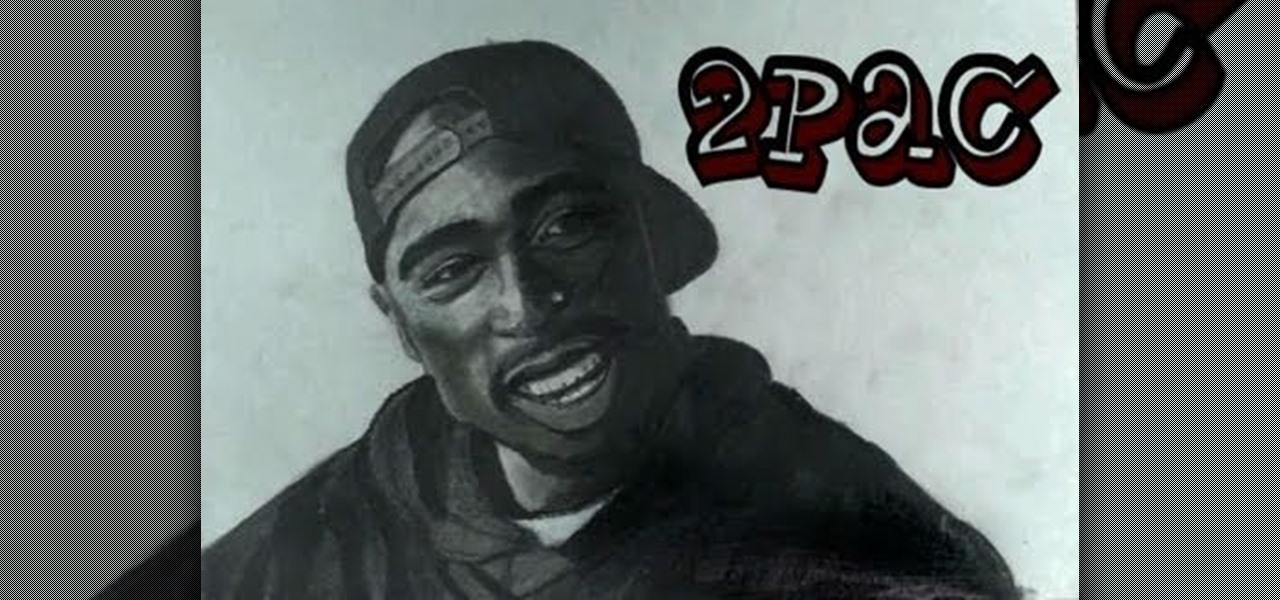
How To: Create an artistic portrait drawing of Tupac Shakur (aka 2Pac or Makaveli)
Everyone remembers the day Tupac Shakur sadly passed away at the hands of gunfire, but his memory and music live on, and so does his ruggedly handsome look, which you can recreate in a 2Pac portrait. Merrill K shows you how he draws Makaveli in this drawing tutorial, so grab your art supplies and follow along. Pause the video when needed.
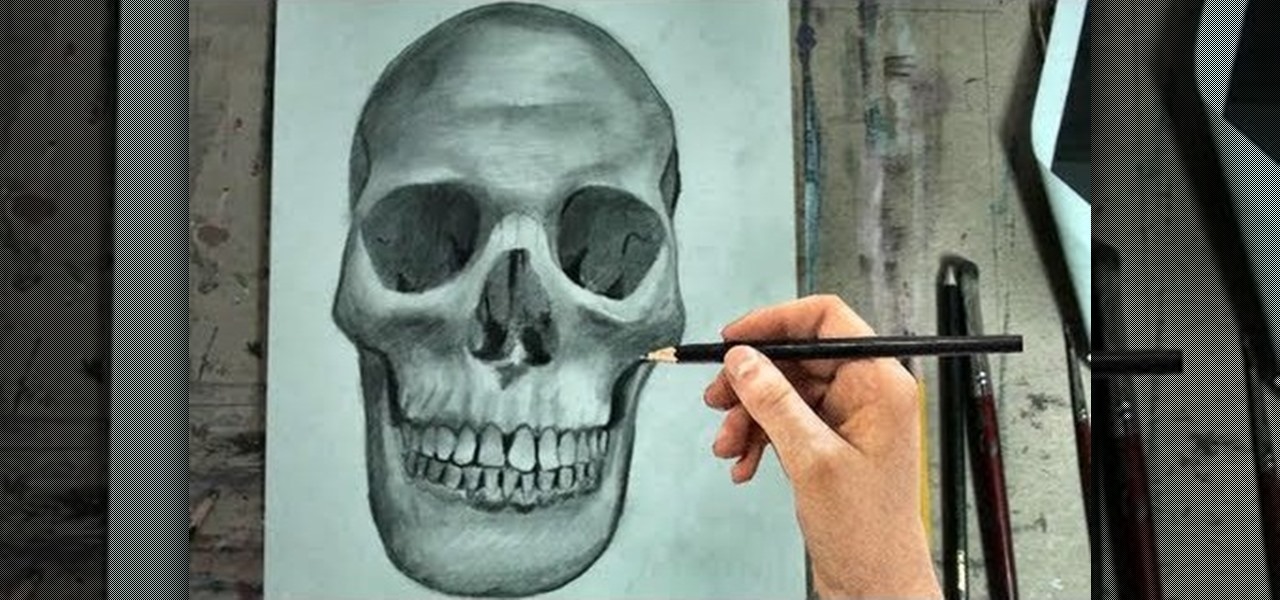
How To: Draw the human skull in frontal view
Halloween is the holiday of goblins, ghouls and witchcraft, and also death. So, what better way to celebrate the spooky season than with a skeleton drawing? More specifically, a human skull? Merrill K has you covered with this drawing tutorial. He'll show you the trick to sketching out a human skull (frontal view) in step-by-step instructions. Make sure to pause the video after each step and look at the screen every few seconds while you are drawing.

News: Painting or Photograph?
These hyperrealistic oil paintings by Pedro Campos are incredible. Inspired? Start small.

News: Quivering, Pulsating Organs Give Life to Electronics
Just in time for Halloween, a collection of creepy, pulsating biological monstrosities designed by interactive media artist Mio I-zawa.
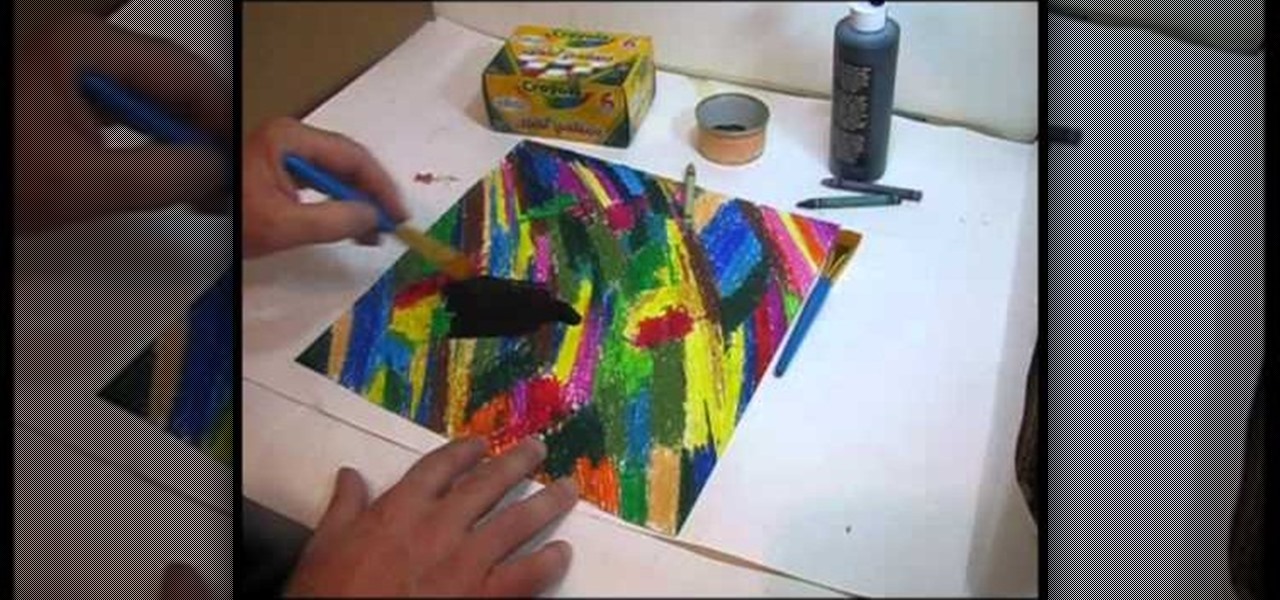
How To: Create a home made scratch drawing board for kids
An entertaining way of inspiring creativity and also doing something far beyond the norm with just coloring on white paper is creating a scratch drawing board. Basically it is initially black, and then when you scratch it with a pen, or other small, pointy object, it creates a multitude of colors as your lines, allowing you to create fantastic images with that much more creativity! In this video you will learn how to create your own scratch drawing board step-by-step!
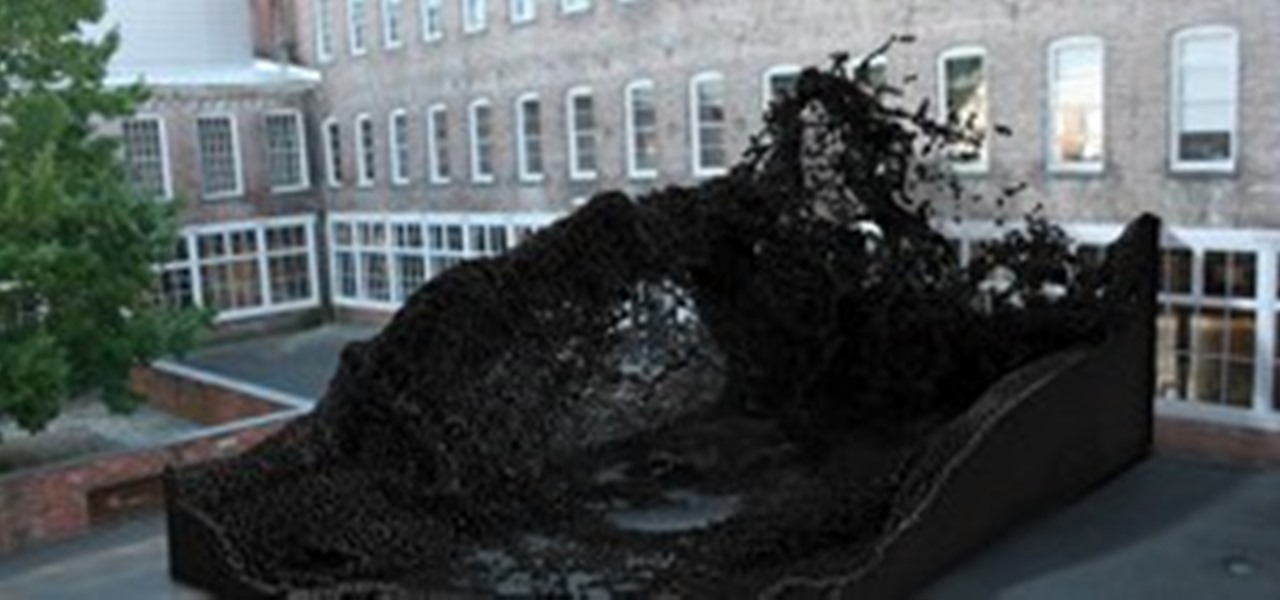
News: Massive Geometric Sculpture Resembles Tsunami of Black Caviar
Designed by a computer, milled by machines and assembled by a team of robots, Federico Díaz's Geometric Death Frequency 141 isn't necessarily the warmest work of art you'll see this year. But it is, nevertheless, quite a lot of fun to behold:

Friday Fresh: From Innocent Asian To She-Weezy
Every day of the week, WonderHowTo curators are hard at work, scouring the web for the greatest and most inspiring how-to videos. Every Friday, we'll highlight our favorite finds.
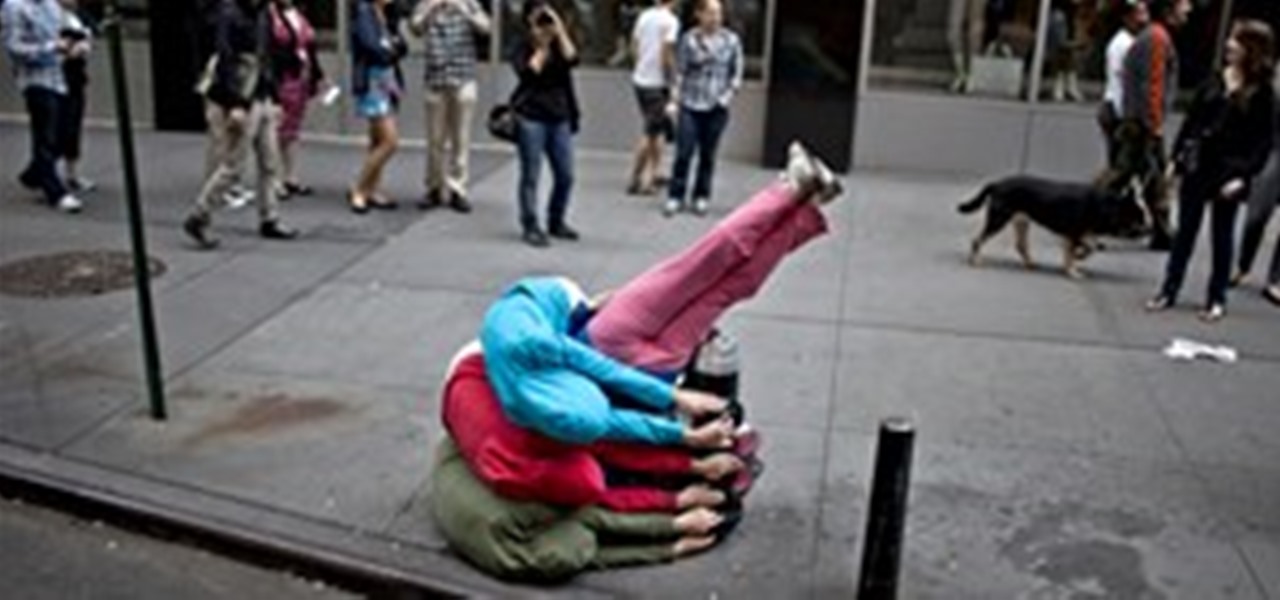
News: Bodies in Plain Sight
Choreographer Willi Dorner's curiously charming “human sculptures” invade New York City as part of the French Institute Alliance Française’s Crossing the Line festival. More images of Dorner's Bodies in Urban Spaces at the Wall Street Journal photography blog.

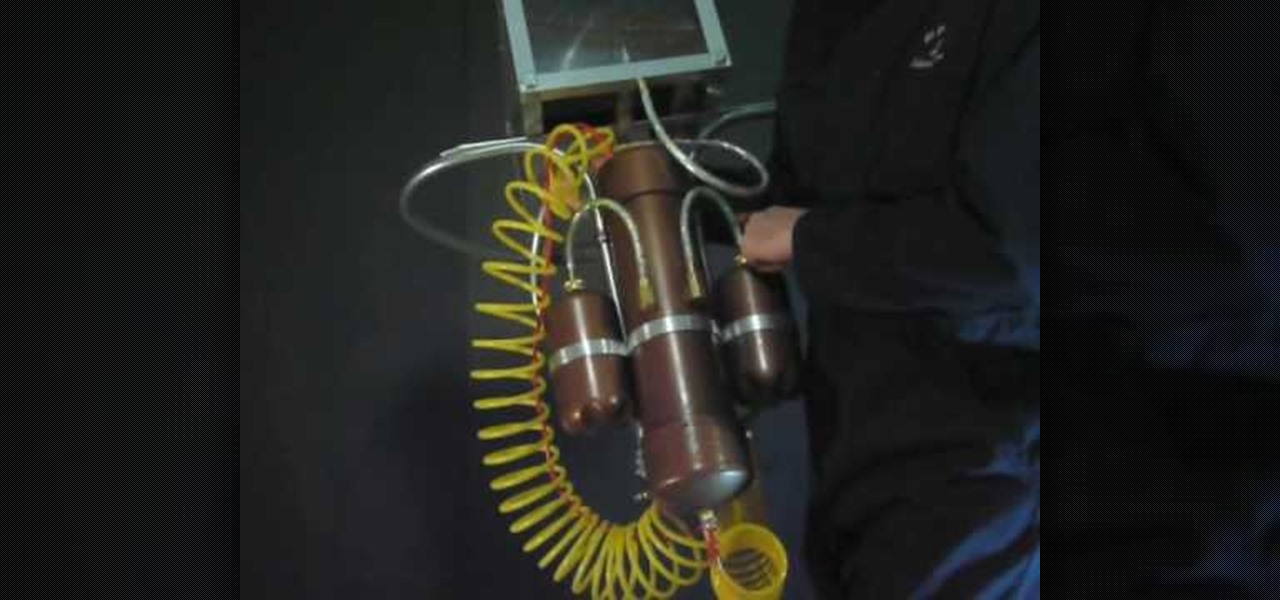
News: Sew No More! Spray on Dress (Better Not Melt...)
Fashion designer Manel Torres has teamed up with scientists at Imperial College London and designers at the Royal College of Art to invent spray-on clothing, an instant, sprayable, non-woven fabric-in-a-can.

How To: Create a steampunk bellydancer's belt out of leather and beads
It's not a real steampunk outfit unless you've got a really awesome belt to go with it! This tutorial shows you how to start with a plain leather belt and then add chains, beads and other accessories to create a steampunk style belly dancer or gypsy belt.

How To: Make a steampunk style deep sea diving helmet
Start with an old school globe, then dismantle it and remove the printed paper map. Then build up the shoulder and neck area with Chavant clay and cover up the seam. Cut a few holes in the globe and attach a few extra accessories. Then add a coat of paint and you have your own deep sea diving helment for your next steampunk adventure!
How To: Customize a T-shirt with the Kandi Kane hotfix tool
Add a bit of sparkle and pizzaz to your wardrobe! This short tutorial demonstrates how you can add small crystals in whatever pattern you want using the Kandi Kane hotfix wand to add color, sparkle and your own unique touch.
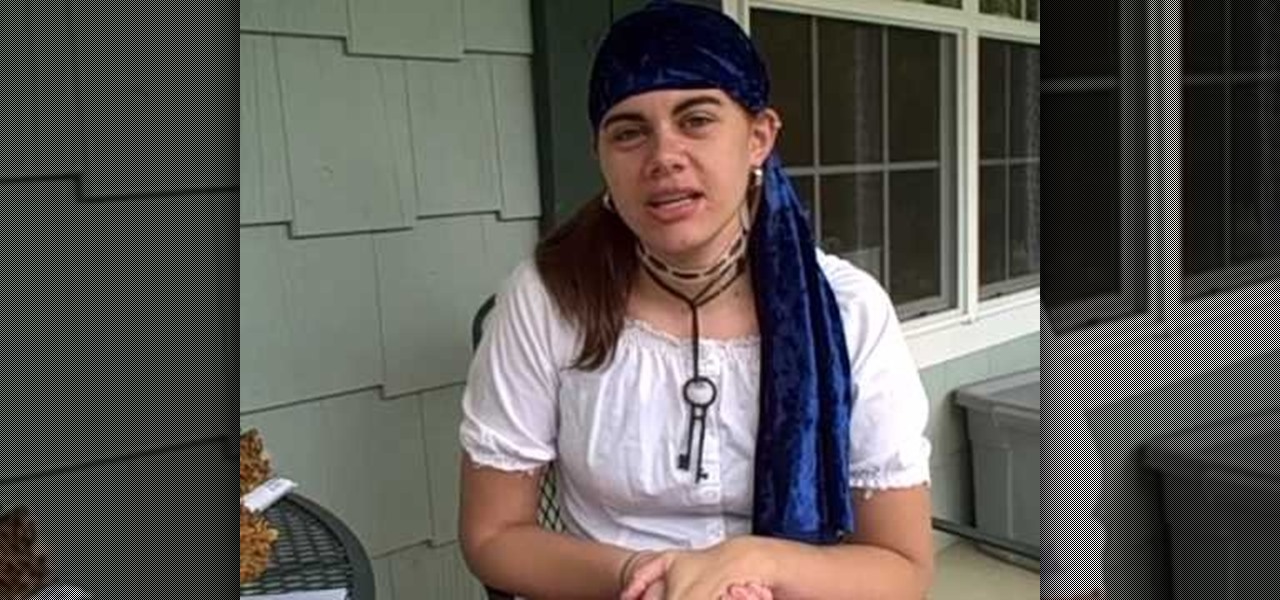
How To: Create a creepy 'escaped experiment' costume for Halloween
Taking a little bit of horror from a variety of different sources, you can put together a very creepy, very scary costume that makes you look like a cross between Frankenstein's monster and Hannibal the Cannibal, with a few steampunk touches.
How To: Put together a cool and scary Halloween costume just out of your closet
Out of time and/or money to put together a costume for Halloween? Don't give up! You can make a variety of interesting and creepy Halloween costumes just by raiding your closet. Here are a couple good ideas for simple but effective costumes.
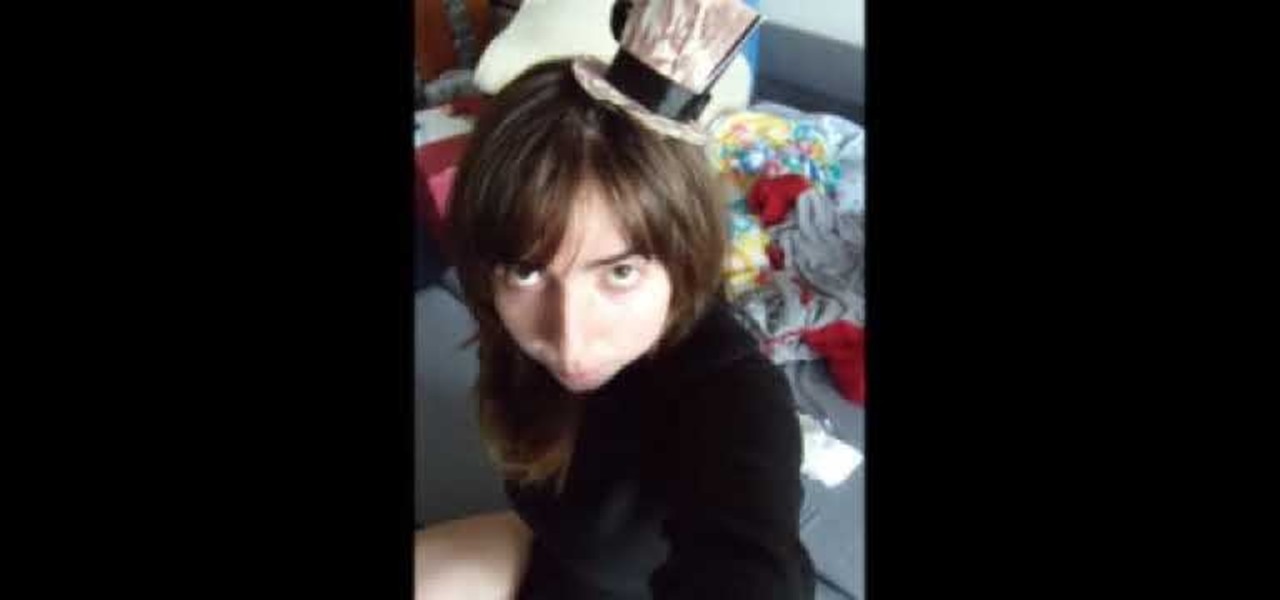
How To: Make a steampunk top hat out of a paper coffee cup
The ultimate in repurposing fashion. Start with an empty, clean paper coffee cup. Then cut off the rim, make your own brim and then paint and add your favorite decorations and accessories. You'll end up with a lovely neo-Victorian or steampunk tiny top hat!
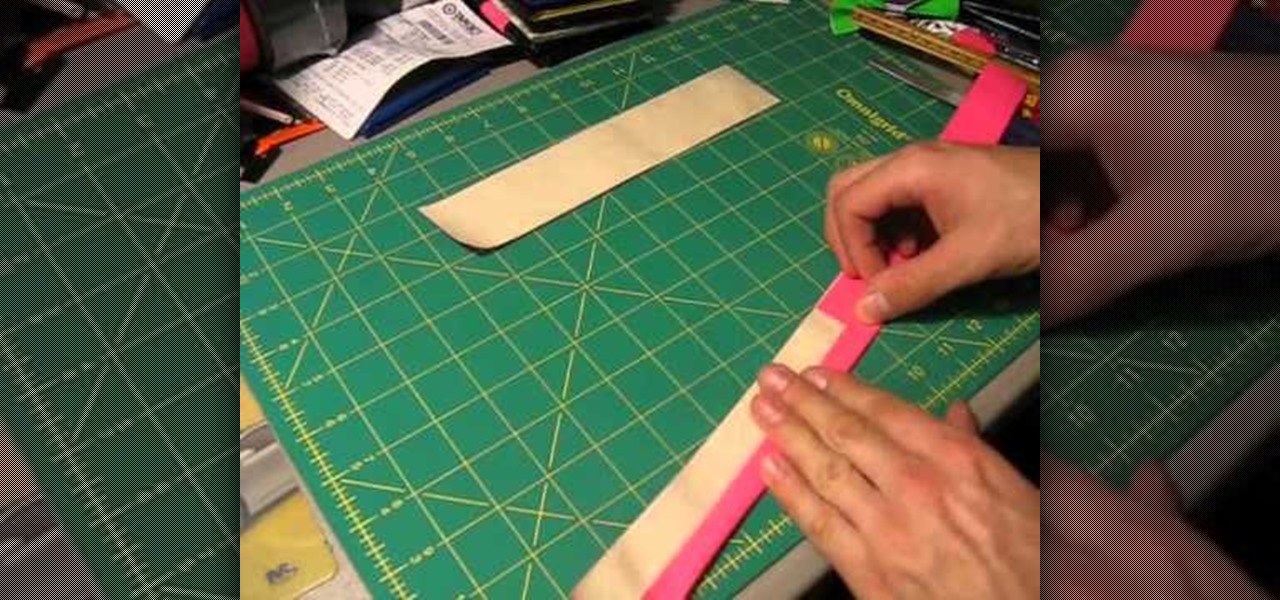
How To: Make a belt out of duct tape and a little hardware
Is there nothing duct tape can't do? It turns out that duct tape can hold up your pants, and in more ways than one! All you'll need is a belt buckle or pair of D-rings, and a roll of duct tape in your preferred color. Then follow the tutorial to make your own duct tape belt
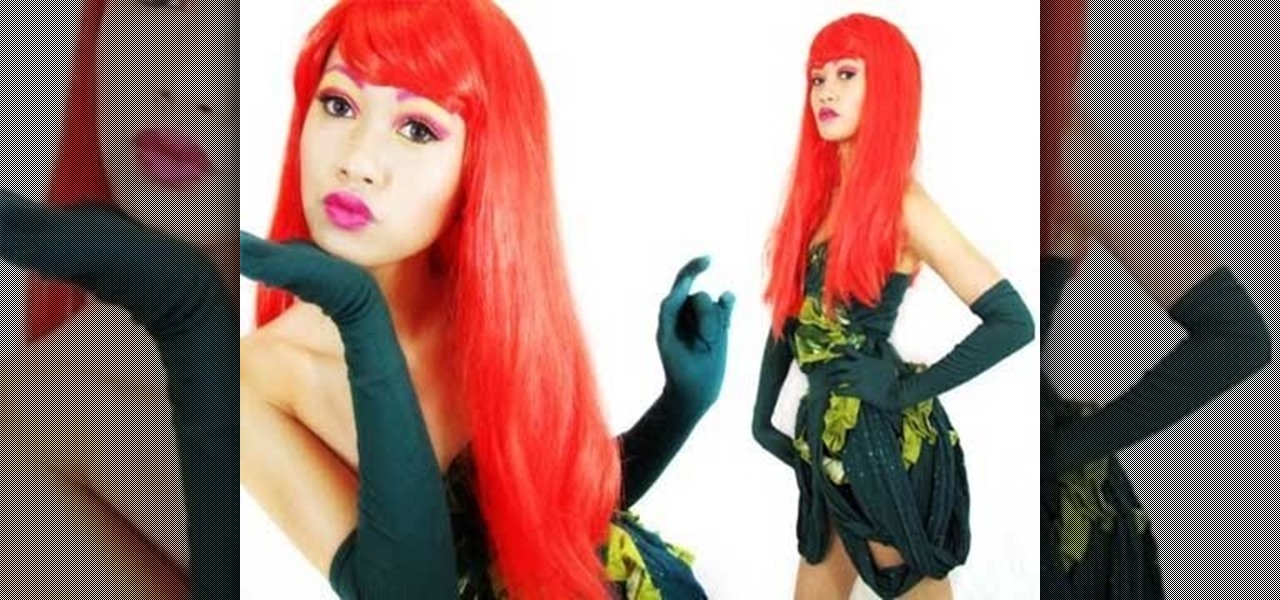
How To: Make your own Poison Ivy supervillain costume
Dress up like Uma Thurman for Halloween! This tutorial shows you how to make a Poison Ivy costume, starting completely from scratch. Make a tube top first, then add on the accessories and details as shown step by step in the video. Rawr!
How To: Add a coin holder to your duct tape wallet
Another mini tutorial on duct tape! If you're making a duct tape wallet, you're going to want to construct a pocket to keep your spare change. This tutorial shows you how to make an add on coin purse to add to any kind of wallet!
How To: Get rid of red eyes during nighttime digital shooting
Red eye can be a pervasive and annoying problem for photographers. You can edit it out during retouching, but it's always better to not need it. You can use the red eye reducer on your camera if it has that function, but here are some other tips to reduce red eye when shooting pictures at night.
How To: Use long exposure speeds to capture motion in digital photography
A long exposure setting can create some interesting effects, especially when you're photographing a moving light source at night. This tutorial shows you how to set up your camera and maximize your surroundings so you can take the absolute best and most dramatic photographs possible.