

Active Fine Art Posts


How To: Draw Kazekage Gaara from Naruto
In this tutorial, we learn how to draw Kazekage Gaara. First, draw the outline of the character using a pencil. Then, draw in the features of the face and the hair as well. From here, draw in lines on the clothing to create the folds and make it look more realistic. After this, continue to add in details on the clothing to show the arm and the backpack on the character. Start to add shading to the character and the clothing until you finish the drawing. Clean up any stray or background lines,...
How To: Draw a cartoon female ice skater
In this tutorial, we learn how to draw a cartoon female ice skater. Start off by drawing the outline of the skater's body. Draw both of her hands in the air and her legs apart like she is dancing. Then, draw in the skates and the details of the face and outfit she is wearing. After this, you will start to add color onto the outfit and the skin of the dancer. Once finished with this and adding in the details, work on the background. Make it look like the floor is ice and then add in blue for a...
How To: Draw the manga version of Neji from Naruto
In this tutorial, we learn how to draw manga Neji. Start off by drawing the outline of the character. Don't forget to include the parts where the facial features, limbs, and hair are at. From here, you will use a darker pen to draw in the rest of the character. Next, you will start to draw in the additional lines and shading to make the character look more realistic. Once you do this, you can start adding some color! Use any colors that you would like or use the normal colors that are on Neji...

How To: Draw Yoda the Jedi master from Star Wars
In this tutorial, we learn how to draw Yoda the Jedi master from Star Wars. You will first need to draw the basic body of Yoda, don't forget those long ears. After this, add in the small eyes and the rest of the facial features. Next, you will add in the details for the clothing and draw in the light saber he is holding in his hands. Now for the fun part! Use different colors with white mixed in to make it look like the light saber is glowing. Then, color in Yoda and his clothing to finish of...

How To: Draw hands without references
In this video we learn how to draw hands without references. First, draw the basic structure of the hand using a photo to make sure it's true to size. After this, draw on boxes and circles to create the wrist, hand, and the knuckles. Then, you will draw on straight lines for the bones in the thumb. After this, start to add details of the fingers and make out their basic shape. As you continue with details, erase any background lines and start to add lines in for wrinkles on the skin. Finish t...

How To: Draw Fred Flintstone from "The Flintstones"
In this video, we're shown how to draw Fred Flintstone from "The Flintstones". Start off by drawing the outline for Fred's body, drawing in his limbs and his upper/lower body. After this, use a darker pen to draw in the full outline and create a more 3D type of image. Next, you can draw in the clothing for the character, drawing in lines to show creases in the clothing as well. Then, you will need to color the skin and the outfit as well and add in the facial features. After this, draw in the...

How To: Draw Kakashi from Naruto
For those of you who are unaware of who Kakashi is, he is a popular character in the media franchise Naruto and is the titular character's teacher.
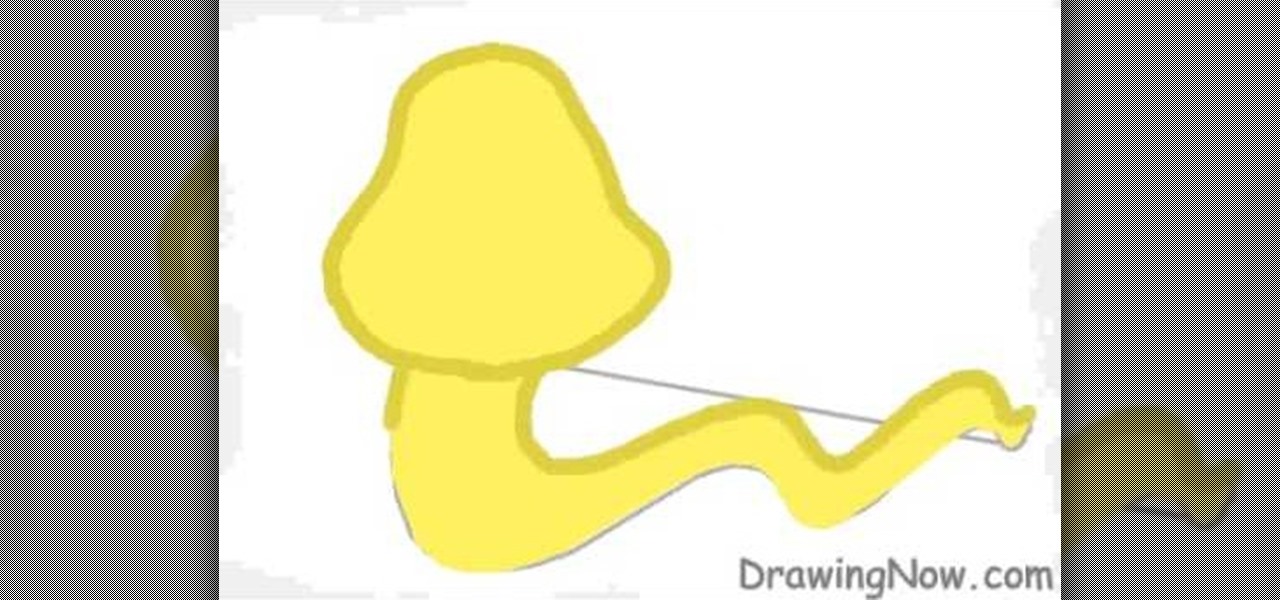
How To: Draw a snake
In this tutorial, we learn how to draw a cute snake. First, draw a bell shape for the head, then draw a thick squiggly line for the body of it. After this, color the snake yellow and then outline it with a dark green color. From here, add stripes to the snake in hot pink. Next, you will draw on the face to the snake. Make sure to give it a friendly smile and draw the stripes on the top of the head. Next, you will draw on the tongue, giving it a long one with two triangle edges. This will fini...
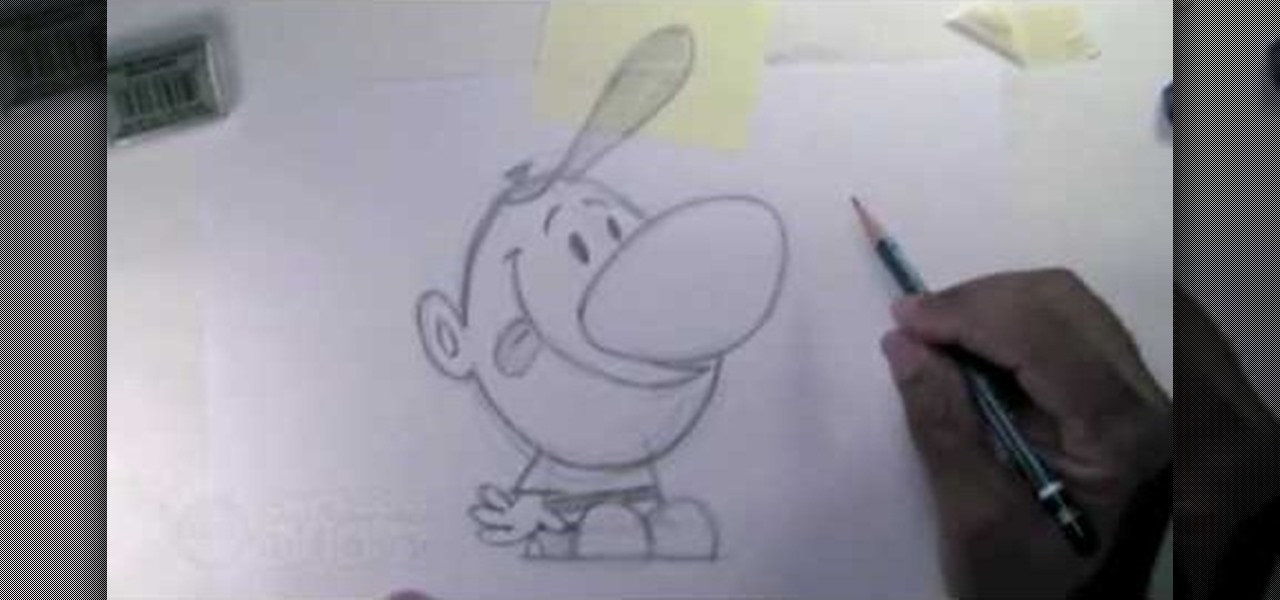
How To: Draw Billy from The Grim Adventures of Billy & Mandy
In this video, we learn how to draw Billy from The Grim Adventures of Billy & Mandy. Start out by drawing the egg shaped head with a pencil. From here, sketch on the body by using a block shape then draw the shoes as simple half circles. The arms and hands will be hanging to the sides. Now, draw on the huge nose in the middle of the circle. Attach the mouth to this and draw it all the way up near the eyes, which are simple dots. The brows are simple slashes. After this, add in the minor detai...
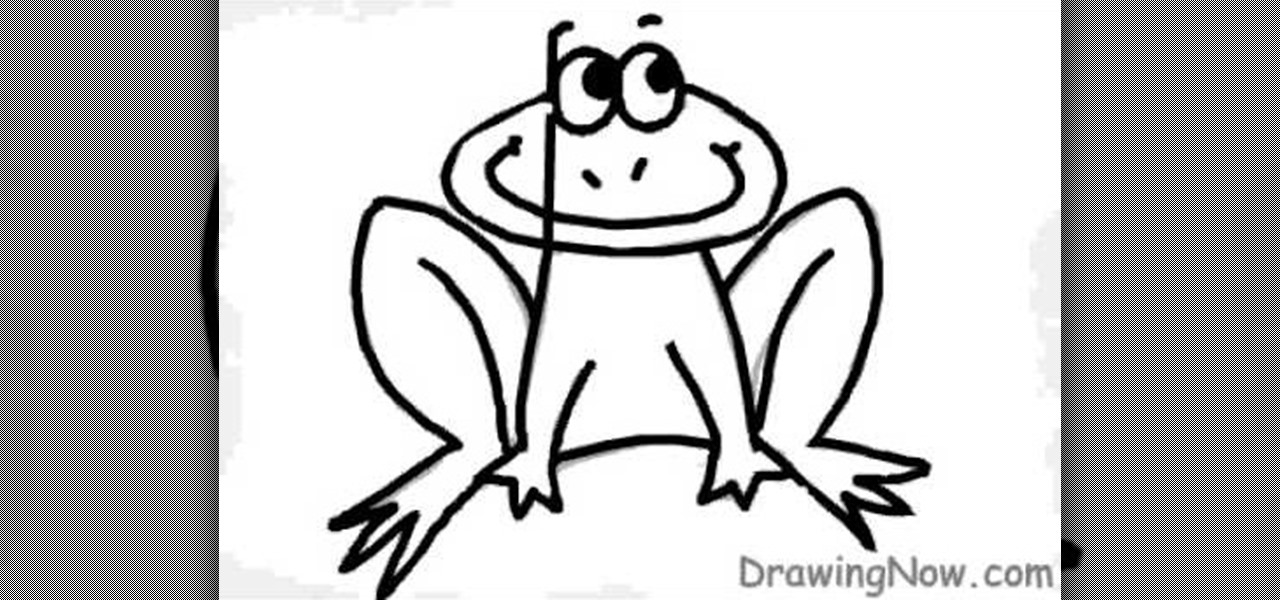
How To: Draw a cartoon frog
In this tutorial, we learn how to draw a cartoon frog. First, draw an oval fro the face with two small circles sticking up. After this, draw the outline for the legs, arms, and body. Then, draw on the eyes, nose, and a big smile. Make sure to make the toes on the bottom of the feet. After this, erase any background lines and start to add in some color. Use green and dark greens to shade the sides and middle areas on the frog. Then, add dots to the legs to give it some character. After this, c...
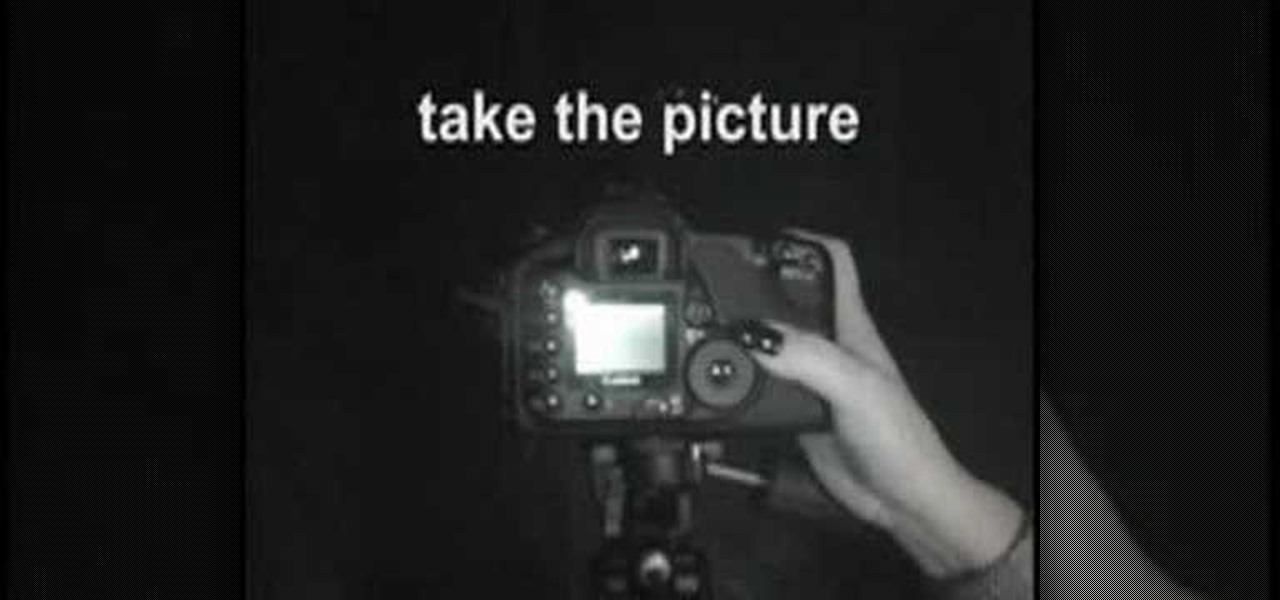
How To: Do light graffiti with an ISO-100 camera setting
In this tutorial, we learn how to do light graffiti with an ISO-100 camera setting. First, you will need lights in an array of different colors. After you have all of these lights, you will need to take a picture. Then, grab the lights and write in the air with them. After this, you can turn the camera on and then use the light source from the camera to create light graffiti on your pictures! You can do a ton of different things, there is no limit! This is fun and creative, so get out there a...
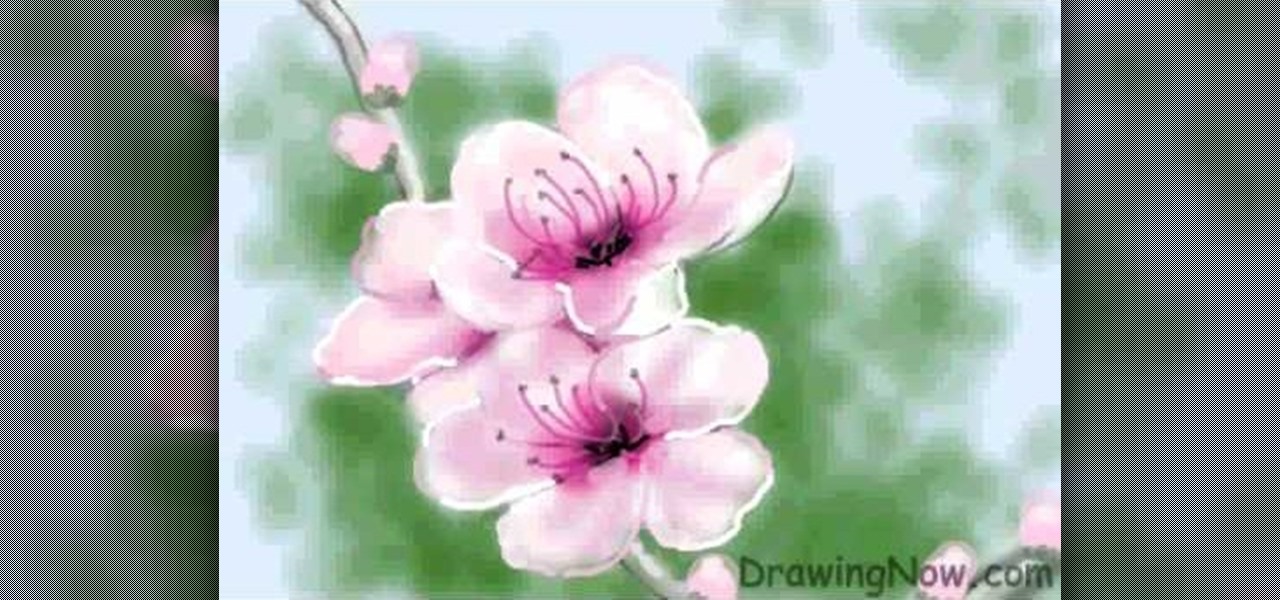
How To: Draw a peach blossom
In this tutorial, we learn how to draw a peach blossom. First, draw the vine where the flowers will be. Then, draw the petals for the flowers, creating a basic outline. From here, you will color in the middle of the flowers with black and then a darker color of what the petals will be. After this, color in the petals and then create the background of the drawing. Next, color the vine in where the petals are on. Then, add white to the edges of the petals to show light hitting them. When finish...
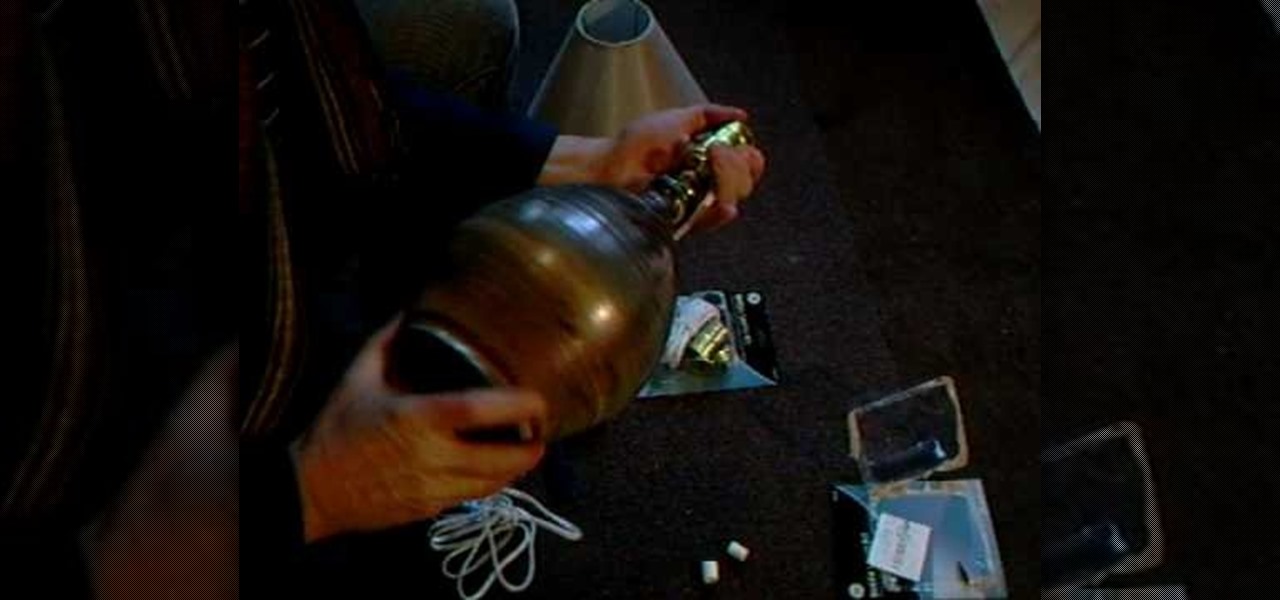
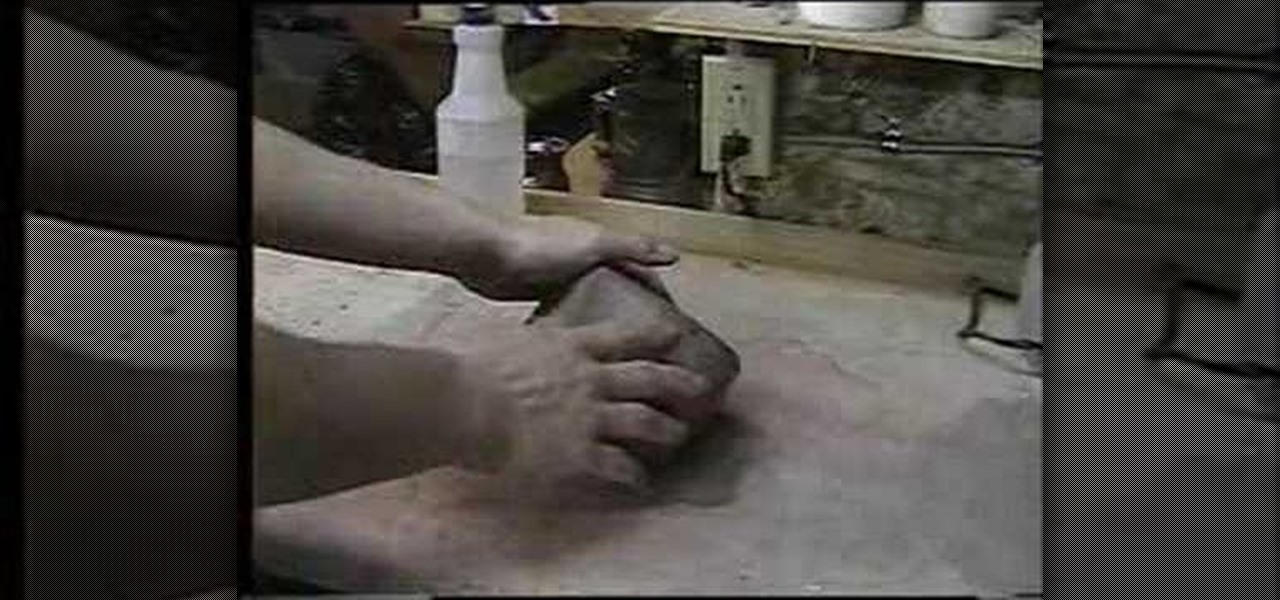
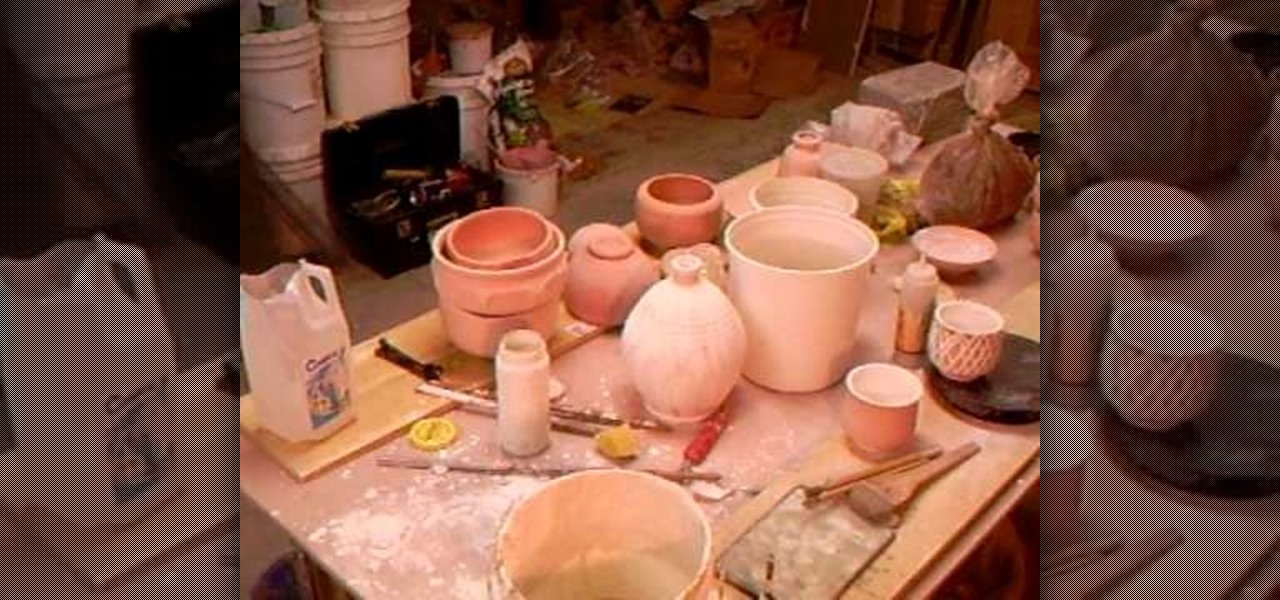
How To: Fit a lamp base into pottery with Simon Leach
In this video by Simon Leach, we learn how to fit a lamp base into pottery with Simon Leach. First, you will take the lamp base that has all the wires inside of it. From here, you will wire the cables through the proper fittings for the light. Then, you need to put a hole in the bottom of the lamp base so you can string the light base through and then place the light bulb on top. When you are finished, the pottery can sit on top of the base and then you can add a light shade to finish up the ...

How To: Take a good candid photograph
In this video, we learn how to take a good candid photograph. If you've ever noticed that when you have your picture taken by a stranger it just never comes out, this video is for you! When you hare having a candid photo taken, first make sure that your camera is set on the proper setting. This will help make sure the lighting comes out and everyone in the picture is seen. After this, you will want to ask the person to take a picture at an angle, so you get a good side on everyone. After this...

How To: Draw Dora from "Dora the Explorer: Pirate Adventure"
In this tutorial, we learn how to draw Dora from "Dora the Explorer: Pirate Adventure". Start out by drawing the outline for the character. Then, add in the details for the body, including the hand holding an eyepiece. From here, you will start to add in color to the hands and the clothing on the body for the outline. Add in the facial features and the features of the clothing as well. Then, you will draw in the hair and the hat, along with any other details you left out. Color anything you w...
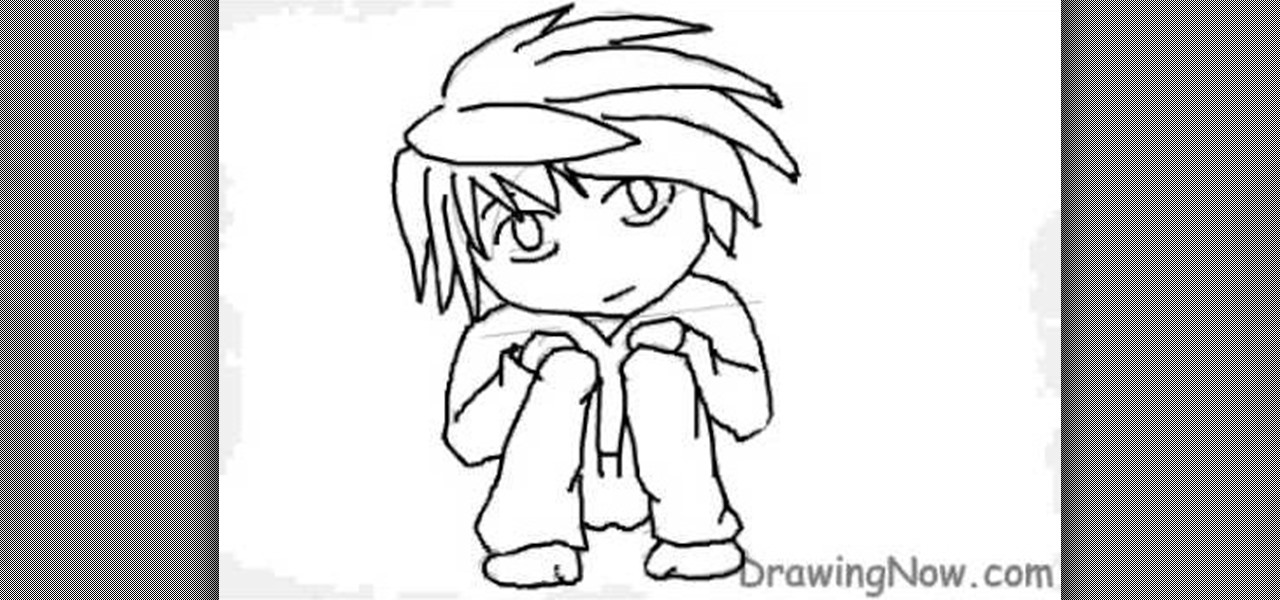
How To: Draw Chibi L from Death Note
In this video, we learn how to draw a chibi L. As with any drawing, you want to start with the outline of the character to get a feel for where all the parts are going to go. After this, you will use a different drawing material to draw over this and create the final lines for the Chibi L. After this, start to draw in the details of the face and the rest of the body. Also make sure you draw in the hair, adding lines to show where the different strands are. Finish this off by coloring the skin...
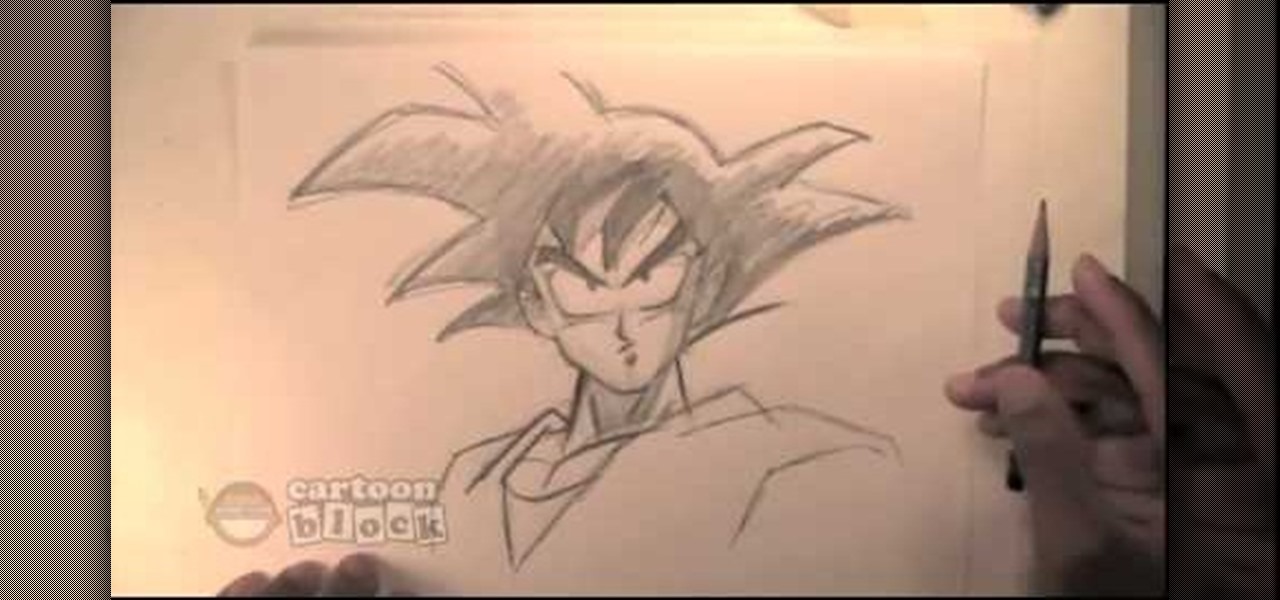
How To: Draw Goku from DragonBall Z
In this tutorial, we learn how to draw Goku. First, you will start drawing the outline of the face, including the features of the face. After this, darken around them by drawing with the pencil. From here, draw in the hair on the top of the head and the ears on the side of the head. Next, you will draw in the neck and the rest of the body as well. Add in lines on the body to show the contours and the muscle on the body as well. Finish this off by adding in shading and erasing any background l...

How To: Draw Naruto Fuuton Rasen-Shuriken
In this video, we learn how to draw Naruto Fuuton Rasen-Shuriken. To start, you will first draw the outline with a light pencil. Then draw it darker over the outline with more details to make the final outline. From here, start to add details into the middle and then draw on the entire body. From here, draw on the clothes and make sure to put the lines on to show the folds and creases of them. Draw on the details of the face and finish off cleaning up any lines that aren't needed. Shade in wh...

How To: Draw skulls the easy way
In this tutorial, we learn how to draw skulls the easy way. First, draw a round circle on the page followed by a smaller one connected at the bottom. From here, draw in two sideways triangles on the middle of the large circle. Then, draw in lines on the face and create the section of the nose. After this, draw in large teeth on the skull and then connect lines around the circles to make the jaw line. After this, draw on lines around the skull to make it look like it has depth. Then, shade in ...

How To: Draw a female face with hair
In this tutorial, we learn how to draw a female face with hair. First, draw the head and then draw the shape of the chin. From here, you will draw the bangs and the hair. Draw the hair with wavy lines to make it appear curly. After this, draw on the features of the face with a darker marker. Make sure to add in small details and lines to make the face appear more realistic. Then, start to add in the details of the hair and give her a smile on the face. Finish the upper body and then add in so...

How To: Do a quick draw of Sonic the Hedgehog
In this video, we learn how to do a quick draw of Sonic the Hedgehog. First, use your pen to draw the nose and the mouth. After this, draw in the eyes and the eyebrows above them. From here, draw in the spiky hair on top of the head, using big spikes. Draw in the ears in the hair and then draw in lines to create more details. Next, draw in the arm and the hand, with a glove on the hand. After this, draw in the details of the clothes, drawing in folds on them. From here, draw in the legs and t...
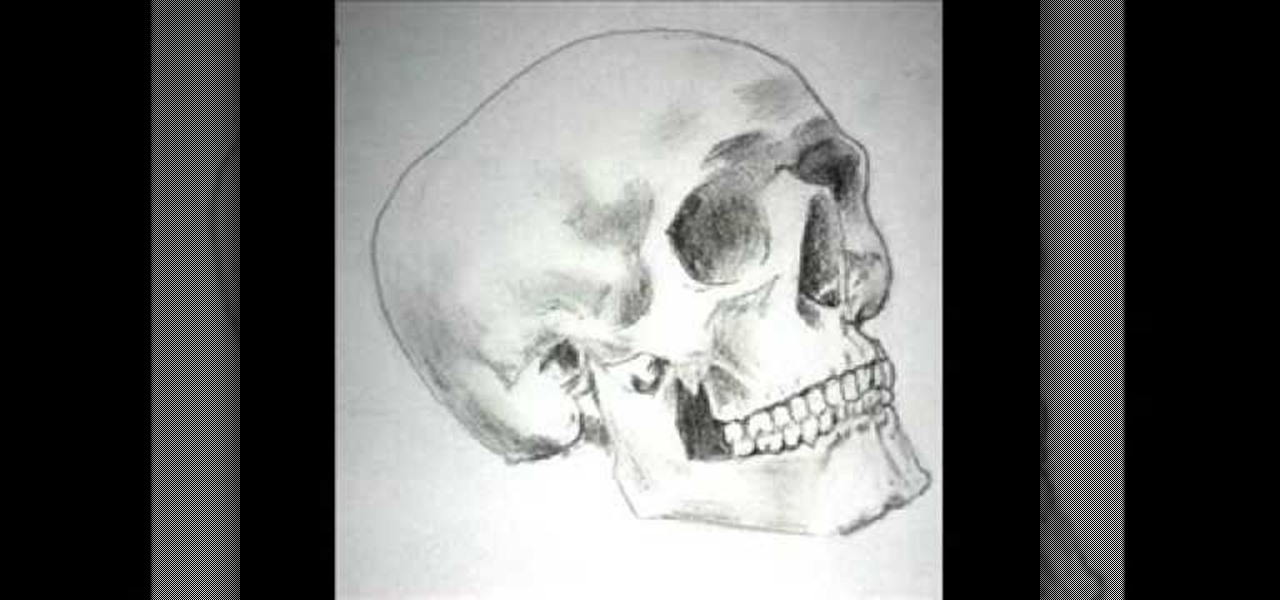
How To: Draw a realistic-looking skull
In this tutorial, we learn how to draw a skull. First, select a picture of a skull that you want to draw. Then, sketch a few lines so you know where you are going to position the sockets in the eyes. Also do this for where you're going to position the nose and mouth cavities. Then, erase any unwanted background lines. From here, you will draw over your original sketch and then tone the eyes and the sockets. From here, you will tone and add shading to the rest of the skull and the areas behind...

How To: Use a round brush for multi-colored scroll work
In this tutorial, we learn how to use a round brush for multi-colored scroll work. First, dampen your brush and grab some bright colors. Take and lay the brush into one color at first. Then, turn the brush over and pick up another color. Now, you will push down and lift the brush up as you are twisting around. Next, reload the brush and do the same process over again. Use more of certain colors, then you will have gorgeous mixes of different colors. You can also add in another color at the ti...

How To: Draw Naruto's 4-tails form
In this tutorial, we learn how to draw Naruto 4-tails. First, draw the outline of the characters and the four tails. After this, draw in the rest of the outline in the final stages using a darker stroke of the pencil. Start to add in the details of the figure of the body and then add in the shading around the sides. Make sure you draw in the hands and the fingers as well as the facial features to make it look more realistic. Add in any more details that you would like to make it unique, then ...

How To: Draw a skull
In this tutorial, we learn how to draw a skull. First, draw the letter c with flames inside of it. After this, draw a lightning shape next to that and then draw teeth on the bottom of it. From here, you will draw in the rest of the head to the left of the side. Add in details and lines to show the bones curving and the jaw bone. After this, draw in the teeth on the bottom of the mouth on the jaw line. To finish this up, you will use your pencil side to shade in the side of the skull and add i...

How To: Draw Disney's magical fairy, Tinkerbell
If you're a fan of Tinkerbell, then this video is for you! We learn how to draw Disney's magical fairy, Tinkerbell. Start off by drawing the outline of her body and wings. Then, draw over this to make a 3D version of her. From here, you will start to draw in the details of the face and the body as well as the clothes. Once finished, you will color in the skin, wings, and clothing. Use shading and lines to make the character appear more realistic. To finish this up, add a colored background an...

How To: Draw a scary werewolf in the moonlight
In this video, we learn how to draw a scary werewolf in the moonlight. First, you will draw the outline for the face and the body. Give the werewolf a hunched back to make it appear more human-like. Then, draw the permanent outline over this, including additional details on the body. From here, draw on the facial features and then start to add in lines to show the fur on the outside of the body. Use shading to create a more life-like appearance and then add in some color. When you are finishe...

How To: Take better photographs for selling on eBay
In this video, we learn how to take better pictures for eBay. If you're selling something on eBay, you want your item to look good so it will sell quickly. People are more likely to buy from you if you have good pictures which showcase the product you're selling. The first thing you can do is to clean the product thoroughly and then set it on a sheet with a green background and green all around it. From here, take different shots with your camera and then load it onto your computer. After it'...
How To: Do glaze trailing and pouring for pottery
Simon Leach teaches us how to glaze trailing and pouring for pottery. First, you will dip the entire pot into the glaze after you have poured it into the middle. Wind up your wrist as you are pouring it out so you cover all of the sides in it. Just dip it down a little bit so it goes over the edge of the tip to cover the mouth of it. To use a balloon wand, fill it with the glaze and then use this to glaze the pots. Simply drop the liquid onto the pot in straight lines as you are turning it wi...

How To: Draw portraits
In this tutorial, we learn how to draw portraits. First, you will use a light touch of the pencil to draw the outline of the face and hair. Make sure to include the jaw bone and create a line for the chin. Next, use the side of the pencil to draw on the shading underneath the features of the face, which you will gently outline with the pencil as well. As you add more detail, you will increase the color with the pencil to create a bolder image. After this you will draw in the ears and the hair...

How To: Draw stained glass style doves
In this video, we learn how to draw stained glass style doves. This is a complex picture to draw, so start off with just one dove drawn in the middle of the paper. Add in the feathers for the wings as well. After this, outline the dove in black and then erase any background lines. From here, draw in the black eye on the head, then start to draw another dove over this one. Draw it's head touching the left wing of the first dove. After you finish this, draw the third dove over the other two. It...
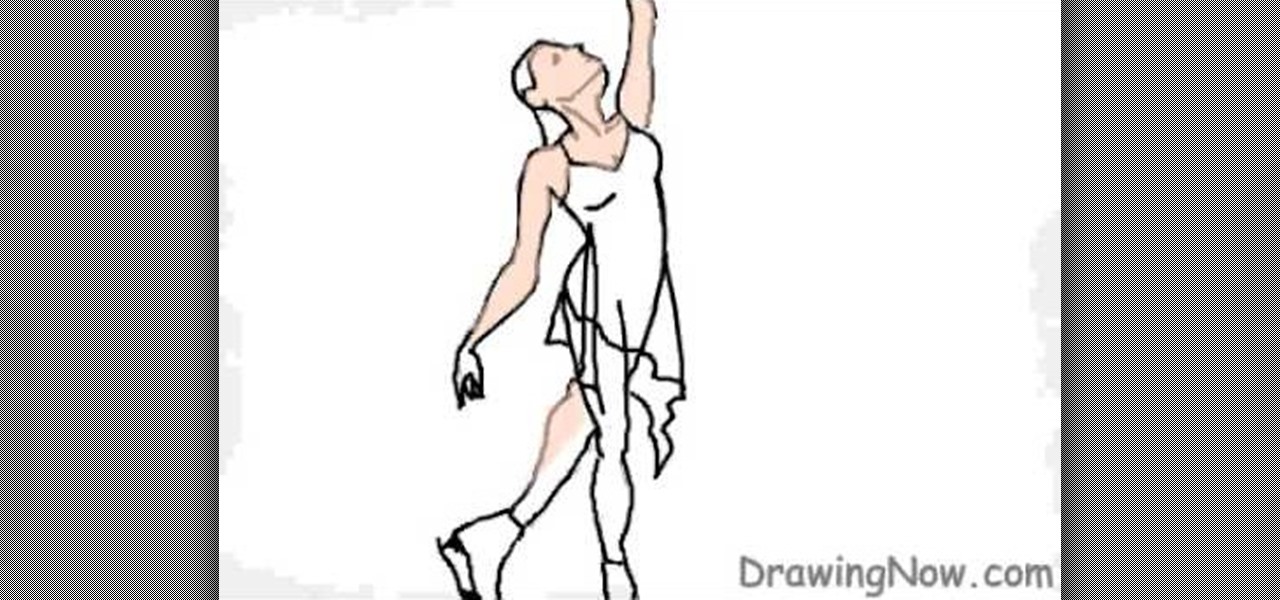
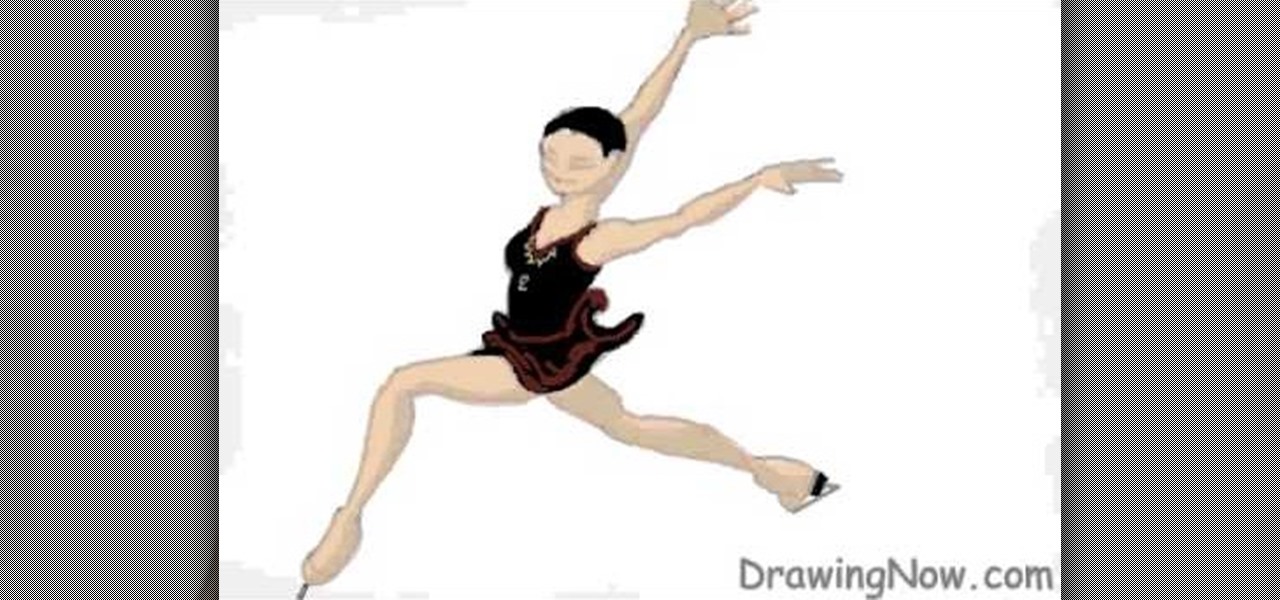
How To: Draw an ice skater
In this tutorial, we learn how to draw an ice skater. Draw the outline of the entire body of the skater first. Draw one of her hands high in the air and her legs crossed on the ground. From here, draw in the details of the face and clothing, as well as the legs. Next, color in the skin of the ice skater and shade in the sides of the limbs. Draw in the ice skates on the feet, then color in the dress over her body. Create lines on the clothing to show the folds and make it look more realistic t...
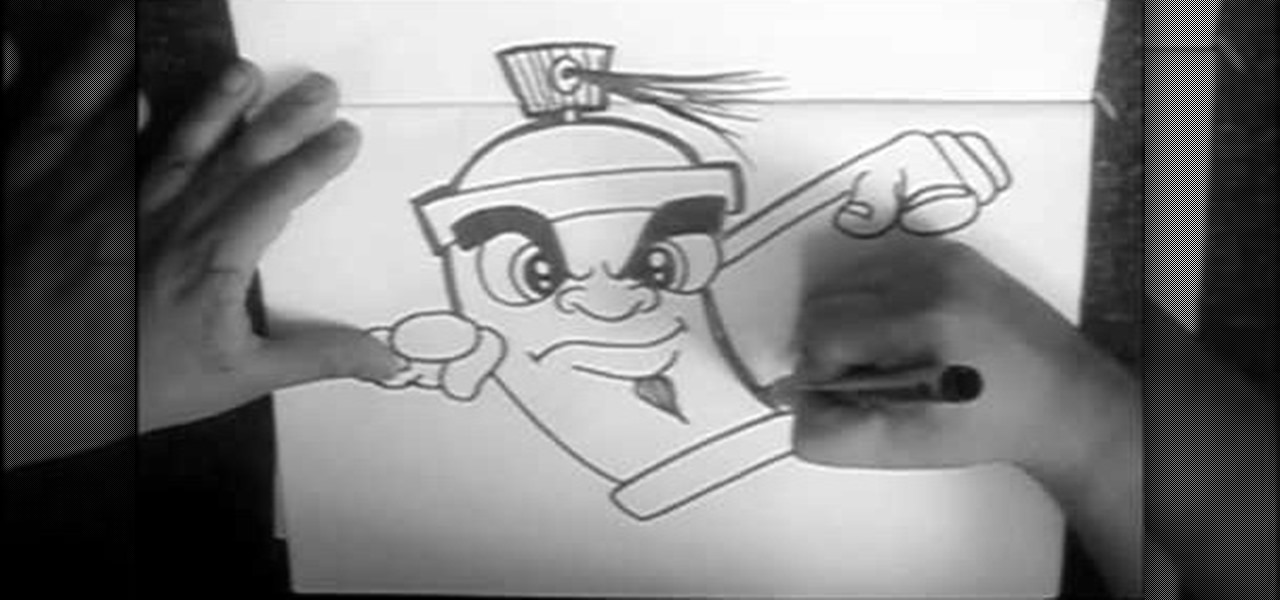
How To: Draw a cartoon spraycan
In this tutorial, we learn how to draw a cartoon spray can. Start off by drawing a round circle for the eyes, then fill in the pupil and draw the eyebrow above it. After this, draw in the nose and then draw the other eye opposite to the first. From here, draw in the mouth and the goatee on the face. Then, draw in the top, which will be a rectangle with a half circle on top of it. From here, draw a hand on the right side pointing straight out, then draw a top to the spray can showing the spray...

How To: Draw a basic dragon
In this tutorial, we learn how to draw a basic dragon. First, draw the basic outline for the dragon, including the tail, wings, head, and body. From here, draw over the outline with the final outline in darker pen. After this, start to add in the details to the face and body. Once finished with that, move onto adding in shading and additional lines to make it look more realistic. Then, add in your colors. Use darker colors where the shading is to create more depth with the character. From her...
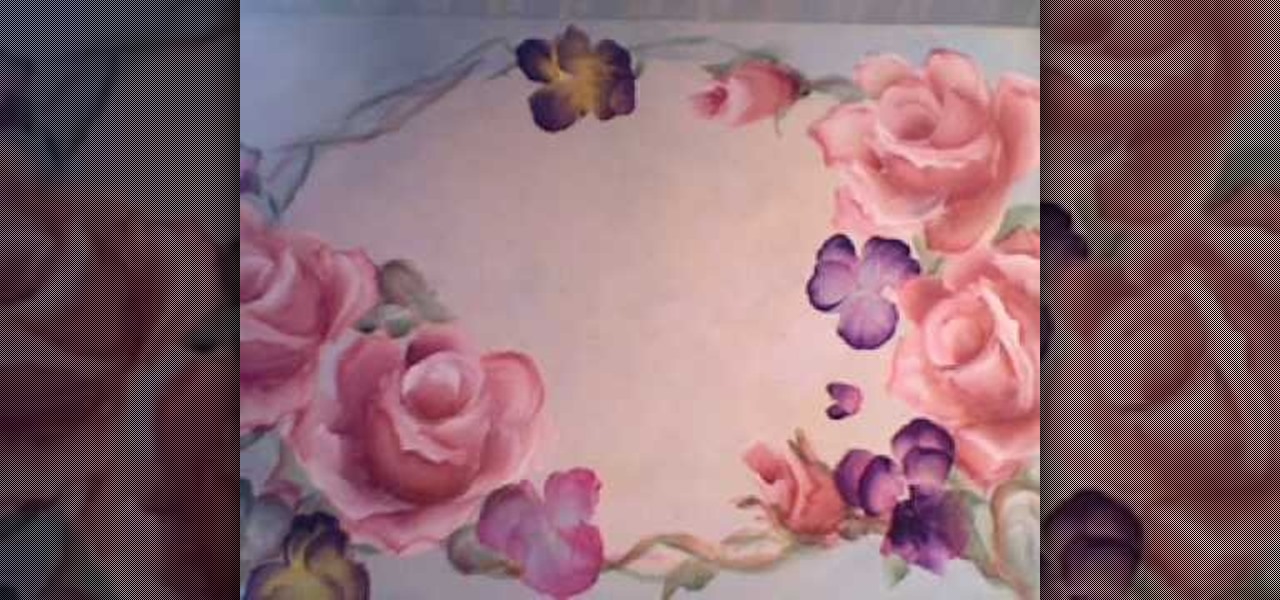
How To: Paint pansies flowers
In this video, we learn how to paint pansies flowers with Marjorie Harris. Start out by using a purple color to paint the petals with a small angled brush. Then, move your brush in an up and down motion to create the petals. You can also use different colors with your brush to make the middle of the flower more appealing. Then, use black on a pointed brush to create lines in the middle of the flower petal. From here, you will be able to paint on the stem of the flower green to create a beauti...
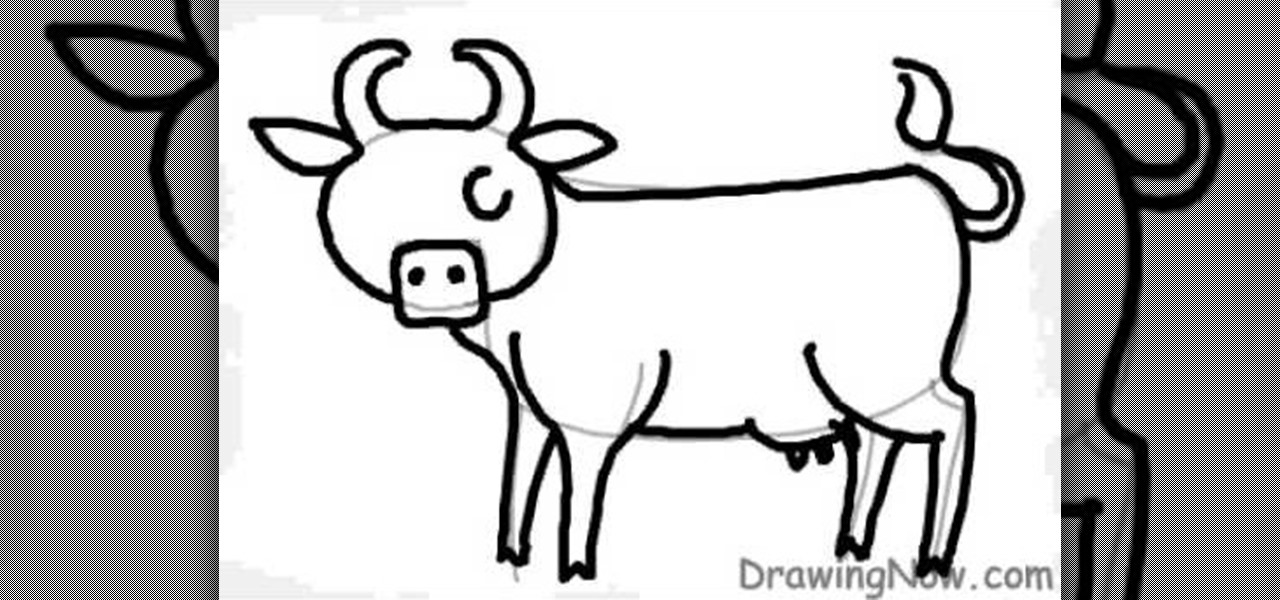
How To: Draw a cartoon cow
In this tutorial, we learn how to draw a cartoon cow. First, use gray pencil lines to draw the guidelines for the cow. After this, draw on the ears and the face, as well as the features of the face. Then, draw on a large oval for the body and then draw in the legs and the utters. From here, draw in the spots on the cow as well as the tail and the features for the tail. Use pink for the inside of the ears and the nose, as well at the utters. Finish this off with a blue sky background and save!

How To: Draw different types of anime/manga hair
In this tutorial, we learn how to draw different types of anime/manga hair. Different types of hair can completely change the look of a character. For example, if you are going to draw hair on a girl manga character, you will want to make it curly and long. Use long lines with bangs to make this hair look more realistic. For guy manga characters, you will want to add a lot of triangles to the hair to make it look like spikes all over and give him short bangs as well. Give each of these your u...
Draw a chibi Sokka from Avatar: The Last Airbender
In this drawing tutorial, we learn how to draw a chibi Sokka. Start off by drawing a round circle for the head of the character. After this, draw on the ears to the sides of the head. Then, draw on the hair on the back of the head followed by the facial features. After this, draw on the body, but don't draw a neck because this character doesn't really have one. Once you have the outline finished, start to use a darker marker to create the clothing and other details onto the character. Clean u...
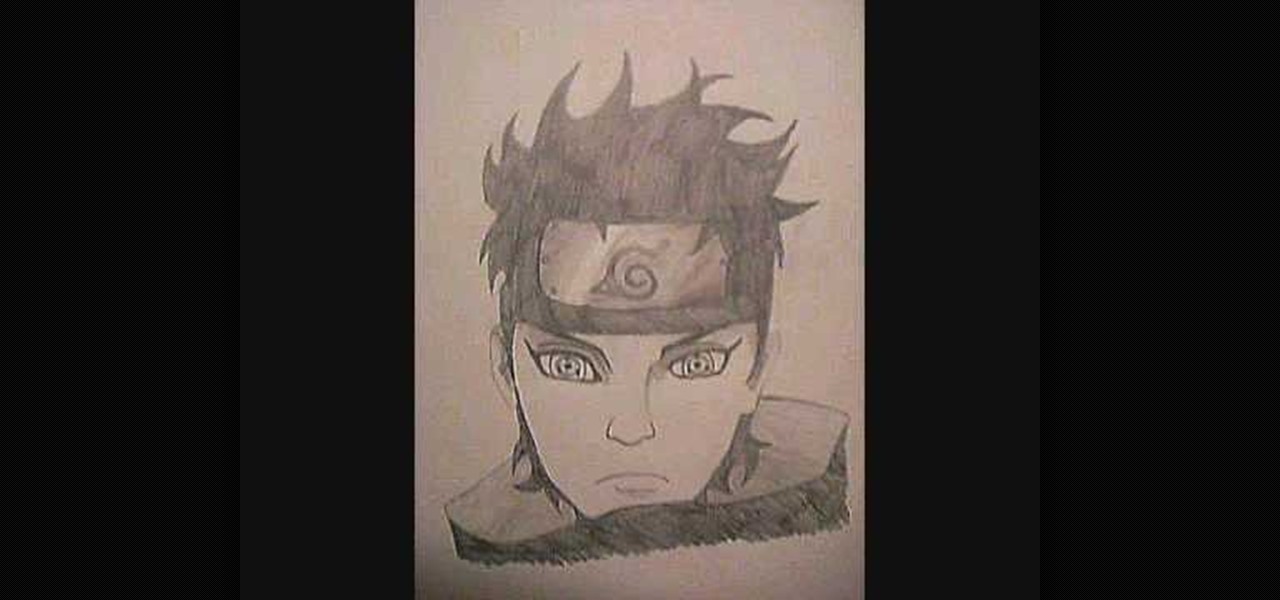
How To: Draw Shisui Uchiha from Naruto
In this tutorial, we learn how to draw Shisui Uchiha. First, draw the outline of the face. After this, draw in the eyes pushing on the pencil harder to make them darker. Then, draw in the band around the forehead and draw in the details of the face as well as the facial features. Add in lines on the face to make it look more realistic and aged. From here, draw in the hair on top of the head, adding a lot of lines to show the strands. From here, draw the shoulders on the body under the head an...
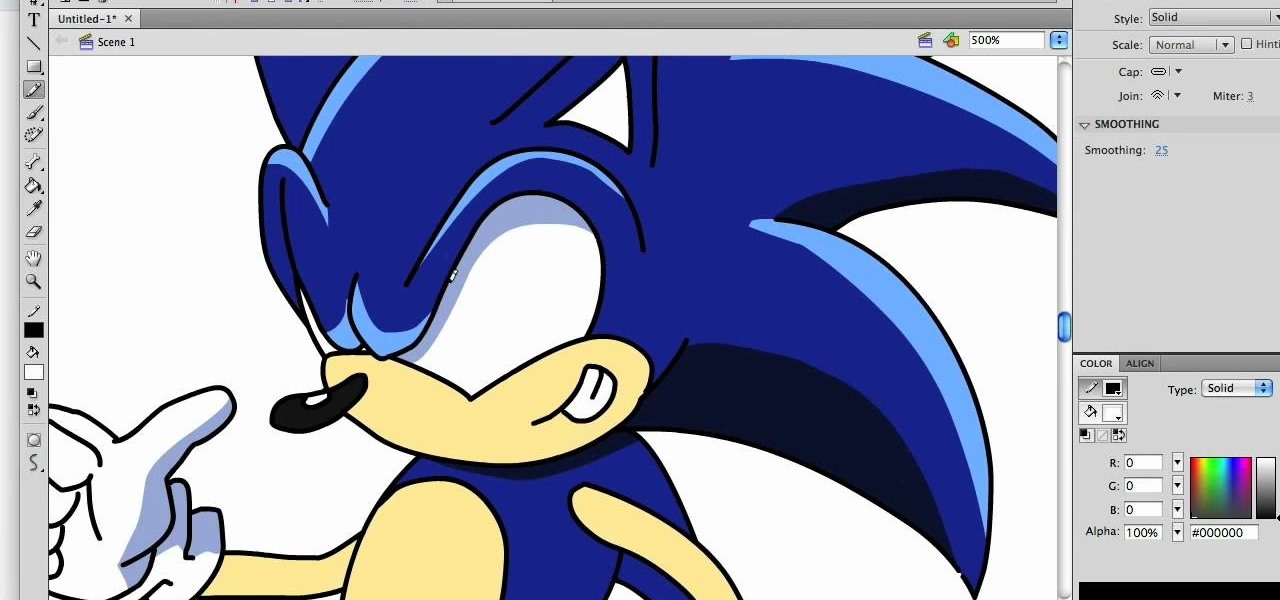
How To: Draw a hyper-stylized Sonic the Hedgehog
In this tutorial, we learn how to draw a hyper-stylized Sonic the Hedgehog. To start, you will draw the outline of the entire body of Sonic. Make sure you draw in the huge spikes for the hair as well. Next, you will draw in the eyes, muzzle, and nose on the face. Then, you will draw in the stomach area, the feet, and the hands. After this, clean up any background lines and color the character in completely. Next, shade in darker colors on the sides of the body to give Sonic more depth and mak...