

Active Fine Art Posts


How To: Draw two feet
In this tutorial, we learn how to draw two feet. First, draw the feet crossed with just the ankles showing. After this, draw in the toes and then start to draw in lines where the muscles of the feet are. From here, you will start to add in the smaller details using a small brush. Then, create the toenails on the toes and color the feet and ankles a skin color. After this, add in gray to shade the lines onto the feet and ankles. Use darker lines to create contours of the limbs and then you wil...
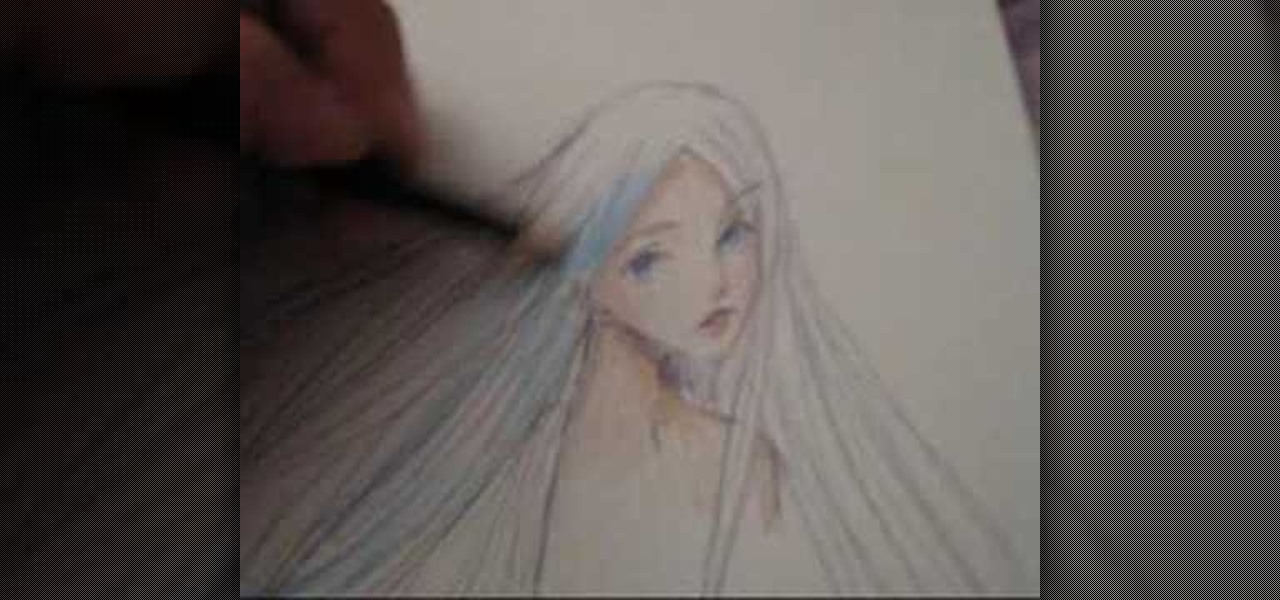
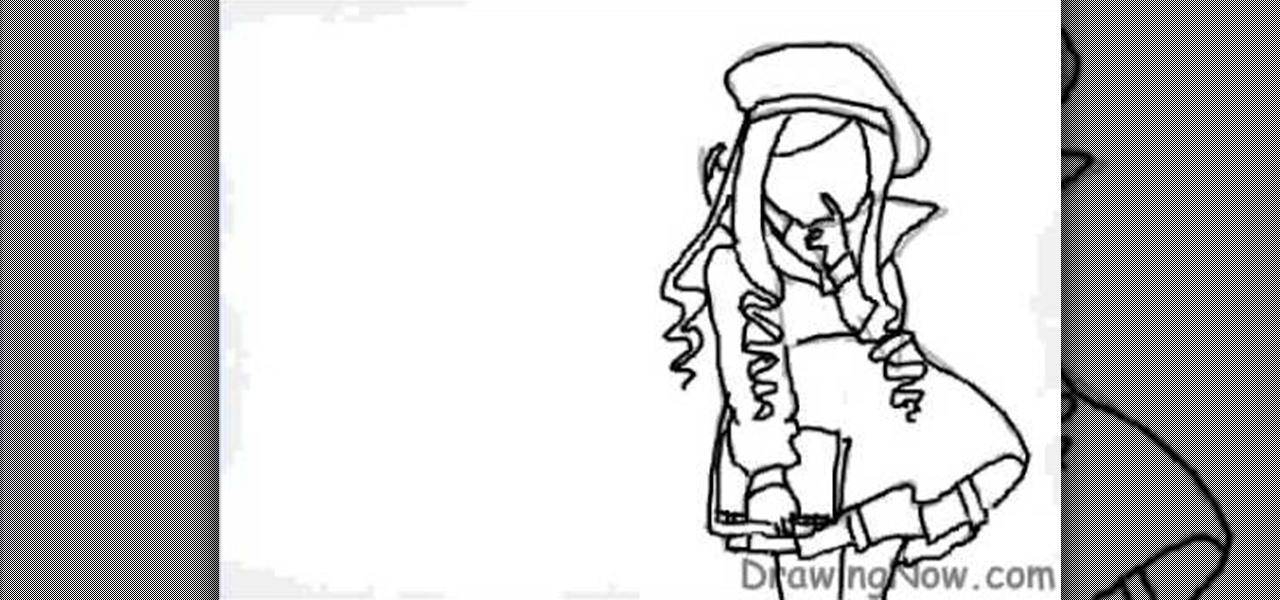
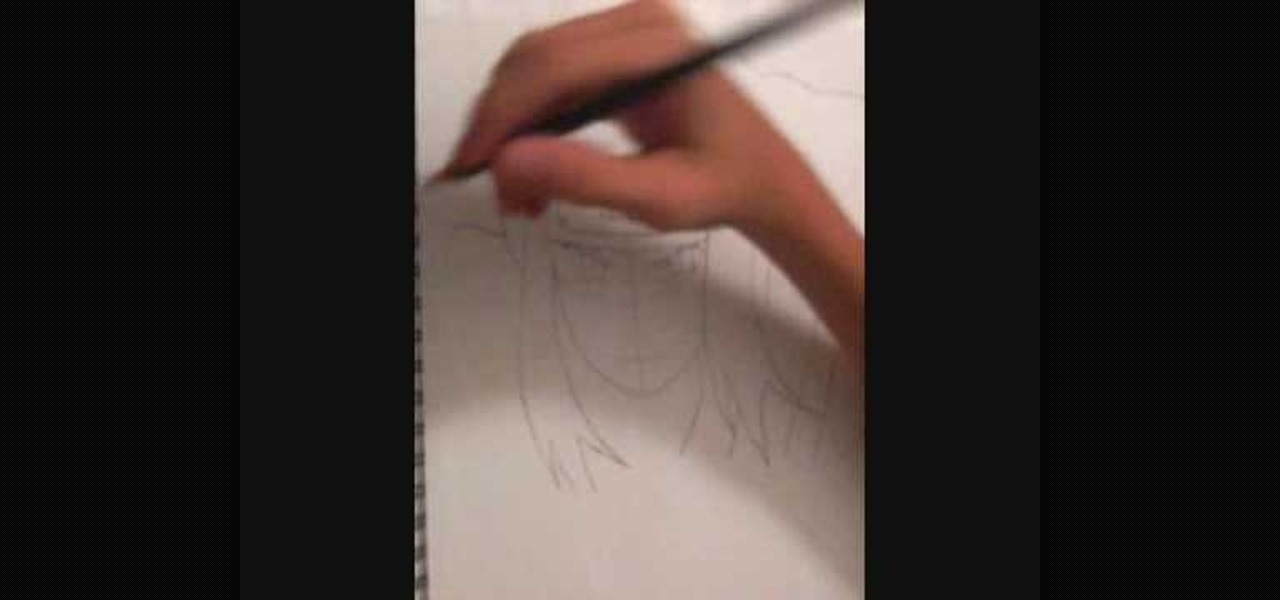
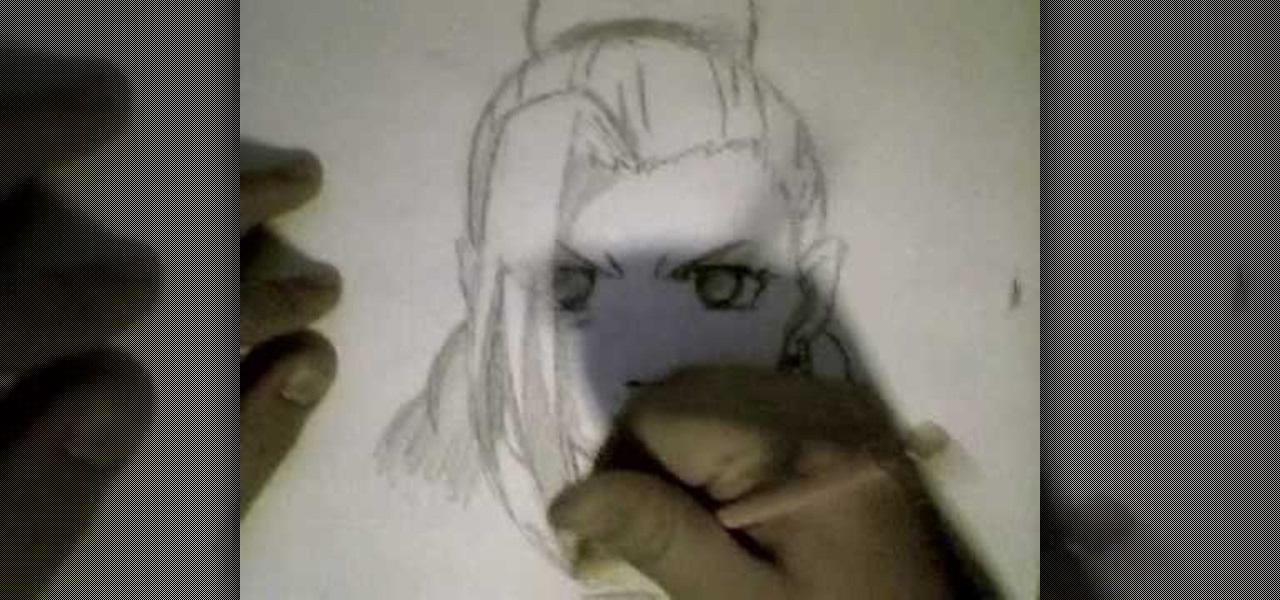
How To: Draw long manga hair
In this video we learn how to draw long manga hair. First, draw straight but curved lines going out from the top of the head to the side of the paper, giving the girl really long hair. Then, draw the other side of her head with long lines that drift down to her shoulder area. Draw in a lot of lines that are not straight, because that won't look real. Just draw them slightly curved so they look like they are falling down from the head. Then, draw on the lines to the forehead for the bangs and ...
How To: Shoot your baby's photos like a professional
In this tutorial, we learn how to shoot your baby's photos like a professional. If you want to take great photos of your baby but don't want to pay a professional, just use these quick tips. First, determine the type of flash you should be using on your camera. Use the manual that comes with your camera to find the right settings for you depending on where you're taking the pictures. You can also edit the pictures on your computer to make the colors stand out and the image more crisp and clea...
How To: Draw manga clothes on a computer
In this video, we learn how to draw mange clothes on a computer. There are many different types of manga clothes that you can draw, so study what you want to draw before you do it. When you start to draw, make sure you use great detail with the clothing, no matter what kind you are doing. After you draw the basic clothing, then add lines to show folds and creases inside of the clothing as well. Draw in shading around the inside of the clothes and then you will have your clothing complete. Enj...
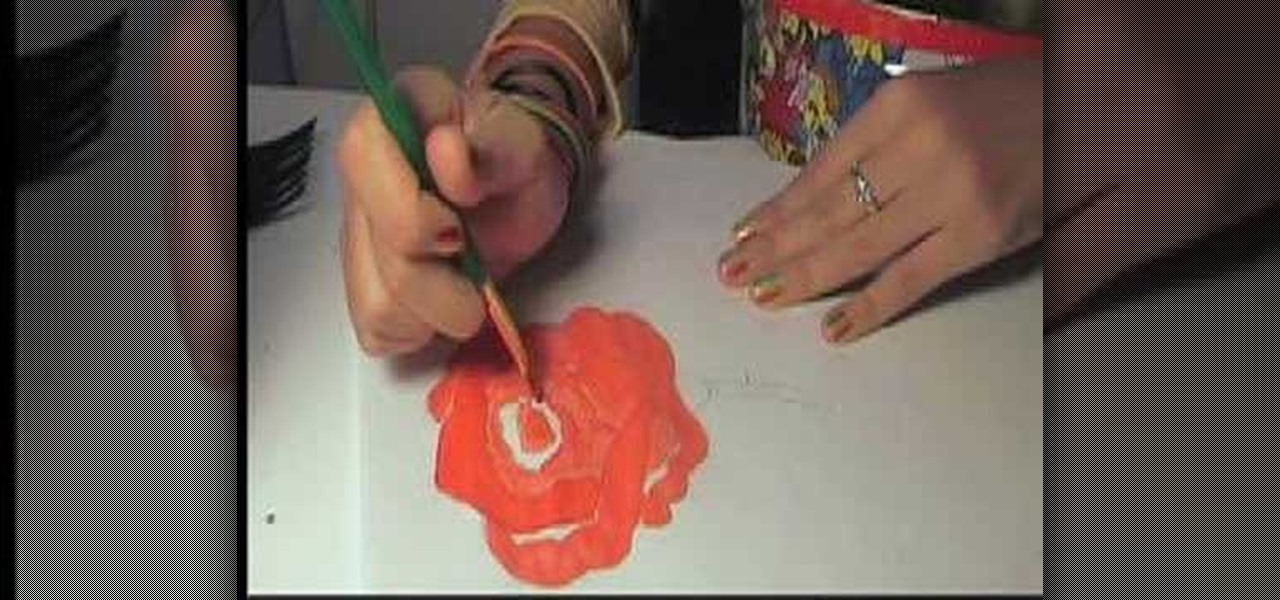
How To: Paint a red rose
In this tutorial, we learn how to paint a red rose. First, you will add some red paint to your brush and paint along lines of a rose outline. Use an angled brush so you can get a better accuracy while you are painting. After this, continue to paint around the petals until you reach the entire area of the rose. Then, paint the inside of the rose. You will then mix the red together with darker colors and whites to add depth to the flower on the paper. Once finished, you will have a gorgeous red...
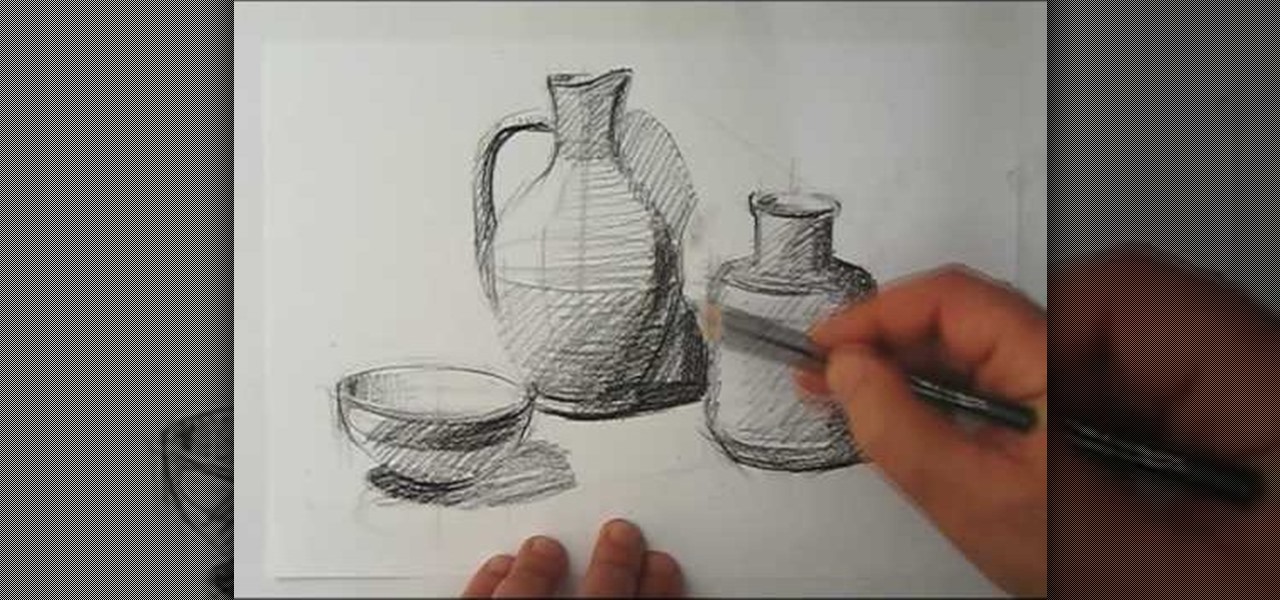
How To: Draw a still life
In this tutorial, we learn how to draw a still life. First, you will use the side of the pencil to draw the outline for the still life drawing. After this, continue to draw the outlines for all the objects that are in the model. Start to slowly add in the details, using the light touch of the pencil. As you continue, use the side of your pencil to shade and then use your eraser to blend. Continue to add in additional details as you go, then erase any background lines when needed. Enjoy drawin...
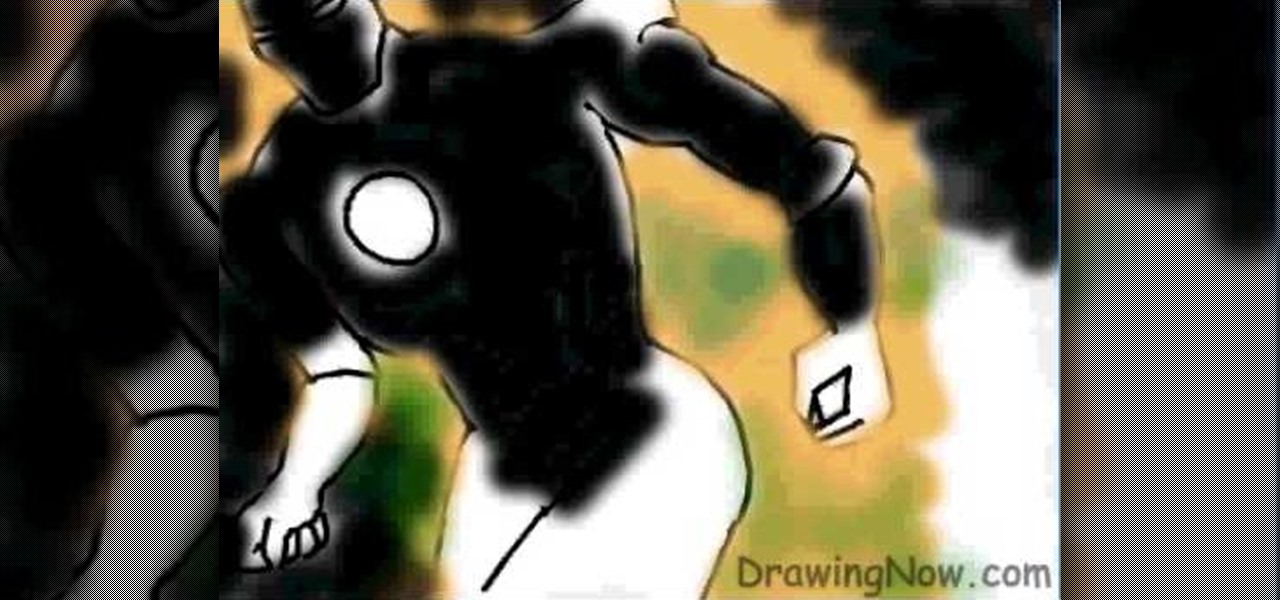
How To: Draw a cartoon Iron Man
In this tutorial, we learn how to draw Ironman. First, draw the outline of the body, make sure to include the heart in the middle of the body and the squares to make it look like metal on the outside. From here, start to add in the finer details on the body as well as the features on the face. Once finished, erase the background lines and then color in the background of the drawing. After this, color in the character with the appropriate colors and then define the features. This will finish u...

How To: Draw a quick and easy Batman cartoon
In this video you will learn how to draw a Batman cartoon in a quick and easy way. In order to do that just follow these instructions from the video: The first thing that you will need to do is to draw the head of the cartoon. Now draw the body lines and the hands of the cartoon. The next thing to draw are the legs and the cape. Use a marker to draw over the sketch and complete the drawing with all of the details. The last thing to do is color the drawing with the colors used in the video.
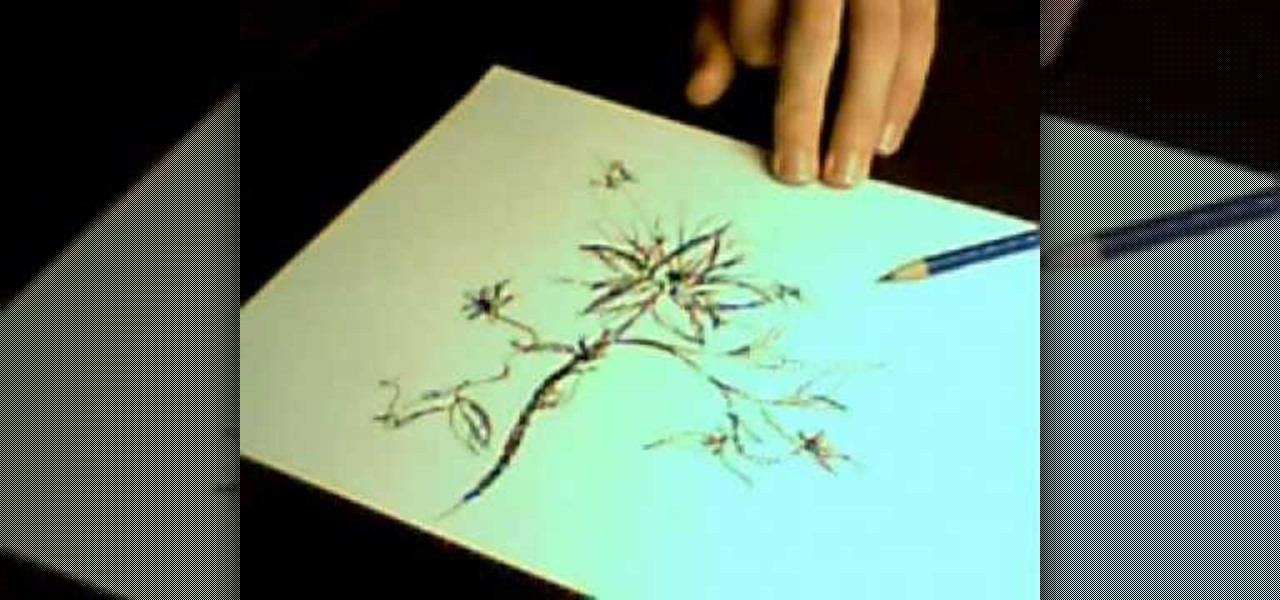
How To: Draw a wild magical flower
In this tutorial, we learn how to draw a wild magical flower. Start out by using a pencil with a light touch to create the outline for the flower. Make wispy lines to create the leaves and the flowers. Also, draw in the middle of the flower to create additional details. Then, draw in the leaves with the middle vine going down off the page. Continue on the draw in additional flowers off of the vine. Use the wispy edge of the pencil to create a more majestic and magical type of flower. Color in...
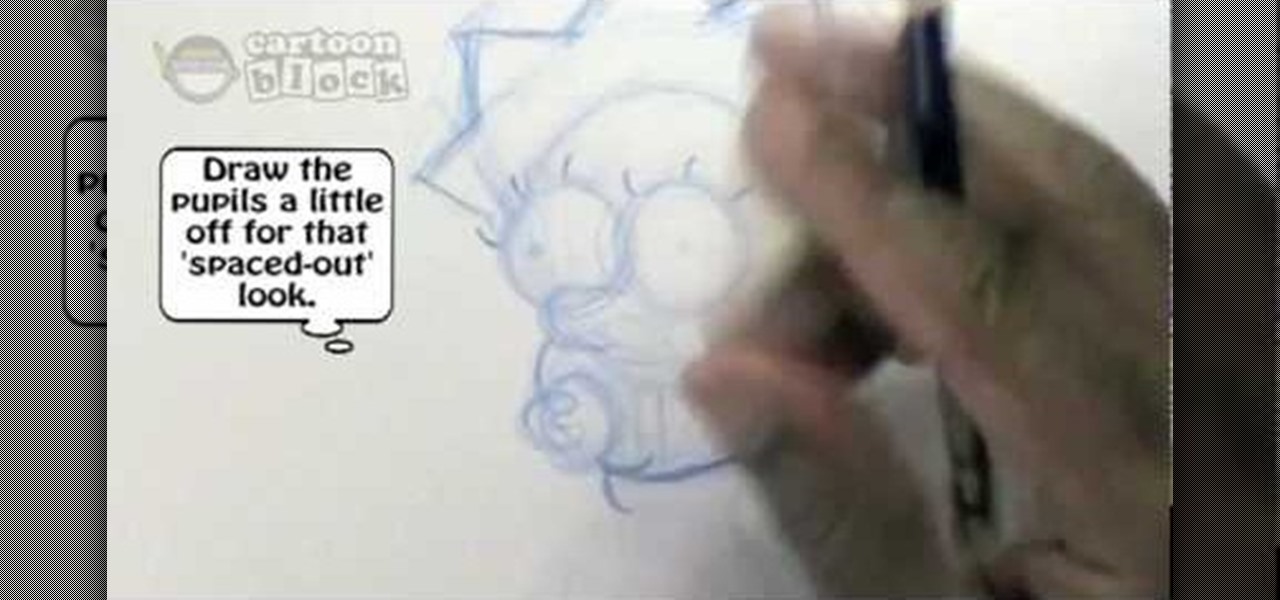
How To: Draw Maggie Simpson from The Simpsons
In this tutorial, we learn how to draw Maggie Simpson. First, you will draw the head of Maggie. Remember that she has spikes on the top of her head for her hair. Then, you will draw in her eyes, nose, and mouth. The moth should have pacifier in it. After this, draw in the eyelashes and the pupils inside the eyes. Then, draw in the ears and add in additional details around the face and on the hair. Once finished with this, draw in the body with the clothing around it. When finished, you will h...
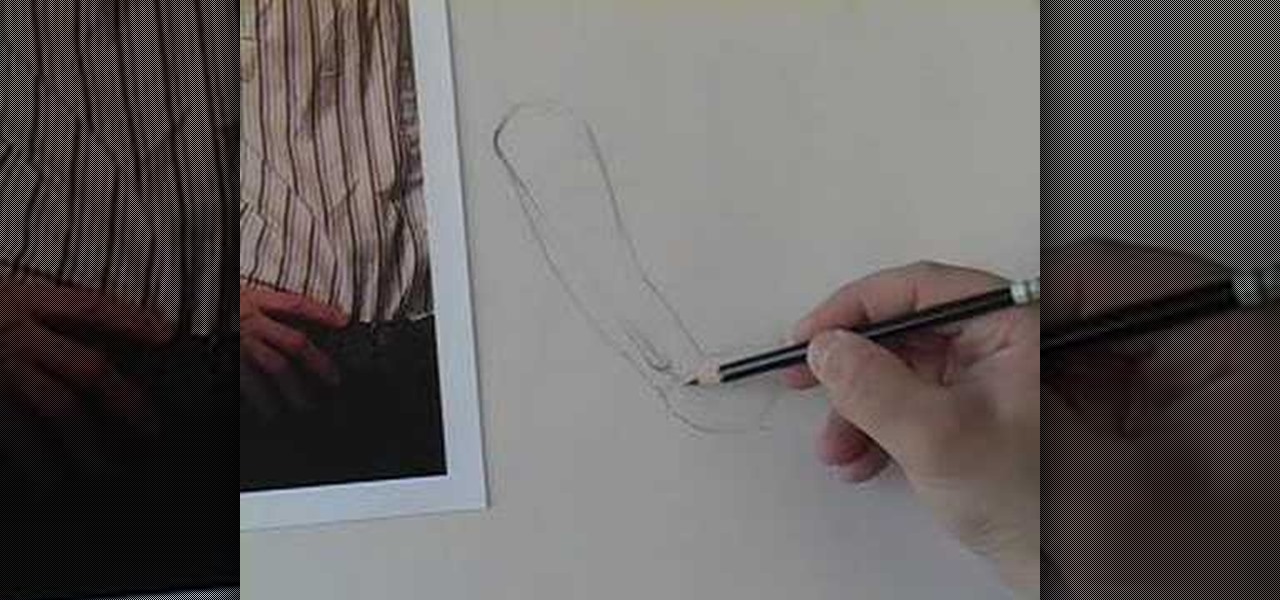
How To: Draw a hand on a hip
In this tutorial, we learn how to draw a hand on the hip. Start out by drawing the arm first. You will need to make sure to add in the different features of the arm to make it look more realistic. After you have drawn on the arm, then you can draw on the hand angled like it is sitting on a hip. Make sure you draw the fingers close to each other, not clenched or spread apart. Once you have finished, you can draw on the lines on the hands and the arms, then use shading to finish up the hand on ...
How To: Use watercolor pencil techniques
In this video, we learn how to use watercolor pencil techniques. The rendering process is similar to those with graphite. You will use strokes, giving them different lengths and colors to create texture. You can do crosshatching on the paper so everything is darker and you are hiding the white. Burnishing is when you lay down dark colors to the surface of the paper and work more colors in, the white will work as a blender. The end result will be a very smooth finish with a slightly waxy feel....

How To: Draw the cartoon vampire character Alucard from Hellsing
In this tutorial, we learn how to draw the cartoon vampire character Alucard. Start out by drawing the outline of the face, along with the hat and the collar as well. Then, draw in a cross in the teeth, with just the upper teeth and fang showing. Then, draw in all the details of the face, along with the hat details. After this, color in the skin and then the rest of the clothing around the face and on the body. Color in the background as well, with black and reds to create an eerie glow with ...

How To: Draw the classic Sonic the Hedgehog character
In this video, we learn how to draw the classic Sonic the Hedgehog character. First, draw a round circle for the head. Then, draw in the eyes and the hair around the head in big huge lines. After this, sketch in the rest of the body. Then, start add details to the head, drawing in the eyes, mouth, and hair lines. From here, draw in the details of the body and then create the leg and feet clothing as well. Draw a bold black line over all of it, then you will add in shading to finish up this dr...
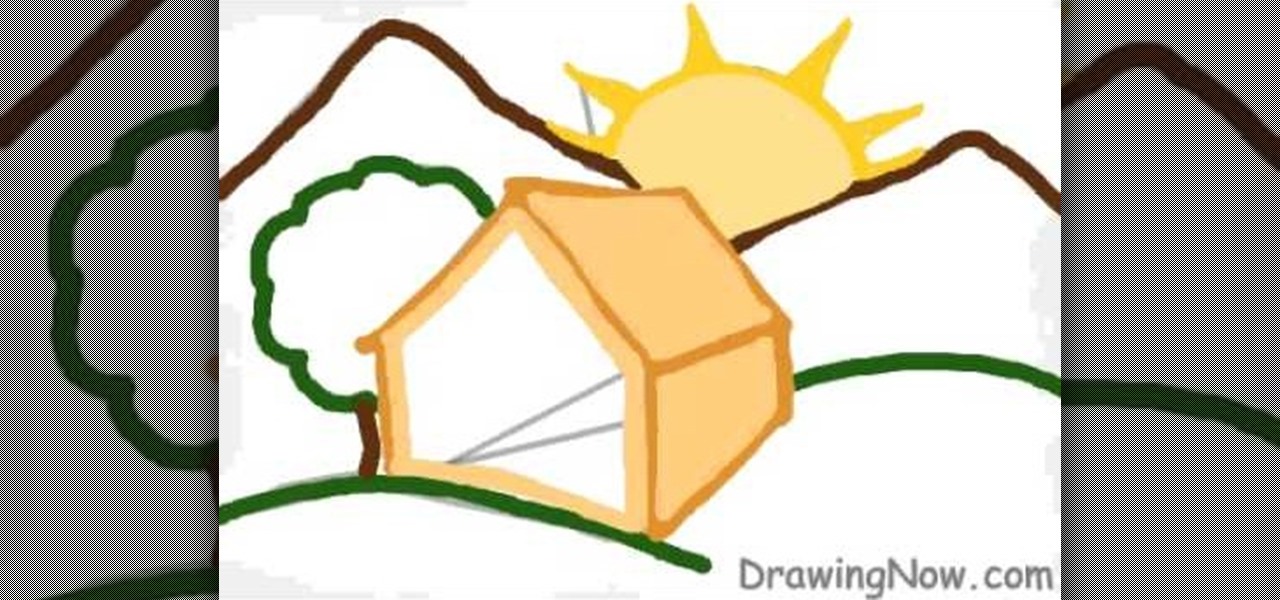
How To: Draw a cartoon cottage scene
In this video, we learn how to draw a cartoon cottage scene. Start out by drawing the outline for the house, a tree, the sun, and mountains. After this, add color to the mountains and everything else in the scene. From here, color in the sun and then start to create the cottage. Make sure to add details to it, like a roof and a door and windows. Then, color the ground green to make it look like it's set out in the wilderness. Once finished, add in shading to make it look more realistic and th...

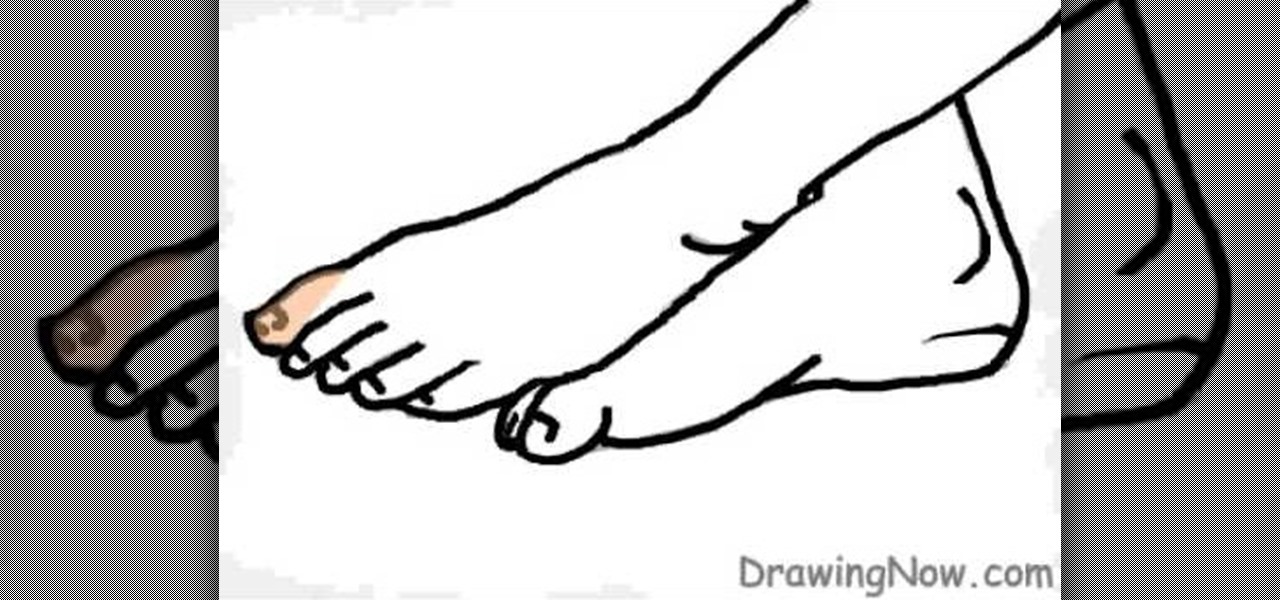
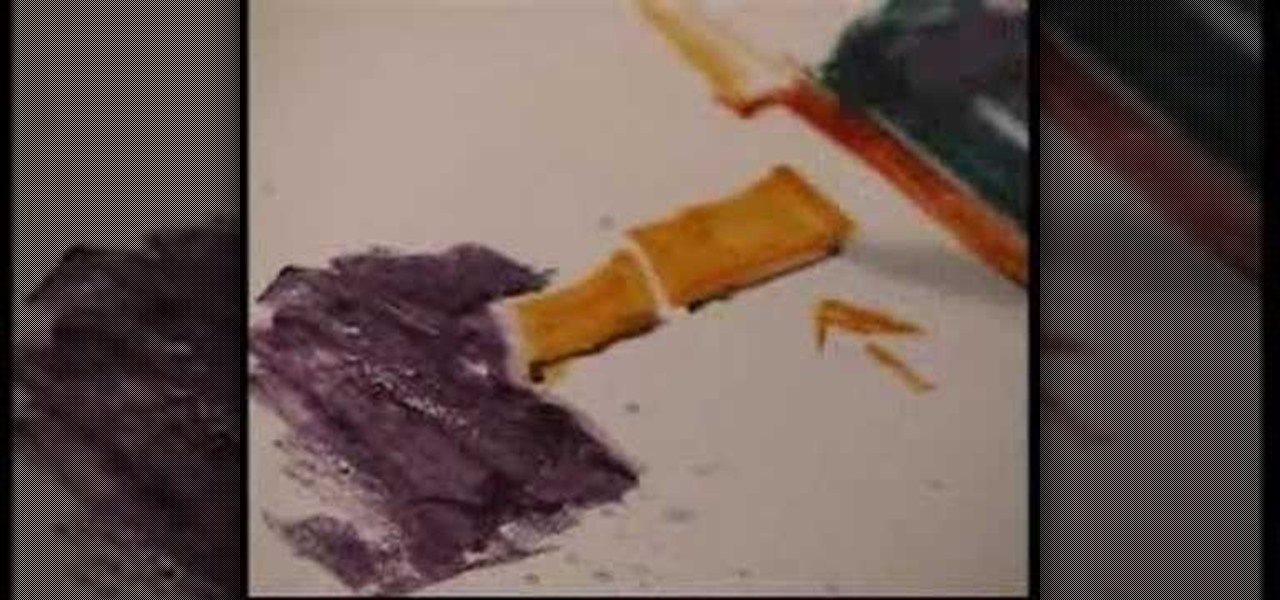
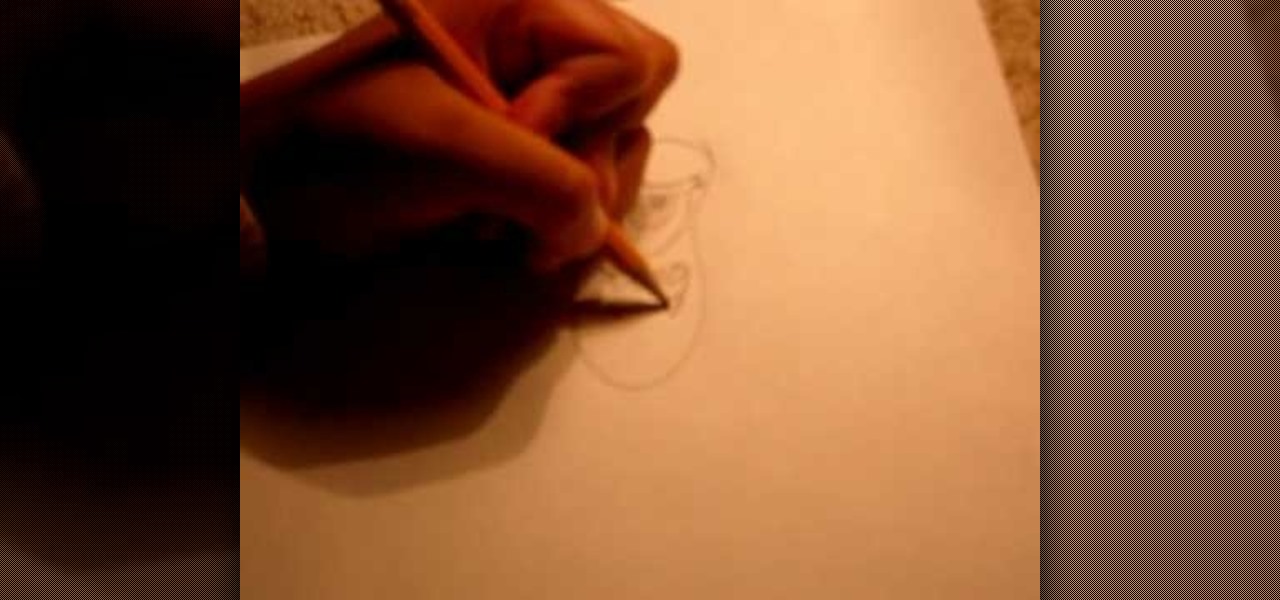
How To: Draw a foot
In this tutorial, we learn how to draw a foot. To start, you will first need to draw the outline of the foot. You can easily do this by first drawing out the ankle and then drawing the rest of the foot. Look at your foot if you need help to figure out where the different contours are. Then, draw in the toes and add in the toenails. Once you do this, you will be able to add in the shading around the foot as well as the lines to the skin to make it look more realistic. When finished, sign with ...
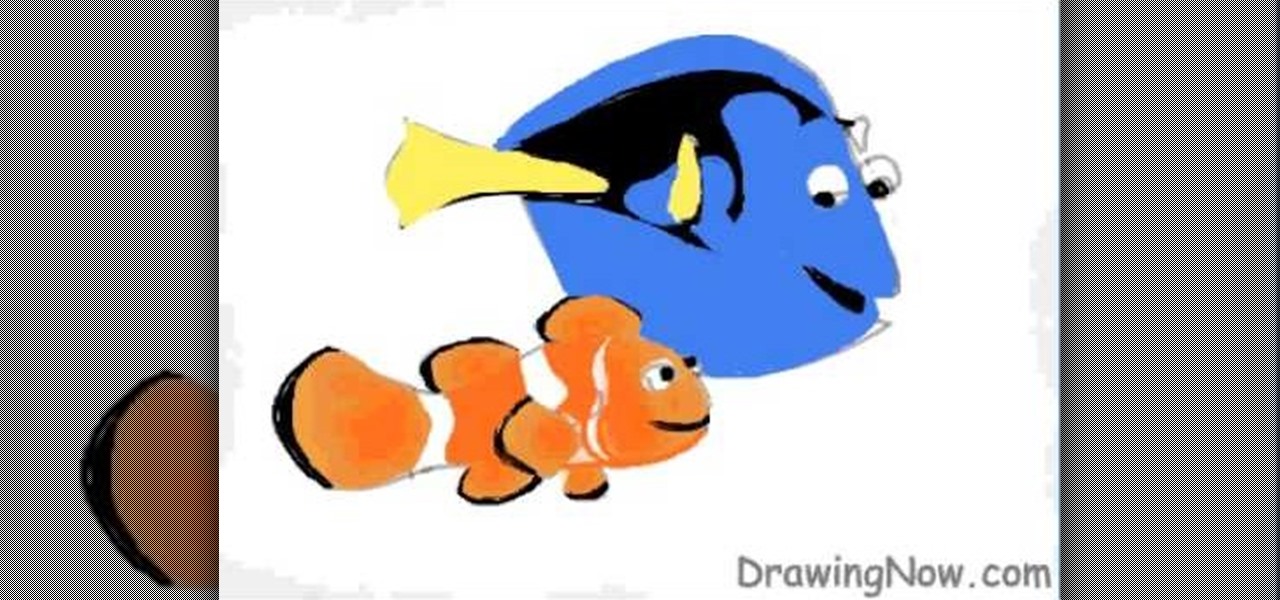
How To: Draw Disney's Nemo & Dory
In this tutorial, we learn how to draw Nemo and Dory from Disney! Start off by drawing the bodies of both Dory and Nemo. Make sure to get the pattern of Nemo draw out correctly. After this, draw on the eyes and the fins for both of the characters. From here, use a black marker to draw on the scales of the fish as well as the rest of the details on the face. After this, color in Dory with yellow, black, and blue. Then, color in Nemo with orange, black, and white. When finished, color in the ba...

How To: Draw a scene from Star Wars
In this tutorial, we learn how to draw a scene from Star Wars. Start off by coloring the background peach, then adding orange with the spray paint tool to the bottom. After this, color in clouds to the sky with a light tan. From here, add in a spaceship in the sky and then two large machines on the bottom of the ground. Draw in another spaceship in the far right background. Then, start to add in details to each of the different ships or tractors. Draw a person on the ground carrying a gun wit...
How To: Draw animal paws from the front
In this video, we learn how to draw animal paws from the front. First, draw the wrists for the paws and make the bottom part wider. After this, draw on the nails on the very front of the wrists. Make sure to add on a pointed tip for the claw on the top of the nail. After this, start to add in additional lines around the joints in the paws to make it more bold. Then, you will need to add in additional lines on the sides to make it look like hair. This will complete your paws, have fun with the...
How To: Draw Plankton from SpongeBob Squarepants
In this tutorial, we learn how to draw Plankton. Start out by drawing a long oval shape for Plankton's body. After this, draw on a large eye to the upper middle section of the eye. Next, you will draw in the mouth underneath the eye and make sure to draw in an angry expression and pointed teeth. Next, draw in the eyebrow on top of the eye followed by legs on the very bottom of the oval. The legs should be soft triangle shapes and nothing more. You can color this green to finish up the drawing...
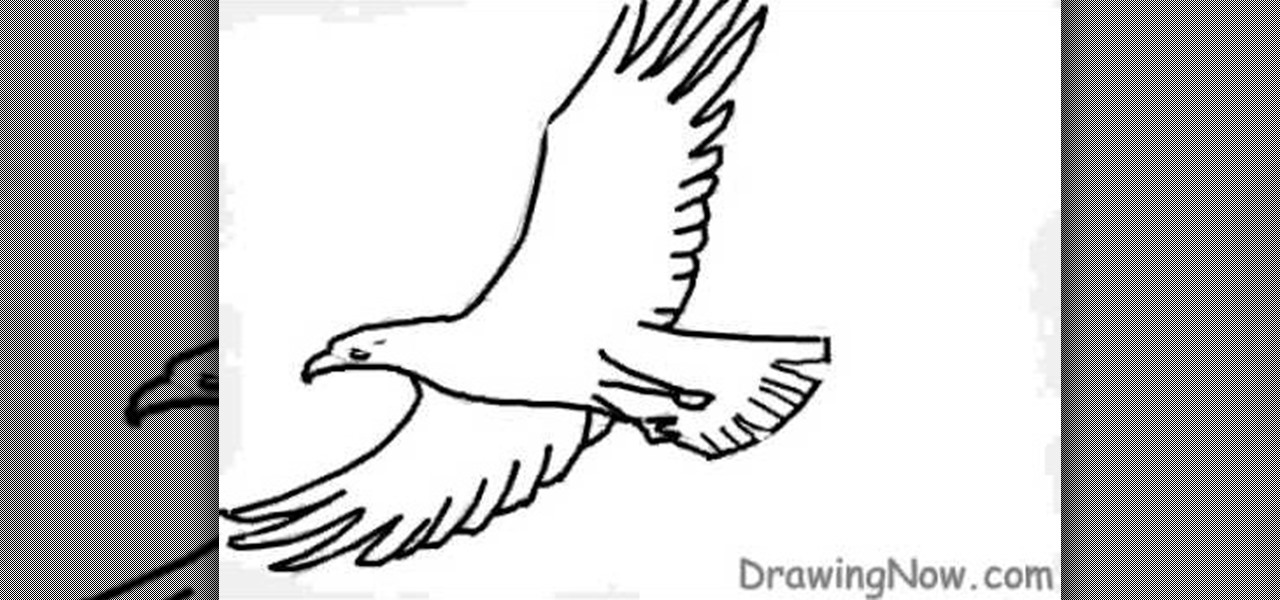
How To: Draw a basic eagle
In this video, we learn how to draw a basic eagle. Start off with the outline of the eagle with a light pencil. After this, use a bold paintbrush to fill in the outline of the bird and then use marks to make the wings show the feathers better. Next, draw in the facial features and the beak, as well as the tiny feet on the bottom of the body. Next, color in the bird to be brown and then color the sky white with blue to show it's cloudy. When finished, save this and enjoy your basic eagle drawing!
How To: Draw Neji Shippuuden from Naruto
In this video we learn how to draw Neji Shippuuden. First, draw the outline for the head, use lines in the middle of the face to figure out where to place the facial features. After this, use a pencil to draw on the hair around the face and then draw on the headband. From here, add on the details to the hair and then start to add in shading around the face to make it look more realistic. After this, draw in the shoulders on the side and then draw in the rest of the details of the face. Finish...
How To: Draw Captain K'Nuckles from The Marvelous Misadventures of Flapjack
In this video, we learn how to draw Captain K'Nuckles. First, draw a cucumber type shape then draw a pirate hat on the top. From here, draw in the simple oval eyes and then draw in the nose. After this, draw in the mouth and the teeth, then shade in underneath the eyes. From here, draw in his arms and his fingers as well. Then draw and color in the clothes he's wearing and draw rectangles for his feet. After this, clean up any stray lines on the drawing and then add in shading to make the cha...

How To: Sketch a manga-style ninja
In this tutorial, we learn how to do a ninja sketch. First, you will draw out the outline of the body. Draw in two arms that are crossing and then draw in blades in the hands. From here, draw in the hair, which should be spiked and short. After this, draw in a mask around the face and then start to draw in the clothing. Draw in lines on the clothes for the folds, then create a band around the arm and a skirt around the waist. To finish, you will draw in fishnets around the legs and then woode...

How To: Use the watercolor salt technique
Vivian shows us how to use the watercolor salt technique in this video. This is great if you want to make underwater paintings and have a coral effect on them. The salt will cause the painting to look more rough and you can see the salt on the paper and how it absorbed the color. To start, you will wet your cold pressed paper on both sides. Then, add your paint to your brush and continue to paint. Don't apply the paint too dark if you are going to work on it later. When finished, let this dry...

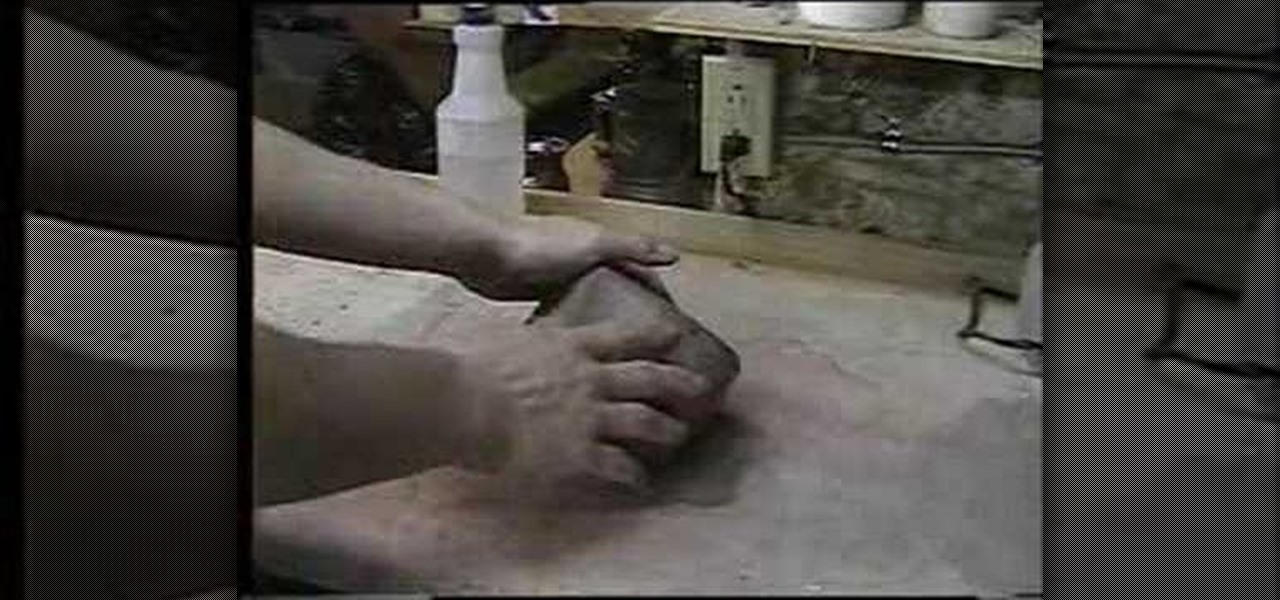
How To: Recycle plastic bottles to make hanging art
In this video, we learn how to recycle plastic bottles to make hanging art. First, cut the bottom off of the bottle and then cut it in half. Then, cut the other end off of the bottle as well. After this, you can grab the bottle and start to paint your choice of color all over it. Use different colors and transition and blend with them. Lay these on one side to dry when you are finished. When you're done with these and they are completely dry, you can use them to decorate around your house. Th...
How To: Draw Danzo Shimura from Naruto
In this tutorial, we learn how to draw Danzo. To start, you will draw the outline with the light touch of the pencil. After this, draw in the final outline darker and then erase the background lines. Next, you will add in the details around the character and then add in lines to show creases and make it look more realistic. From here, you will add in shading to make the drawing have some more depth. After this, you will finish up by cleaning any stray lines with an eraser. You can also use th...

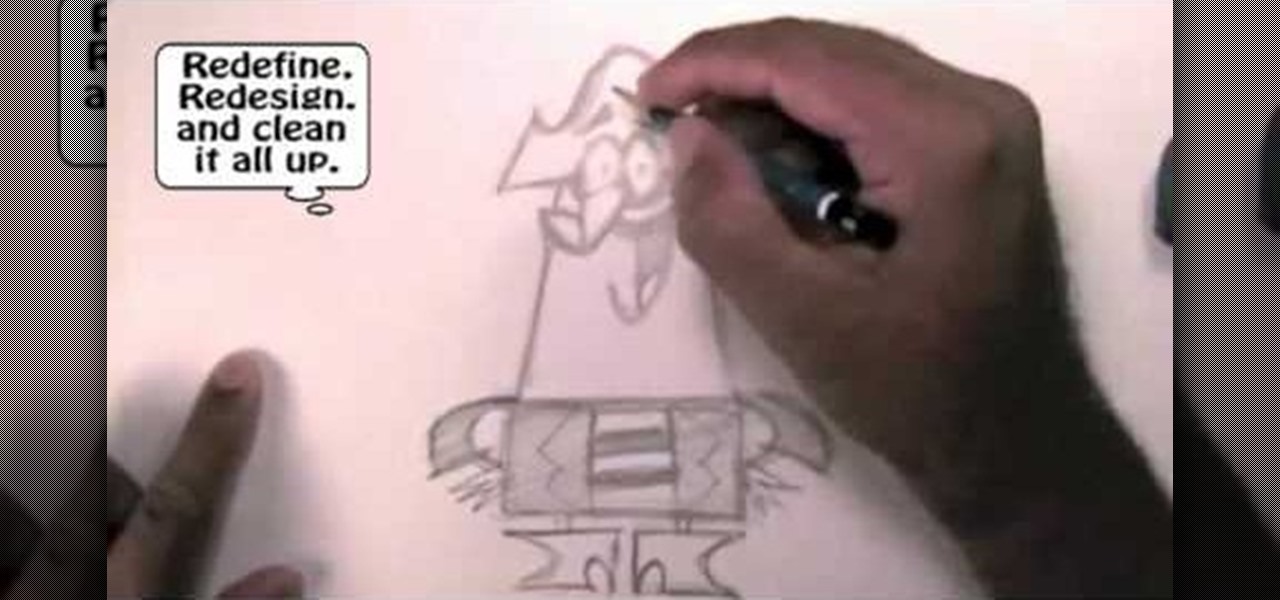
How To: Draw substitutions in Toon Boom Animate
In this tutorial, we learn how to draw substitutions in Toon Boom Animate. When you are inside of the program, you will see the 'drawing substitution' preview window on the side of the screen. Create the animation how you like it, using different shapes, colors, etc. You can use the high camera map to see how it looks an make a mat to put around the stage. Once you're finished, save this to your computer and then extend out the timeline. To animate him, hit F5 and then drag out the length of ...
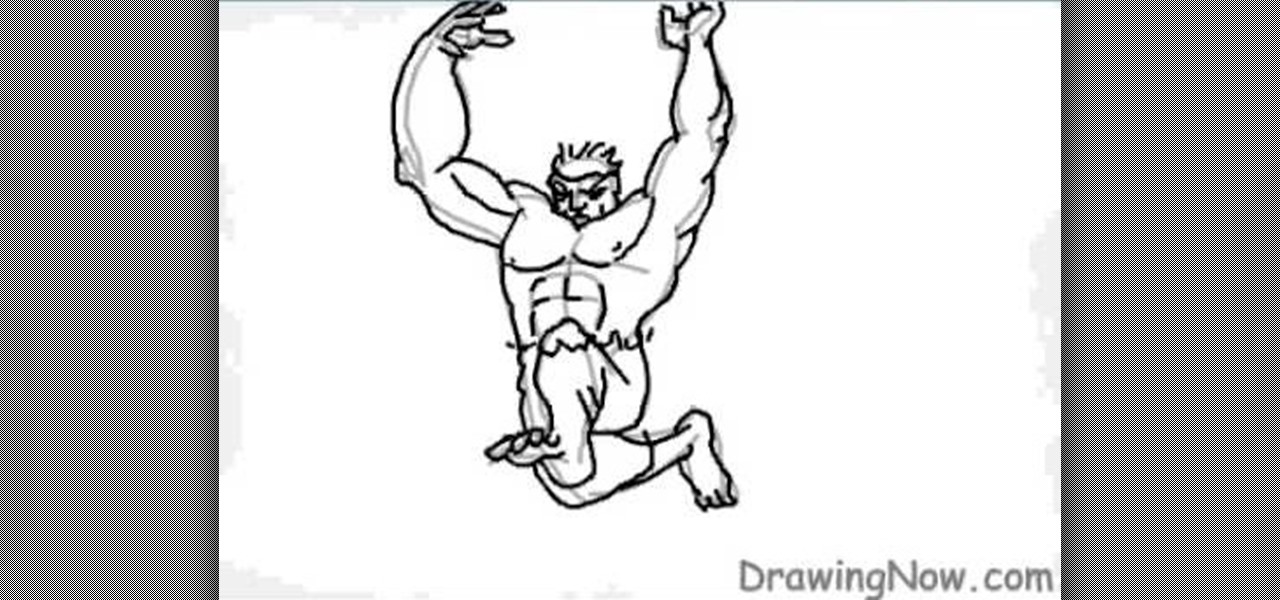
How To: Draw the cartoon version of The Incredible Hulk
In this tutorial, we learn how to draw the Hulk. Start off by drawing the outline of the body. Make sure you draw the character's body large and keep the proportions accurate. After this, start to draw in the features of the face and the rest of the body. Use lines to make the muscles appear, then shade around them to make it look more realistic. Next, you will need to add some color to the drawing. Green would be most accurate, with some parts darker than others with shading. Finish this dra...
How To: Draw the character Katara from Avatar
In this video, we learn how to draw the manga character, Katara. Start out by drawing the basic outline of the character. Have her hands out in the air, like she is in a striking position. Then, add in the details of her face and hair, then work your way to adding in the details of her arms and the rest of her body. Draw a long dress on her, adding in the lines to show folds in the dress. Once you have finished with all the details, start to add in the colors to the skin and the outfit. Finis...

How To: Draw folk legend Bob Dylan
In this tutorial, we learn how to draw fold legend Bob Dylan. To start, you will first draw the hair and the head along with the upper body, hands, and guitar. After this, you will start to add in the facial features. Draw on the eyes and add lines to make the face look more realistic. Make sure it looks like he is holding the guitar with his hand, showing one hand around it. After this, you will need to add color to the drawing on both the clothing and the skin. To finish, you will erase any...

How To: Draw the head of a Native American Indian chief
In this tutorial, we learn how to draw the head of a Native American Indian chief. First, you will draw the outline of the head as well as the head dress that he is wearing. Draw in lines to show where the jaw lines, cheeks, and other facial features are. After this, draw in the details of the face then get to work on the headdress. Add in details to this, then start to add in colors to it, making it as colorful as you would like it to be. When finished, add in some feathers at the bottom and...
How To: Draw Ino from Naruto
In this video, we learn how to draw Ino from Naruto. Start off by drawing a circle for the head, then drawing lines in the middle to create reference for where the facial features will go. After this, draw in the hair on the top of the head along with the eyes, eyebrows, and creases of the eye. Then, draw the jaw line around the face and erase the lines you used for reference. After this, add in additional lines and hair to make it look more realistic. Use shading around the face to show ligh...
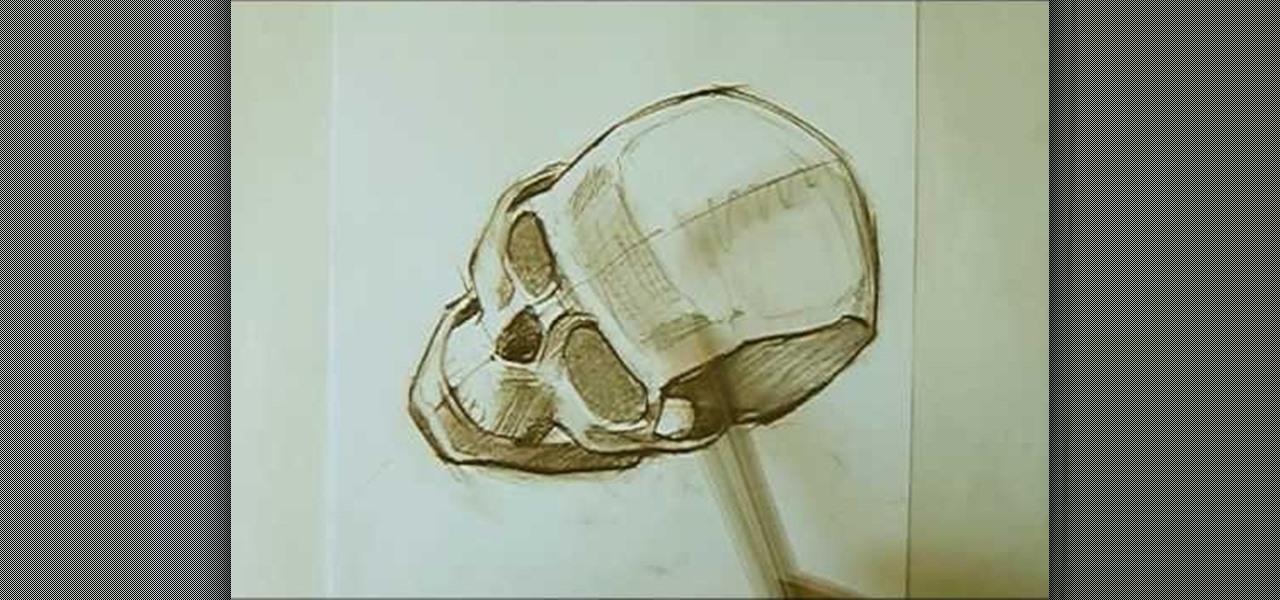
How To: Draw a skull with proper proportions
In this tutorial, we learn how to draw a skull with proper proportions. First, draw the outline of the skull with the light touch of a pencil. After this, use the pencil to draw two crossing lines that are the same length. Next, draw in the features of the face and head using the lines on the drawing. From here, you will start to add in the details to the features of the face and erase any background lines. Use the side of your pencil and the top of it to shade in the sockets and lines. To fi...
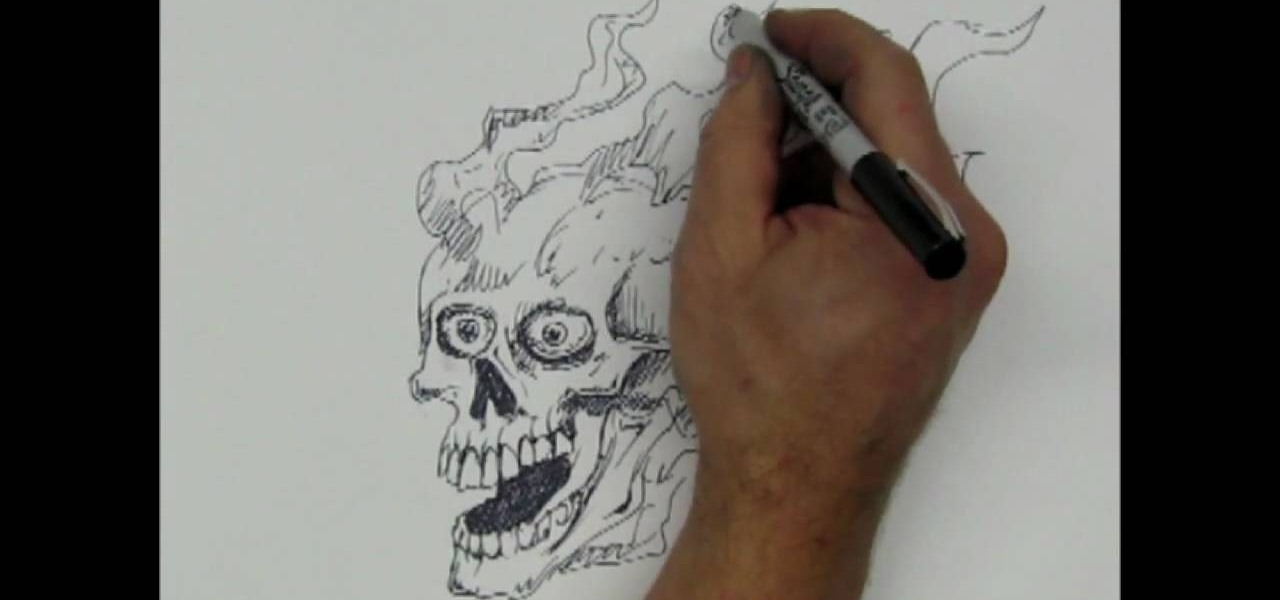
How To: Draw a skull with a Sharpie
In this tutorial, we learn how to draw a skull with a Sharpie. First you will draw the eyes, make sure to draw lots of little lines around them then cross them to create depth. From here, draw the outline to the head and then the nose and the teeth. Make sure to add lines in around the head to show cracking and marks around the head. Use shading to create darker lines along the head and then add in additional details. Make this unique to you, it doesn't have to look one certain way. When fini...
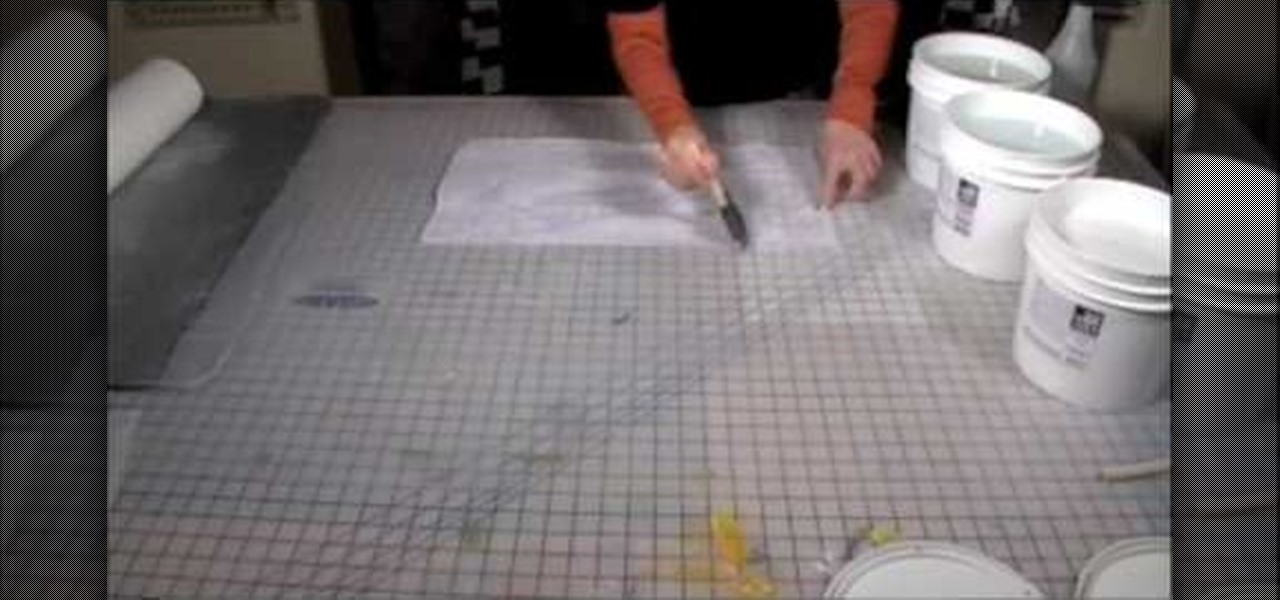
How To: Digitally print on uncommon surfaces
In this video, we learn how to digitally print on uncommon surfaces. First, you will want to apply the gloss evenly with a sponge brush. Use clear so that when it's printed you will almost be able to see through it. This will come out really crystal clear and look amazing. Take the top sheet off and set it aside to dry. Grab the underneath part and then cover this with the gloss as well. Doing this step beforehand will help the pre-coat look even better for when you are printing. Once you are...
How To: Draw Optimus Prime of Transformers
In this tutorial, we learn how to draw Optimus Prime of Transformers. Start off by drawing the outline of the entire body of the character. Make sure to add in the large arms and feet as well. Next, draw over this to make a more elaborate outline including the details for Optimus Prime. Once you have all the details draw, erase the background lines. Ten, color in the character and add in lines and shading to make it look more realistic. Once you have done this, then you will finish off with a...

How To: Create a nice drawing composition
In this tutorial, we learn how to create a nice drawing composition. First, use your pencil to sketch a light outline of the still life objects that you're drawing. After this, you will add in lines on the side of them for their shadows, then shade the area in between the lines in. Next, you will darken up the sides of the shapes to make them appear more in-depth and make them look more real. Use your pencil to blur the pencil markings and make everything look more realistic. When finished, y...

How To: Draw a detailed skull
In this tutorial, we learn how to draw a skull. First, draw the outline for the skull. Remember not to draw the hair on the head, because skulls do not have these! After this, you will draw on the cracks to the top of the head and shade around them. From here, draw in black on the inside of the eye sockets. Then, draw the lines around the eye sockets. From here, draw the area for the nose and then the teeth. Next, you will draw in the jaw line and add in additional shading and lines to finish...

How To: Draw a cartoon skull
In this tutorial we learn how to draw a cartoon skull. To start, you will draw the eyes of the skull using two triangles that are facing each other. Next, draw the nose of the skull and shade it in with black. Then, draw in the teeth and color in the inside of the mouth. From here, you will draw a hate on top of the skull and then draw in a body from the bottom of it. Add on baggy pants and large feet. Then, draw in hands and a large cape to finish up this cartoon skull drawing!