

Active Fine Art Posts


News: Deep Fried Flowers (For Art, Not Eating)
“Domestic Stills” (Domestication, femininity and subversion) is an oddly interesting photography project by Namiko Kitaura in which the artist fries, washes and stitches flowers.
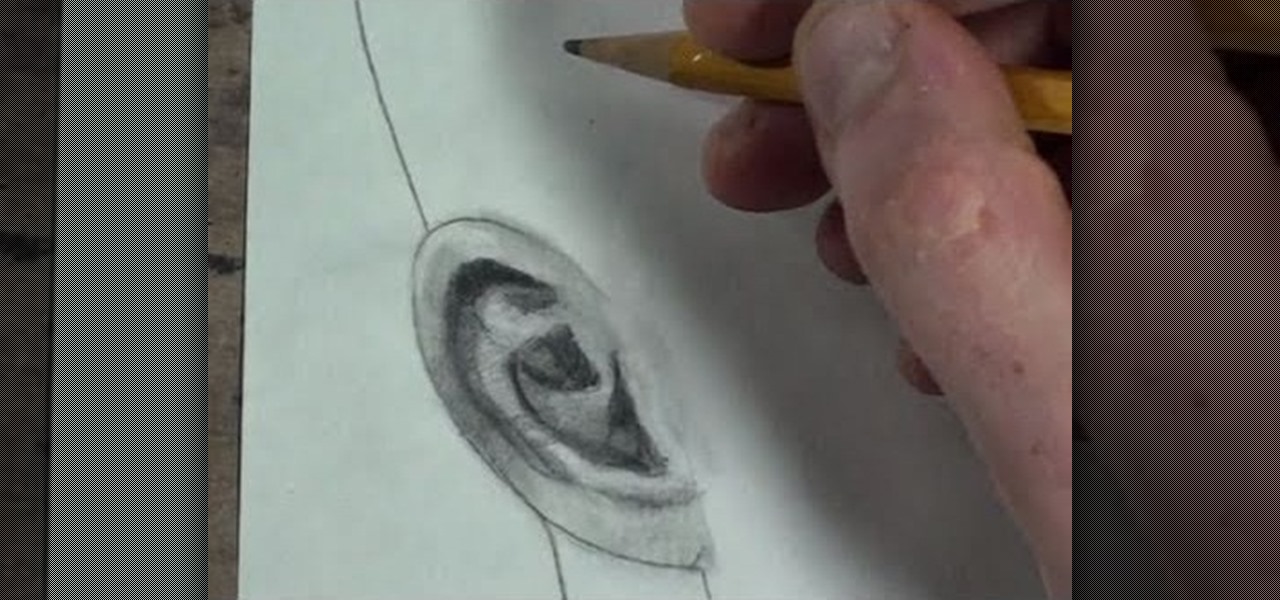
How To: Draw the human ear in profile, frontal and 3/4 view
This drawing lesson from Merrill is split up into three parts, each one focusing on a different view on the human ear. If you've ever had trouble sketching the human ear in the past, these videos should clear things up for you. You'll learn the three most basic views— 1) 3/4 view, 2) side (profile) view and 3) front face view.
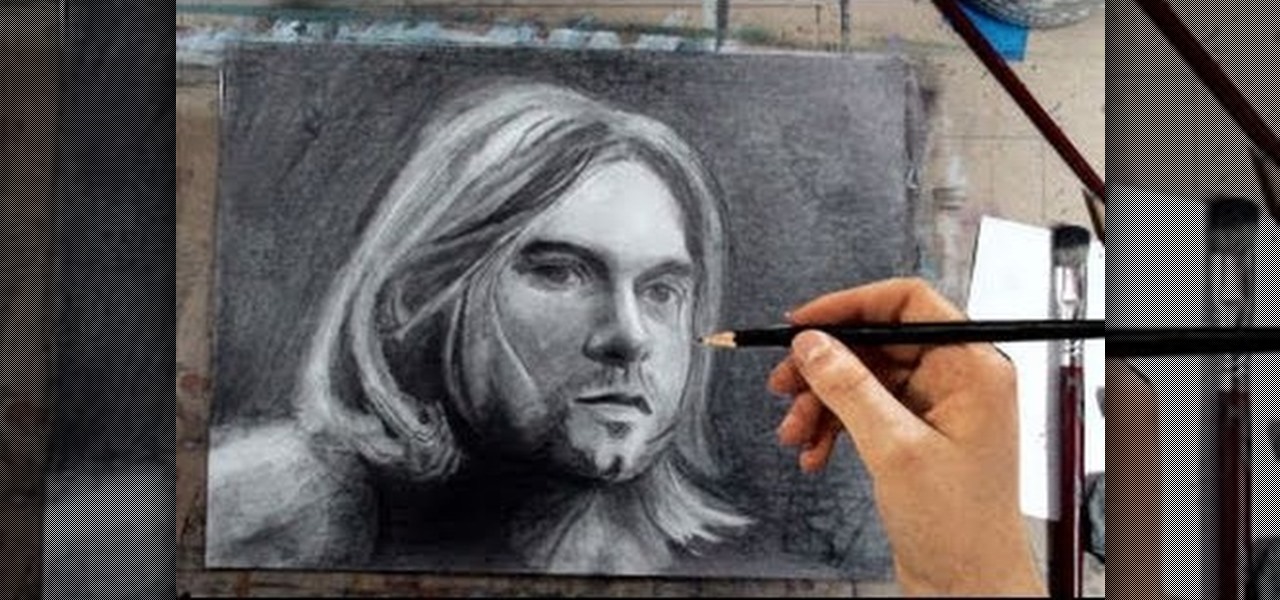
How To: Create a portrait pencil drawing of Kurt Cobain from Nirvana
Merrill never fails to amaze. In this video, he instructs you to "come as you are— but bring a pencil." And you don't have to be a diehard Nirvana fan to understand what this tutorial's about— Kurt Cobain. Watch and learn how to draw Kurt Cobain in a portrait, step by step, using pencils and a few art tricks.
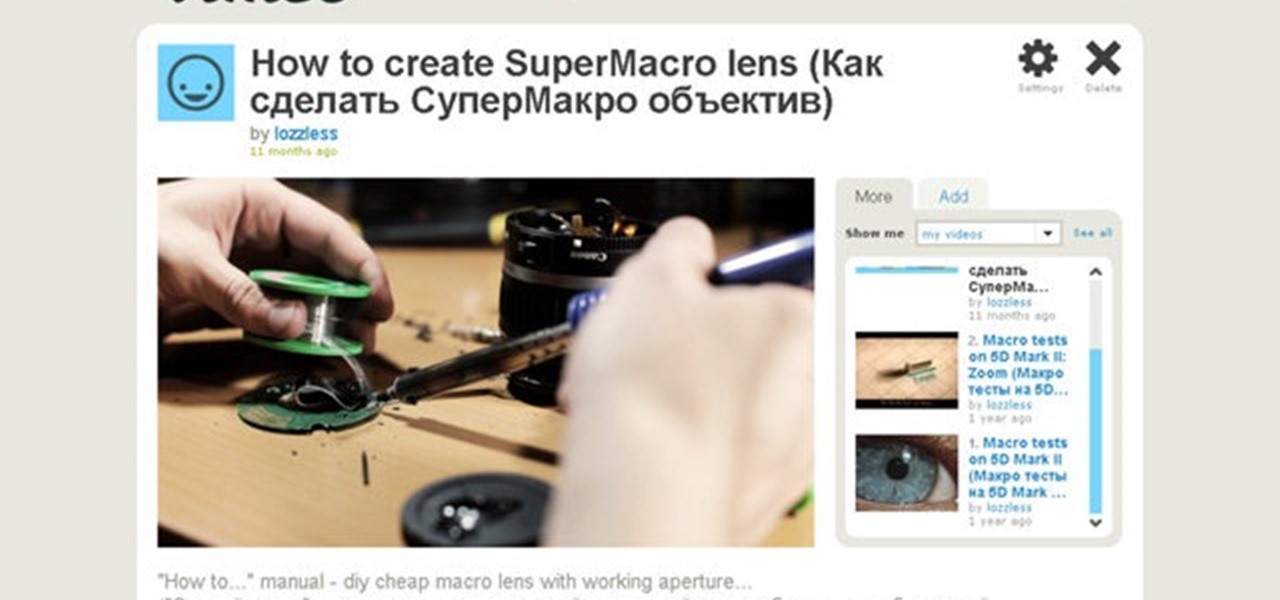
How To: DIY your own SuperMacro lens with working aperture
In this video, learn how to take apart any old lenses you may have a fuse them together into the ultimate SuperMacro lens. This absolutely gorgeous tutorial will show you, step by step, exactly how to create this fantastic eye piece and take incredible photos with it.
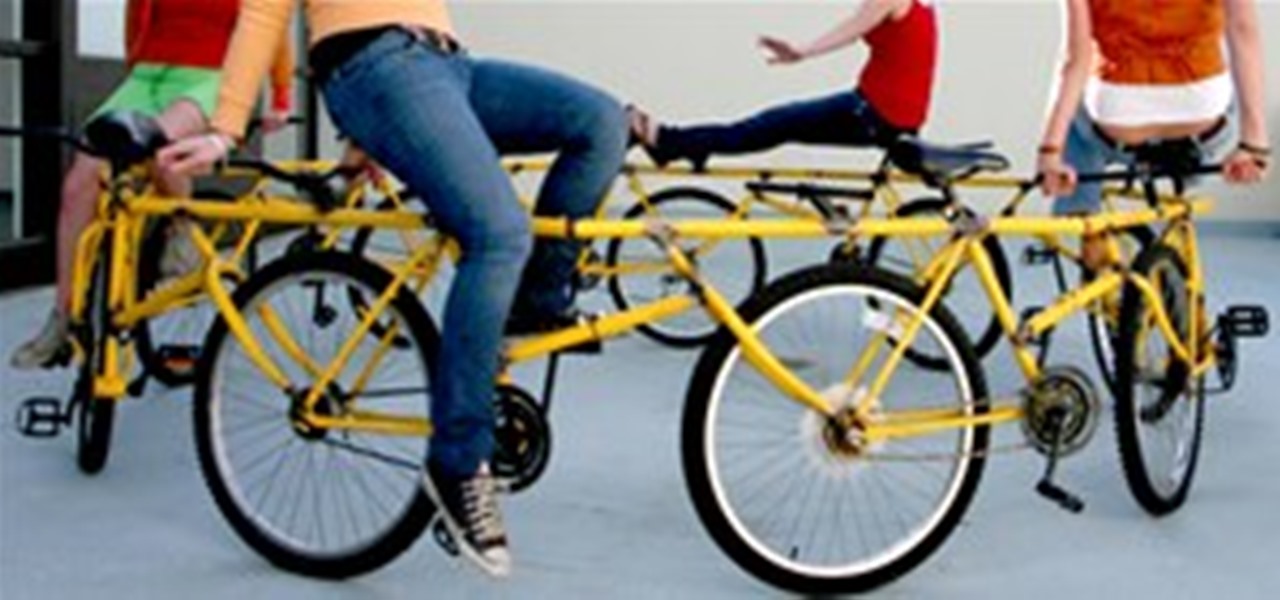
News: Bicycle-Go-Round
Artist Robert Wechsler has salvaged and reassembled 9 bicycles into a carousel arrangement. The best part about the project? Wechsler leaves his bicycle-go-round in public places for strangers to ride. Imagine stumbling across one of these in a public park! Genius.
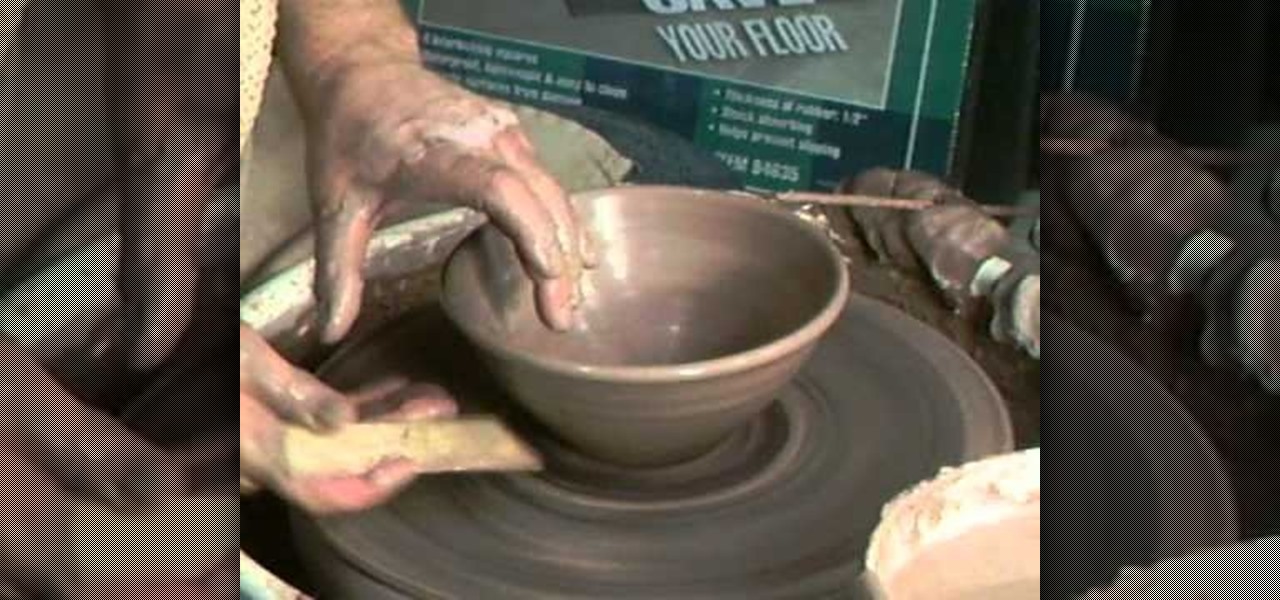
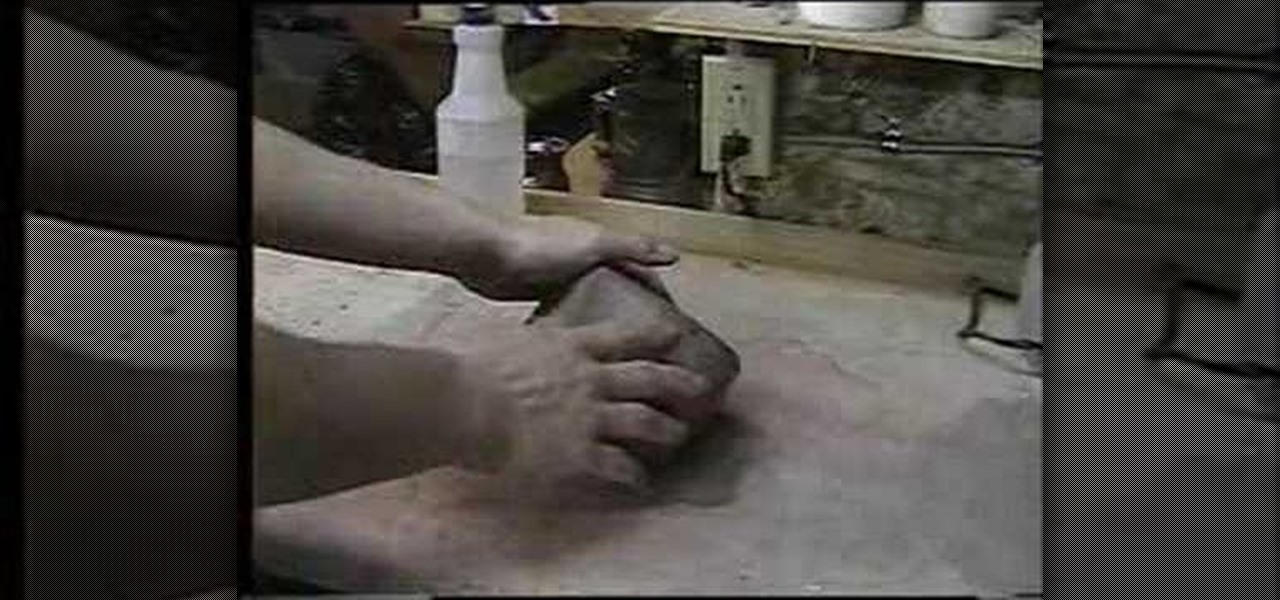
How To: Throw a small ceramic kitchen bowl with Simon Leach
In this clip, we learn how to throw a small, 7.5 inch-wide ceramic kitchen bowl with a pouring lip using two pounds of clay. If you're interested in making this bowl yourself, or just want to learn more about ceramics, watch this video guide from Simon Leach.
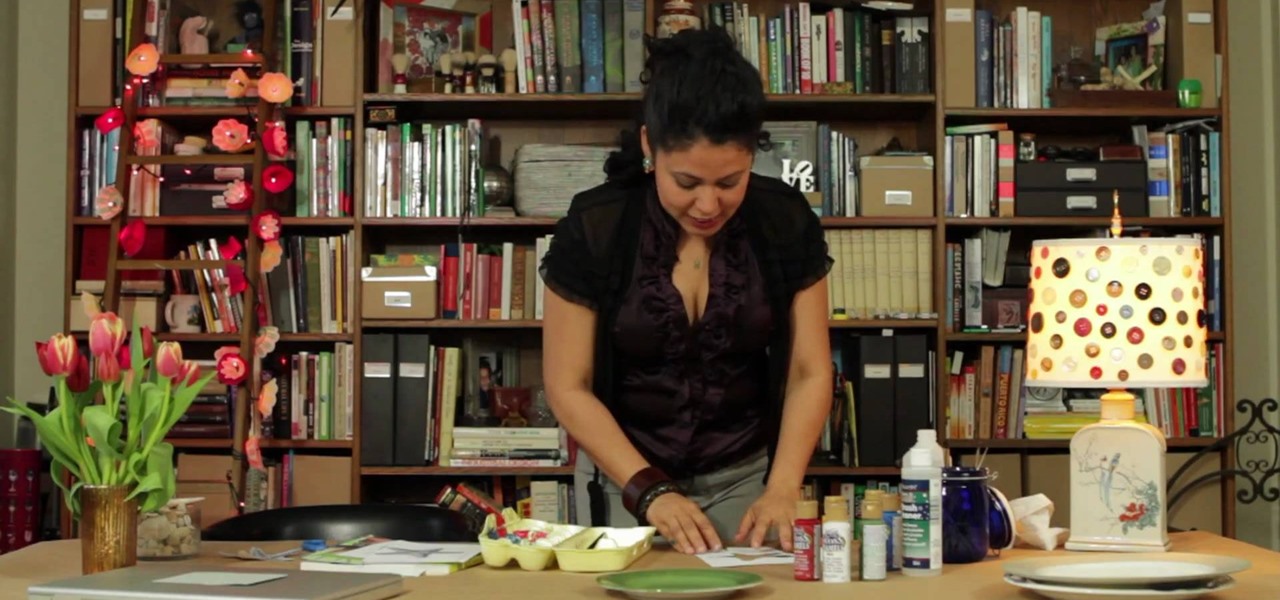
How To: Make coral embellished upcycled plates with Evette Rios
Typically during the holiday season hostesses give very little attention to the plates that food is served on. Because the focus is on the food, the plate needs to be nothing more than a plain white backdrop, right? Wrong.

How To: Make upcycled stenciled water glasses with Evette Rios
Don't have a matching glass cup set? No problem. If you have a bunch of variously shaped and sized water glasses, you can make them match easily - and stylishly - by painting on some easy animal patterns.

How To: Make DIY upcycled wine glasses with Evette Rios
You don't need to get your wine glasses from Bloomingdale's for them to look elegant, chic, and stylish. In fact, if you're trying to squeeze entertaining into your budget right now, you can just pick up a wine glass set from Goodwill and make them your own by personalizing them.
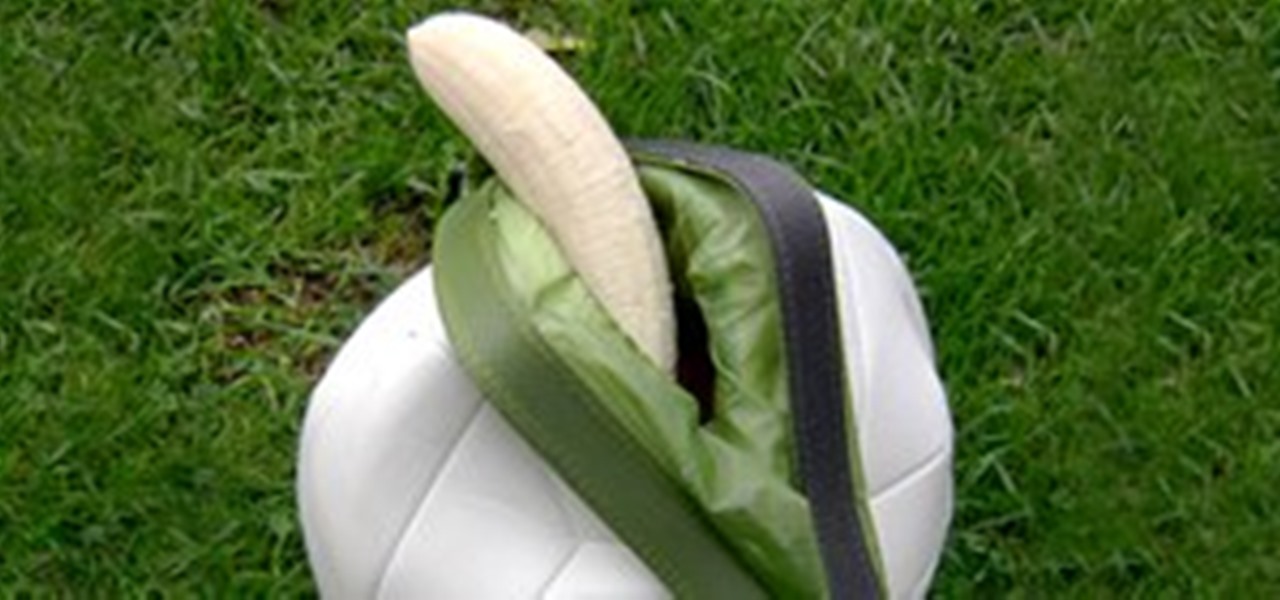
News: The Soccer Smoothie Maker + 29 More Wonderfully Useless DIY Inventions
UK-based designer Dominic Wilcox's Speed Creating Project presents the challenge of making something creative everyday, for 30 consecutive days. Wilcox's best results are pointless in an utterly delightful way. True junk drawer resourcefulness. My 7 favorites below; click through for all 30.
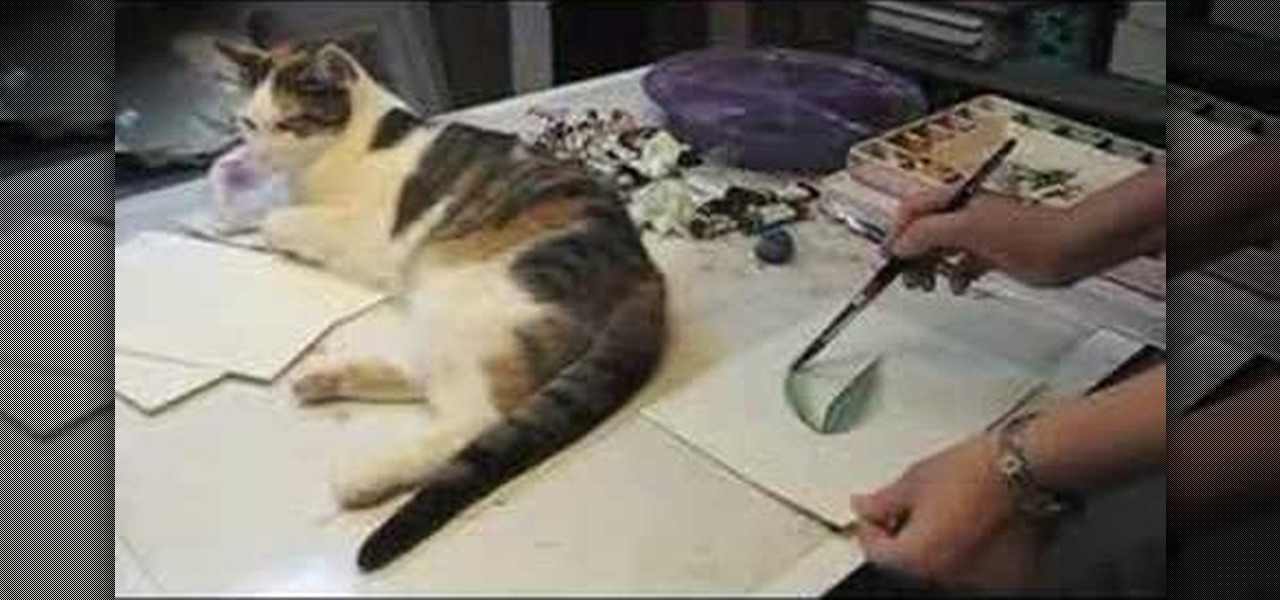
How To: Use the cold pressed watercolor paper technique
In this tutorial, we learn how to use the cold pressed watercolor paper technique. Start out with one leaf, then use your brush to apply more color above it. Continue to apply the paint and try to blend it. It will be difficult to blend and get a smooth effect, but it will look great. You can also add your paint to the dry paper by brushing on more paint and creating different layers with your brush. Once you apply enough, you will get the smooth look with the paint and it will look great. Ei...
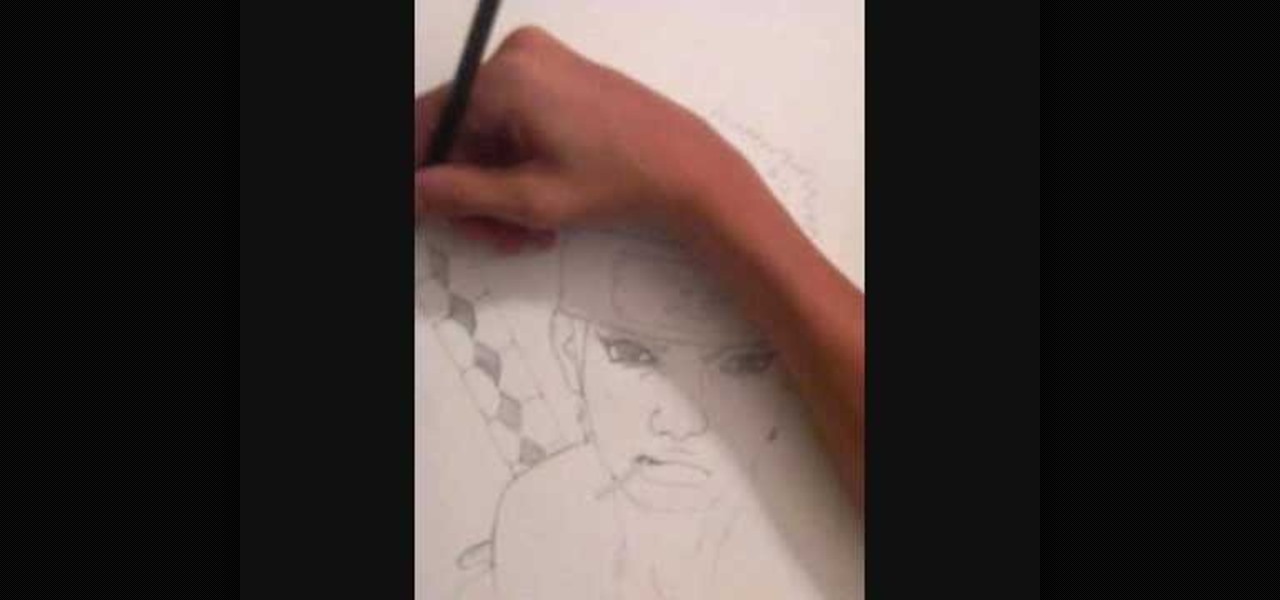
How To: Draw Omoi from Naruto
In this tutorial, we learn how to draw Omoi. first, draw the outline of the character with a thin pencil mark. After this, draw in the features of the face and include the details on the eyes. From here, start to draw in the bangs and the hair around the head. Next, you will draw on the headband on the forehead and then decorate the inside with the usual sign. Next, you will draw on the ears and finish with the details on the face. After this, draw on the upper body and then clean up any back...
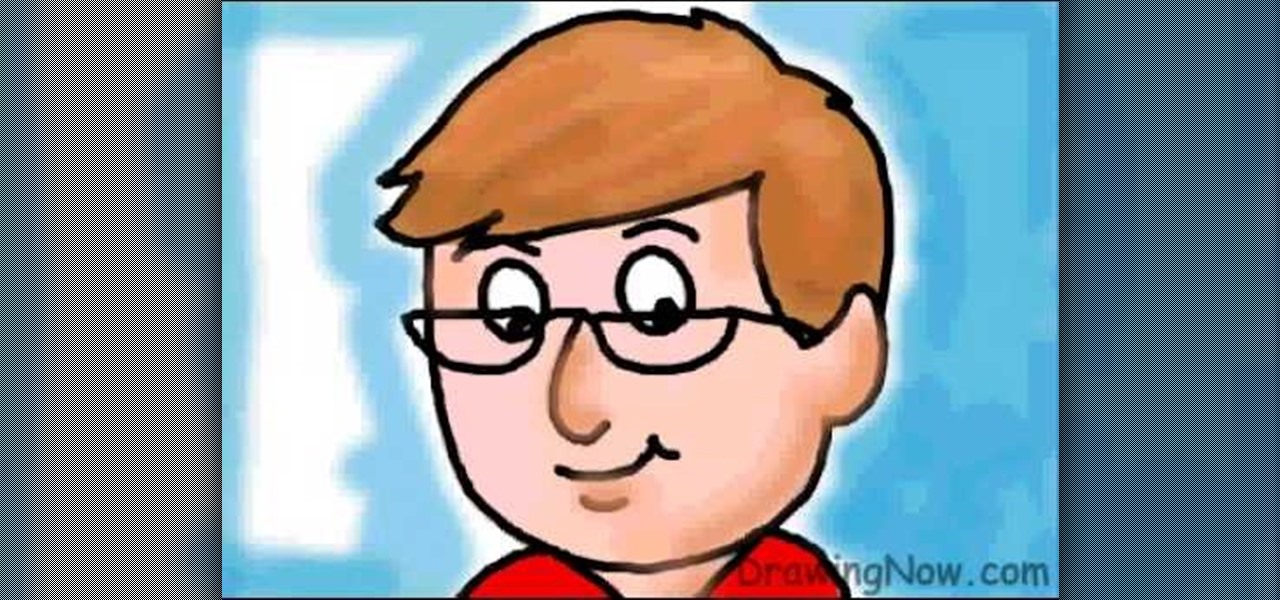
How To: Draw a cartoon dad
In this tutorial, we learn how to draw a cartoon dad. First, draw the oval for the head and then draw the hair and the facial features on with an outline. After this, color in the skin, hair, and collar of the shirt. Next, add in details for the hair and the face to make it look more realistic. Then, color in the shirt and outline the head and rest of the body with a black thick paintbrush. Draw on glasses to the face underneath the eyes to give the dad an older look. Then add shading and whi...

How To: Make a family photo album from digital photos
In this tutorial, we learn how to make a family photo album from digital photos. iPhoto from Apple has a ton of different options for you to make a great photo album. You can first start out with loading these on your computer and then creating them into a book. After this, you can choose the borders and text that you want to include in this, then drag the pictures in. After this, you can add in captions for each of the photos and then design the layouts of the different pages. After this, yo...

How To: Draw Uncle Scrooge McDuck
In this tutorial, we learn how to draw Uncle Scrooge McDuck. Start off by drawing the outline of the hat, heat, neck, upper body, instrument, and lower body. After this, draw on the eyes, glasses, and the beak. From here, you will start to add in additional details and erase the outline lines from where they aren't needed. Start to add in lines to create folds on the character and then color him in with the appropriate colors. After this, add in shading to different parts of him and his instr...
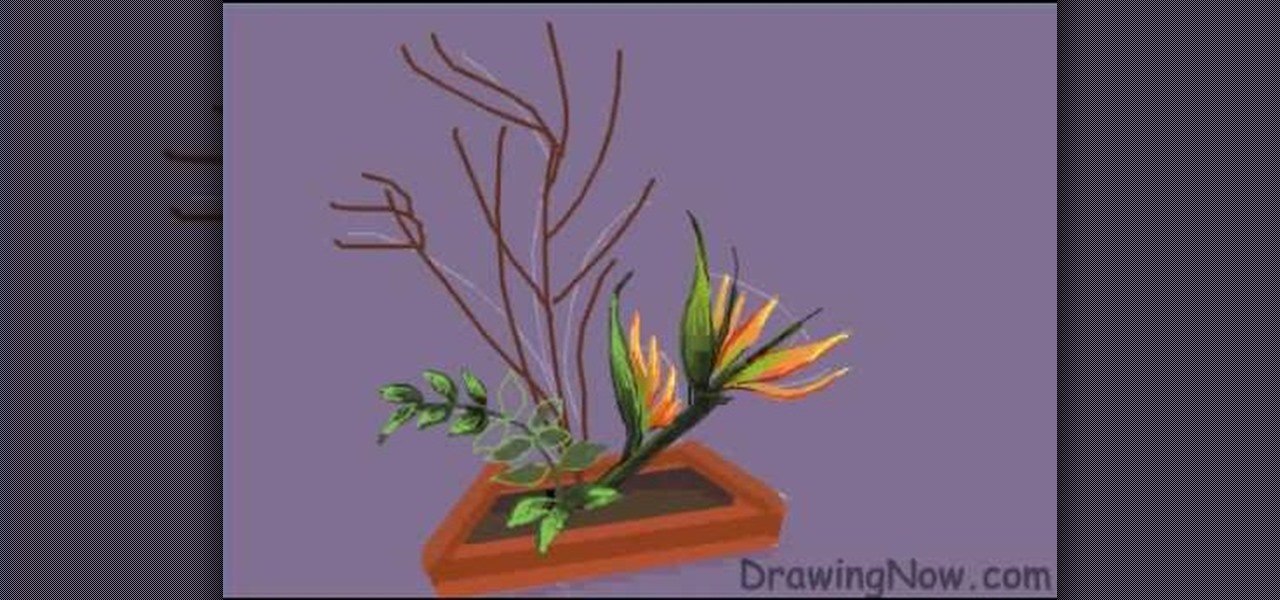
How To: Draw an arrangement of flowers
In this tutorial, we learn how to draw an arrangement of flowers. To start this off, you will need to draw lines on the paper where you want each of the flowers to go. Once you get this figured out, draw on each flower individually. After this, add in the detail to the flower to make it look more realistic. From here, fill in the colors to the flowers and then color in the stems on them as well. After this, you will make a box that they are sitting in and color the bottom of it brown for dirt...

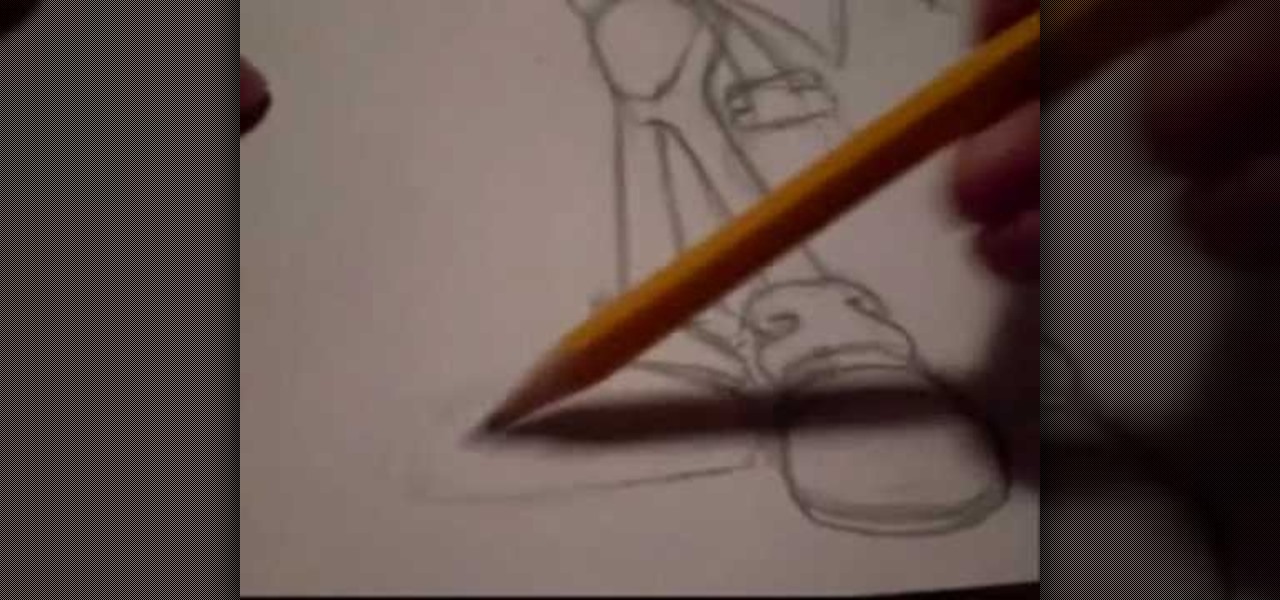
How To: Draw a vintage car
In this tutorial, we learn how to draw a vintage car. This car will take a lot of detail, so make sure you take your time with it. Start out by drawing the hood of the car, then work your way to the back of it. Once you have the basic outline of the car finished, add in the details! Don't forget the windshield, side mirrors, paint, wheels, tires, etc while drawing. To finish this up, start to shade with the pencil and then use the eraser to create a shined appearance as well. Add in colors if...
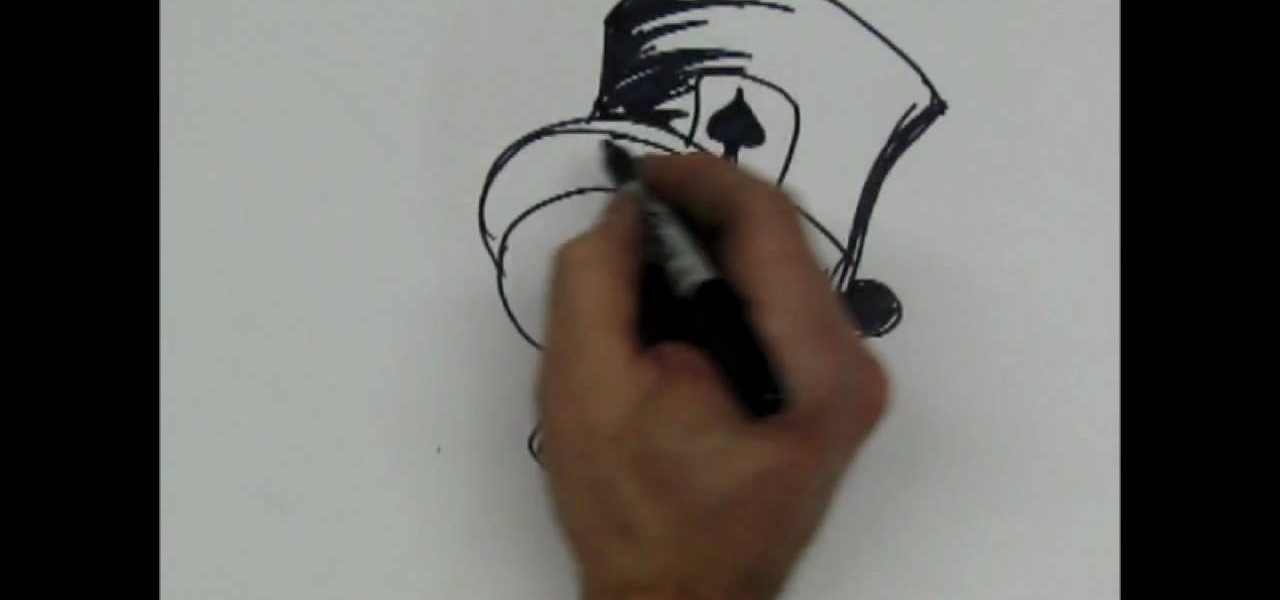
How To: Draw a skull with a top hat
In this tutorial, we learn how to draw a skull with a top hat. First, use a Sharpie marker to draw the nose of the skull and then the eyes. Color these in completely black, since you want be drawing eyeballs in them. After this, draw the skull around it. Draw in the teeth clenched together and then add in lines around the head of the skull to show cracks in the bones. After this, add in additional details around the jaw line and on the head of the skull. When finished, draw on the hat to the ...
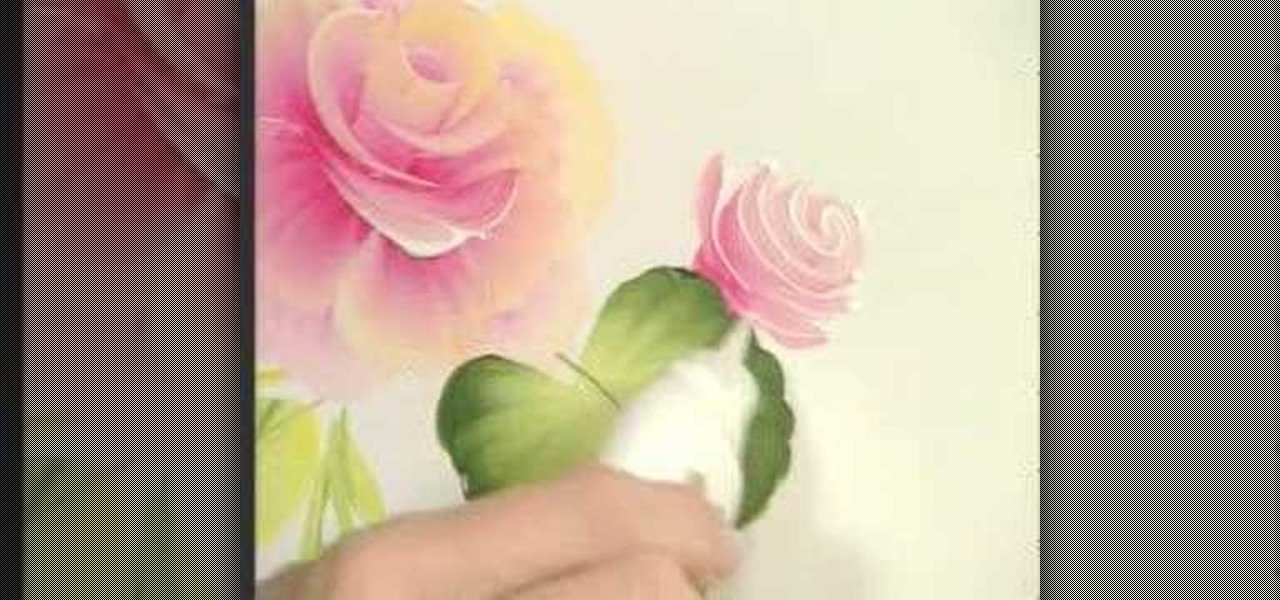
How To: Paint a cabbage rose using the one stroke technique
In this tutorial, we learn how to paint a cabbage rose using the one stroke technique. Start out by mixing together white and red with your paint brush. After this, add yellow to the tip of the brush and paint it onto the paper using your hand to move the brush gently up and down. Do this in a circle to make several petals into one single flower. Then, paint on petals around the inside petals to create a larger flower. Add in additional color to the center of the flower to make it pop out mor...

How To: Draw a cylinder
In this tutorial, we learn how to draw a cylinder. First, you will draw the sides of the cylinder and then the curves for the top and the bottom. After this, complete the circle at the top and then shade in the side with crosshatching. From here, draw some lines to shade in on the side next to the cylinder. If you want to draw a cylinder on its side, draw a box around it first and then continue to draw. Make sure all your lines are equal to each other so it evens up and looks more realistic f...
How To: Take better digital pics using color and white balance
In this video, we learn how to take better digital pics using color and white balance. Color is one of the most powerful elements in any photograph. This can be powerful enough to be the subject of any photograph. Consider the colors and see how you can make them be the main object in the photo. Use your white balance on your flash to get the photo to show the color or the lack of color a lot better. The camera has to know what kind of light it's in to reproduce this correctly. Just change th...
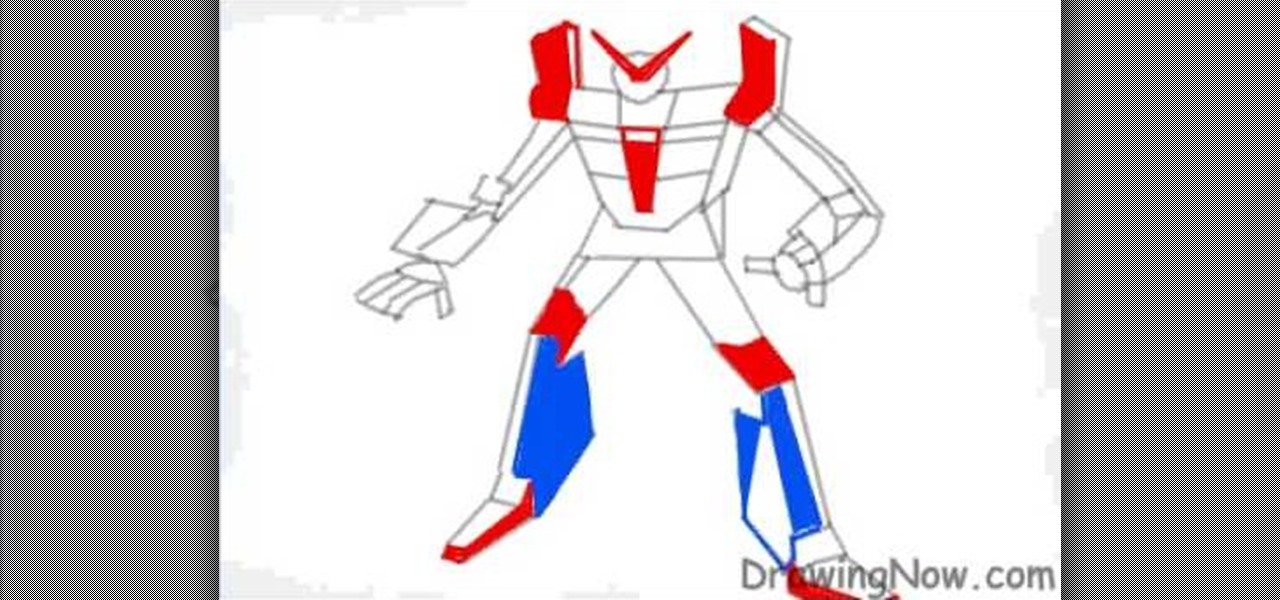
How To: Draw a robot
In this video, we learn how to draw a robot. Start off by drawing the outline of the robot, then draw in the details of the robot's exterior. Make sure to use squares to make it appear like the robot is a bunch of metal pieces put together. After this, you will fill in the robot with different colors of your choice. Make sure to add in small details around the figure to make it look more realistic. You can also add in shading to make it appear 3D. Once you are finished with the robot, make su...
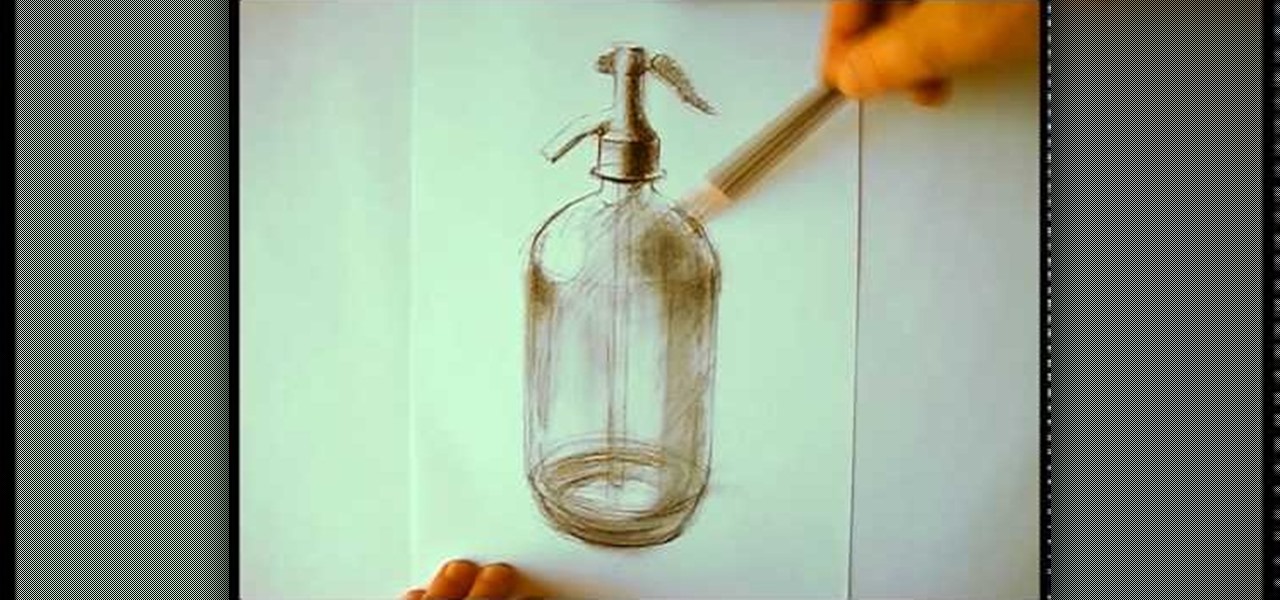
How To: Draw a glass bottle
In this tutorial we learn how to draw a glass bottle. To start the bottle, you will draw the outline of the bottle starting with the cap to the base. After this, start to shade in the top and around the sides of the bottle. Small lines will create the effect of the bottle seeming to be transparent. After this, start to shade in around the sides of the bottle and on the bottom. Draw the inside lines and the other side as well so you can see that it is clear. Then, use the eraser to smear the c...
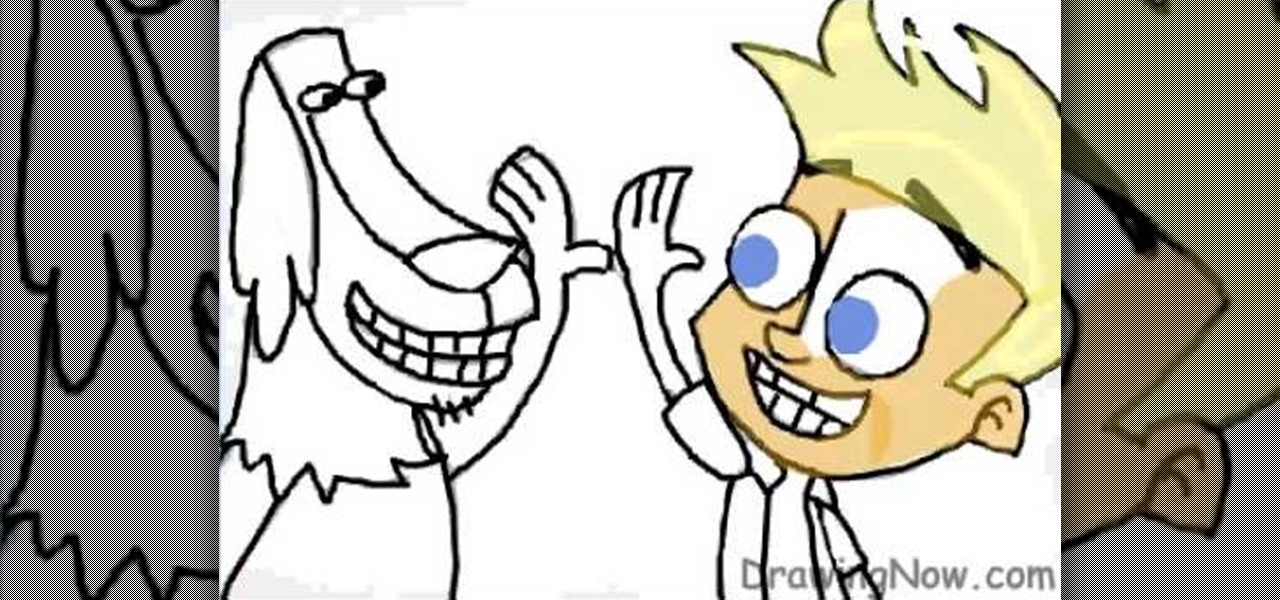
How To: Draw Johnny Test & Dukey from the Johnny Test cartoon
In this tutorial, we learn how to draw Johnny Test & Dukey. Start out by drawing the outlines for both of the characters. Next, you will draw in the features of the faces and then draw the details to both of the characters. Next, you will use a bolder line to draw on all the features to make it look like it's 3D. Next, add in the shading to the characters to make them look more realistic and draw the clothing on as well. To finish, color in the characters and their clothing. Finish off with f...
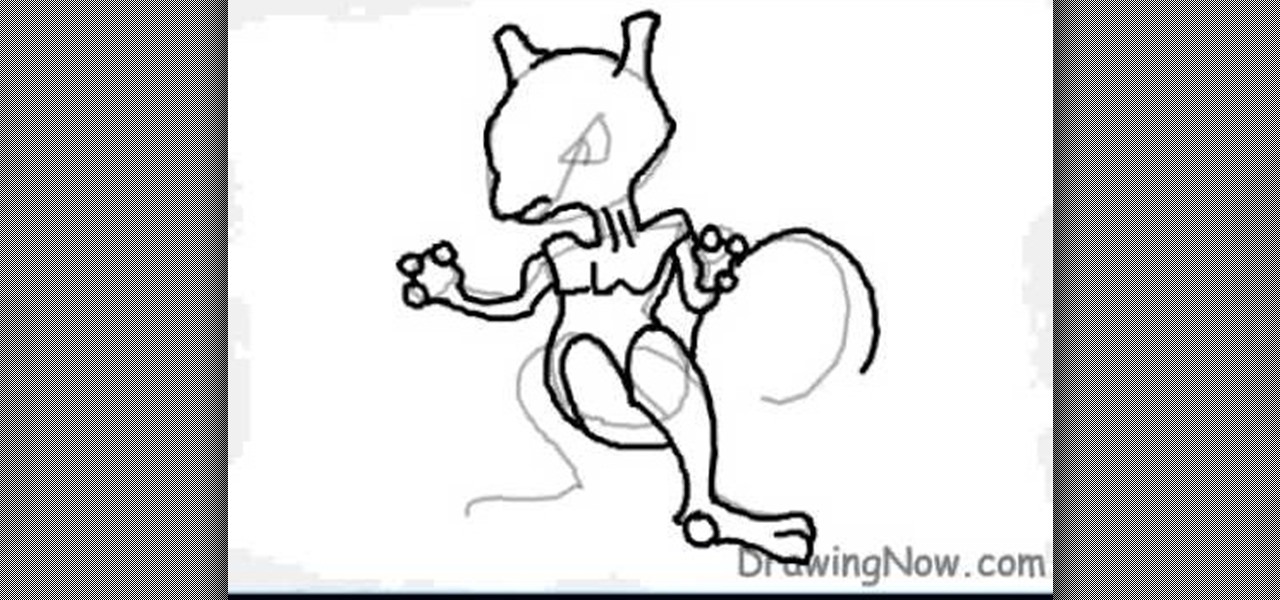
How To: Draw Mewtwo from Pokemon
In this tutorial we learn how to draw Mewtwo. Start out by drawing the outline of the head and the rest of the body with a light pencil. Then, start to add in the details of the body and the face. Once completed, you will draw the permanent outline onto the picture over the first one and erase the first one. Next, you will color in the skin and clothing that Mewtwo is wearing. Add in shading around the character to make it look more realistic. Also make sure to use different colors on the ori...
How To: Draw Sonic the Hedgehog with proper drawing technique
Sonic the hedgehog is the titular character of the media franchise of the same name which has spawned numerous games, animated movies, comics and TV series.

How To: Draw curvy steps using pens
In this tutorial, we learn how to draw curvy steps using pens. To start, you will first draw a horizontal line with a point in it. From here, you will need to draw lines coming out of the point. These lines will act as your reference point for the different items in the drawing. Next, draw the steps using the reference points. The one at the bottom should be larger, getting smaller as you work your way up. Draw these using the triangle shape in sort of a wedge. Shade in the bottom area to cre...

How To: Draw hands in the anime style
In this tutorial, we learn how to draw hands in the anime style. When you are drawing hands, they have a square look to them. So, start out with that shape and then start to draw the fingers onto the hand. Indicate where the joints will be and then you can further elaborate with the fingers. Make sure you make the fingers the correct sizes. The pinkie should be away from the wrist, as well as the thumb. Use a line to help center all of the fingers and then draw them around this. When finished...
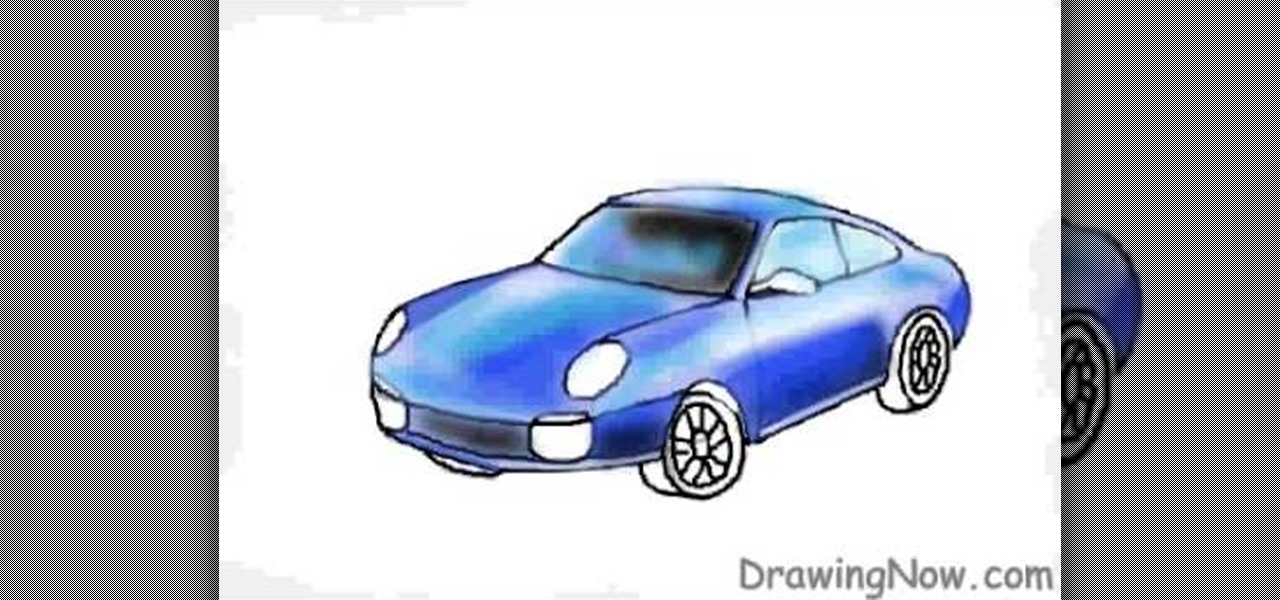
How To: Draw a Porsche sports car
In this video, we learn how to draw a Porsche sports car. Start off by drawing an oval type of shape with lines to make the top of the car. Then, draw in the rest of the outline of the car and add on the wheels and the front of the vehicle as well. From here, you will start to add on the details to the front and sides of the car, as well as on the bottom. Use crosshatching and shading to make it appear realistic. Once the details are on this, use color to add a more in depth look to the car. ...
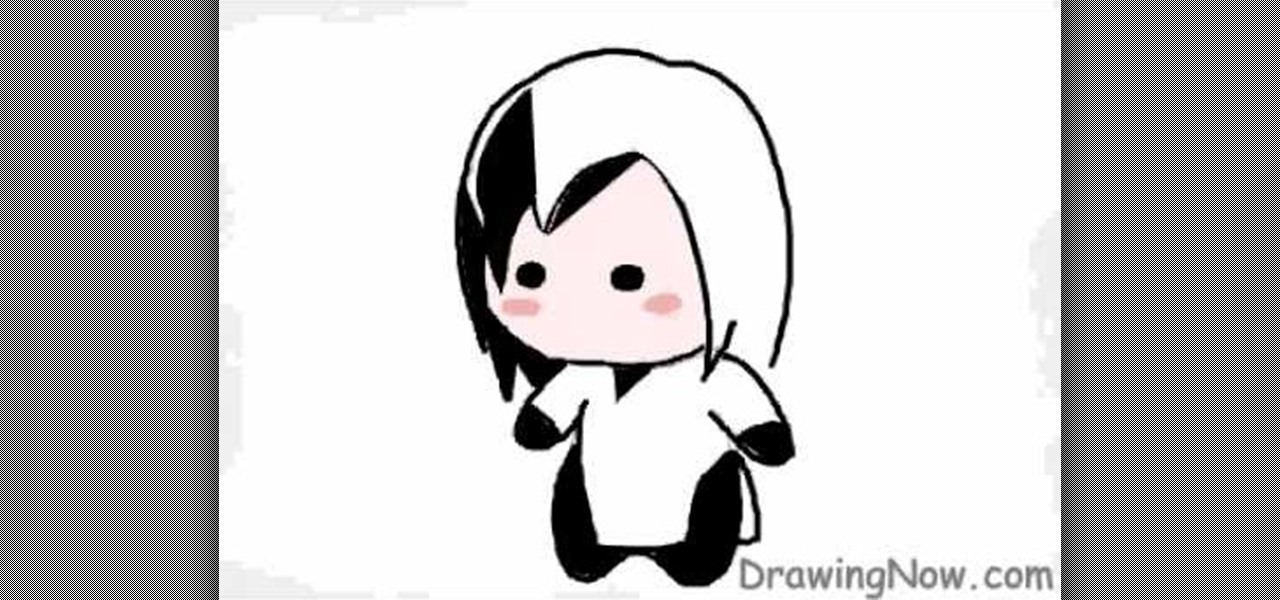
How To: Draw a Chibi Orochimaru from Naruto
In this tutorial, we learn how to draw a Chibi Orochimaru from Naruto. Start off by drawing the outline for the character, then add in the details for it as well. After this, you will start to draw in the shading and the additional lines to give it more details. Then, you will need to erase the background lines that you used as a guide to draw the final product. From here, you will start to shade in colors on the character and then draw in any additional details or facial features. To finish ...
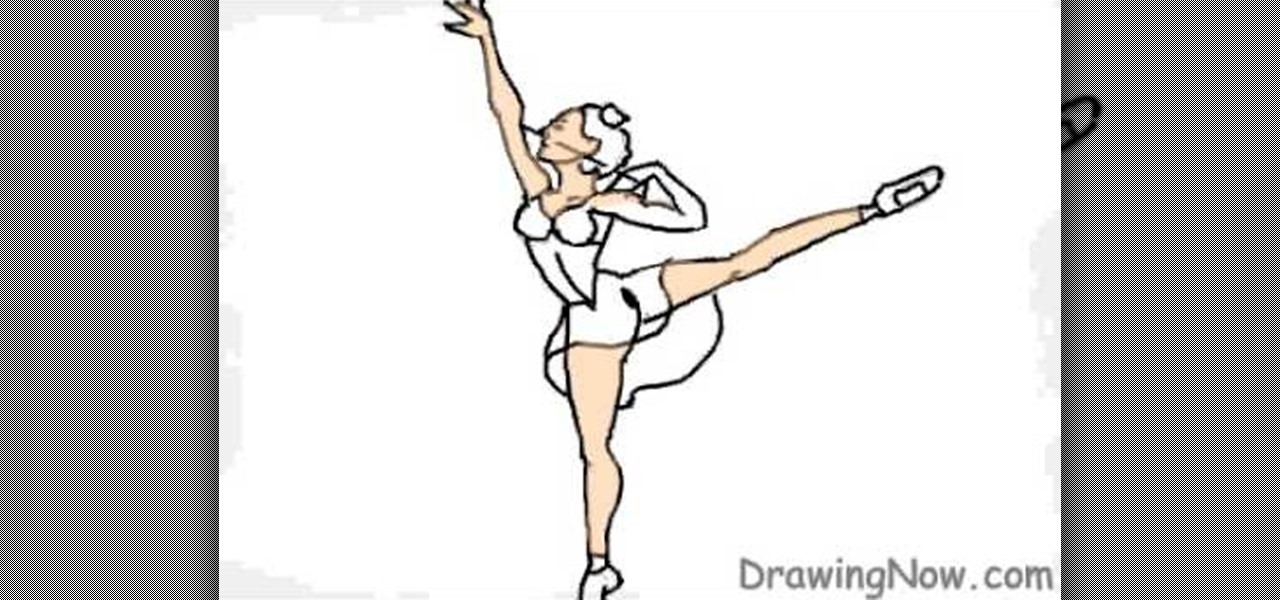
How To: Draw a ballerina
In this tutorial, we learn how to draw a ballerina. Start off by using circles and basic lines to draw the outline of the ballerina's body. Then, use a darker brush to create the body and add in the details of it as well. Draw one leg up in the air, while the ballerina is standing on the other with her arm raised high in the air. Erase any background lines, then start to draw in details of what the ballerina is wearing on her body. Draw in additional details around the figure, then when you a...
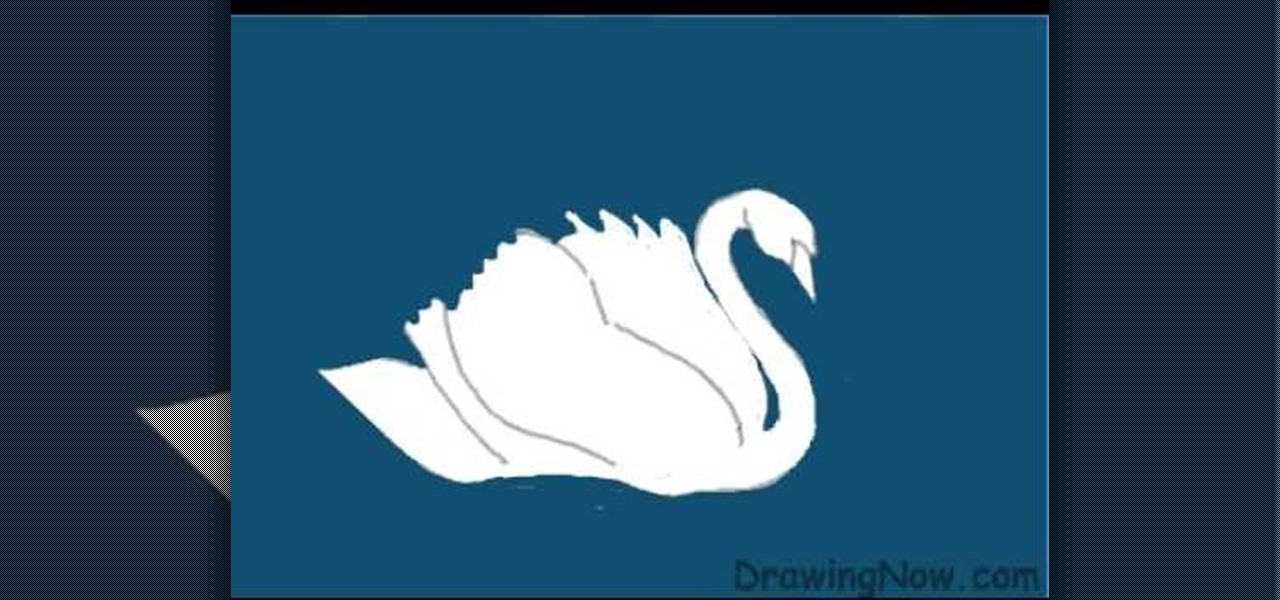
How To: Draw a swan
In this video, we learn how to draw a swan. First, draw the head and the neck, then draw an egg shape for the body. Next, draw in the wings for the swan and erase any background lines to make it look more realistic. From here, add in details to the face and make the beak more apparent. Then, you will color in the background and color the swan white, adding in lines for the feathers. After this, use white and grays to create a reflection underneath the swan. Then color the swan with light brow...
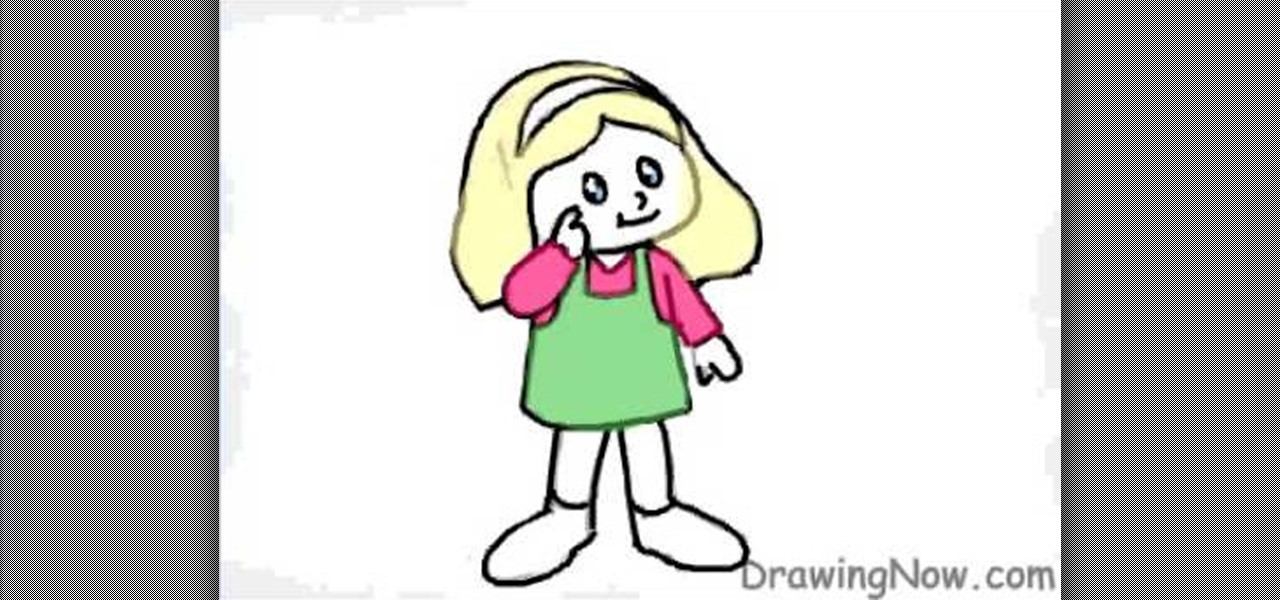
How To: Draw a cartoon figure of a little girl
In this video, we learn how to draw a cartoon figure of a little girl. Start out by drawing the head, then draw the rest of the body for the girl. Outline a dress on her and make sure one of her hands are touching her face. From here, draw in the details of her face and then her outfit. Erase any background lines from the outline to make it look more clean. Then, add in details to the outfit and color in the eyes. To finish this, add in the color to the outfit and the skin, then the hair. Sav...
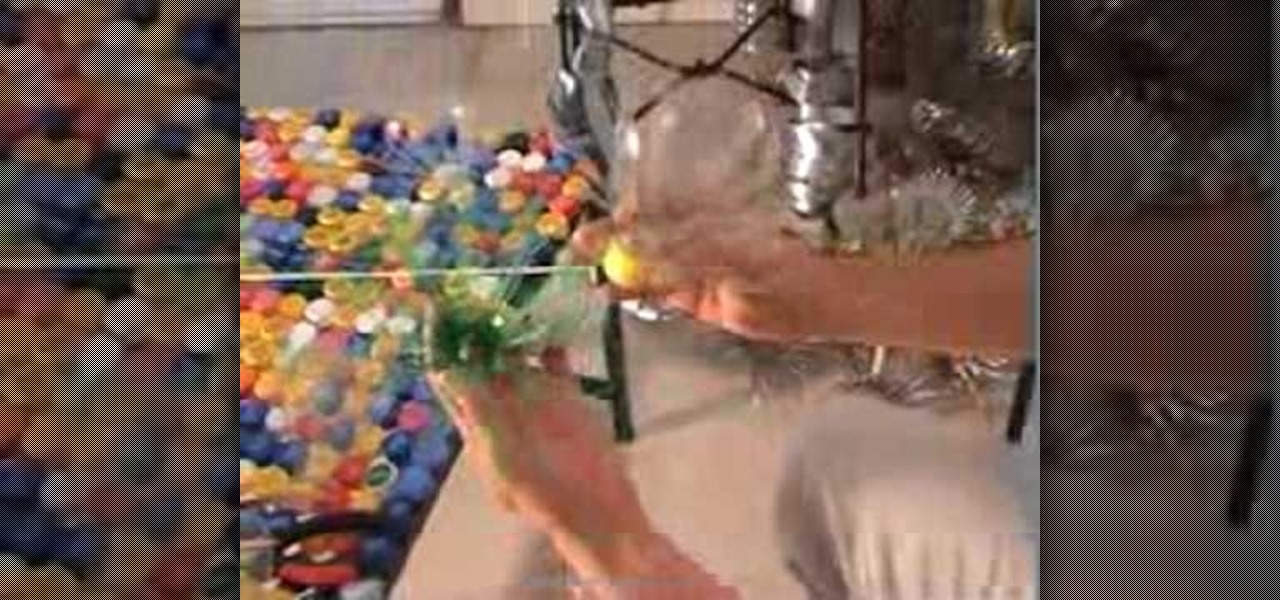
How To: Recycle plastic bottles and make decorative flower art
In this tutorial, we learn how to recycle plastic bottles and make decorative flower art. Start out by cutting around the cap of the bottle until the body is cut off. Then, cut small slits in the bottle until it's completely cut up. From here, you will spread these out so they are opened up like petals. Take different colored plastic bottles and repeat this process. When you're finished, you will then attach these together using heat and use them as decorative art for your wall! This is great...

How To: Draw Demon Realm Pain from Naruto
In this tutorial, we learn how to draw Demon Realm Pain. To start, you will draw the outline of the character with a pencil. Draw the headband on him first, then draw the eyes, nose, and mouth. After this, draw on the top of the head using a half circle, then draw on the horns on top of the hat. After this, draw on freckles to the character's face and then shade in around the different areas. After this, you will start to draw in additional details around the face and shade in where needed to...

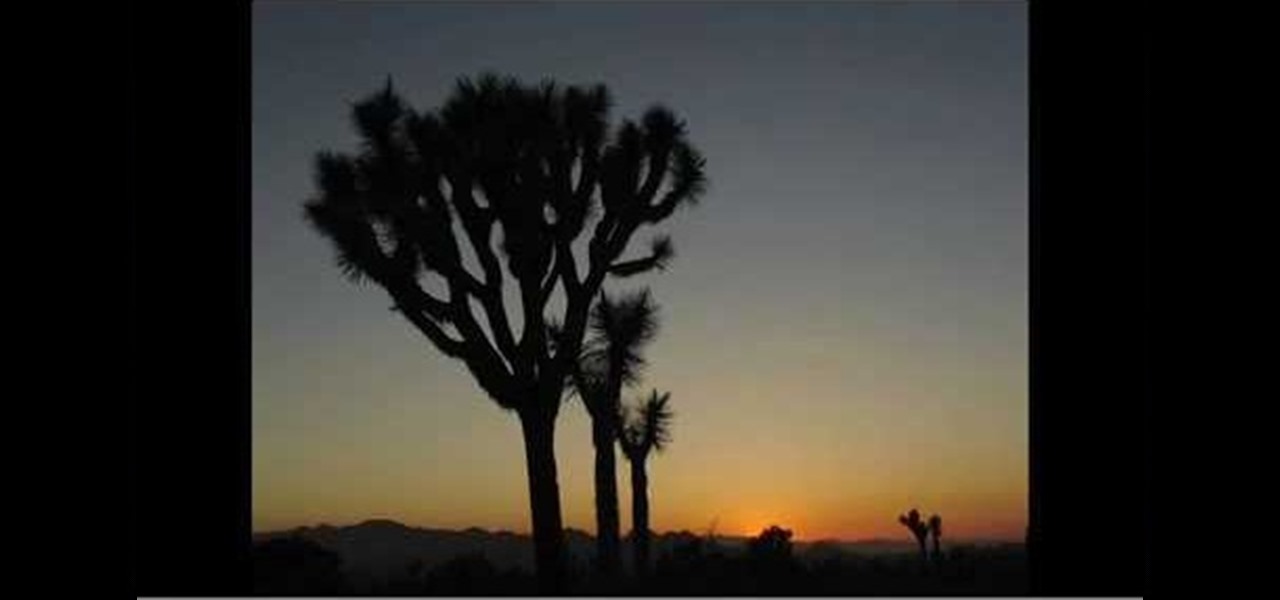
How To: Draw a waterfall landscape by hand
In this video, we learn how to draw a waterfall landscape by hand. Start out by drawing the outline for the drawing with a light pencil. From here, you will start to fill in the different areas with the shading where you would like it. After this, bring in your browns to the rocks and then bring in your greens and oranges. Once you have added the blues and whites, then complete the outline of all the different images. When finishes, you can add in the final details for the drawing. This will ...

How To: Draw Darth Vader from Star Wars
In this video, we learn how to draw Darth Vader from Star Wars. Start out by drawing the outline for the body, then draw in reference lines around to figure out where the facial features will go. From here, use a darker paint brush to make the outline darker and then erase any background lines. Then, start to add in the details to the body as well as to the outfit of the costume. Color in the background and then draw on the muscular details to the body. Add in color to the body and the cape t...
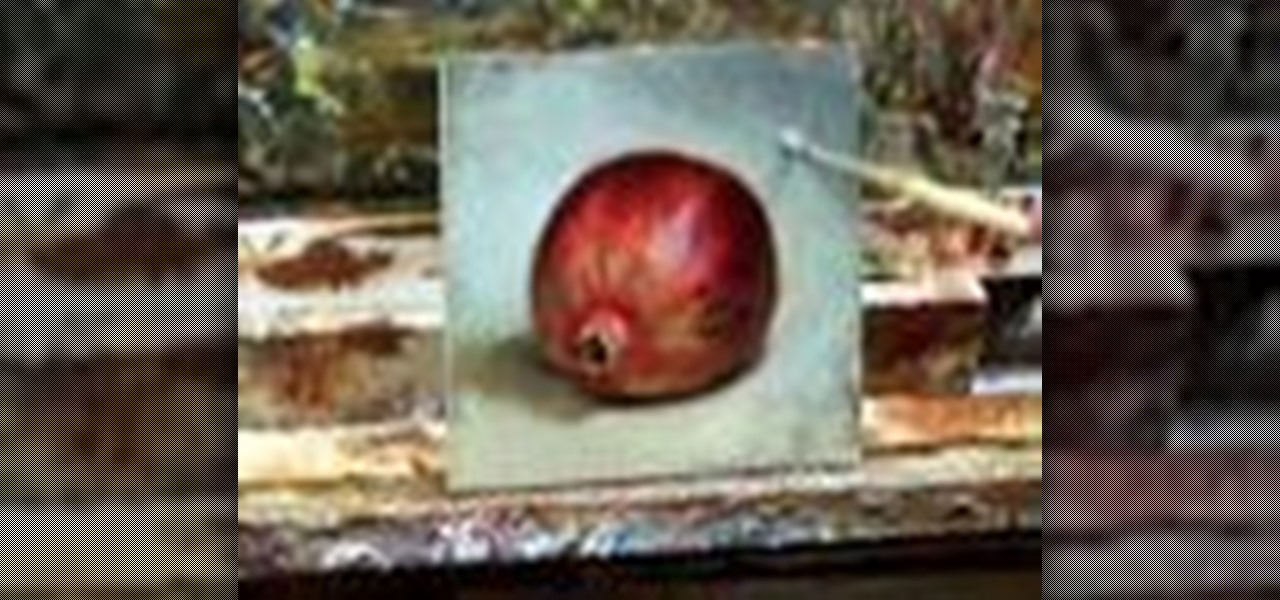
How To: Paint a pomegranate
In this tutorial, we learn how to paint a pomegranate. First, paint the circle for the pomegranate. After this, shade the right side with a dark red and the rest with a lighter shade of red. From here, add in a medium red all over the pomegranate and then add another shade over that. From here, start to layer on more additional colors of red to the pomegranate to make it appear more realistic. When finished, paint on the background with whites and grays that are mixed together. Add white to t...
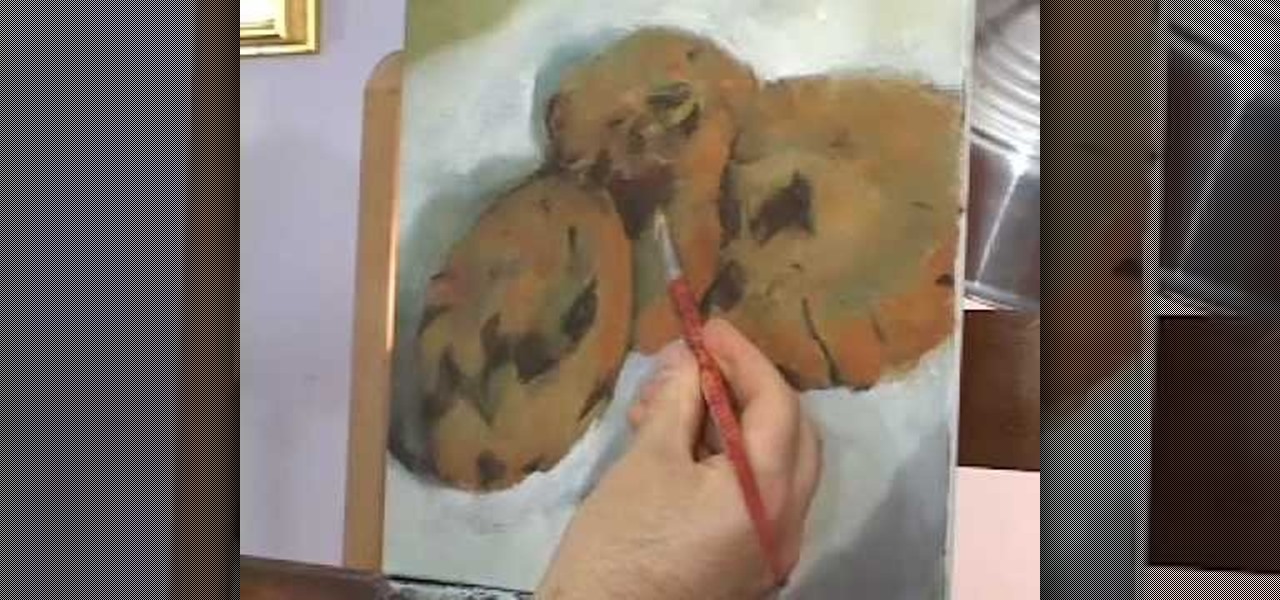
How To: Oil paint desserts with Hall Groat
In this tutorial, we learn how to oil paint desserts with Hall Groat. You can take a brush to create different textures on the painting. When painting bread, this can show the fluffy texture of it, which looks amazing! In this video, Hal is painting a peanut butter and jelly sandwich. Use your brush to press down and drag the paint around, looking at the subject to see how it looks. When working on a doughnut, you will move the paintbrush around the top to create small sprinkles. Also add in ...

How To: Draw a graffiti alphabet
In this tutorial, we learn how to draw a graffiti alphabet. If you aren't familiar with drawing graffiti, this is a very personal type of drawing that you can do anyway you would like. Make the letters close together, but give them wide arches so they look bold. When you write out the alphabet, you will color the space between them black, and then shade the inside of them. It may be hard to see exactly what the letters are, but that is the fun with graffiti. Make it completely unique to you a...