


news
Artist Creates Giant Justin Timberlake Portrait with 13,000 Nails & 15 Miles of String

news
The Japanese Art Form That Turns Ordinary Dirt into Perfect Mud Spheres
how to
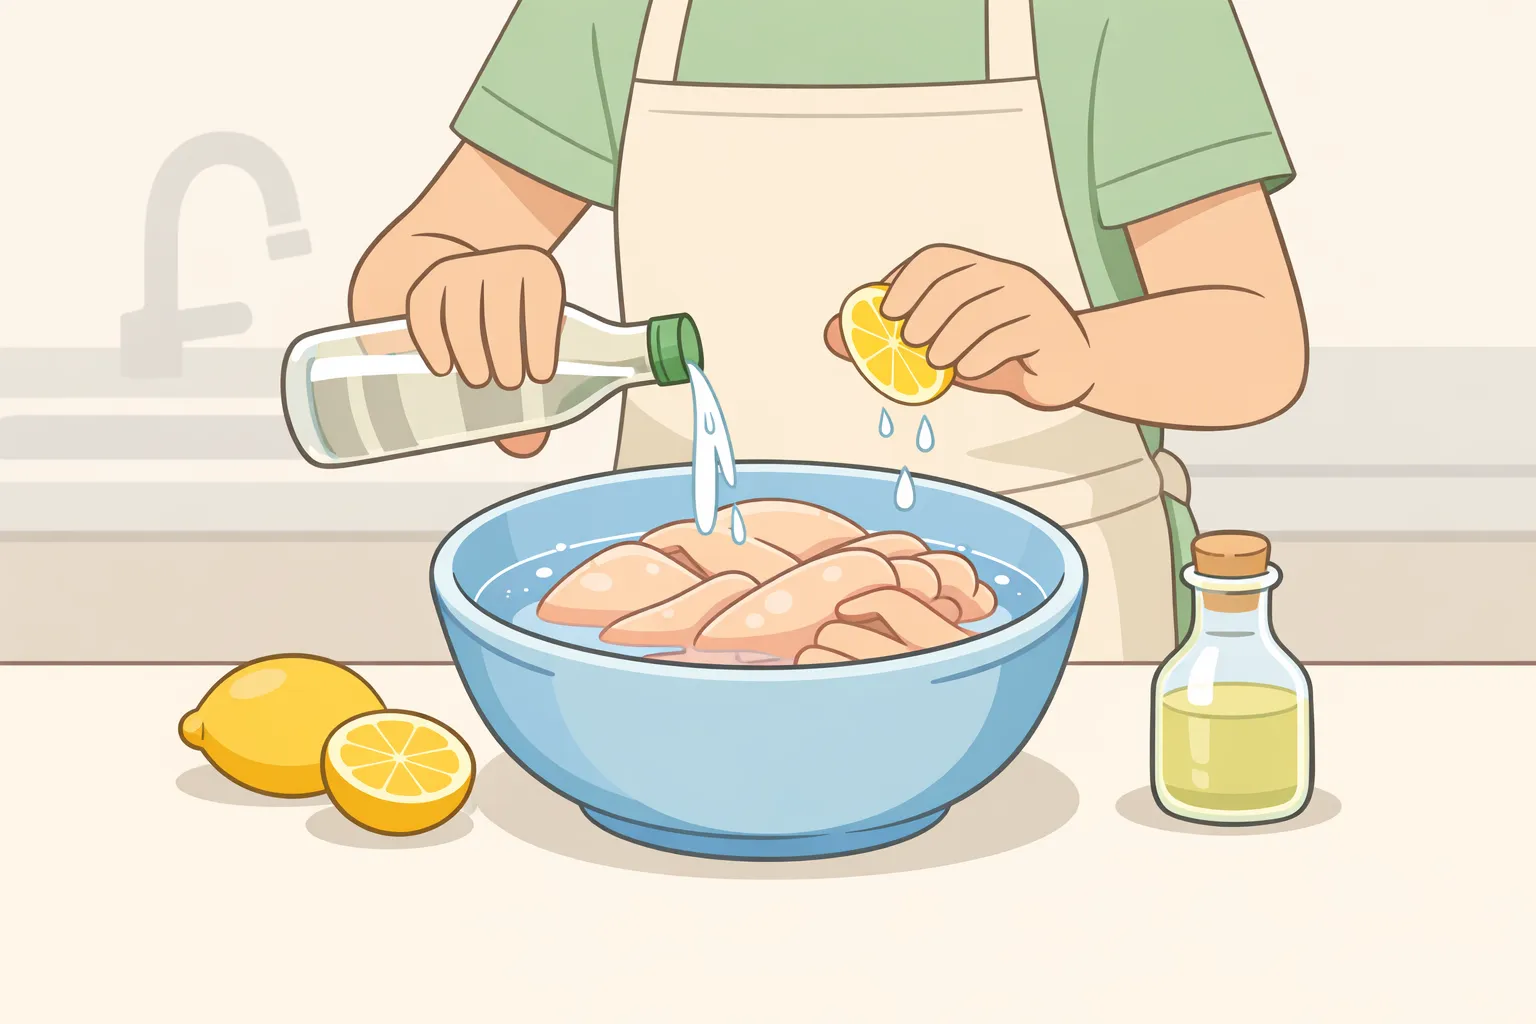
Water, Lemon Juice, Vinegar, or Nothing: Should You Even Bother Rinsing Chicken?


Featured On WonderHowTo:
Productivity & Shortcuts


Featured On WonderHowTo:
Music & Audio


Featured On WonderHowTo:
Augmented Reality


Featured On WonderHowTo:
Gaming


