

Active Fine Art Posts

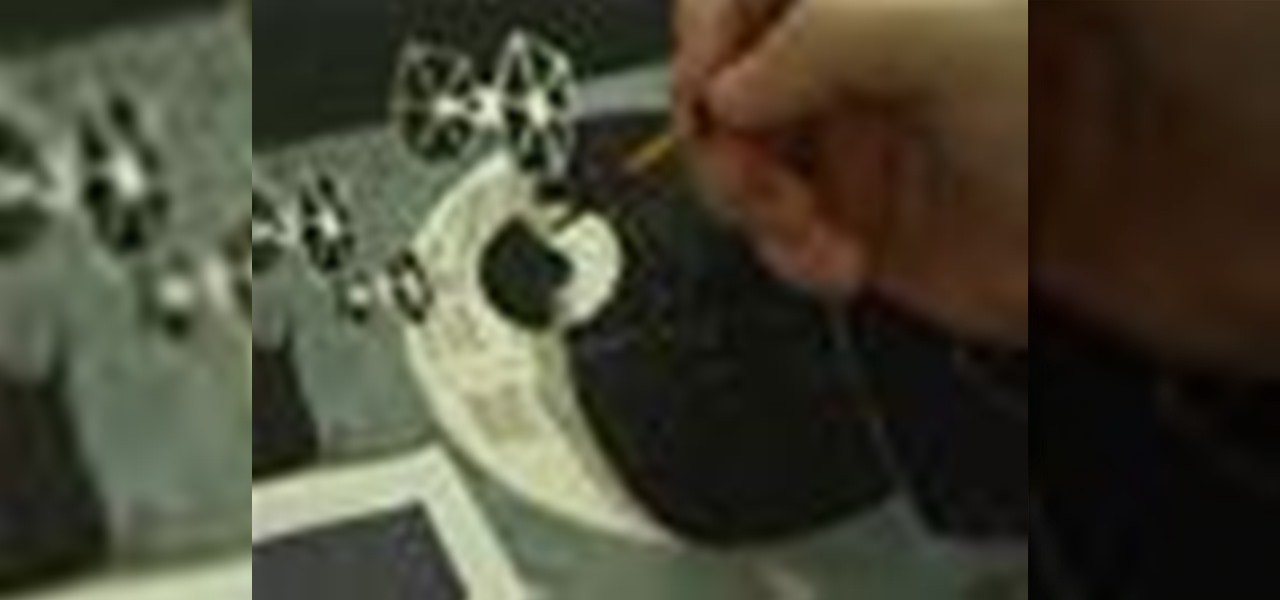
How To: Paint a Star Wars Poster with Acrylic Washes and Airbrush
Artist Matt Busch finally begins the color painting process, showing how to lay in your under-painting with acrylic washes. The episode also touches on 'procrastination' (let's face it, a common artist trait) and even covers using an Air-Brush! Learn how to paint Star Wars by watching and following along with this video tutorial.
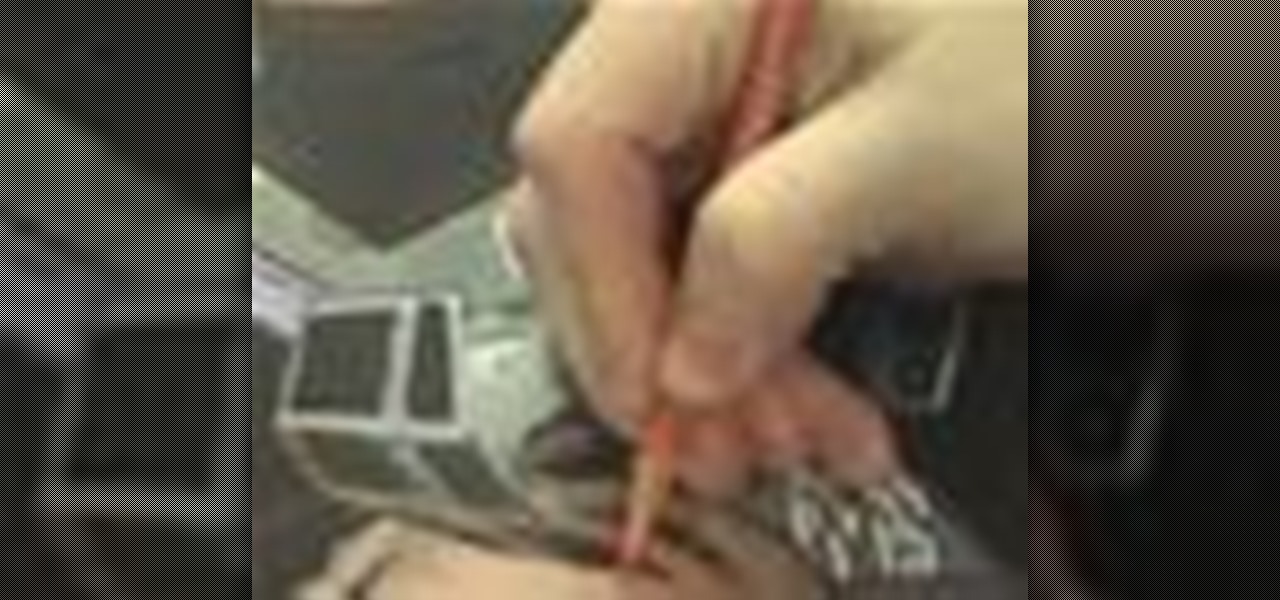
How To: Draw a Star Wars Poster with Colored Pencils
As artist Matt Busch completes drawing the 30th Anniversary STAR WARS poster, you'll see great tips on how to render color, texture, and details with colored pencils you can't otherwise get with a brush. Learn how to draw Star Wars with this instructional art technique video.
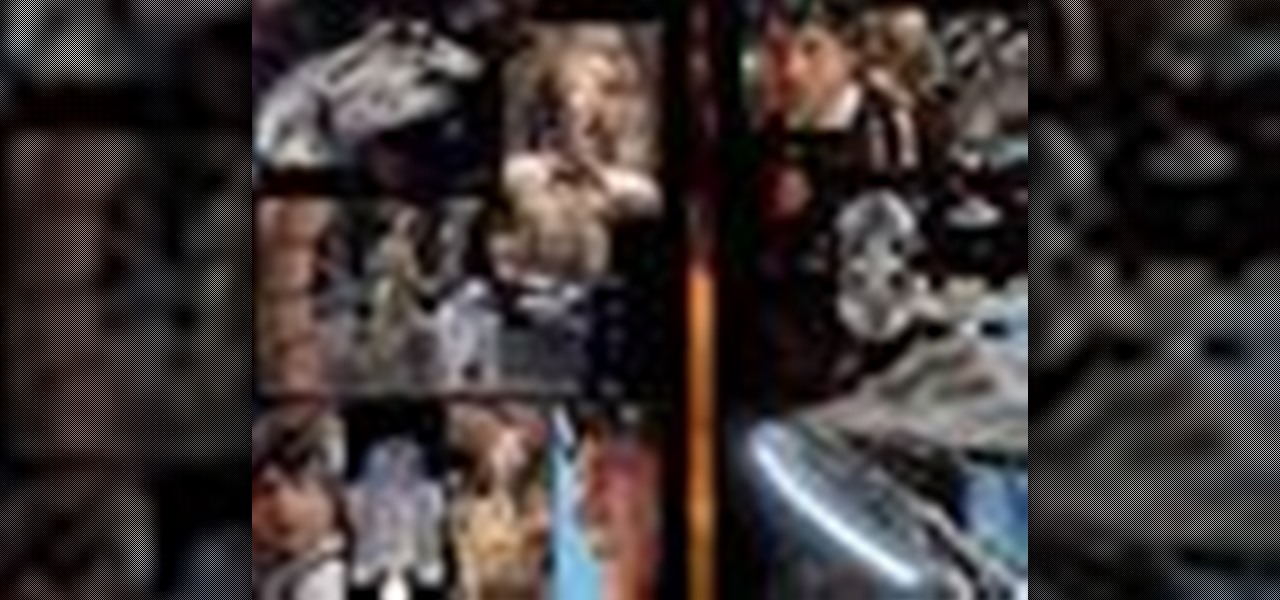
How To: Draw Star Wars Comic Books Focusing on Shots & Angles
Star Wars artist Matt Busch returns- this time giving tips on taking drawing skills to the next level: comic books! This episode focuses on how to illustrate through visual storytelling in panels through shots and angles. Learn how to draw Star Wars by watching this video art tutorial.
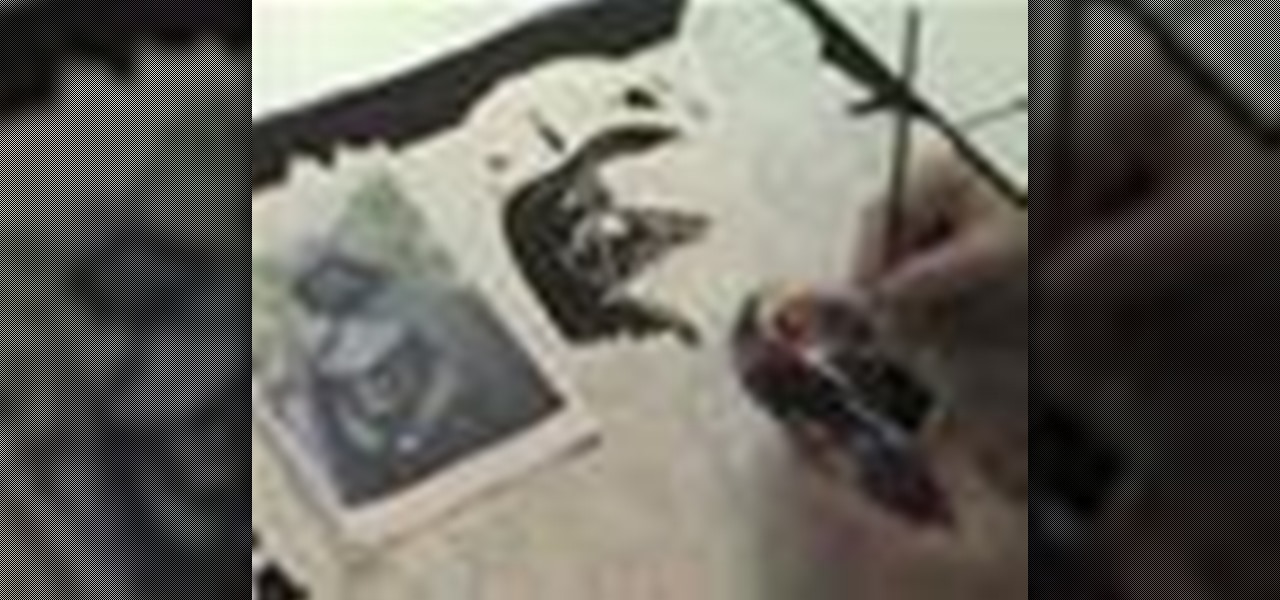
How To: Draw and Ink Han Solo and Darth Vader from Star Wars
Artist Matt Busch goes over how to build graphic contrast with several inking techniques and styles on Han Solo. The episode also shows how to paint in the darkest darks with acrylic paint, as progress continues on the 30th Anniversary STAR WARS Poster. Learn how to sketch, ink, and paint Star Wars by watching this video drawing tutorial.
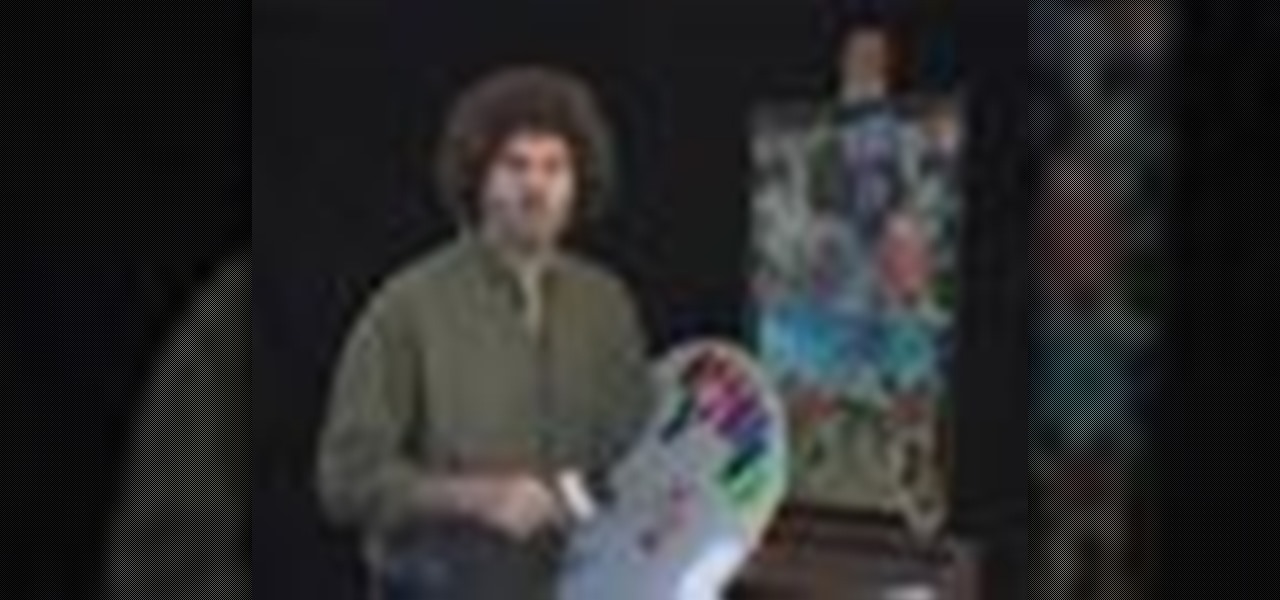
How To: Paint a Star Wars Poster with Opaque Acrylics
In this hilarious episode, Matt Busch continues the painting process as he pays tribute to the legendary Bob Ross in The Joy of STAR WARS Painting. See how Matt paints with thicker, opaque acrylics, with tips like using a toothbrush to create texture. Learn how to paint Star Wars by watching this video tutorial.
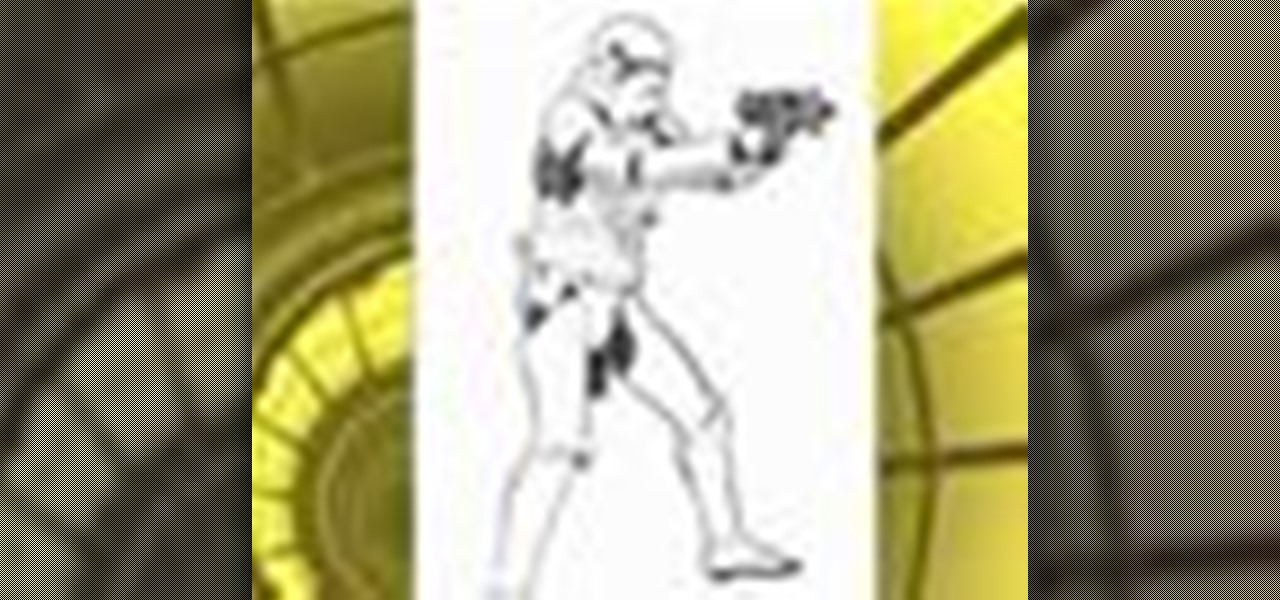
How To: Draw Stormtroopers and Clonetroopers from Star Wars
Star Wars artist Matt Busch takes you through the steps to drawing elite Stormtroopers. Using basic shapes, Busch shows you how to construct three-dimensional trooper armor. Learn how to sketch Star Wars by watching this video drawing tutorial. If you like drawing Star Wars, this video will make you happier than a Wookie in an Imperial garbage chute.

How To: Draw Disney's Most Famous Cartoon Character — Mickey Mouse
On November 18, 1928, a star was born. His name: Mickey Mouse. Walt Disney's most famous character appeared before that date, but November 18 is known as Mickey Mouse Day because that's when he appeared in "Steamboat Willie," the first cartoon to feature synchronized sound. That short animated film is now in the public domain as of January 1, 2024.
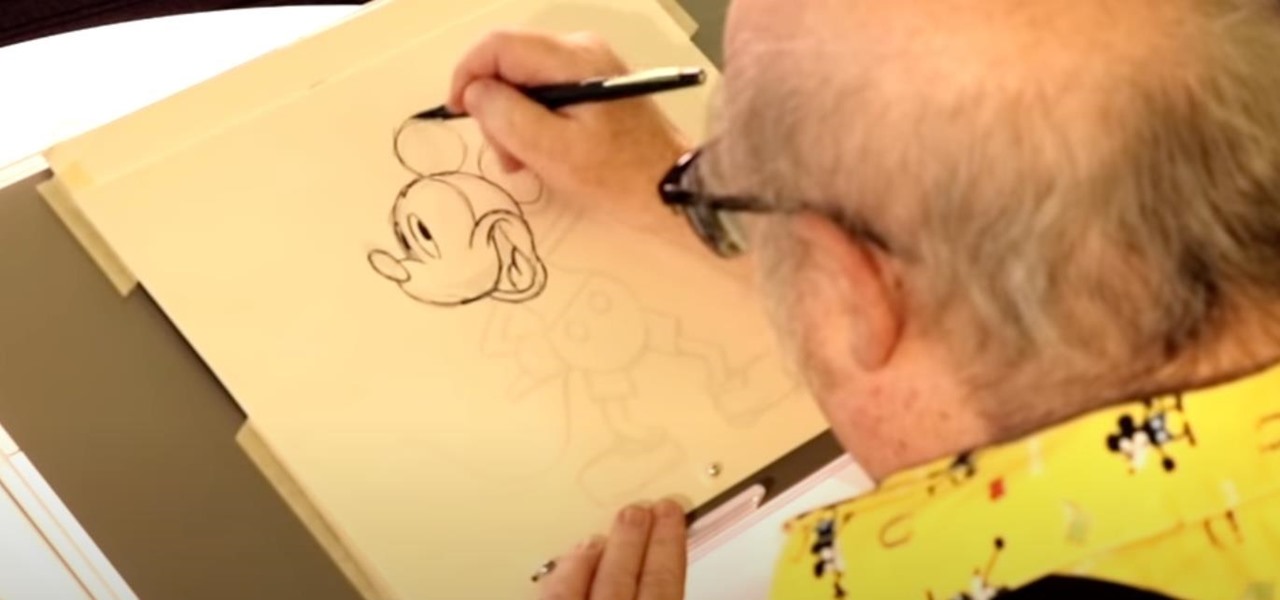
How To: Draw Mickey Mouse Like a Disney Animator
In these video tutorials, we learn how to draw Mickey Mouse like Disney animators such as Floyd Norman, Eric Goldberg, Fabrizio Petrossi, and Don "Donny" Williams.

How To: Draw a Cool Cartoon Rabbit
In this video, Michael Weisner shows his viewers how to draw a cartoon rabbit. You will need paper and a writing utensil to complete this task. Michael had already previously outlined the picture of the rabbit in his video, but it is unnecessary to do so. You should begin by drawing the head of the rabbit, which is presented at an angle where one eye and the nose are clearly seen. Continue by drawing the rabbit's body, with a smooth curve for the back and some slight tufts of fur at its breas...

How To: Draw a Beautiful Unicorn
In this tutorial, we learn how to draw a beautiful unicorn. Start by outlining the unicorn, using circles to show where the head and joints are. Draw long lines for the legs and the tail. Then, draw on the point for the head and start to add in the details of the body. As you continue, add the hair on the back of the unicorn and then shade all around the body. Add colors to the unicorn and then start to make the background. Show it in front of a purple and blue background with a large moon, g...
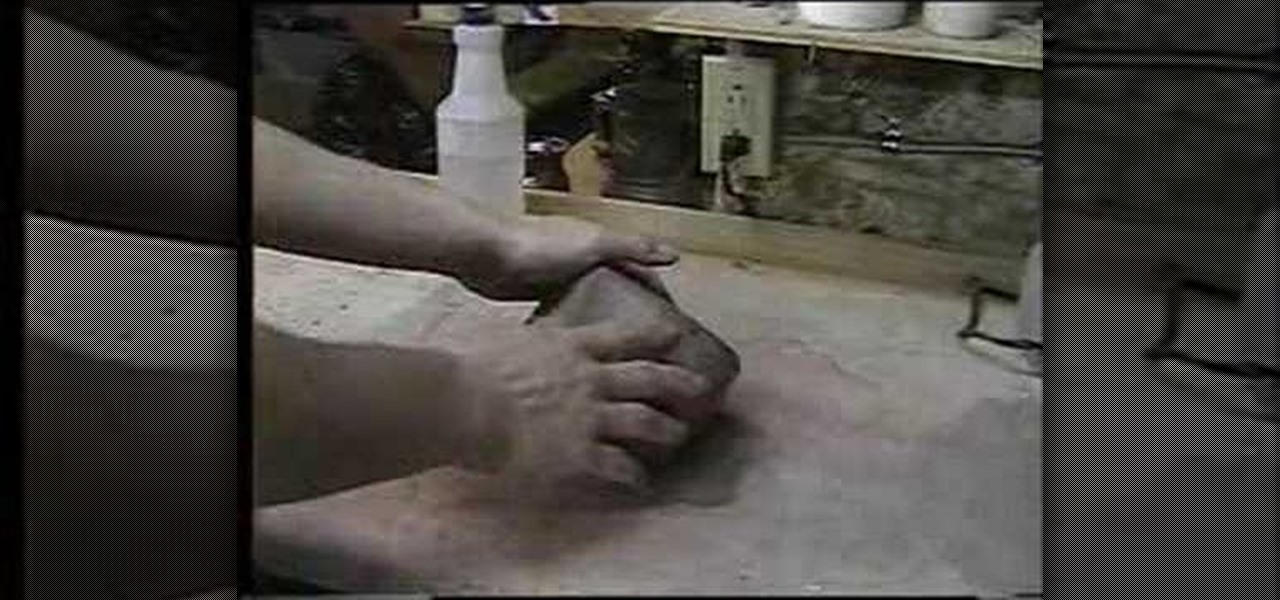
How To: Wedge and Knead a Piece of Clay for Pottery Making
Wedging and kneading is essential before throwing clay on a pottery wheel, or shaping by hand, in order to get rid of air bubbles that may cause the pottery to explode while firing in the kiln. There are many different techniques to wedge and knead, but this video ceramic design tutorial shows how to wire cut wedge and spiral knead a piece of clay. Learn how to wedge and knead a piece of clay for pottery making by watching this instructional video.

How To: Draw a back view of a nude woman
Learn how to draw from a professional artist! This drawing video tutorial will teach you how to draw a back view of a nude woman. This drawing demonstration will help you in the art of sketching and drawing naked women for your art projects. This is the Reilly technique for a back nude pose.
How To: Paint a Lightsaber and a Poster for Star Wars
In creating the Style D One Sheet movie poster for REVENGE OF THE SITH, Artist Matt Busch begins painting and takes you through the complete process. Learn how to paint a lightsaber from Star Wars by watching this video art tutorial.
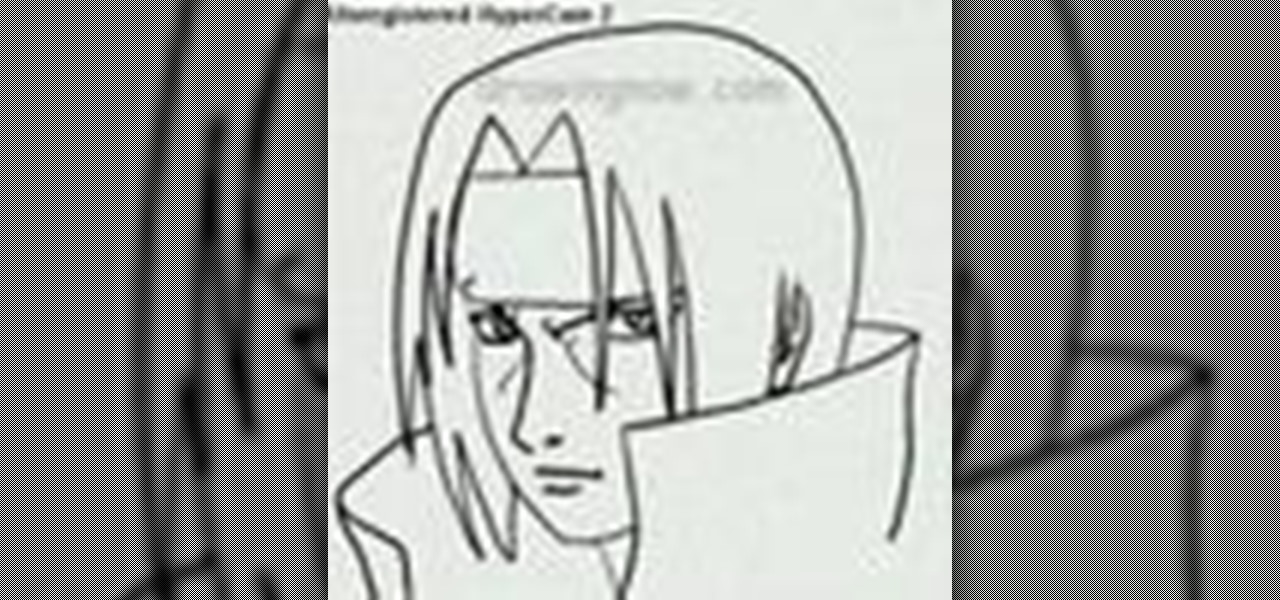
How To: Draw Itachi from Naruto
In this tutorial, we learn how to draw Itachi. First, draw your reference lines on the head so you know where to place the features of the face. Draw in the eyes, adjusting them so they are more towards the left of the face than the right. After this, draw in the bridge of the nose and the nose, as well as features of the cheeks. Next, draw in the nostrils and the mouth, as well as eyebrows and creases around the eyes. After this, draw in ears on the side of the head, then start to draw in th...
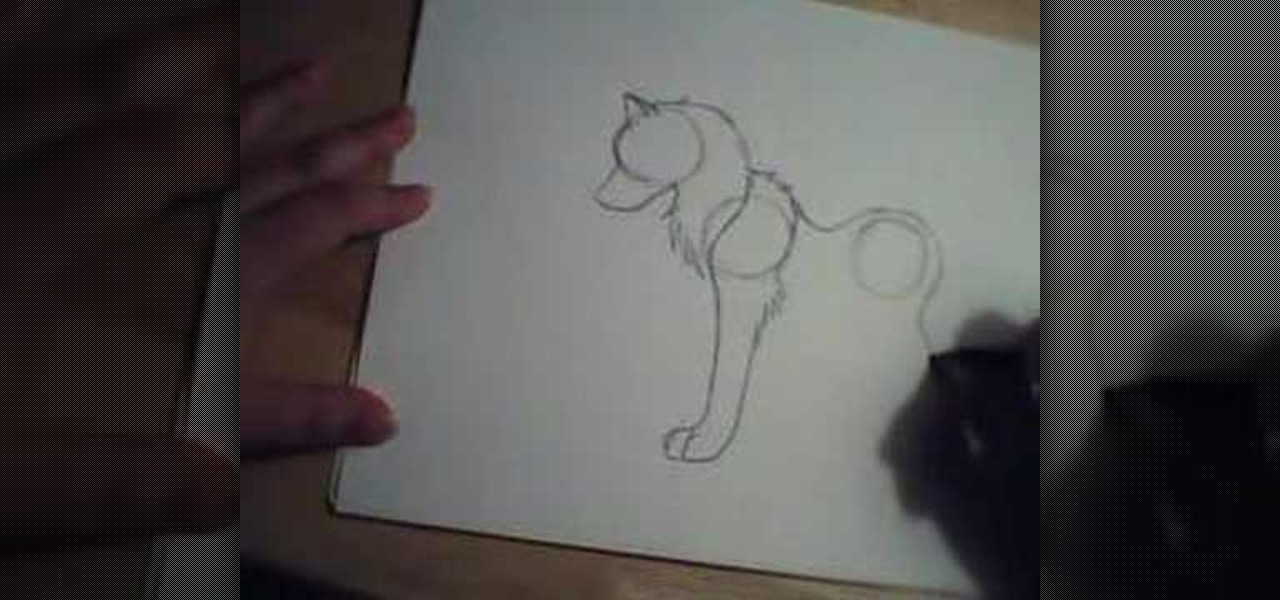
How To: Draw a basic wolf using simple shapes
In this video, we learn how to draw a basic wolf using simple shapes. First, draw the head of the wolf looking down with it's mouth open. Next, draw two circles to show where the front and back feet will go. Next, draw the fur onto the animal, then draw in the fur. Next, draw in the details of the face and the paws as well. Take your time while you are drawing this and make sure to erase any unwanted lines are you are going along. Add in the fur to detail the wolf and give it more personality...
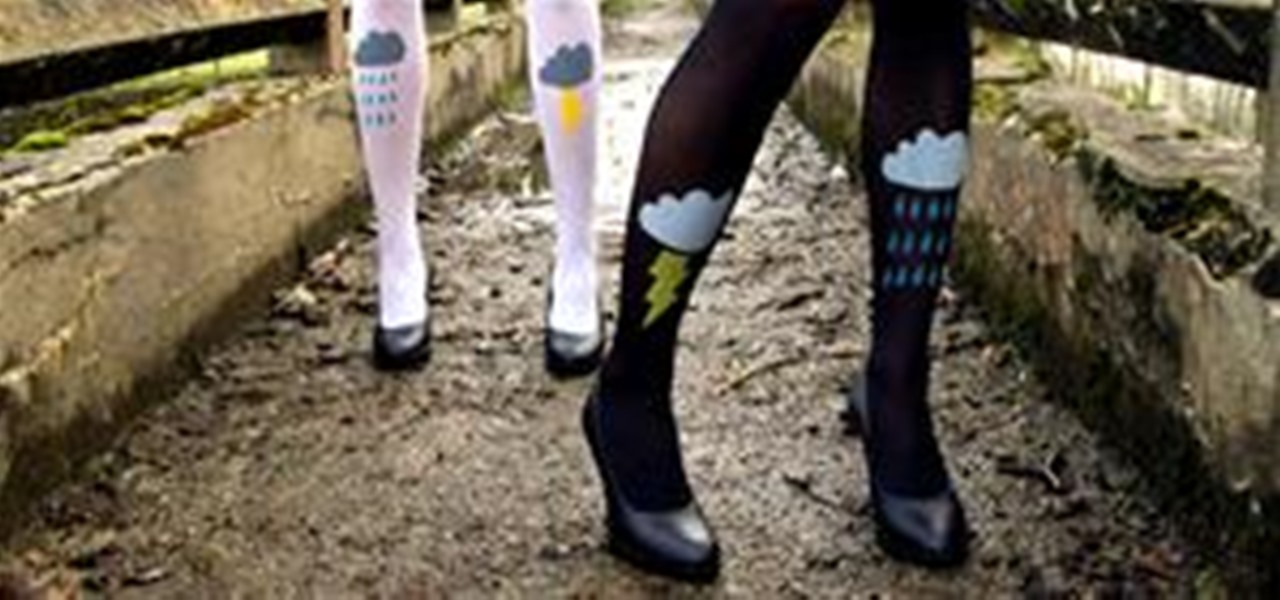
News: Screenprint Your Tights
We've seen screenprinted t-shirts, sweatshirts, maybe even a dress or tie... but what about tights? Predicted trend forecast for 2010, these hand printed tights are available in limited quantities from designer Les Queues de Sardines. You can buy now at (my favorite) Colette, the famed French boutique, always on the forefront of fashion.
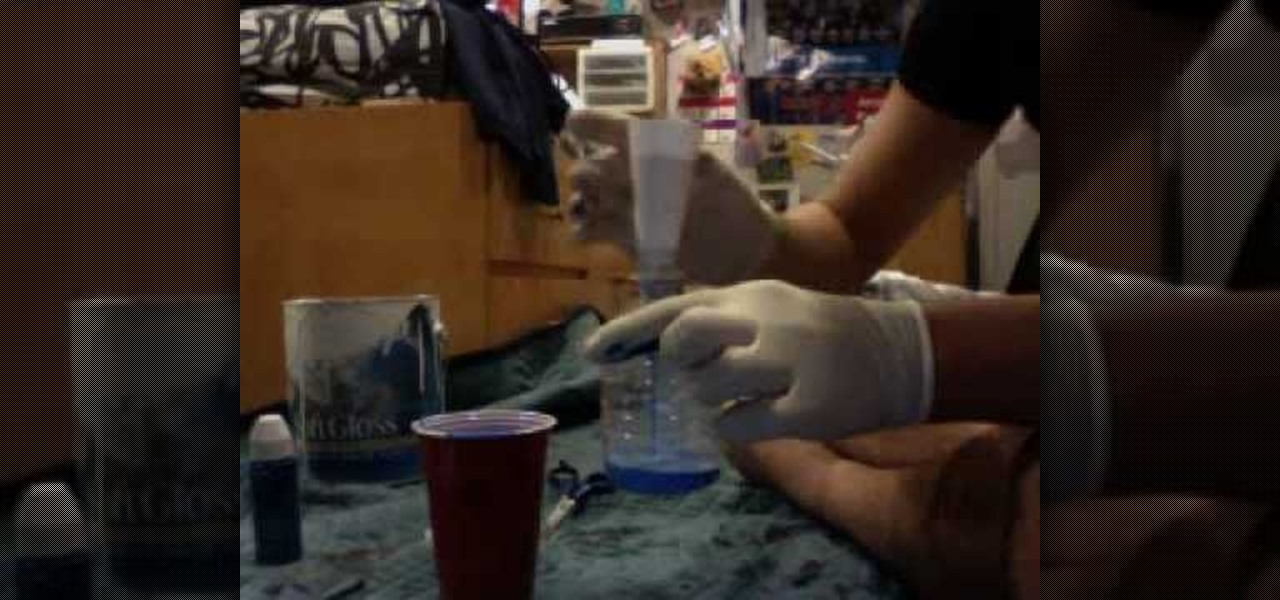
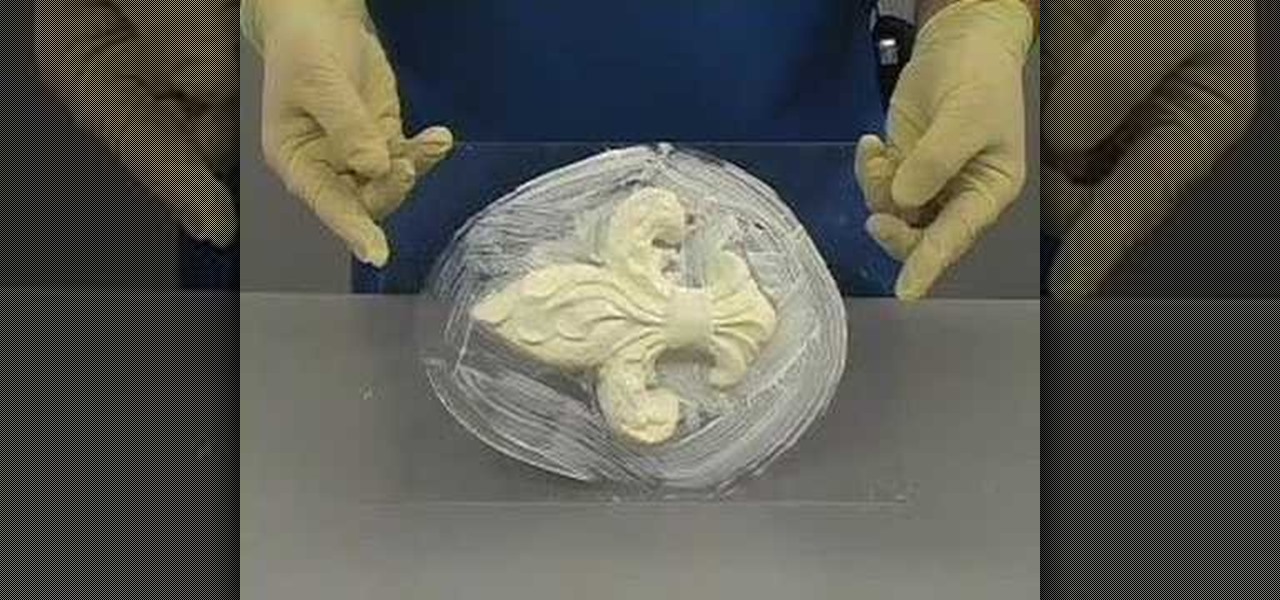
How To: Make a clear silicone rubber mold
This is an excellent video that covers creating a clear silicone rubber mold to deal with a complex parting line or irregular shape. When a project requires a complex parting line, it is often easier to pour the entire mold in one process with clear rubber, then cut your parting line. This process also saves at least a day in creating the mold. This process can be used in automotive, mechanical, fine art and film special effects uses.

How To: Upcycle Your Old Jeans into a DIY Camera Stabilizer
Need a camera stabilizer, but don't have the cash? With an old pair of jeans, a bag of lentils, and an hour or two of your time, you can make one for cheap. Maybe even free, if you have a bag of those legumes already.

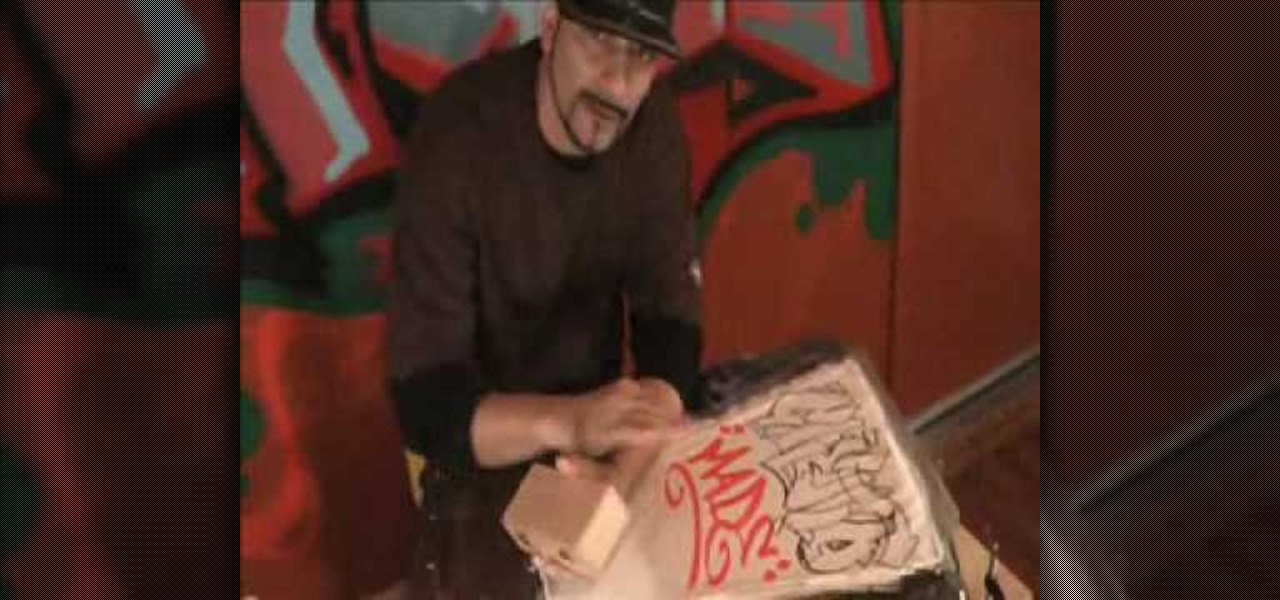
How To: Add 3D effects and shading to graffiti letters
In this tutorial, we learn how to add 3D effects and shading to graffiti letters. To start, you will draw a simple letter with a pencil. Then, take one point under the letter in the middle and draw a darker outline. Next, you will draw an outline around the first outline to make it look 3D. Next, you will shade in the area in the middle of the letter and anything that is in between the first letter and the second. After this, you will add in lines and additional detailing to make the letters ...
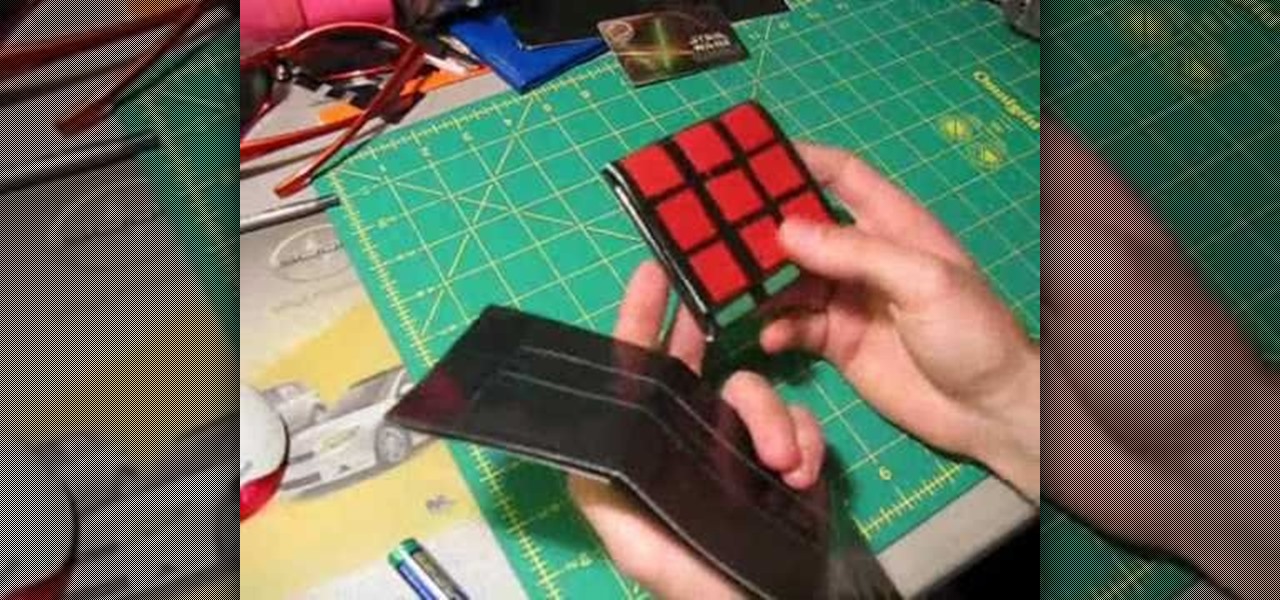
How To: Make a Rubik's Cube wallet out of colored duct tape
Make a basic tri-fold wallet out of duct tape, but add two extra flaps that let it fold out into a cube. And each cube face has the square box pattern associated with Rubik's Cubes, so it looks like an actual toy when you unfold it. You can make the whole thing just using a few different colors of duct tape.
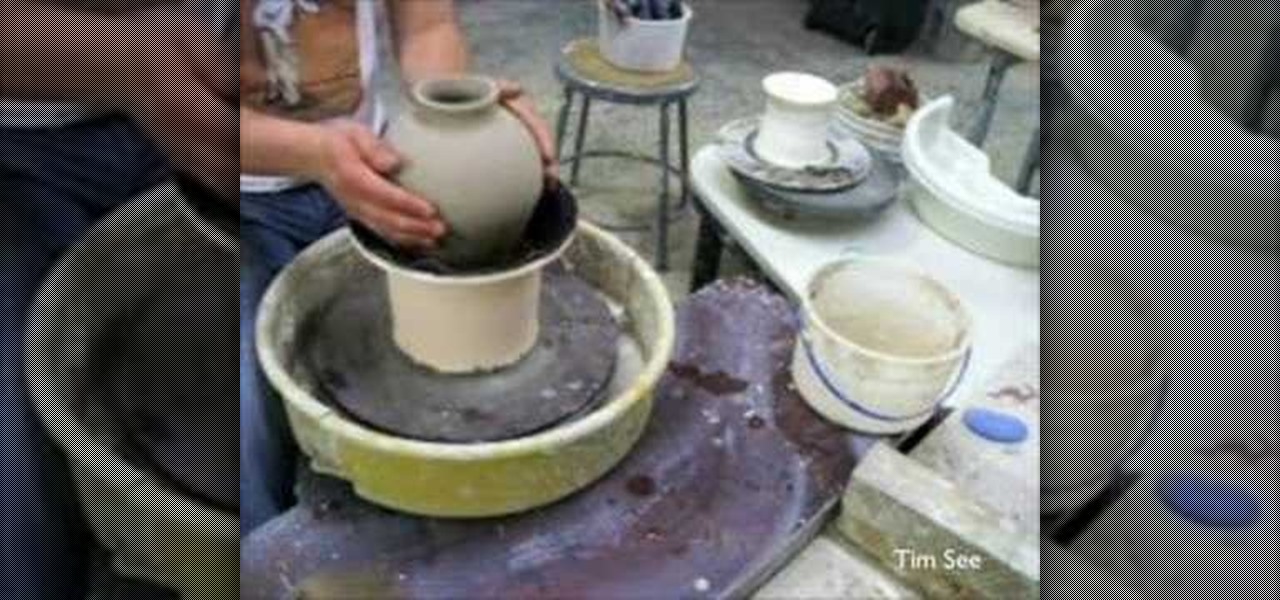
How To: Trim pieces with small necks with a chuck
Watch this ceramics tutorial video to learn how to use a chuck to trim your small-necked pottery. The detailed instructions in this helpful how-to video are best for intermediate potters with some experience.

How To: Print, Cut & Fold Your Own DIY Hermès Handbag
Yay, you can now own the iconic Hermès bag for next to nothing! There's one catch—it's made of paper. Hermès is currently offering several free downloadable templates for the "Kelly Paper Bag" on the company's Facebook page. Not exactly usable in the traditional sense, but it still comes directly from the official Hermès design studio, and who doesn't love papercraft?
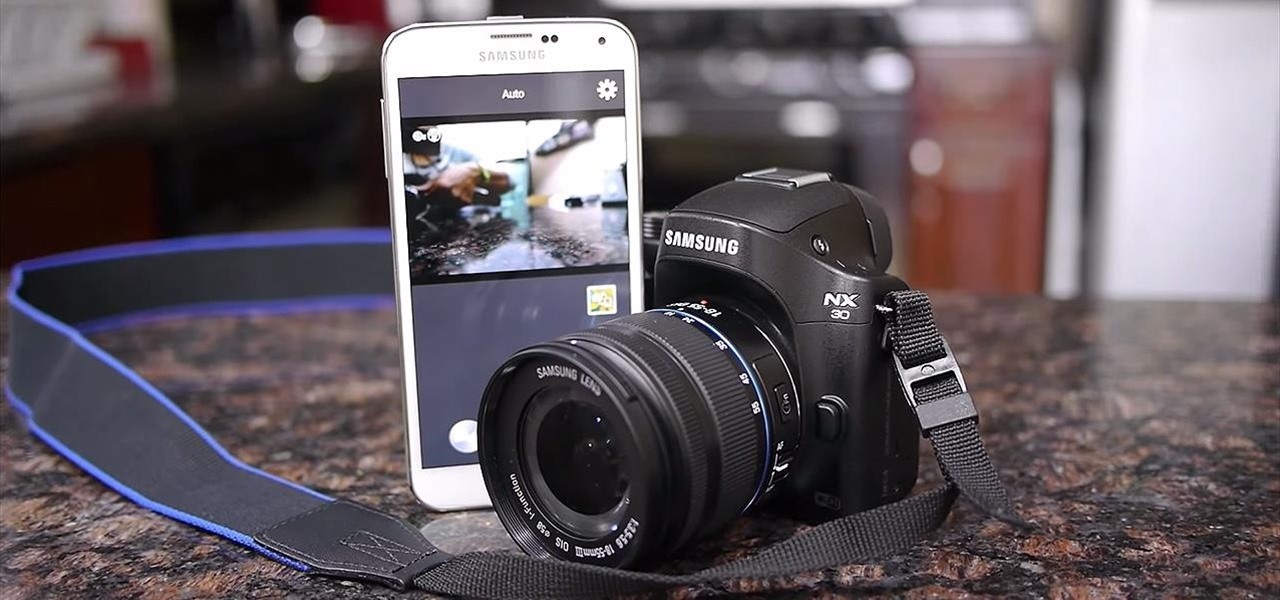
How To: Control Your Samsung Smart Camera with Your Android or iOS Device
Samsung is helping photographers in getting more utility out of their cameras with their new Samsung Smart Camera App. With it, your device becomes a powerful viewfinder for your Samsung camera, allowing you to not only frame shots, but control multiple aspects of the camera, right through your phone.

How To: Apply a terra cotta slip to a pot
A terra cotta slip can add flair and durability to any pot that you've made at home, and also allow you to make up for inconsistencies in the composition of your clay. This video from Simon Leach shows you how to apply just such a terra cotta slip to a clay pot, an important technique to improve you pottery and ceramics skills.
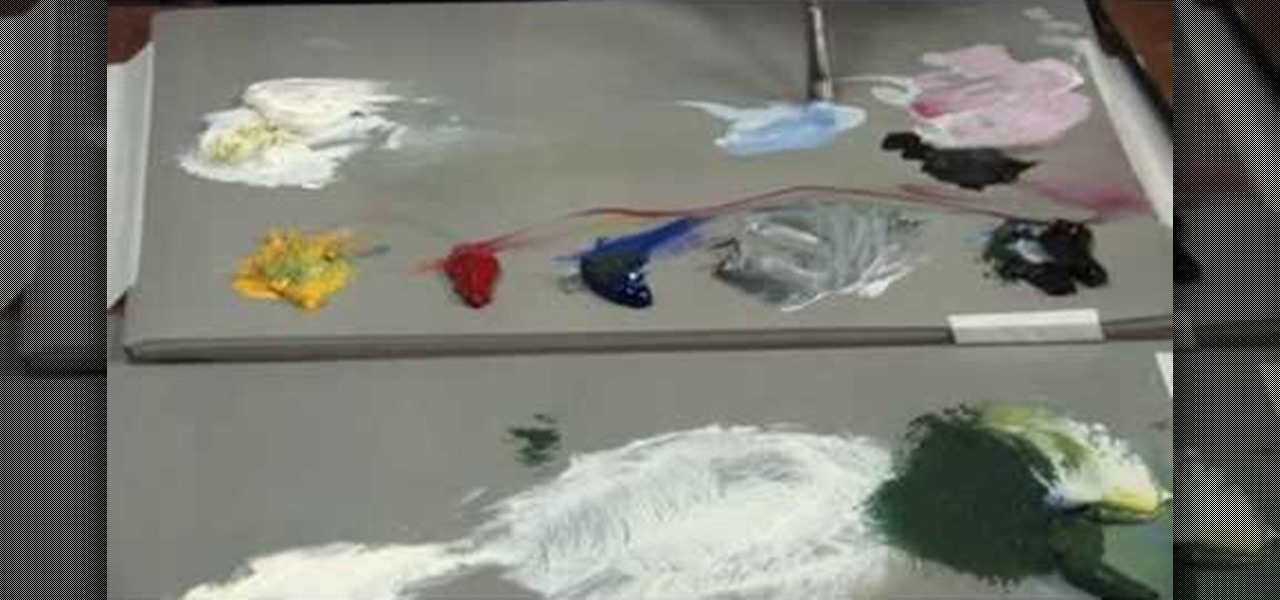
How To: Paint believable rocks
Wilson Bickford teaches us how to paint believable rocks in this tutorial. To begin, you will first start with an easel and several paints. Wet your small paint brush with a mixture of brown and black and paint a rock shape on the paper. You will do this by drawing many lumps and bumps to make it look like a natural rock. Use white paint on the side of the rock to give it a light glare where the sun would naturally hit it. To finish the rock, paint on browns to it, to add a dirt color and mak...
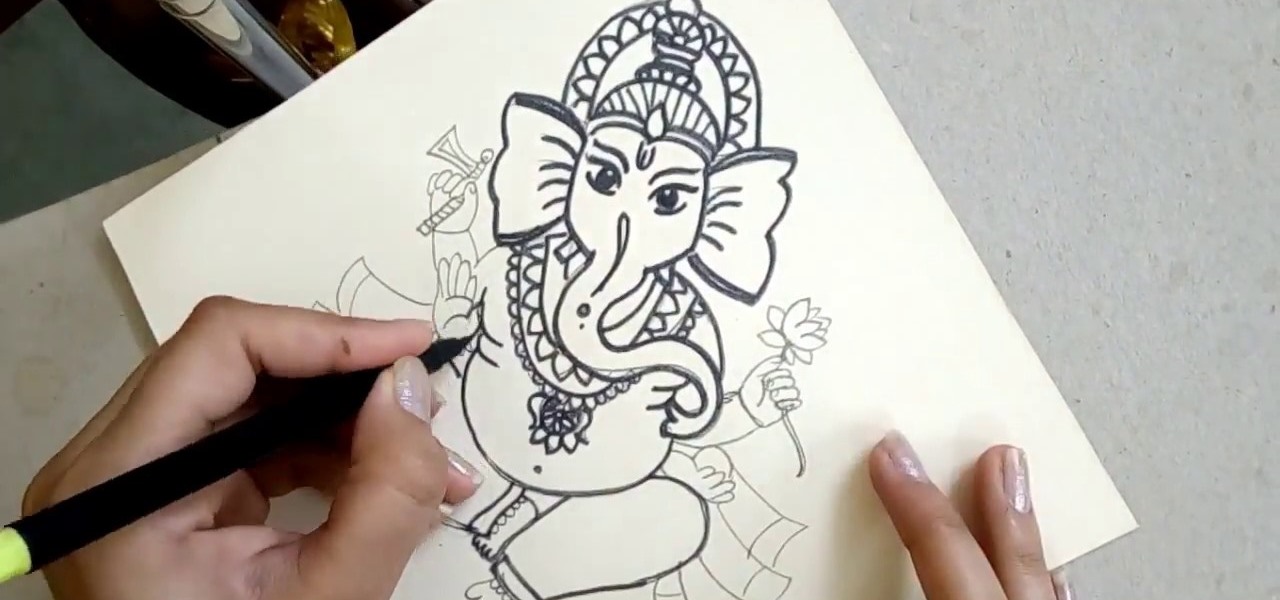
How To: Draw the Sitting Hindu God Ganesha, Step by Step
Personification of the Infinite Consciousness. Lord of Hosts. Master of the Universe. These are just three of the hundred-odd titles of the Hindu god Ganesha. Luckily, drawing the Hindu deity Ganesha isn't so complicated.

How To: This Easy Photo Trick Makes Fireworks Look Like Brilliant Sky Creatures
Anyone who does a lot of photography knows that the right exposure can make all the difference in the world. Taking a picture of something in motion requires a long exposure, so if you've ever wondered why your fireworks photos never quite turn out right, your shutter speed could be the key. Photographer David Johnson decided to put a twist on the classic long-exposure fireworks photo. Normally, when people take photos of fireworks displays, they just set a long exposure for somewhere over 3 ...

How To: Blur Fireworks with Your DSLR for Some Wicked July 4th Photos
Try "unfocusing" your photographs for some dreamy, evocative and somewhat abstract takes on life. Check out the two tutorials (here and here) from Michelle Geoga of Lights! Camera! Photoshop! for tips on unleashing the blur-power of your camera. You can see plenty of example images there to help you out.
How To: Make a graffiti paint marker
In this tutorial, learn how to make paint for a graffiti style paint marker. This can be done with paint you have left over in your house and a bit of rubbing alcohol. Using a paint marker allows you to draw much more accurate and detailed graffiti. Throw a little ink into the mix and make your own custom colors so you can leave your mark all over town.
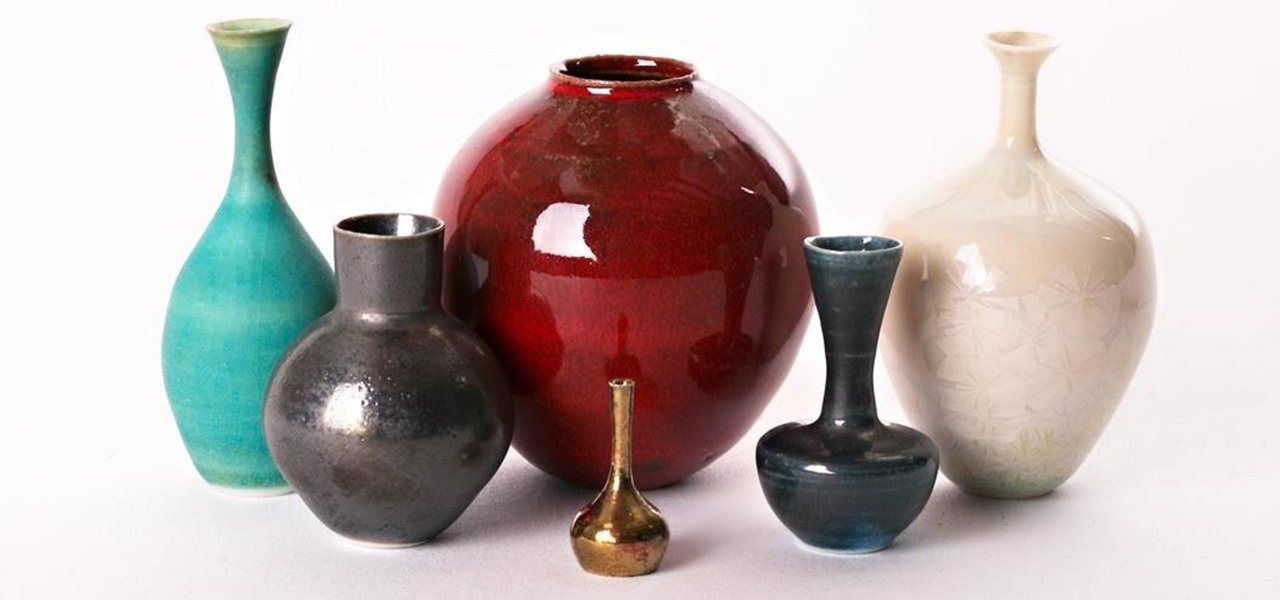
News: These Tiny Pots & Vases Are Made Just Like Big Ones—By 'Throwing' on a Potter's Wheel
From a quick, passing glance at a photograph, you may not notice that Jon Almeda's impressive displays of ceramics mastery are actually the size of coins. It's well-documented how much tiny art is loved by WonderHowTo, but this petite pottery may take the cake as the most impressive display of craftsmanship.
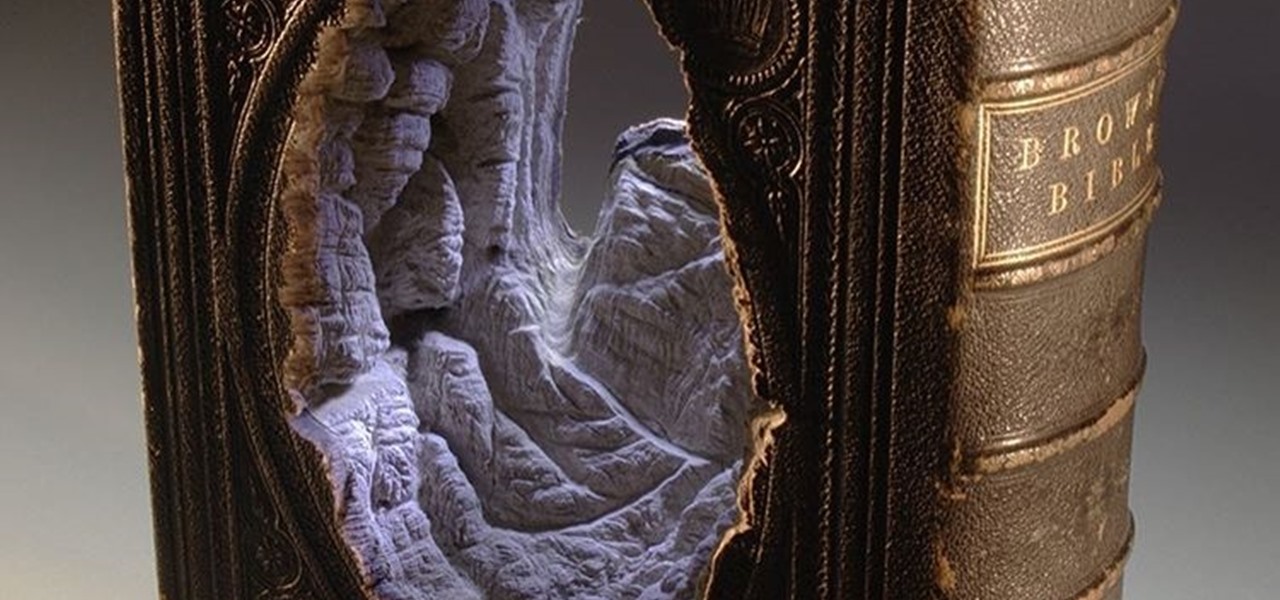
News: Vintage Books Get Carved into Insanely Detailed Painted Landscapes
If print is a dying media, you might as well destroy books in the most beautiful way possible. Guy Laramée is a Montreal-based interdisciplinary artist who turns old books, such as the Encyclopedia Brittanica, into intricately-carved works of art using mostly a sand blaster and some paint.

News: Artist Creates Giant Justin Timberlake Portrait with 13,000 Nails & 15 Miles of String
Justin Timberlake seems like a pretty cool guy overall—solid musician, decent actor, overall good person—but never in my wildest dreams would I think to spend 200 hours obsessively creating a giant portrait of his face.
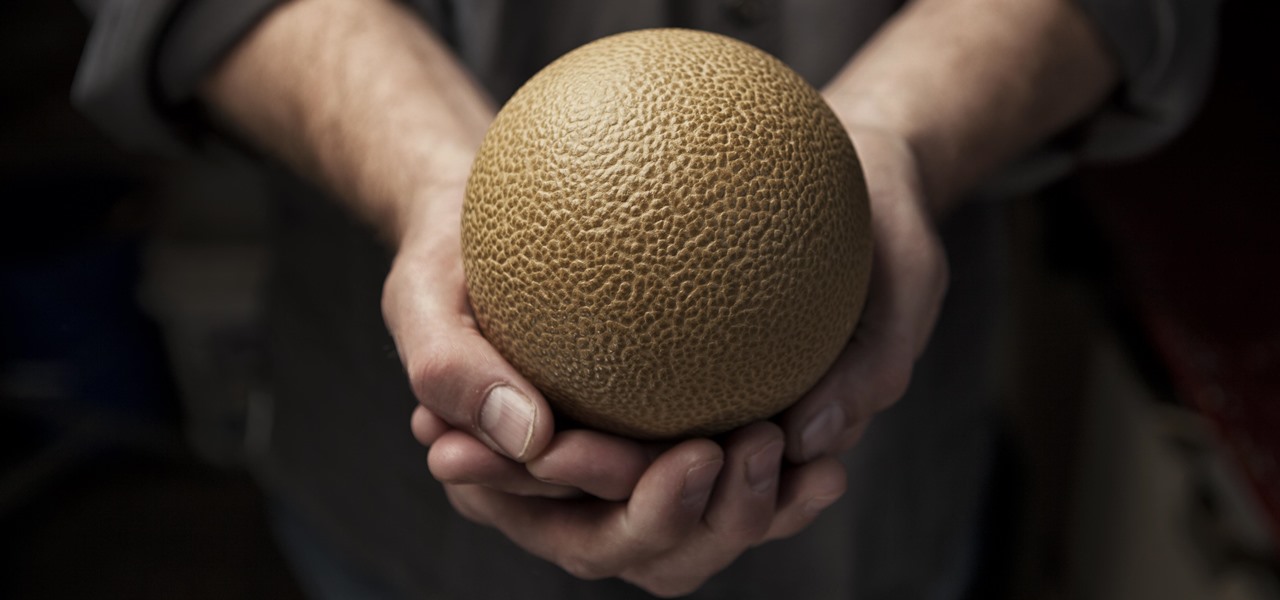
News: The Japanese Art Form That Turns Ordinary Dirt into Perfect Mud Spheres
People have been transforming mud into art, aka pottery, for thousands of years. This is not a new phenomenon, but often the finished product has a certain utilitarian aesthetic, such as a bowl or vase.

News: Artist Turns a Penny into $207 by Morphing Lincoln into Homer Simpson
Pennies may only be worth $0.01, but if you want a coin with everyone's favorite donut-eating dad on it, you're going to need to shell out a little bit more.
How To: Make a cat-ear fleece hat
In this tutorial, we learn how to make a cat-ear fleece hat. First, take fleece and combine two edges together to make two cat ears. Sew these together and then turn them inside out so you have the ears you like. Next, take a piece of fleece and sew it together so it becomes a hat. Turn it inside out so you can't see the marks on it. When you are finished, you will have a cute fleece hate perfect for anyone in the winter! You can jazz this up by using any type of material you would like and p...
How To: Make a latex mold
This video segment will show you how to make a simple mold using TAP Latex Mold Builder.
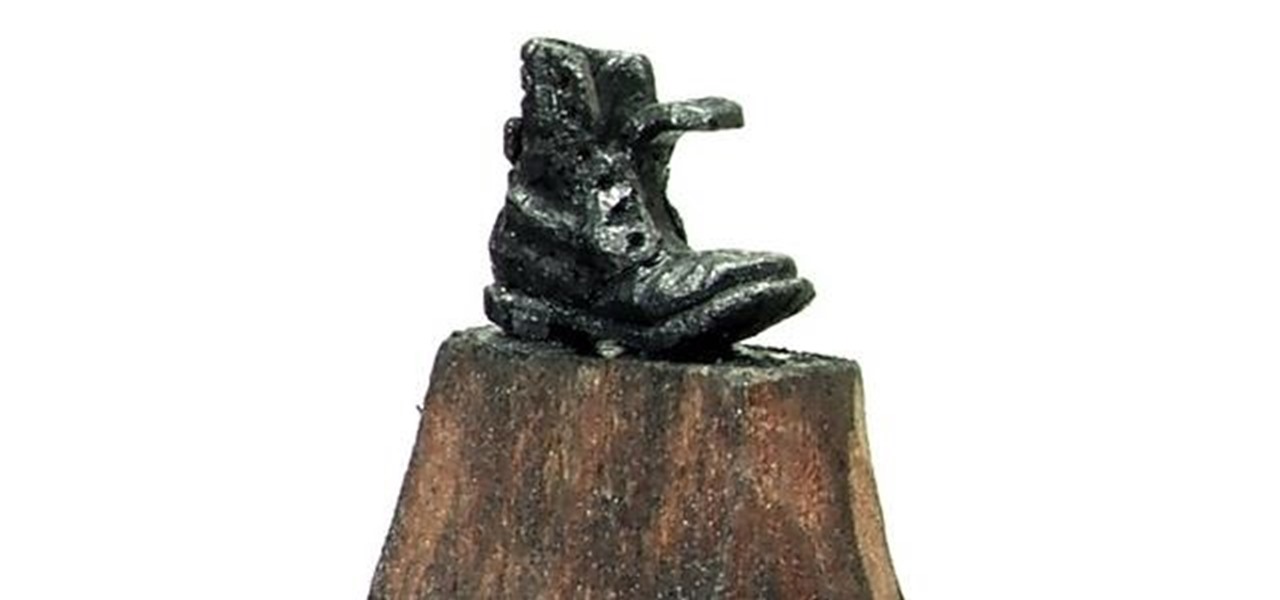
News: Anal-Retentive Miniscule Pencil Tip Carvings
Dalton Ghetti has been carving teeny, tiny pencil tip sculptures for 25 years. Mr. Ghetti, who owns about as many possessions as a monk, is aware how unusual his craft is. He started carving tree bark when he was a child and experimented with everything from soap to chalk before settling on graphite. It's second nature now, and for 90 percent of his work, all he needs is a sewing needle, a razor blade and a carpenter's or No. 2 pencil.
How To: Paint a graffiti jacket
Learn how to spraypaint an old school denim graffiti jacket. Part 1 of 2 - How to Paint a graffiti jacket.
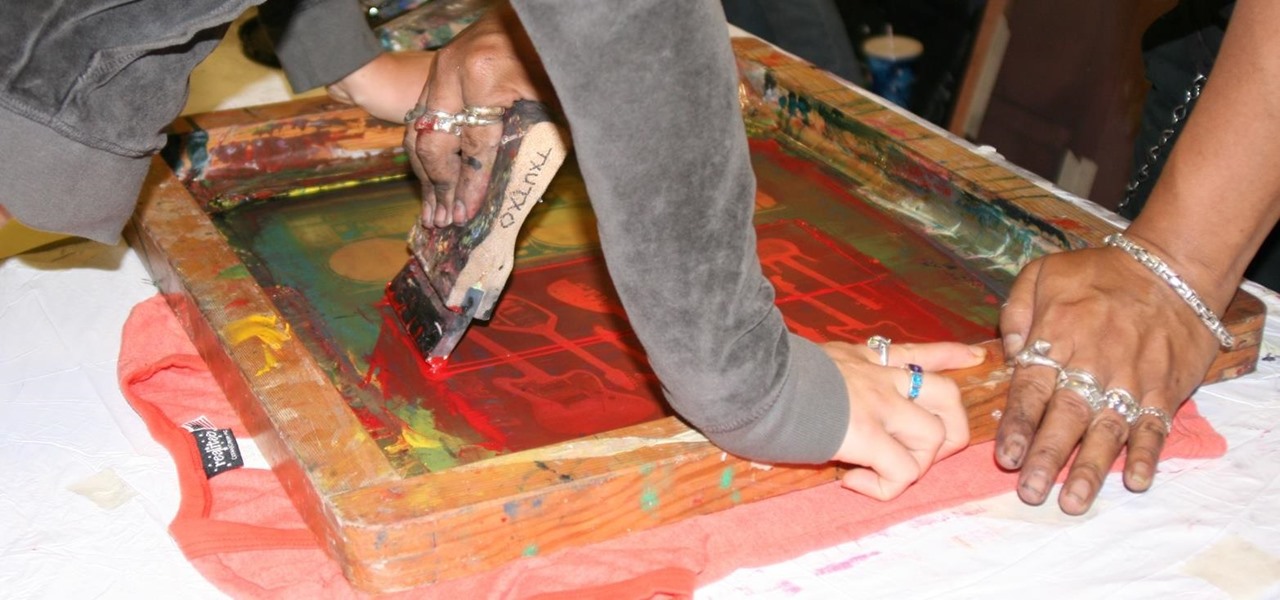
How To: Make a Cheap DIY Silkscreen for Screen-Printing Logos & Designs on T-Shirts
This is silk screen production, the cheap and easy DIY way! In order to make this easy silkscreen for making cool T-shirt logos and designs, you'll need some acrylic paint, paintbrushes, cheap net curtain (patterned or plain), vinyl sign sheets, blackboard (or cork board), and some fabric paints to paint with. Also, you'll need a CraftROBO precision cutter. Soon, you'll have your very own screen-printed tee shirt, thanks to your very own homemade silkscreen.
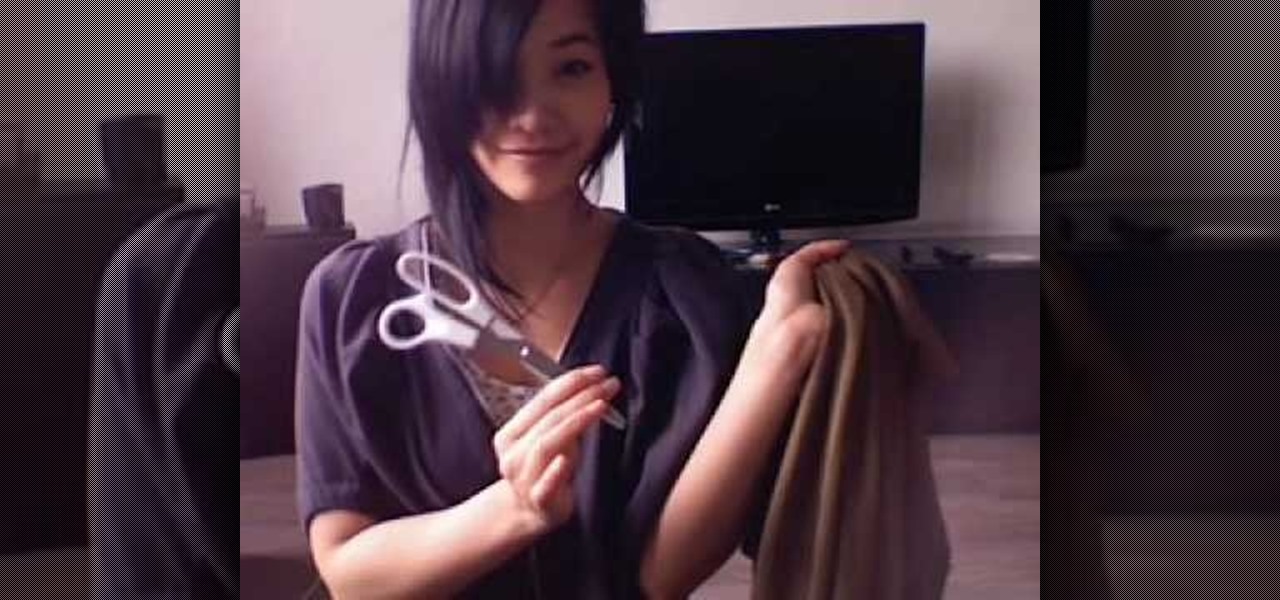
How To: Make a DIY long vest out of a scarf
This video shows us how to make a DIY long vest out of a scarf in no time! You will need: a wide scarf, matching thread, other colored thread, safety pins, needles, and scissors. First, measure yourself shoulder to shoulder and add 15cm to that number. Next, measure 30cm on each side from the very middle of the scarf. Now, mark that spot with a safety pin and measure out another 30 cm on both sides, marking those spots as well. Now, bind the last two safety pins and sew from the bottom up to ...
Next Page
Prev Page